Scratch-N-Stamp
Search

Checkout

Keep up with Sales, New Products and other events at Scrap `n Stamp. Sign up for our newsletter now!

What's New

Hot Deals


Glitter

Tuesday with Tara {take 434} Celebrate You!

Happy Tuesday!

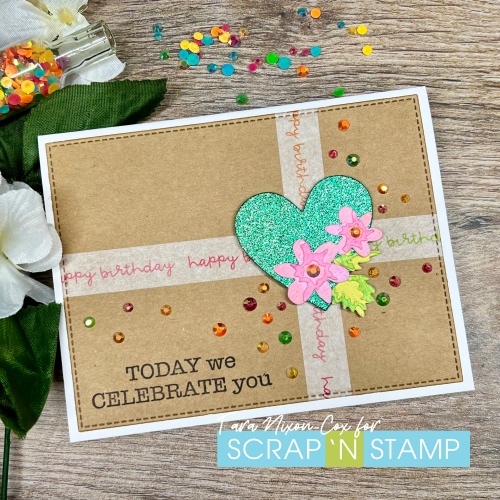
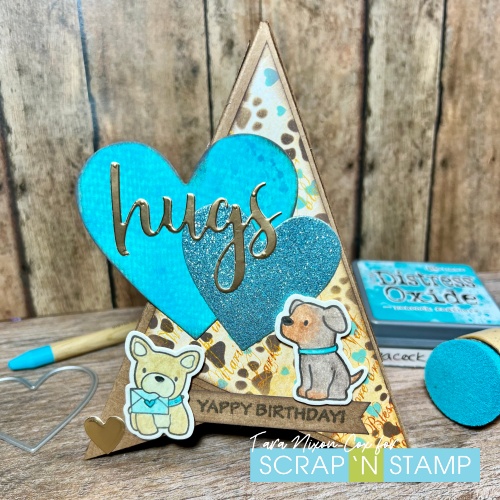
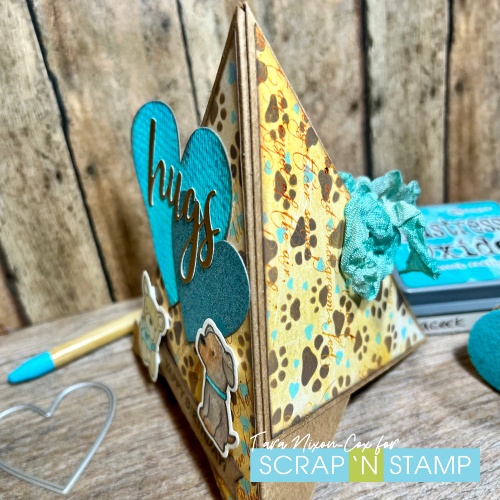
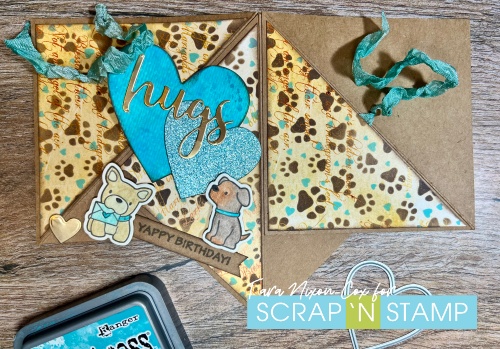
I wanted to continue on the birthday theme we started with our current Birthday Bash Hop (go check it out if you haven’t already!) and see what I could do with the fun birthday washi tape I used on my hop card!  I wasn’t sure what I was going to do, until I saw my friend Nancy had joined a new sketch challenge design team.  She shared her first card on Monday and I used the inspiration from that sketch for the one you see today!

I definitely made some modifications, but I think it has similar vibes… I selected colors based on the washi tape, which has two shades of pink, orange & green.  I got a package from Scrap ‘N Stamp this week that had some Jewelz in it called “Key West” that feature similar colors so I decided to scatter them all over the card (I just skipped the blue ones)!  Let me tell ya, you never know how many gems come in a package until it breaks in transit and they are loose in the box.  haha!

Other elements on this card:
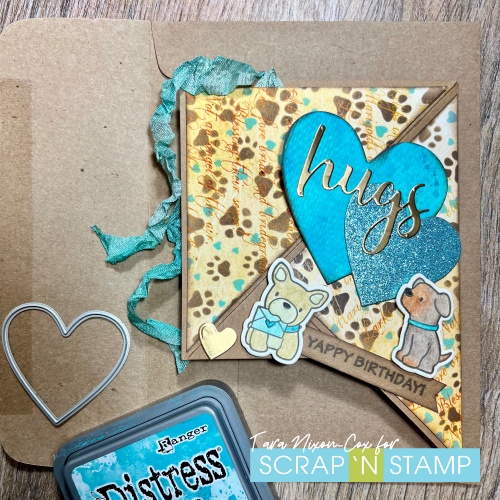
It’s a fun & simple, bling covered card that was fun to make with a variety of pieces I had on my work space 🙂 Hope it makes you smile!

Inky hugs,

Tara

Tuesday with Tara {take 434} Celebrate You! Read More »

Tuesday with Tara {take 430} Yappy Pyramid Card

Happy Tuesday!

If today’s card looks familiar to you, it’s probably because you saw it in another color palette during our Dimensional Designs Inspiration Hop last month!  I never did give directions for the assembly of the pyramid, or photos of it laying flat, so I thought I’d share some of that with you today!

Here’s another angle of the pyramid card, showing how it ties closed at the back.

My card was formed from 3 squares (mine are 4 1/4″) which are scored diagonally.  The decorative pieces are cut from 4″ squares and I’m using 3 triangles on this card.  You also need two pieces of ribbon to tie it shut, but you could also use magnets or velcro or some other kind of closure!

Here is a photo the flat lay of the card- start with the square on the left and layer a second square against the score line, then repeat with the third square as shown.  From here I suggest folding the card into a pyramid and marking where you will need to adhere your ribbon so it matches to tie together.  You’ll want to adhere the ribbon underneath the decorative panels, so start with the ribbon then decorate!  (You can catch the live tutorial of the pyramid card on the Scrap ‘N Stamp Facebook page!)

Simply fold the card in half to mail it- this size fits in a 5×7 envelope.  I’m still experimenting with sizes to figure out what fits perfectly in an A2 envelope!

Here’s the details & links from how I decorated both cards:

I kept the decorating pretty simple on this one because I didn’t want to distract from the design and I also didn’t want to cover up the paper I stenciled!  I started with a vintage letter print from the new 6×6 pad by IO and layered on the Puppy Love Layering Stencil by Taylored Expressions.  I chose to use Distress Oxide Inks because the patterned paper has a slightly glossy coating on it that I knew regular Distress Ink would not work on.
I’ve used Puppy Play stamp & die set, coloring the pups simply with Distress Watercolor Pencil Crayons and stamped the sentiment on a strip of Kraft cardstock, to match my pyramid card base.
I die cut some of the Prism Nesting Hearts from scraps I had on my workspace.  The card still seemed to be missing something, and bling was not doing the trick for me this time (so weird, it is almost always the right finishing choice!) so I die cut the word ‘hugs’ from some brushed gold foil cardstock, and a tiny heart as well for my finishing touches!
Hope you like the card and this little tutorial was helpful!  It’s really quite simple to assemble and very fun to decorate!
Inky hugs,
Tara

Tuesday with Tara {take 430} Yappy Pyramid Card Read More »

Tuesday with Tara {take 429} Many Hearts

Happy Tuesday friends!

Today I’ve got a sweet & simple Valentine to share- once again I’m featuring die cut hearts in a variety of colors & sizes.  I had fun arranging the glitter & foil hearts in a “random” pattern I liked for this card, but it needed a little something more.

A textured white background, created using the layered dots dies from Tim Holtz was a fun addition.  It’s a set of 3 dies, but I’ve only used the top two layers for this card (the bottom one is solid).  I finished things off with a sentiment (also Tim Holtz) stamped in purple and assorted sizes of red & purple bling scattered across the card.

I find when you are working on white, it’s nice to add some texture and I think this worked out pretty well!  You would never know the background was part of a Halloween release… I hope it inspires you to pull out some of your supplies and maybe use them for a Valentine this year!

Inky hugs,

Tara

Tuesday with Tara {take 429} Many Hearts Read More »

Free Shipping Anywhere In Canada