Scratch-N-Stamp
Search

Checkout

Keep up with Sales, New Products and other events at Scrap `n Stamp. Sign up for our newsletter now!

What's New

Hot Deals


Prima

3D Peony Sympathy Cards

Hello and Happy Wednesday, Nancy F on the blog sharing a set of cards I created out of necessity due to a family member passing away not too long ago.

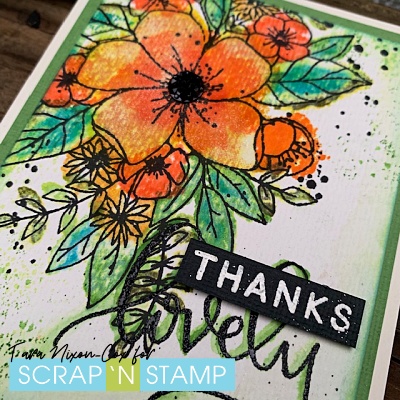
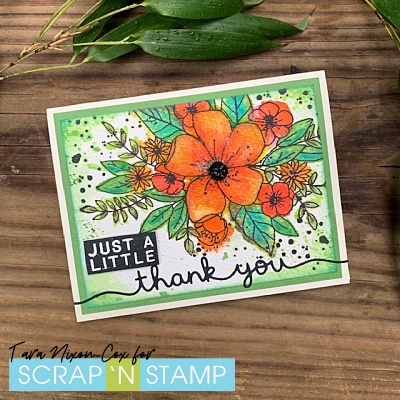
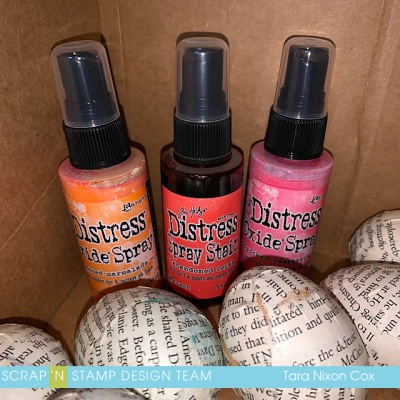
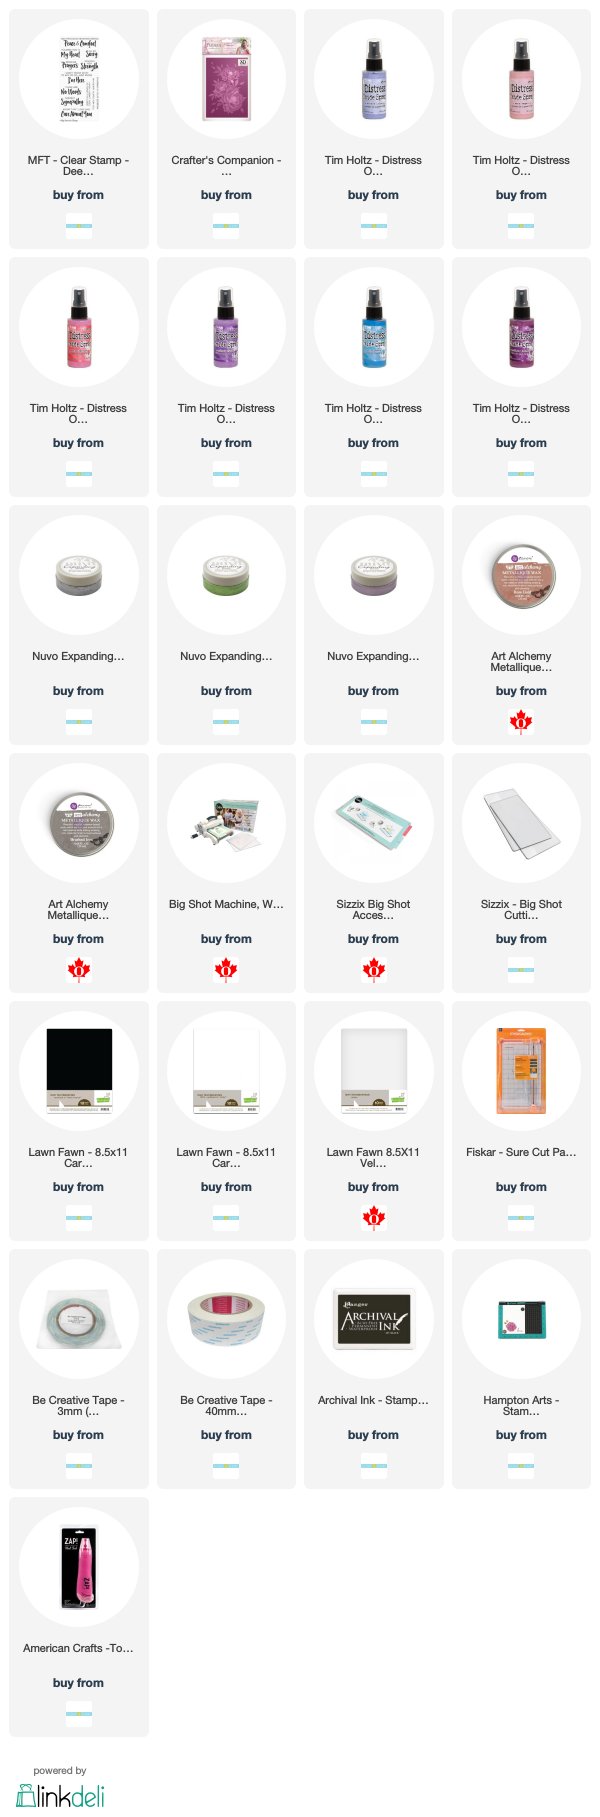
I am featuring the Crafters Companion Peony Trio 3D embossing folder, Tim Holtz Distress Oxide Sprays and Nuvo mouse along with some extras polishes from my stash. 

With all the cards I make over the year you would think I would have had something in my stash, but alas I did not and so I needed something quick and simple yet elegant and thus my cards were born. I hope you like and find some inspiration. 

How I came up with this design was really a “happy accident” as Bob Ross would say. I wanted to figure out a way to make the 3D image stand out and get my colouring done in a quick and simple way.

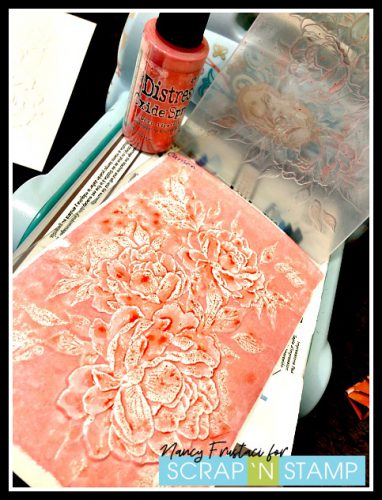
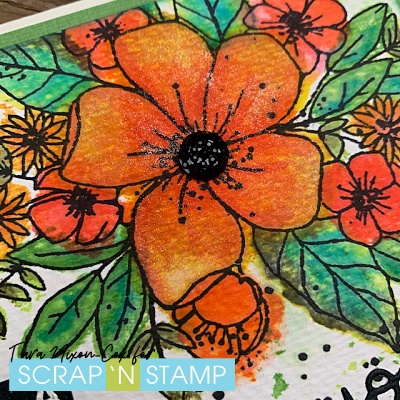
What better way to add color then with distress inks. Since I have been on an oxide spray kick as of late, I thought hey why not continue with the theme and try them with the embossing folder, so that’s what I did.

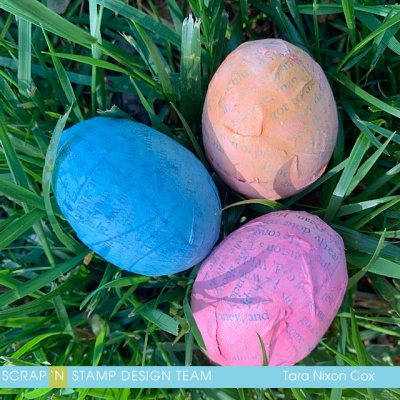
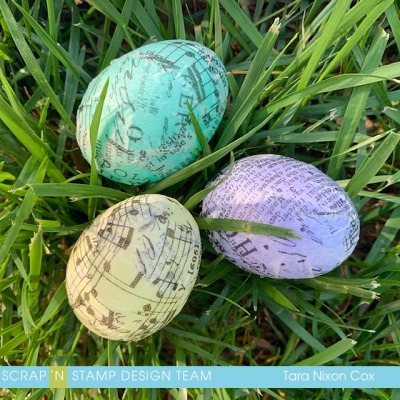
I pulled out some cardstock from my stash in both black and white, and cut it down to fit in the embossing folder. I sprayed the folder directly with the oxide ink and then I ran it through and the end results were very cool.

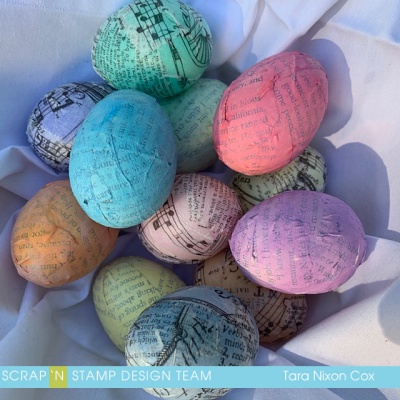
Some I did just with the oxide spray and some of the panels I would add spritzes of water as well, just to see what kind of effect I would get. The look was so cool in fact that I went on to make about 20 or so different backgrounds with both oxide sprays and mica sprays. Stay tuned, as you will see these later in other blog post.

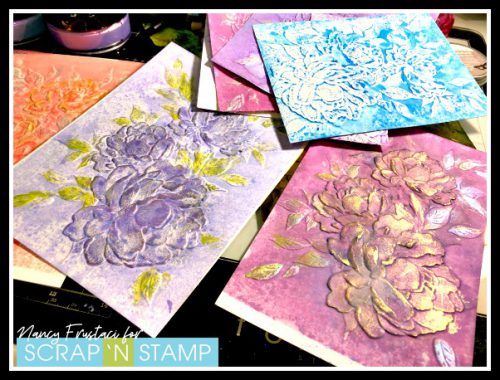
Once all my backgrounds were completely dry it was time to play around with different products from my stash that sadly aren’t carried in the store but I have linked to something very similar.

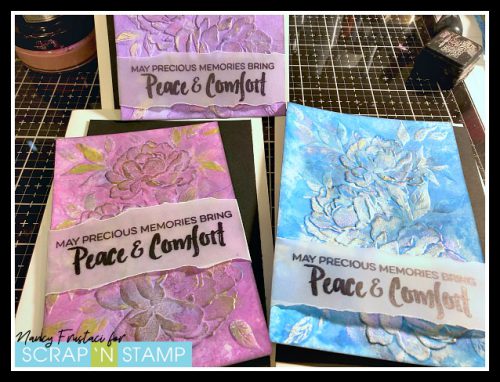
I used Opal Gilding Polish, Nuvo Mouses, and Prima Mattalique waxes to bring out the flowers on the backgrounds. I applied all of this with just my fingers which allowed for more control over the different products. For finishing touches, I pulled out my trusty black soot distress ink and went over all the details gently just to bring out the flowers even more.


For the cards itself, each measured differently as I would trim them down to different sizes to make up for certain little blunders, so this time I won’t be adding in the measurements. I do apologize.

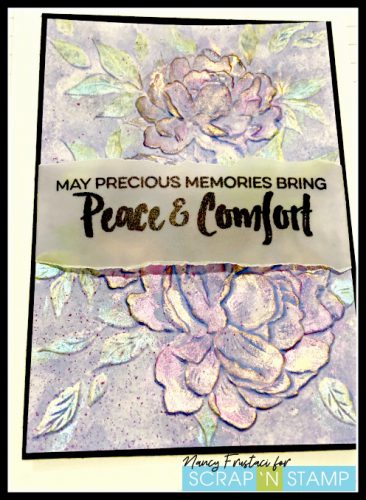
The sentiment I decided to use was from the Deepest Sympathy set from My Favorite Things. I used Archival ink as I stamped them onto vellum. I heat set each of the sentiment strips with my heat tool so I would not smudge the ink. I have had issues with stamping on vellum as I am always in a rush and forget to heat set.

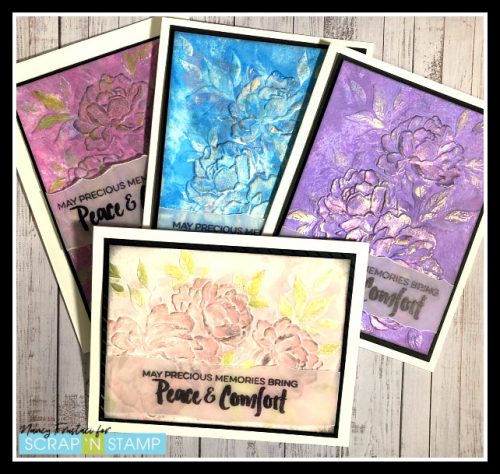
To assemble the cards I wrapped the vellum sentiments around the floral image, taping into place on the back. I then added fun foam to the back of the panel and adhered it onto the black layer, and flat onto the card. I kept it very simple this time around as I really wanted the focus on the main images.

I am sorry if this is a bit rushed, both kids are sick, whiny and clingy, which means this mama is on very little sleep and a lot of caffeine and crashing slowly. I hope you were inspired I really love this embossing folder and have some other fun cards in the works for you. Stay tuned,

Have a wonderful week

Nancy F


3D Peony Sympathy Cards Read More »

Watercolour Wishes Blog Hop

Hi & welcome to the Scrap ‘N Stamp September Watercolour Wishes Blog Hop! The design team has been busy creating with a variety of mediums. We are so excited to share some beautiful watercolur projects with you today.

Details

The Watercolour Wishes Blog Hop starts right here, on the SNS blog! I’ll share a list of the full link up at the bottom of this post, after my project. Be sure to leave some love for the team along the way- your comments, as well as likes & shares when you see our projects on social media, earn you a chance to win a great prize! One lucky comment, like or share will be randomly selected to win a $50 gift certificate to the SNS online store!

Bonus- shop this weekend and save 20% on all Watercolour products in the shop! Woohoo!

Watercolour Stamping

For my project today, I decided to showcase a stamp set that is designed to give you a watercolor look simply by stamping. I’ve used the Hello Lovely stamp set by Concord & 9th, which is a beautiful floral image with coordinating sentiments and several images designed for layering colours so you will get a watercolor look.

I made two very similar cards, both started the same way- layering Distress inks over the stamped image. I used a variety of original Distress Ink colours stamped onto watercolor paper. Here’s what they looked like before I added any water to them, except for a light spritz before stamping on the larger portions.

You could easily leave the images as they are, and would actually get more of a watercolored look and softer color blends if you were stamping on smooth card stock instead of the textured watercolor card stock I used.

Simple Watercolour

For my first card, I decided to add just a small amount of water from a water brush to soften & blend the inked colors. This left a good amount of white space in my image, but still allowed me to get a soft watercolor look quickly and easily. I finished off the card with a black embossed sentiment together with a bold block embossed on black cardstock with Wow Opaque Vanilla White Embossing Powder.

Colour Blending

For my second card, I stepped up the colour blending a little bit. I applied some ink to an acrylic block and added more layers of colour to my design by picking up the ink with my water brush.

The colours on this second card ended up a bit bolder and more vibrant. I was also able to fill in most of the white spaces and play around with colour tones a bit more. It was hard to stop, but I was trying to focus on this simple technique!

You can see better in this close up photo, I added a touch of clear Wink of Stella shimmer to the large blossom. This card was finished off with another embossed sentiment paired with a die cut thank you by Lawn Fawn.

On both cards, I added a bit of Distress Ink blended around the edges and a little bit of ink splatters using an acrylic block to position them where I wanted them.

I really love this stamp set and am ready to try some freehand watercolour on it next! I suspect you’ll see it again through the month of September!

Get Hopping

Here’s the full Blog Hop order- You’ll be heading over to see Chala next. Enjoy!

Have fun! I hope to see you sharing your Watercolour Wishes projects with us on Facebook this month!

Inky hugs,

Tara

Watercolour Wishes Blog Hop Read More »

Tuesday with Tara {take 197}

Happy Tuesday!  As I was reminded of a project I shared here back in 2017, decorating Easter Eggs with alcohol ink, I thought it would be fun to use my paper crafting/ art supplies in another way on eggs.  This time I decided to start with simple plastic eggs, available almost anywhere this time of year and to do some simple decoupage on them.  I started with a matte gel (mine was by Prima, but this one from Ranger, or any ‘matte medium’ will work just as well!) as my adhesive to adhere torn strips of book paper to my eggs.

I worked in two steps, first covering about half the eggs, then finishing it off once the first part was dry.  This gave me a dry spot to hang onto while I worked and kept me from getting quite as much stuck to my fingers 😉  The eggs dried fairly quickly, though I let them sit overnight before moving on to the next phase…

I decided to experiment with different coloring mediums, but primarily wanted to see how Distress Oxide sprays (you can save on the new set of 12 sprays here) & ink pads would work!

I started by spraying some of the original Distress Stain Spray onto a couple eggs, then quickly realized I would need to start with a coat of gesso to make it work best, so I wiped off my eggs with a cotton cloth and applied white gesso to all my eggs, misting with water to make it less opaque so I could still see the text.  This was also a great time to apply a bit of gesso thicker to a few spots where words I didn’t want on my eggs had snuck in… )note to self, maybe don’t use a murder mystery as your collage paper next time. lol).  I didn’t snap a photo of this stage so you’ll have to use your imagination!  I applied the Abandoned Coral to two eggs, then sprayed one with Spiced Marmalade Distress Oxide Spray and the other with Picked Raspberry.  I rolled them around in a box to capture all the angles, heat them with a heat tool, misted some water to get it to oxidize… and eventually finished them off by blotting again with a cotton rag.  I love the soft chalkiness of the color and the fun mix I got where the original spray shows through!  As a bonus, my fingers were nice and inky (though I did wash my hands between colors to keep my colors more pure).

Next I decided to see how the Distress Oxide Ink pads would compare- so I used a foam blending tool and picked my colors.  For this, I just applied ink & blended, then misted with water, wiped dry and added another layer.  Both techniques worked fabulous!  This photo shows that the colors are just as intense, though the inking is more mottled and organic looking on the eggs that I sprayed.  Whatever you use, be sure to mist with water as this will help set the oxide ink and keep the color from spreading over the other eggs (and onto hands that pick them up to have a closer look!).

I had some collage tissue I wanted to try as well, so I did some simple decoupage of torn tissue onto my colored eggs.  I thought about adding more to these, but decided to leave them as is to let the design and color of the eggs show through!

The tissue technique was much faster since it only took one step, but the final look will depend what color your original plastic eggs are 🙂  here’s a peek at my little basket of eggs-

I hope this inspires you to pull out your supplies and have some mixed media fun for Easter!  The possibilities are endless…

Inky hugs,

Tara


Tuesday with Tara {take 197} Read More »

Free Shipping Anywhere In Canada