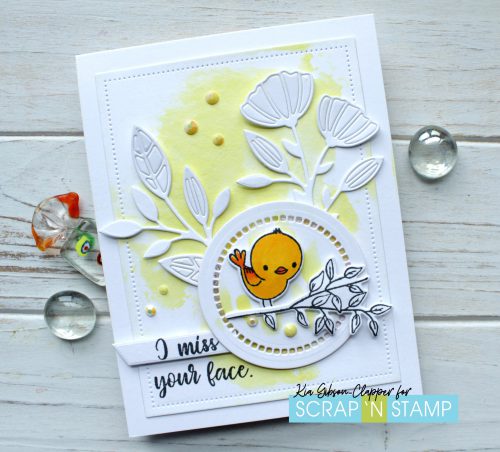
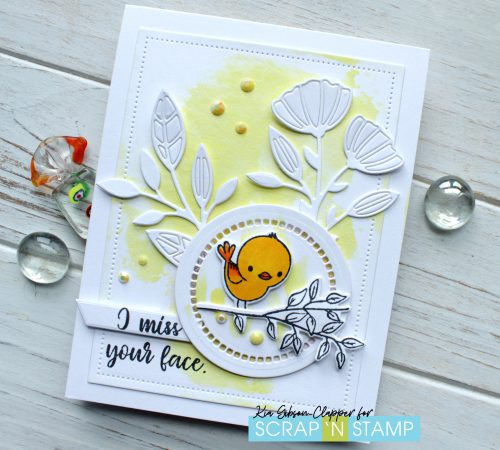
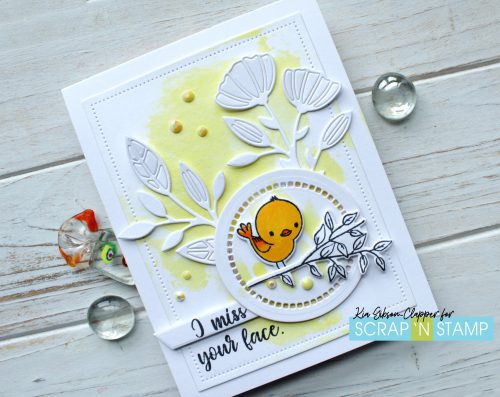
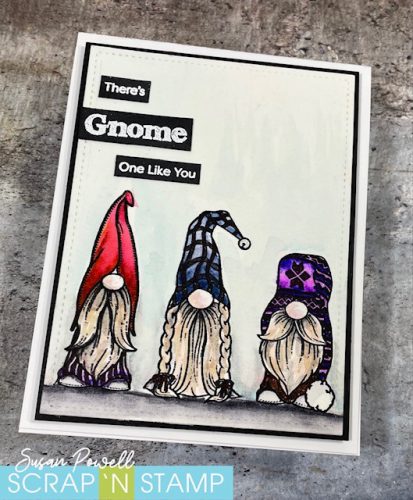
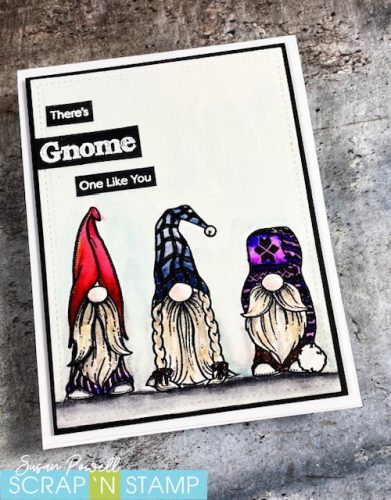
I’m Dreaming of a Red Christmas Gnome…
Hello and happy Friday! It’s my turn today to pick a Random Acts of Cardness challenge prompt, and I chose RED – which just happens to be my favourite colour. 🙂 For me, red is good all year round, but definitely comes into its own for Christmas cards – and since it’s mid-October (what?) I am all about cranking out the Christmas cards:

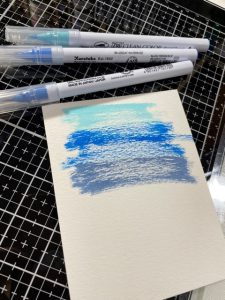
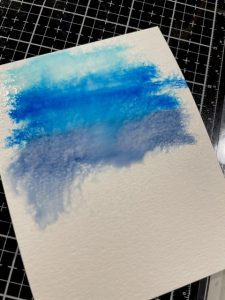
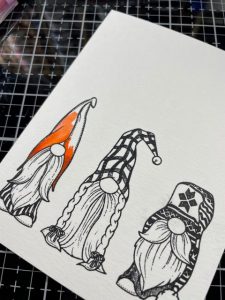
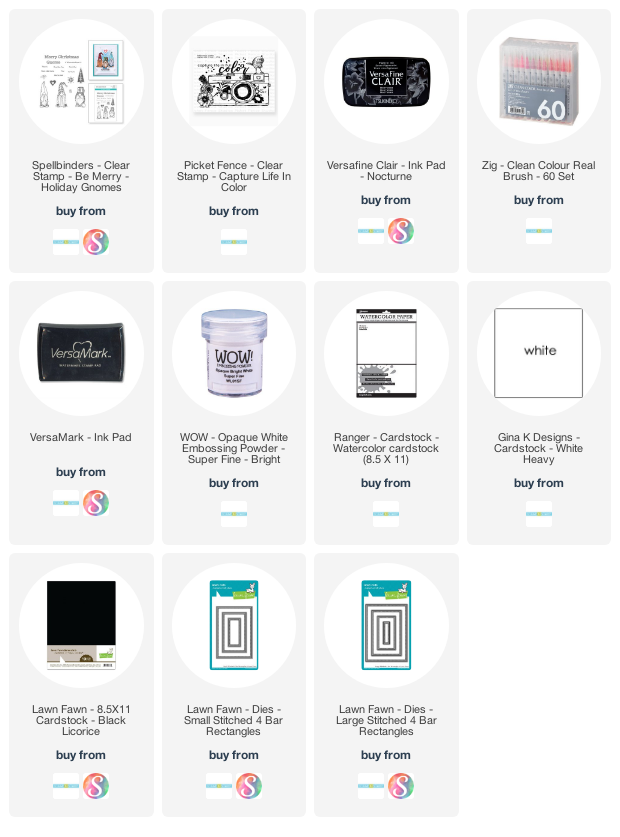
I even managed to incorporate a gnome! (Have you visited and commented on our Gnome for the Holidays blog hop yet? Don’t forget, one lucky commenter wins a $50 gc to the store!) I’m using the same Spellbinders Holiday Gnomes stamps that I used for my hop card, combining it with die cuts from Concord & 9th’s Cozy Christmas die set. And wait, is that the world’s oldest embossing folder in the background? Why yes, it is! I think anyone who owned a Cuttlebug back in the day has this folder, but Scrap ‘n Stamp has a fun variety of much newer folders to choose from. 😉

If you add some RED to your next card, I hope you’ll add it to the challenge page on Facebook! And if the upcoming festive cardmaking frenzy has you needing a few new supplies, you are welcome to use my design team code, 10Lindsey, for 10% off your order. 🙂
I’m Dreaming of a Red Christmas Gnome… Read More »