Scratch-N-Stamp
Search

Checkout

Keep up with Sales, New Products and other events at Scrap `n Stamp. Sign up for our newsletter now!

What's New

Hot Deals


Stencils

Tuesday with Tara {take 415} Sweet Treat Bags!
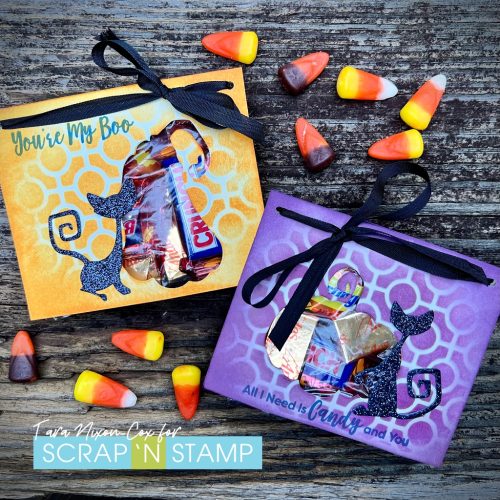
It’s not too late to put together some sweet little bags of treats before Halloween next week!  I’ve used dies, a stencil and ink all by Tim Holtz for these treats!  One thing I love about the Pumpkin Duo die set, is that you can use just the base layer as a silhouette when you want something simple, like I’ve done here!  It made a really fun window for my treat bags!
I was really hoping the cats from the Mischievous die set would be a good fit with the pumpkins, and they did not disappoint!  Cutting them out of a deep purple/black glitter paper is simply fabulous for Halloween (but they’ll be fun in a variety of colors throughout the year too)!

For the background I trimmed and scored the panel to the size I wanted (slightly larger than the plastic treat bag I filled with candy & tucked inside).  I used a blending tool to ink around the edges to start, then added more color over the entire panel through the linked circle stencil.  The fun finishing touch on these is the Sassy Spooktacular Sentiments by MFT- there’s so many fun ones in this set, I really wish I had more Halloween images to work with (who knew I’d grow to enjoy Halloween makes?)!
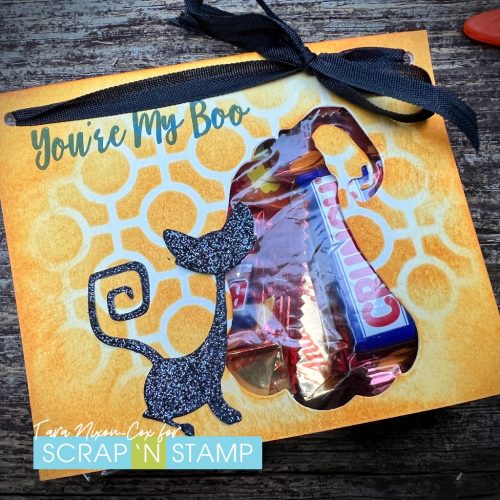
I used small treat bags to fill with candy, then put them in place with adhesive tape before folding over the Cardstock and punching holes for my ribbon.  I forgot to take a photo of the back of these, but it’s really nothing fancy- just a rectangle of cardstock folded over a bag.  You could definitely make it a bit fancier by creating a triangular pouch with scores at the bottom so it stood up, but these are super simple and perfect to go in my little treat bucket!
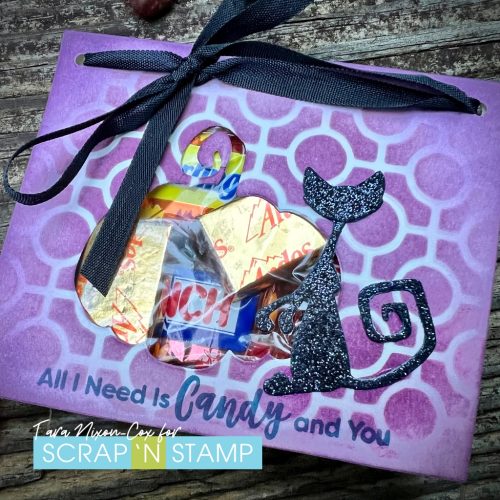
These little goodie bags went together pretty quick & easy and are such a fun way to add a handmade touch to your Halloween Treats!  We don’t get many trick-or-treaters at our house, so it was no problem making enough to go around 🙂

Hope you have a sweet day!

Inky hugs,

Tara

Tuesday with Tara {take 415} Sweet Treat Bags! Read More »

Tuesday with Tara {take 413} Autumn Blessings

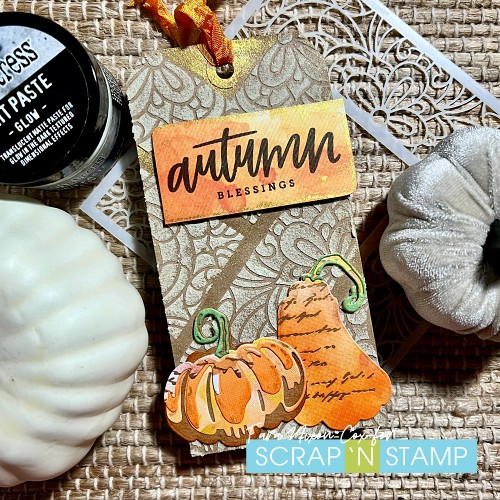
Happy Tuesday!  Today’s make is a tag bringing autumn blessings… but not just any autumn blessings, glowing ones 😉

After the spooky fun I had with the GLOW Grit Paste for our Ghostly Greetings Hop (missed it?  See it HERE) I wanted to try something different with my colorize pumpkins!  I paired them with a sentiment from one of my favorite autumn sets by MFT and had some pattern matching fun with this gorgeous lace frame stencil by Brutus Monroe.

I used pieces of ready-to-use Mixed Media Card stock by Vicki Boutin to cut parts of my pumpkins & the panel for the sentiment.  I chose to layer up just the short pumpkin and cut the tall one from a part of the paper that had a pretty foil design on it.  The stenciling was pieced together in stages so I wouldn’t smear the paste while it was still wet.  I played up the gold elements on the pumpkins by painting a bit of gold perfect pearls in the open spaces on the tag, as well as adding a bit around the edges of the sentiment.  I did this by simply dipping a wet brush into the perfect pearls powder, mixing on my Kraft sheet and painting!

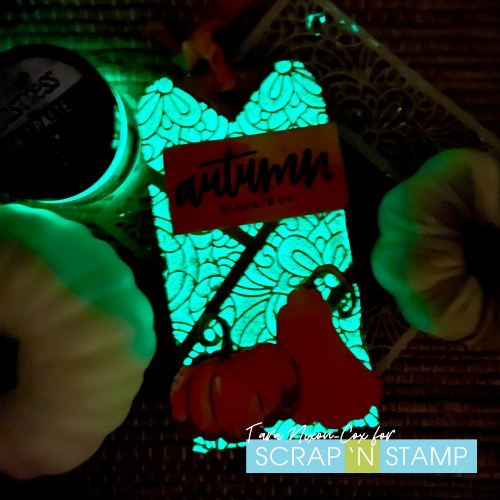
Everything is simple, but elegant… but it gets fun when the lights go out:

Look at it GLOW!  This grit paste is so much fun and really unexpected when you first glance at it!  It definitely adds a new level of fun to your projects 🙂 I hope you love it!

Inky hugs,

Tara


Tuesday with Tara {take 413} Autumn Blessings Read More »

Tuesday with Tara {take 410} Growing

Happy Tuesday!

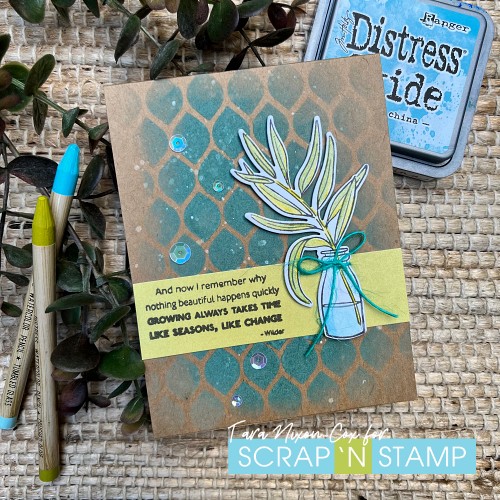
I fell in love with this Bloom with Grace stamp set by Altenew a while ago but somehow it kept getting set to the side while I worked on something else… the bonus to that is that when I needed a quick card this week I had a few ideas in mind already!   I splurged & got the coordinating dies (something I rarely do!) and it definitely helped me put this card together easily!

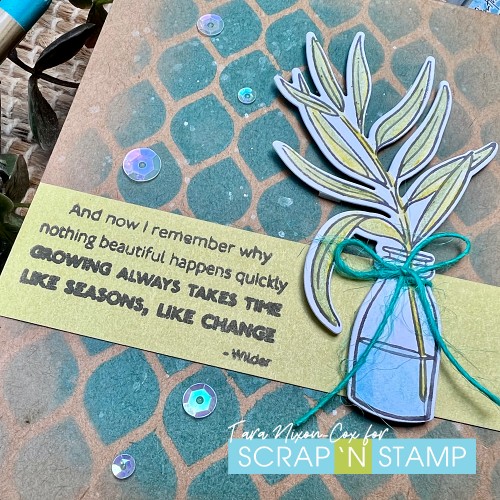
I stamped & colored the larger image in the set with Distress Watercolor Pencil Crayons, then cut it with the coordinating die.  I stamped a sentiment on a strip of green cardstock and then did some quick Distress Oxide Ink blending on a Kraft card stock base.  I kept the color heavier (freshly inked up) in the middle and faded it out toward the edges of the card.

I finished it off by splattering a bit of water over the ink, then added a few splatters of white spray (like this one).  A few vanilla sequins and a bit of thin twine finished it all off for me!

Hope you like how it all came together, I think I’ll make something similar with the smaller stamp and try out a few more ideas… watch for that on Instagram later this week!

Inky hugs,

Tara

Tuesday with Tara {take 410} Growing Read More »

Free Shipping Anywhere In Canada