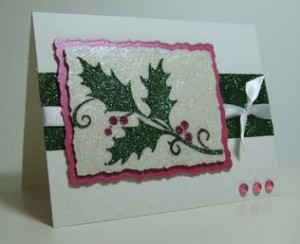
Today I want to show you another great way that you can use Dreamweaver Stencils. I first saw this Tape & Glitter Technique when I was at a stamp show in Portland a few years ago. I had never thought of using my stencils this way and was amazed at how easy it was and excited because it gave me one more way to use them.
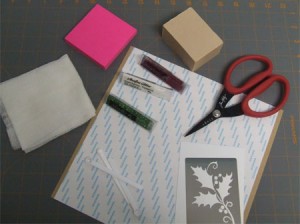
To get started you are going to need a few supplies: a Dreamweaver stencil, a Studio K double-sided Adhesive sheet, cardstock, Studio K glitter (I used Forest Green & Burgundy Velvet Opaque and Crystal Rainbow Transparent), a Glitter Grabber cloth, a bar of soap & Post-it notes.
Step 1:
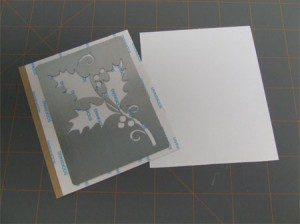
Cut a piece of cardstock and tape slightly larger than your stencil & apply the tape to the cardstock.
Step 2:
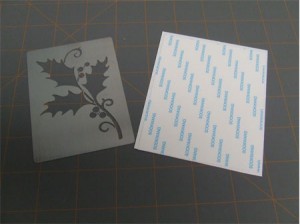
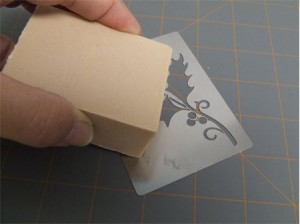
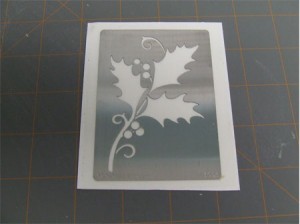
Apply a little bit of soap to the back of the stencil. This will help it release from the tape later. Remove the backing from the tape and place your stencil on the tape, soapy side down. Gently rub all over the stencil to make sure that it is stuck onto the tape.
Step 3:
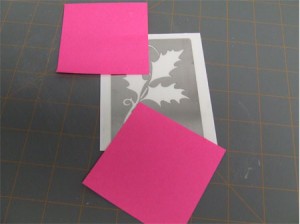
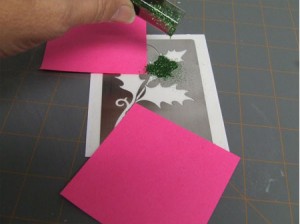
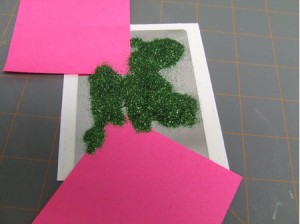
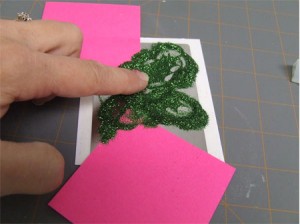
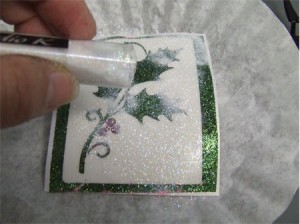
Use Post-it notes to mask off the areas where you will be putting a different color of glitter. Pour glitter onto the open areas to completely cover them and then use your finger to rub the glitter into the tape. Dump the excess glitter onto a scrap piece of paper or a coffee filter when you have finished.
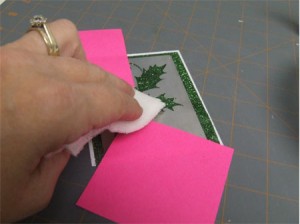
Use the Glitter Grabber cloth to pick up any glitter that is stuck to the stencil. This is very important so that you don’t get the colors of glitter mixing on your image.
Move the Post-it notes around a bit so that you can get glitter into all the areas for the first color. Repeat this step for all the different colors of glitter that you are using.
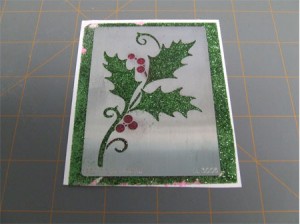
This is what your image will look like when you are done. You will have glitter on all the areas of tape that aren’t covered by the stencil.
Step 4:
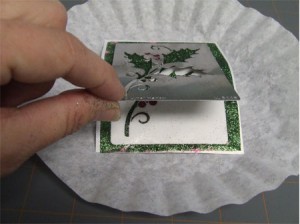
Carefully remove the stencil from the tape. I found that peeling the cardstock off of the stencil worked better for me and I didn’t bend the stencil that way. This tape is really, really sticky so you do have to be careful not to damage your stencil when you are taking it off.
Step 5:
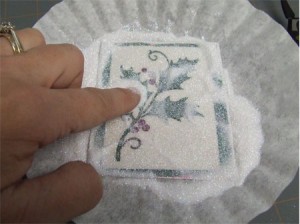
Now apply glitter to the background and rub it in to the tape really well.
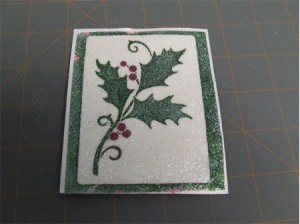
Dump off the excess glitter and now you have a beautiful glittered image that is ready to use on your project.
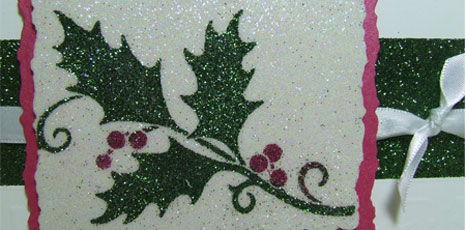
To make this card I used my Spellbinders Deckled Rectangles to cut out the image and a mat from Studio K Shimmer Cardstock, applied a strip of tape and green glitter to my card front, a little ribbon and some droplets and I was done. Fun, easy and very sparkly!
Thanks for stopping by. I hope you enjoyed the Tutorial and are inspired to give this technique a try.
Have a wonderful day!
© Scrap ‘n Stamp Canada 2010


