Tuesday with Tara {take 438} Hello Friend
Happy Tuesday and Hello friends! Today’s card is a throwback that has me ready to CASE my own design and make something new… hope it brings you some inspiration as well!
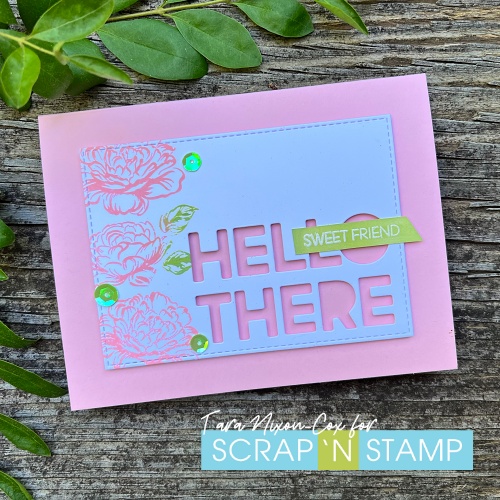
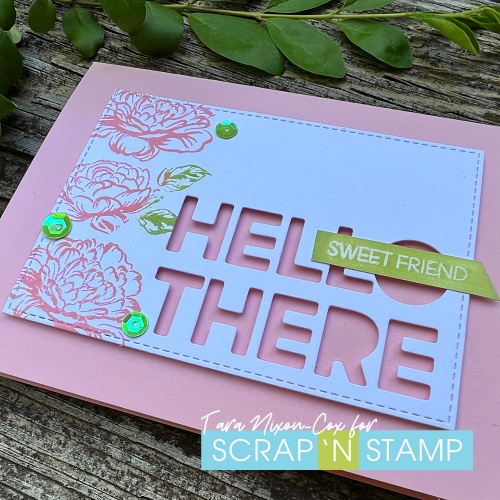
Today’s card uses a fun combo of products to make a sweet and simple card… florals by Hampton Art Stamps (Hello Beautiful set), Hello There from Bold Text #1 dies by Tim Holtz and the little sweet friend is from Honey Bee Stamps Bitty Buzzwords. Of course, I’m still playing around with my new Distress color, so today you see a simple color combo of Distress Oxide Inks- Saltwater Taffy and Twisted Citron.
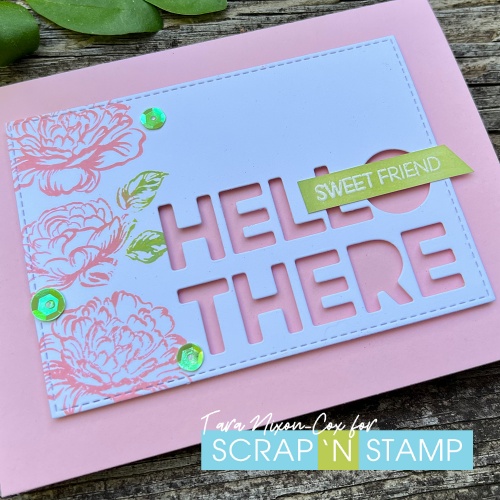
Of course, there’s more fun details like the stitched border (love this nesting set by Prism Studio) , 3D foam squares and some lime sequins by Studio Katia! I wish I could tell you where the pink card base came from, but I’m pretty impressed how well it matched the Saltwater Taffy Distress Oxide ink! (I think the Azalea card stock by Prism Studio is very close)
I’m pretty pleased with this card… really want to play around with other sentiments from the die set in combo with stamped greetings! Hope you like it too 🙂
Inky hugs,
Tara
Tuesday with Tara {take 438} Hello Friend Read More »