Tuesday with Tara {take 114}
Happy Tuesday, and happy September!
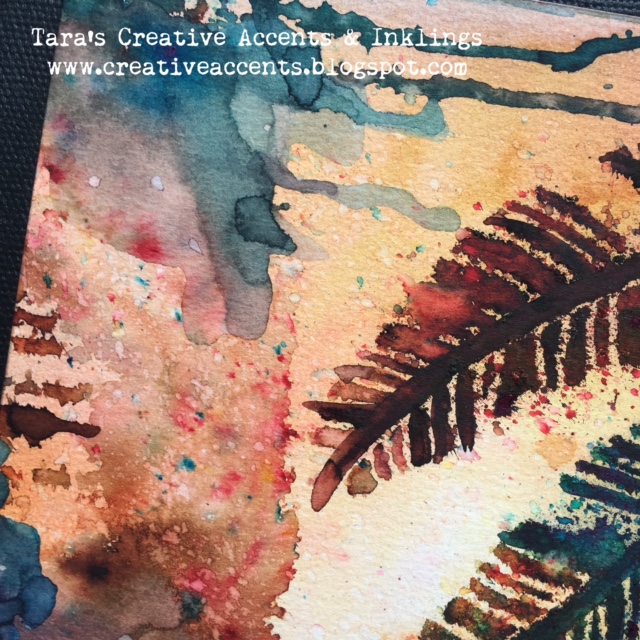
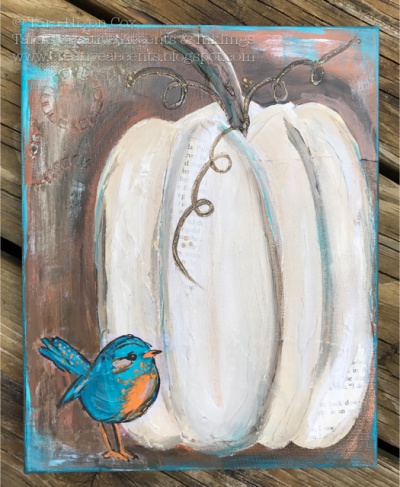
Something about the new month and the hint of some cooler temperatures has me in a pumpkin state of mind… so this week I’m sharing something different, an 8×10 canvas I painted featuring a pumpkin! I used some of my fabulous Dina Wakley paints as well as a fun collage technique I learned from Dina to add a stamped image to my canvas. I took a lot of photos along the way to document the mixed media transformation… so feel free to go ahead and grab a pumpkin spice latte before you read further 🙂 First, here’s a look at my completed canvas:
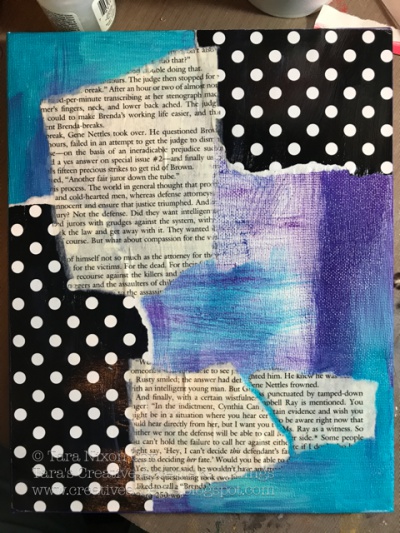
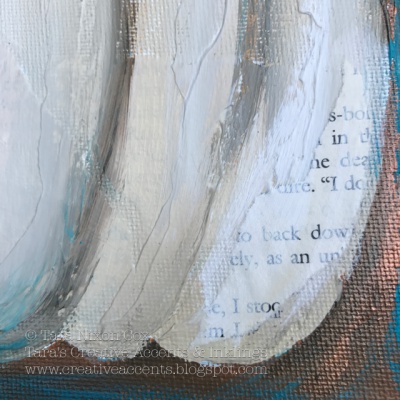
I started the project with an 8×10 canvas that had been painted as a background for a project I didn’t finish. I used gel medium to adhere some collage papers for texture (the dots were packaging from some Prima embellishments, the book print is from a book I got at a thrift store for collage)
I used white gesso to rough out a pumpkin shape on my canvas, then grabbed a stencil and some texture paste to add dimensional details.

I love adding texture to my mixed media pieces, the only downfall is that you have to walk away while it dries. It’s a good time to do some of the household chores you might be neglecting while you create, though 😉
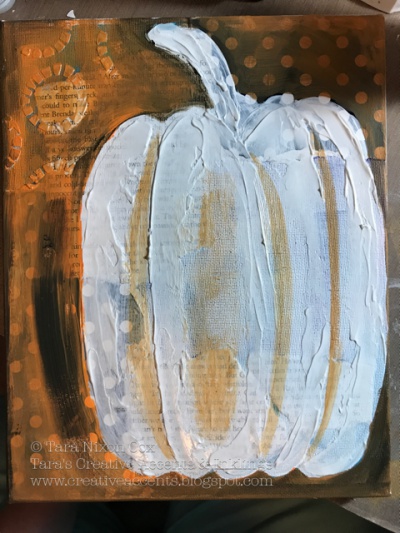
Once it was dry, I started to roughly add some color. I started with tangerine & umber paints to add some ‘pumpkin spice’ colors to my piece. 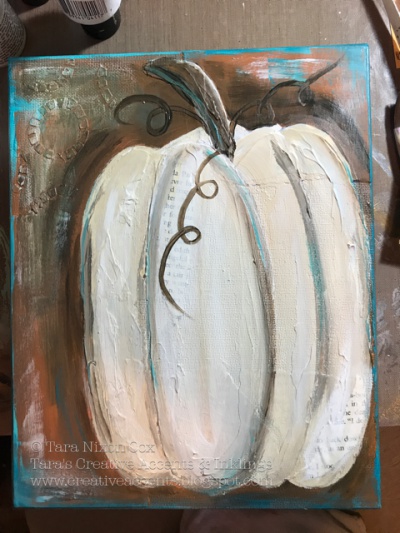
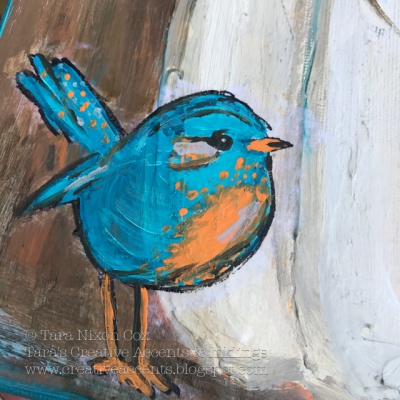
Once I was happy with my background & my pumpkin, I decided one of Dina’s birds would be a fun finishing touch. I stamped a bird in black Archival ink on a piece of white tissue paper, then created a torn edge around it so it would blend onto my background. (A wet brush would have given me even softer edges…)
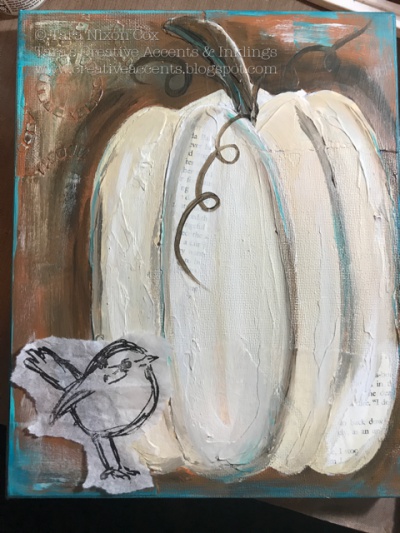
I used a matte gel medium to adhere him to my canvas. My brush was a bit stiff, so I worked with any tears that were created and lifted some of the tissue off my canvas leaving the outline.
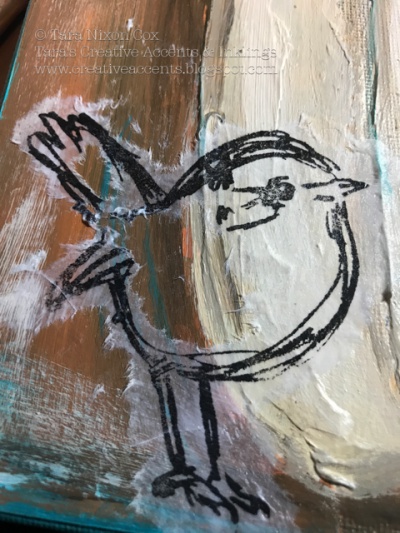
I just love these scribbly birds, and this was a great way to add a bird to my canvas rather than trying to paint my own and hating it 😉 Again, I had to walk away from the canvas while this dried… it didn’t take long, but my impatience caused a few extra torn pieces. Once he was all dry, I went in with a smaller paintbrush and covered up the tissue around the edge of my bird, then started layering in blues & tangerine to his body. A few brushstrokes of the dark umber paint added back some of those scribbly edges & details I love so much (I used the stamp as a guide to try and mimic Dina’s original design).
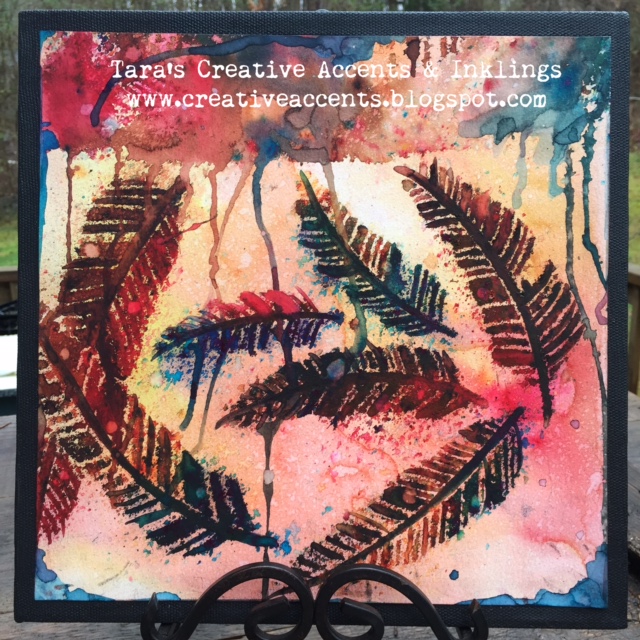
Here’s a look at some of the texture on my finished canvas…
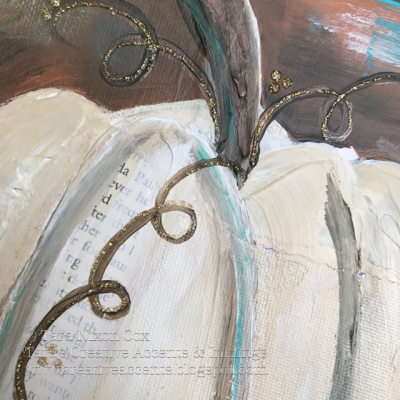
… and a little bit of Nuvo Glitter Drop glitter to add some extra shimmer…
This was a fun step away from my regular paper crafting, it’s great to explore all the things we can do with the supplies we have on hand for card making! I think it’ll look great on my mantle this autumn… along with any other pumpkins I decide to paint 🙂
Inky/Painty hugs,
Tara
Materials Used:
8×10 canvas & torn papers for collage
White Gesso (available in this set, along with texture paste & gel medium… everything you need to get started in mixed media!)
Acrylic Paints- including Dina Wakley’s Tangerine, Umber, Turquoise, Penny, White, Ocean, Elephant… plus a few other neutrals from my stash (I still have a few tubs of the old Claudine Hellmuth paints Ranger used to make!)
Dina Wakley Scribbly Birds Stamps
White tissue paper
Nuvo Glitter Drops in Honey Gold
Tuesday with Tara {take 114} Read More »