Scratch-N-Stamp
Search

Checkout

Keep up with Sales, New Products and other events at Scrap `n Stamp. Sign up for our newsletter now!

What's New

Hot Deals


die cutting

Santa’s On His Way!

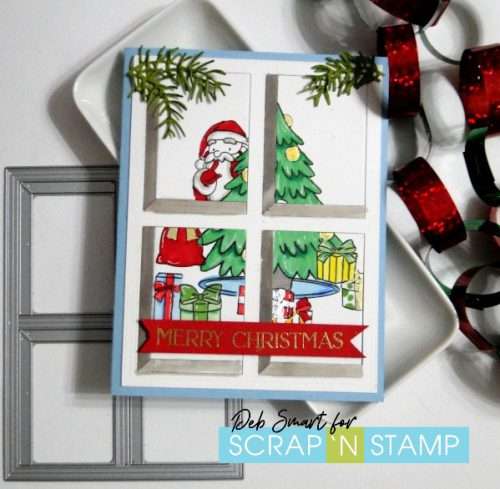
Happy Holidays, my friend! I hope that however you celebrate, you have a safe and happy season.  Santa’s on his way for all the good girls and boys (and grown up’s, too – hey, if you don’t believe, you get socks!). So today’s card features the jolly old elf himself, Santa Claus. It’s also today’s word prompt for the Scrap ‘N Stamp challenge. I hope you’ll play along!

SECRET SANTA

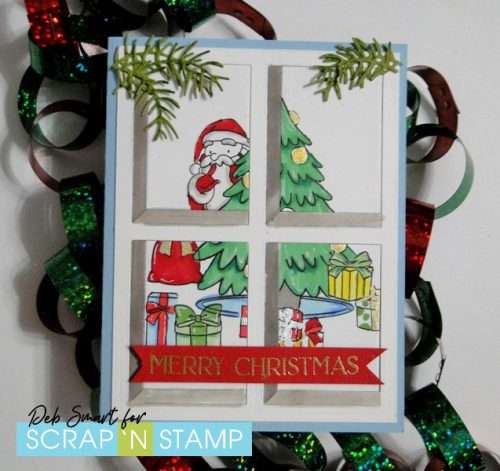
Of course, Santa likes to stay low key and kind of behind the scenes. That’s why he’s giving the “shhh” signal in this, one of my favourite sets. It’s called Secret Santa, from MFT.
Santa's On His Way!

I also used the fabulous new die from Penny Black, called Viewpoint, for the window frame. More about this in the details, below.

CARD DETAILS

To achieve the presents being in front of the tree requires some masking. First, die cut the Santa/tree image from copy paper. Set up your 4.25″ x 5.5″ white cardstock in your stamp positioner. Now, lay the die cut image in the middle of the cardstock. Now, lay the present stamps over the die cut where you want them, surrounding the tree. Press the lid of the stamp positioner down, picking up the present stamps. Now, remove the die cut Santa/tree, and stamp the presents in Nocturne ink. Repeat this as many times as you want, to add more presents – you can also create die cut masks for the present shapes, as well.

Once you’ve stamped your presents, mask those off, and then stamp the Santa/tree image. Now you’re ready to colour with your favourite markers. I used my Copic markers, plus a Spectrum Noir Tri-Blend. You can see all of the markers in the shopping links, at the bottom of this post.

CREATE THE WINDOW FRAME

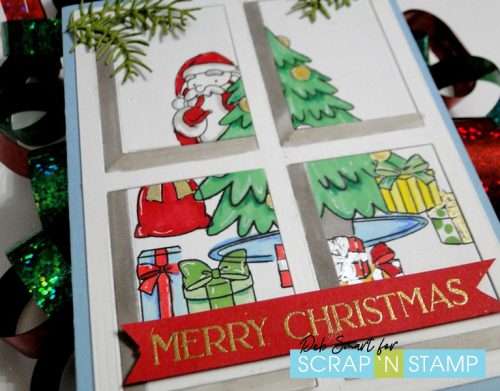
The great thing about this Viewpoint die is that you can use just the frame, or also use the inserts to create depth to your window. First, run the die cut through your Big Shot with white cardstock. You’ll notice that in each window pane, the bottom and left portion of the pane cuts an extra piece. To create the dimension, colour the bottom piece in a lighter shade of grey, and the left side in a slightly darker shade. I chose the Copic W3 Warm Grey and the Spectrum Noir Tri Blend Brown Grey.

Next, run your stamped & coloured image panel through the Big Shot with the Viewpoint die. This cuts your image into 4 panes.  Now, on a background panel, glue the frame, and then the frame inserts. Finally, glue in the 4 sections of your image – and voila!  Of course, you could also choose to leave your image uncut, and simply lay the frame & inserts (or just the window frame) over the whole piece.
Santa's On His Way!

FINISH IT OFF

To continue with the illusion of looking into the scene, die cut some of the pine branches in green cardstock using the Poppy Stamps Bird House Pop Up Easel set. Add texture & more colour by sponging on some Mowed Lawn distress ink, and then glue them into the top corners over the window frame.

Stamp the sentiment from the Poppy Stamps Christmas Fun set in Versamark ink onto a strip of red cardstock. Cover it with gold embossing powder, and heat set. Snip some banner tails on each end, and then pop it up with foam squares across the bottom of the window.
Santa's On His Way!

MERRY CHRISTMAS!

If you have time between your celebrations and wrapping of gifts, I hope that you’ll join us on the Scrap ‘N Stamp Facebook page, for the daily challenge. Simply share your project, using the hashtag #snschallenge, to join. At the end of the month, one participant is randomly chosen, and will WIN a $50 Gift Certificate to shop Scrap ‘N Stamp!

Until then, you can use my Designer Discount Code 10DEB at checkout, and receive 10% OFF your total order (regular priced items).

Affiliate links are provided, at no cost to you. When you choose to use my links, I receive a small commission, which helps me maintain my blog & keep creating. Thanks in advance!


Santa’s On His Way! Read More »

Mandala Madness

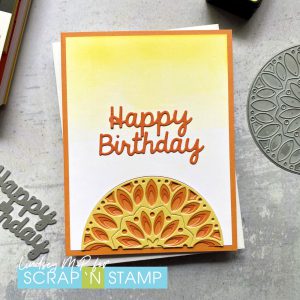
Welcome back to the Scrap ‘n Stamp blog! Today’s Random Acts of Cardness prompt is MANDALA. I don’t use mandalas a lot on my cards, but I wanted to play with a layering die set from Birch Press Designs, Kaleidoscope. If you’re unfamiliar with this company, they make beautiful, intricate layering dies that can be used in a variety of different ways. For my design, I was inspired by the colours of our current Random Acts of Cardness board. Here’s my card:

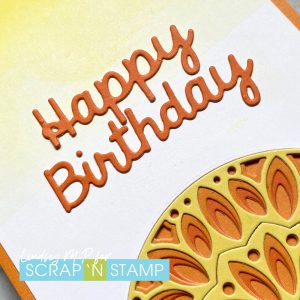
I picked three colours of cardstock from Memory Box’s Sunny Orange 6×6 cardstock pack. This is heavyweight paper, but the dies cut it beautifully. I adhered my layers together and then cut the resulting mandala in half with my trimmer. For my white panel, I wanted a subtle ombré effect from the top, so brayered a little squeezed lemonade distress ink on a gel plate and pressed my cardstock onto it. (I could have also blended the ink, but it’s fun to play around sometimes.) I used the middle colour of cardstock for the card base and to die cut my sentiment.

Do you have mandala stamps or dies in your collection? Perhaps you draw your own! We would love to see your mandala cards on the Scrap ‘n Stamp challenge page – and entering puts you in the running for a $50 gift card! Happy Friday and thanks for stopping by.


Mandala Madness Read More »

Bird Bath

Today’s word prompt for the Scrap ‘N Stamp challenge is ‘wings’. This gave me the perfect opportunity to use some new goodies that I recently ordered! You may recall, our recent Blog Hop was called For the Birds (you can start at my post HERE, if you haven’t seen it yet), so I thought I’d carry on with the theme.

BIRD BATH

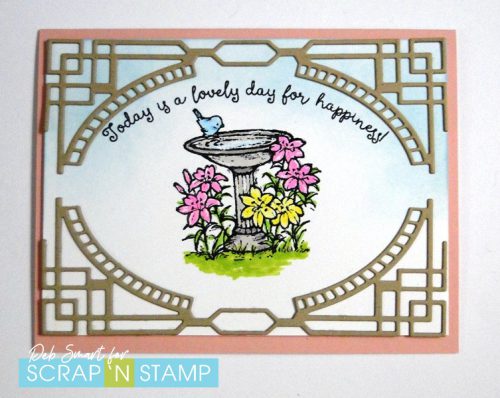
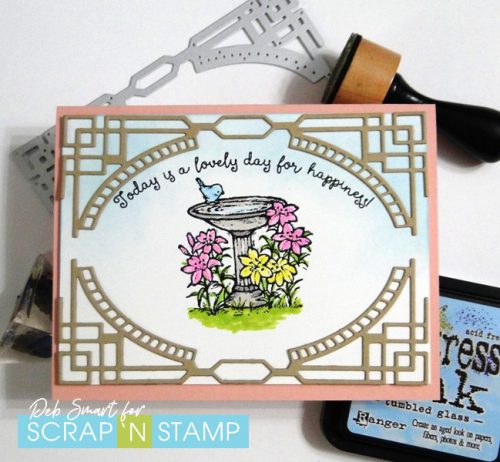
Bird Bath is the name of a new stamp from Impression Obsession. I think it’s adorable; I’m a big bird watching fan – usually just in my backyard! I also wanted to show off the new Poppystamps Art Deco Curve Border die, so I included it in my card.

Bird Bath

That little blue bird is so cute! And he’s got the bird bath all to himself!

CARD DETAILS

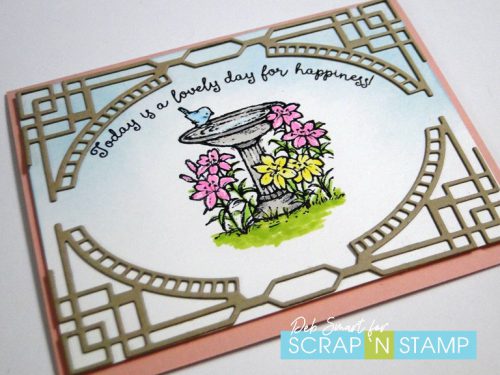
With the ornate Art Deco Curve Border, I wanted to keep the rest of the card quite simple.  Do do this, start with a piece of white cardstock. Blend some Tumbled Glass Distress Oxide ink around the top 2/3rds of the piece. Next, stamp the Bird Bath image in Nocturne ink, in the middle of the card. While the ink is still wet, cover it with clear embossing powder, and then heat set. Now you can choose your medium for colouring the image. I chose a few of my Copic and Spectrum Noir Tri-Blend Markers, and then added a few highlights with a white Gel Pen.

With a light brown cardstock, use your Big Shot with the border die, and die cut a total of 4 borders. Layer and glue 2 together for each of the top and bottom of the card front. Before attaching the die cuts, place the top one on the front panel, and line up the sentiment stamp, from the Colorado Craft Company Whishing Happiness stamp set. Once you’ve got the alignment, remove the die cut, and stamp the sentiment in Nocturne ink. Repeat the heat setting of clear embossing powder over the sentiment. Now, attach the borders to the card front, and then attach it to a light pink card base, using foam tape.

Bird Bath

Doesn’t that sentiment just perfectly suit this happy image? You can send this card for just about any occasion.

JOIN THE DAILY CHALLENGE

I hope that you’ll join our challenge, and today’s prompt of ‘wings’. Joining is easy – in the Facebook group HERE you’ll find a list of words, one for each day of the month. Play along with as many as you want! At the end of the month, one name is randomly drawn from all participants. That lucky person will WIN a $50 Gift Certificate to shop Scrap ‘N Stamp!

Bird Bath

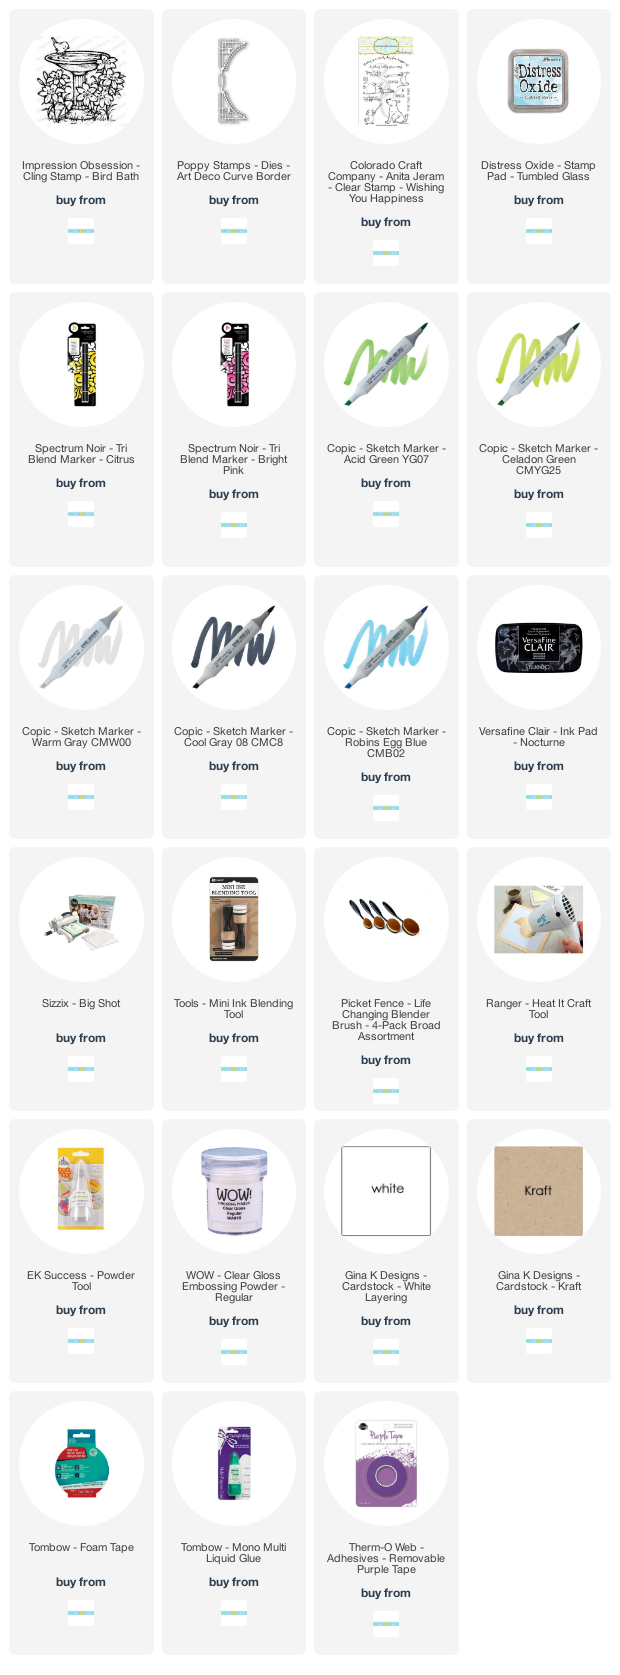
If you’d like to recreate my Bird Bath card, I’ve provided shopping links to the products, below. When you shop Scrap ‘N Stamp, be sure to use my Discount Code 10DEB, for 10% OFF your purchase!


Bird Bath Read More »

Free Shipping Anywhere In Canada