Scratch-N-Stamp
Search

Checkout

Keep up with Sales, New Products and other events at Scrap `n Stamp. Sign up for our newsletter now!

What's New

Hot Deals


Tuesday Tutorial

Tuesday Tutorial: A Terrific Gift Card Holder


Hello again everyone! I am posting this tutorial a little bit early this month because I thought you might find this a handy project to make with Christmas just around the corner.

If any of you give gift cards you are going to love how easy this holder is to make and you can completely change the look just by adding different embellishments, ribbon or die cuts. You can make them look really girlie or totally masculine – it’s all up to you!

And…you can make two gift card holders from 1 – 8 1/2″ x 11″ piece of cardstock and 1 – 12″ x 12″ sheet of double-sided patterned paper or 2 – 6″ x 6″ pieces like the ones I used from some of the paper pads that we carry. Yes…that’s all it takes!

So let’s get started and I’ll show you just how quick and easy they are to make…

(if you want to see more detail in any of the pictures just click on it and it will be enlarged)

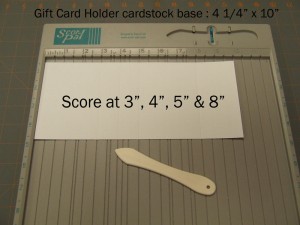
Step 1: Cut the base of your gift card holder from the cardstock – 4 1/4″ x 10″ . Then score it at 3″, 4″, 5″ & 8″ as shown.

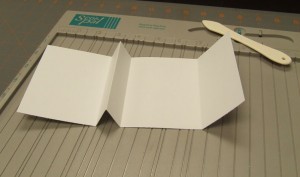
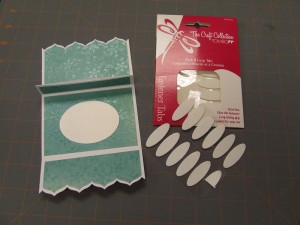
Step 2: Fold the base along the score lines so that it looks like this.

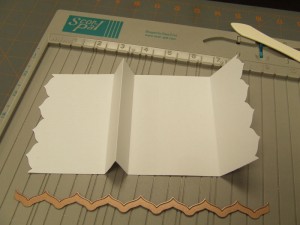
Step 3: This is completely optional but I wanted to have a decorative edge to the ends of the gift card holder so instead of a border punch I used the edger from Spellbinders Edgeabilities Classic Petal (e8-006) and my Big Shot to add this pretty detail. If you haven’t used these dies before you may want to give them a try. They are super easy to use and give you lots and lots of options. If you click on the link above you can see a video on how they work. Once you have a couple of sets you can mix and match all the pieces and then there are literally hundreds of designs that you can create.

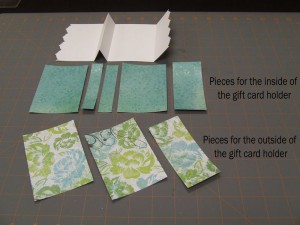
Step 4: Cut all the pieces of patterned paper.

Inside pieces: Cut two pieces 4″ x 2 3/4″ & two pieces 4″ x 3/4″  & two pieces 4″ x 1 3/4″

Outside pieces: Cut two pieces 4″ x 2 3/4″ & two pieces 4″ x 1 3/4″

Now use the same Spellbinders Classic Petal edger to add decorative edges to the pieces that will go onto the two end sections of the gift card holder base.

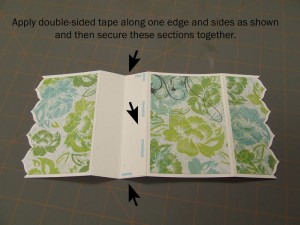
Step 5: Apply the outside pieces to the base with double-sided adhesive and then put thin strips of double-sided adhesive onto the sides and one long edge of the base as shown. Remove the backing and attach those two sections together. This is how you make the little pocket that the gift card will sit in.

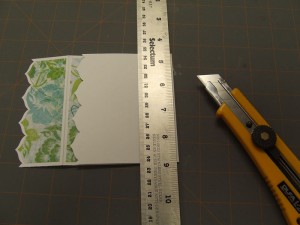
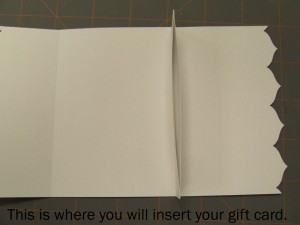
Step 6: Turn over the gift card holder and use a ruler and craft knife to cut off about 1/16″ of cardstock along the edge of the fold. Now you have created the slot where you will place your gift card.

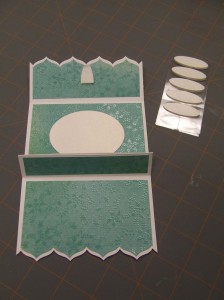
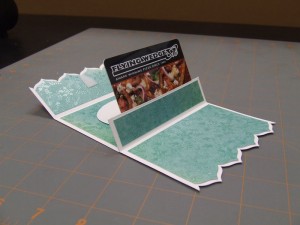
Step 7: Use double-sided adhesive to apply all the inside pieces. I also added a plain oval so that I would have somewhere to write a little message. Now you are ready to add the closure and for this I picked the Tombow Hook & Loop Fastener Tabs. These things are amazing! They are ultra thin – about 1 mm for both pieces – and they hold like crazy. Perfect for all those projects where you need something to stay closed but you don’t want a lot of bulk. And they are self-adhesive. You get 24 tabs in a package and as you will see I only used half of one for this holder.

Step 8: Cut one of the Hook & Loop Fastener Tabs in half and apply it to the inside center of the top flap.

Then take the backing off the other side and close up your gift card holder and press down.

Presto! Just like magic you have your fastener tab in just the right place without any measuring or fussing around.

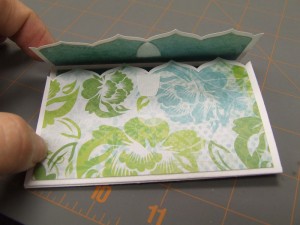
This is the inside of my gift card holder with a gift card in it.

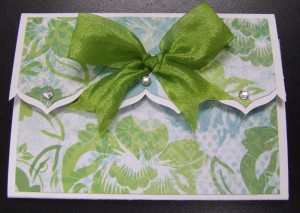
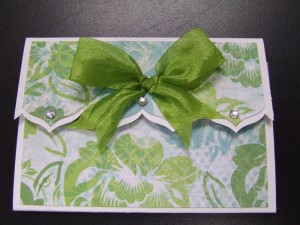
And I couldn’t resist adding some ribbon and a little bling to finish it off but you could add all sort of things – die cuts, silk flowers, buttons…there’s really no limit to what you can do with these little holders.

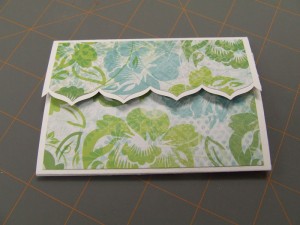
I am going to use this gift card holder for an upcoming birthday and wanted something fresh and bright so I used paper from the Kaisercraft Chapter One paper pad. I just love the colors in this collection and I think my friend will too.

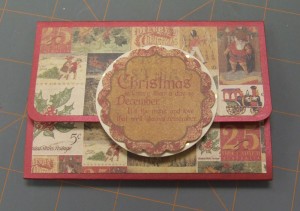
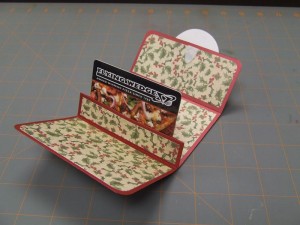
Take a look at how different you can make these look just by changing the papers and rounding the corners instead of doing a decorative edge. For this Christmas gift card holder I used papers from the Kaisercraft December 25th paper pad. I just love the vintage look of these papers and the die cuts that are included made adding the embellishment on the front really easy.

Well…that’s it for this tutorial. I hope you enjoyed it and give these gift card holders a try. Thanks for dropping by.

Tuesday Tutorial: A Terrific Gift Card Holder Read More »

Tuesday Tutorial: Thinking Outside Your Nesties – Part 1

Hi everyone. This tutorial was put together by Shellie for us last year but I decided that it was time to feature it again because the technique is so much fun. It’s a great way to use your Nestabilities that has a real ‘wow!’ factor and it works with all kinds of shapes – circles, ovals, squares, rectangles, octagons and even the different labels. The key is to choose a stamp that is larger than the size of your Nestie so that it will go ‘hang’ over the edge.

Here is the original tutorial using regular stamps and Part 2 will show you how to use the same technique with our Studio K Digital Stamps.

Thinking Outside Your Nesties:

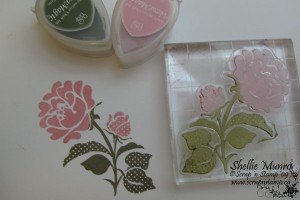
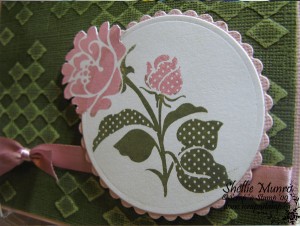
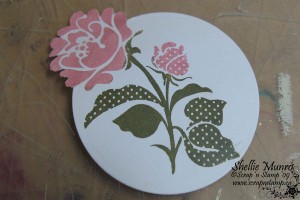
1. Select a stamp and then coordinate it with a Nestie is slightly smaller so that part of the image will be outside the Nestie shape. I chose  a floral image and inked it with Sage & Pink Petunia VersaMagic  dewdrop ink pads.

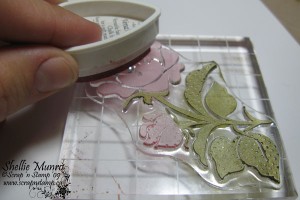
I used the direct to stamp technique to ink the different colors on my flower.

The shape of these dewdrop ink pads is perfect for inking small areas.

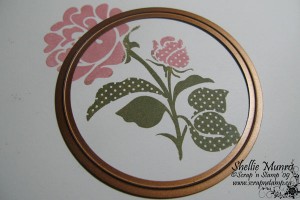
3. Choose a Nestie that fits the main part of your image allowing part of it to ‘hang out’ of the Nestie.

I used the  Large Standard Circles but you could use other shapes like ovals, octagons or one of the labels sets. Just lay the Nestie over your stamped image and try it out to see if you like it. Try different kinds until you find the one that you think will look the best.

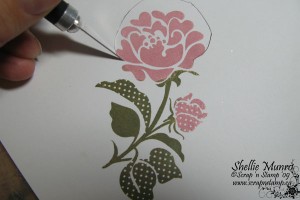
4. Using your craft knife cut around the part of your image that will hang outside of the Nestie. Make sure you cut right against the image where your Nestie will sit.

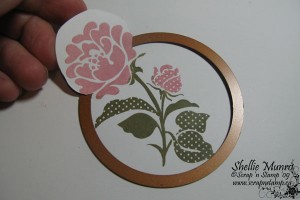
5. Place your Nestie over your image making sure your cut area is on top of the Nestie.

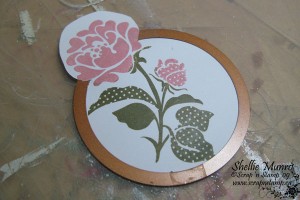
6. Run your Nestie/image stack through your Big Shot or Cuttlebug.

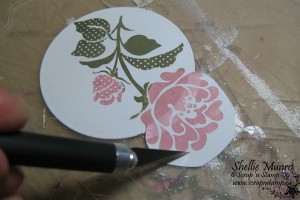
7. Cut around the rest of the image that was outside your Nestie with scissors or your craft knife.

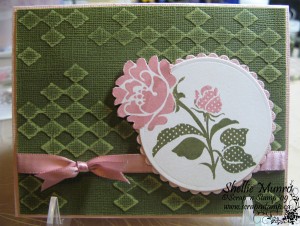
This is what is will look like when you are done.

To Finish The Card:

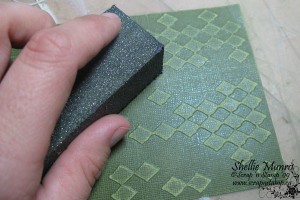
1. Emboss a piece of Core’dinations Cardstock using the Diamonds in the Rough CuttleBug Embossing Folder.

Once embossed gently sand the raised image using a sanding block.

2. Create a border for your stamped image using the coordinating size of Petite Scalloped Circle Nestabilities.

Layer the card elements, add a little ribbon and you are done!

Thanks for dropping by. Hope you give this fun technique a try.

Happy crafting!

Shellie

© Scrap ‘n Stamp Canada 2010

Tuesday Tutorial: Thinking Outside Your Nesties – Part 1 Read More »
Tuesday Tutorial: Dreamweaver Stencils, Tape & Glitter Technique

Today I want to show you another great way that you can use Dreamweaver Stencils. I first saw this Tape & Glitter Technique when I was at a stamp show in Portland a few years ago. I had never thought of using my stencils this way and was amazed at how easy it was and excited because it gave me one more way to use them.

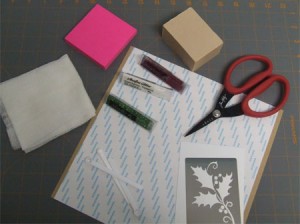
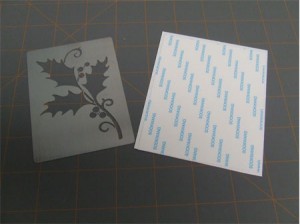
To get started you are going to need a few supplies:  a Dreamweaver stencil, a Studio K double-sided Adhesive sheet, cardstock, Studio K glitter (I used Forest Green & Burgundy Velvet Opaque and Crystal Rainbow Transparent), a Glitter Grabber cloth, a bar of soap & Post-it notes.

Step 1:

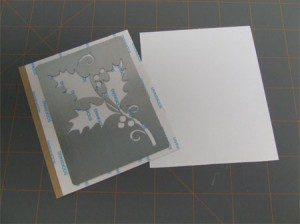
Cut a piece of cardstock and tape slightly larger than your stencil & apply the tape to the cardstock.

Step 2:

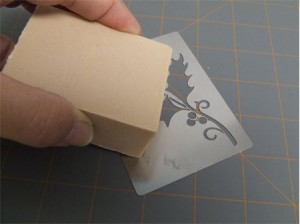
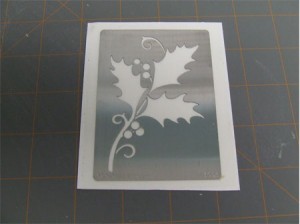
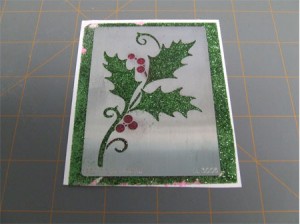
Apply a little bit of soap to the back of the stencil. This will help it release from the tape later. Remove the backing from the tape and place your stencil on the tape, soapy side down. Gently rub all over the stencil to make sure that it is stuck onto the tape.

Step 3:

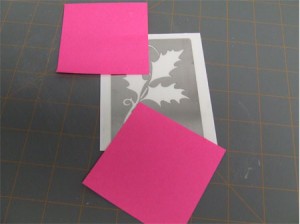
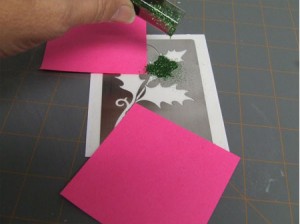
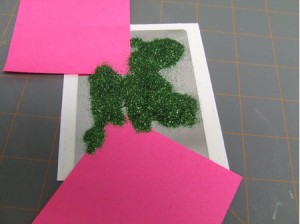
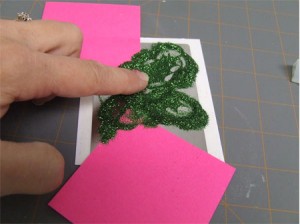
Use Post-it notes to mask off the areas where you will be putting a different color of glitter. Pour glitter onto the open areas to completely cover them and then use your finger to rub the glitter into the tape. Dump the excess glitter onto a scrap piece of paper or a coffee filter when you have finished.

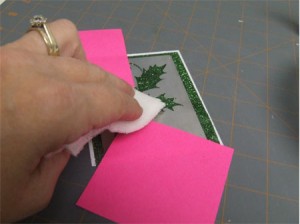
Use the Glitter Grabber cloth to pick up any glitter that is stuck to the stencil. This is very important so that you don’t get the colors of glitter mixing on your image.

Move the Post-it notes around a bit so that you can get glitter into all the areas for the first color. Repeat this step for all the different colors of glitter that you are using.

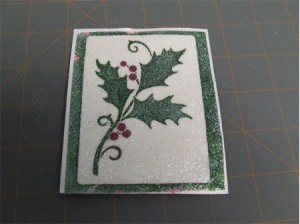
This is what your image will look like when you are done. You will have glitter on all the areas of tape that aren’t covered by the stencil.

Step 4:

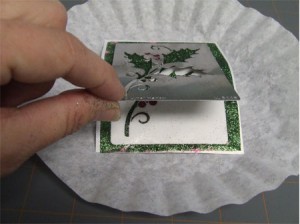
Carefully remove the stencil from the tape. I found that peeling the cardstock off of the stencil worked better for me and I didn’t bend the stencil that way. This tape is really, really sticky so you do have to be careful not to damage your stencil when you are taking it off.

Step 5:

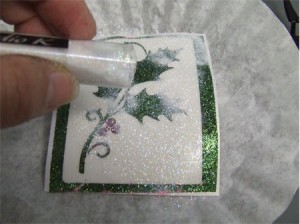
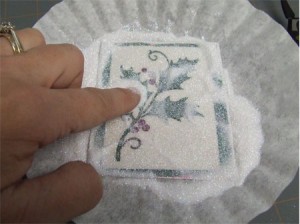
Now apply glitter to the background and rub it in to the tape really well.

Dump off the excess glitter and now you have a beautiful glittered image that is ready to use on your project.

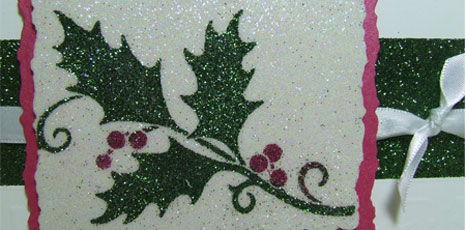
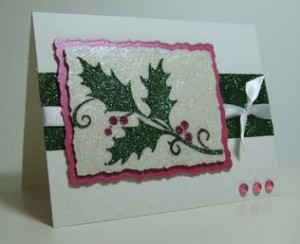
To make this card I used my Spellbinders Deckled Rectangles to cut out the image and a mat from Studio K Shimmer Cardstock, applied a strip of tape and green glitter to my card front, a little ribbon and some droplets and I was done. Fun, easy and very sparkly!

Thanks for stopping by. I hope you enjoyed the Tutorial and are inspired to give this technique a try.

Have a wonderful day!

© Scrap ‘n Stamp Canada 2010

Tuesday Tutorial: Dreamweaver Stencils, Tape & Glitter Technique Read More »
Free Shipping Anywhere In Canada