Scratch-N-Stamp
Search

Checkout

Keep up with Sales, New Products and other events at Scrap `n Stamp. Sign up for our newsletter now!

What's New

Hot Deals


Author name: Amy Almeida

Using up your scraps with a CUPPA LOVE

Good morning crafty friends! Amy here with my last post for Scrap N’ Stamp. It’s been a pleasure creating with these fun products and alongside some AMAZING ladies!

Today I have a little fun tutorial to use up your scraps along with Spellbinder’s CUPPA LOVE die set.

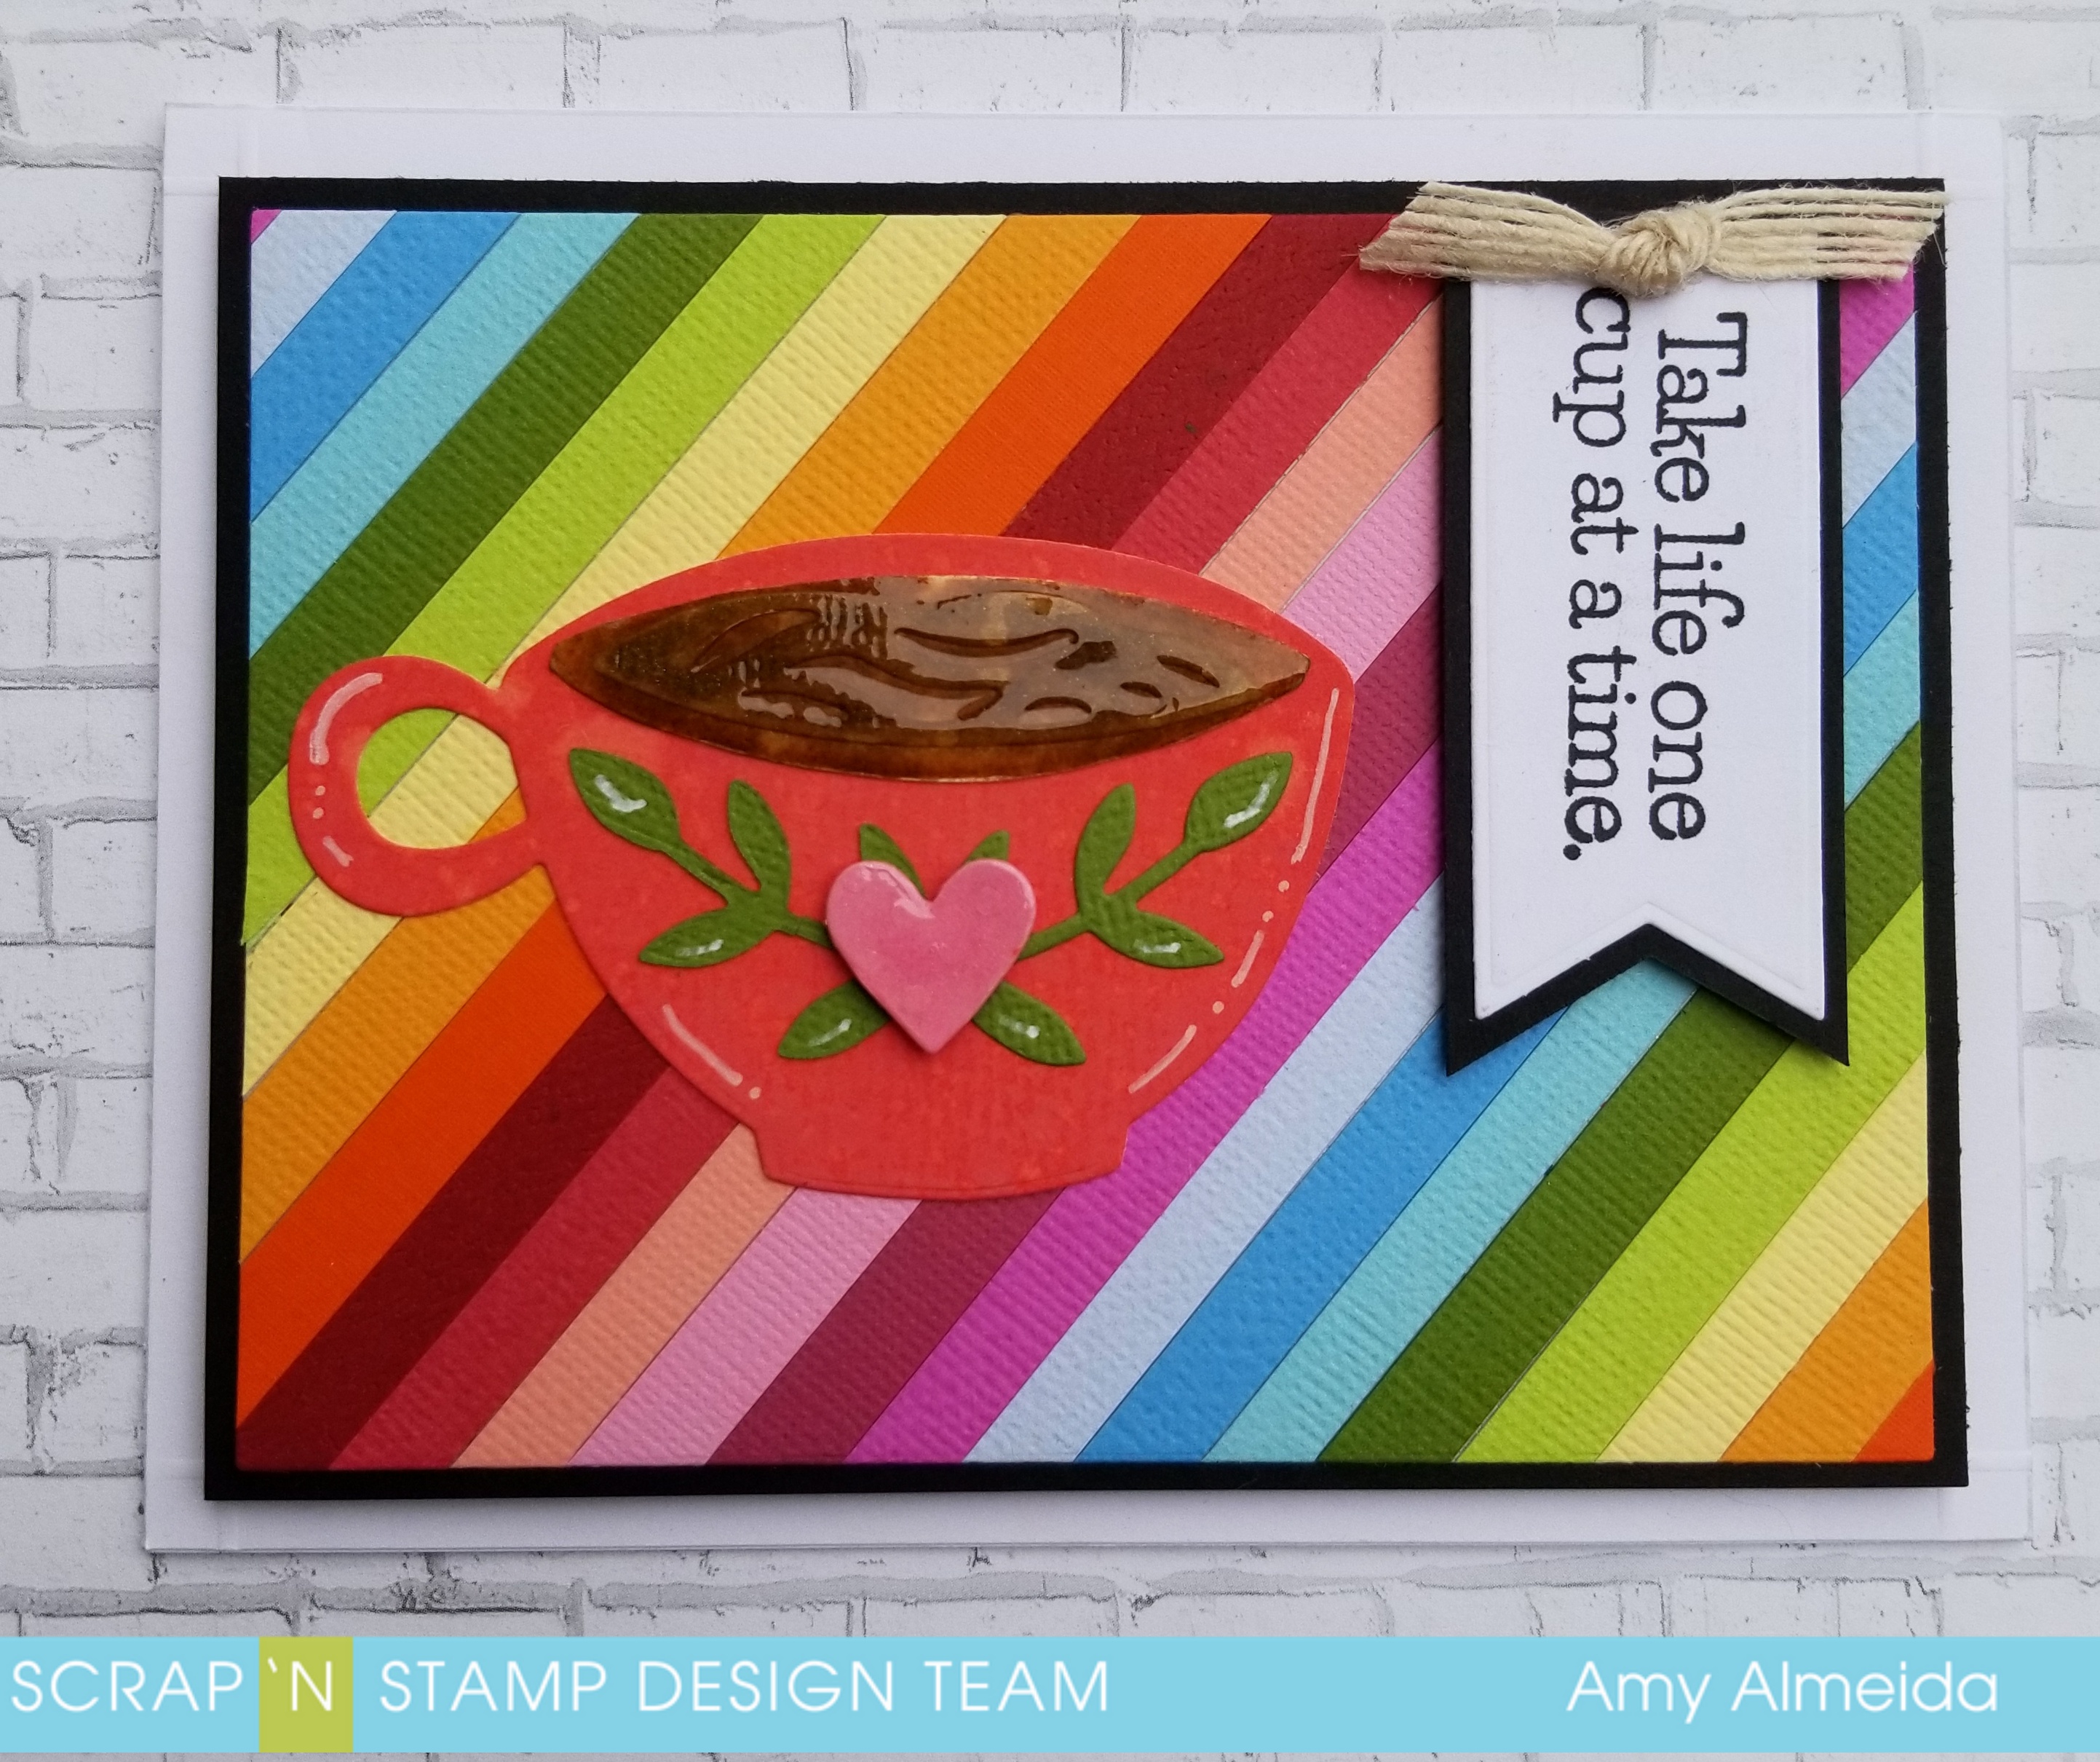
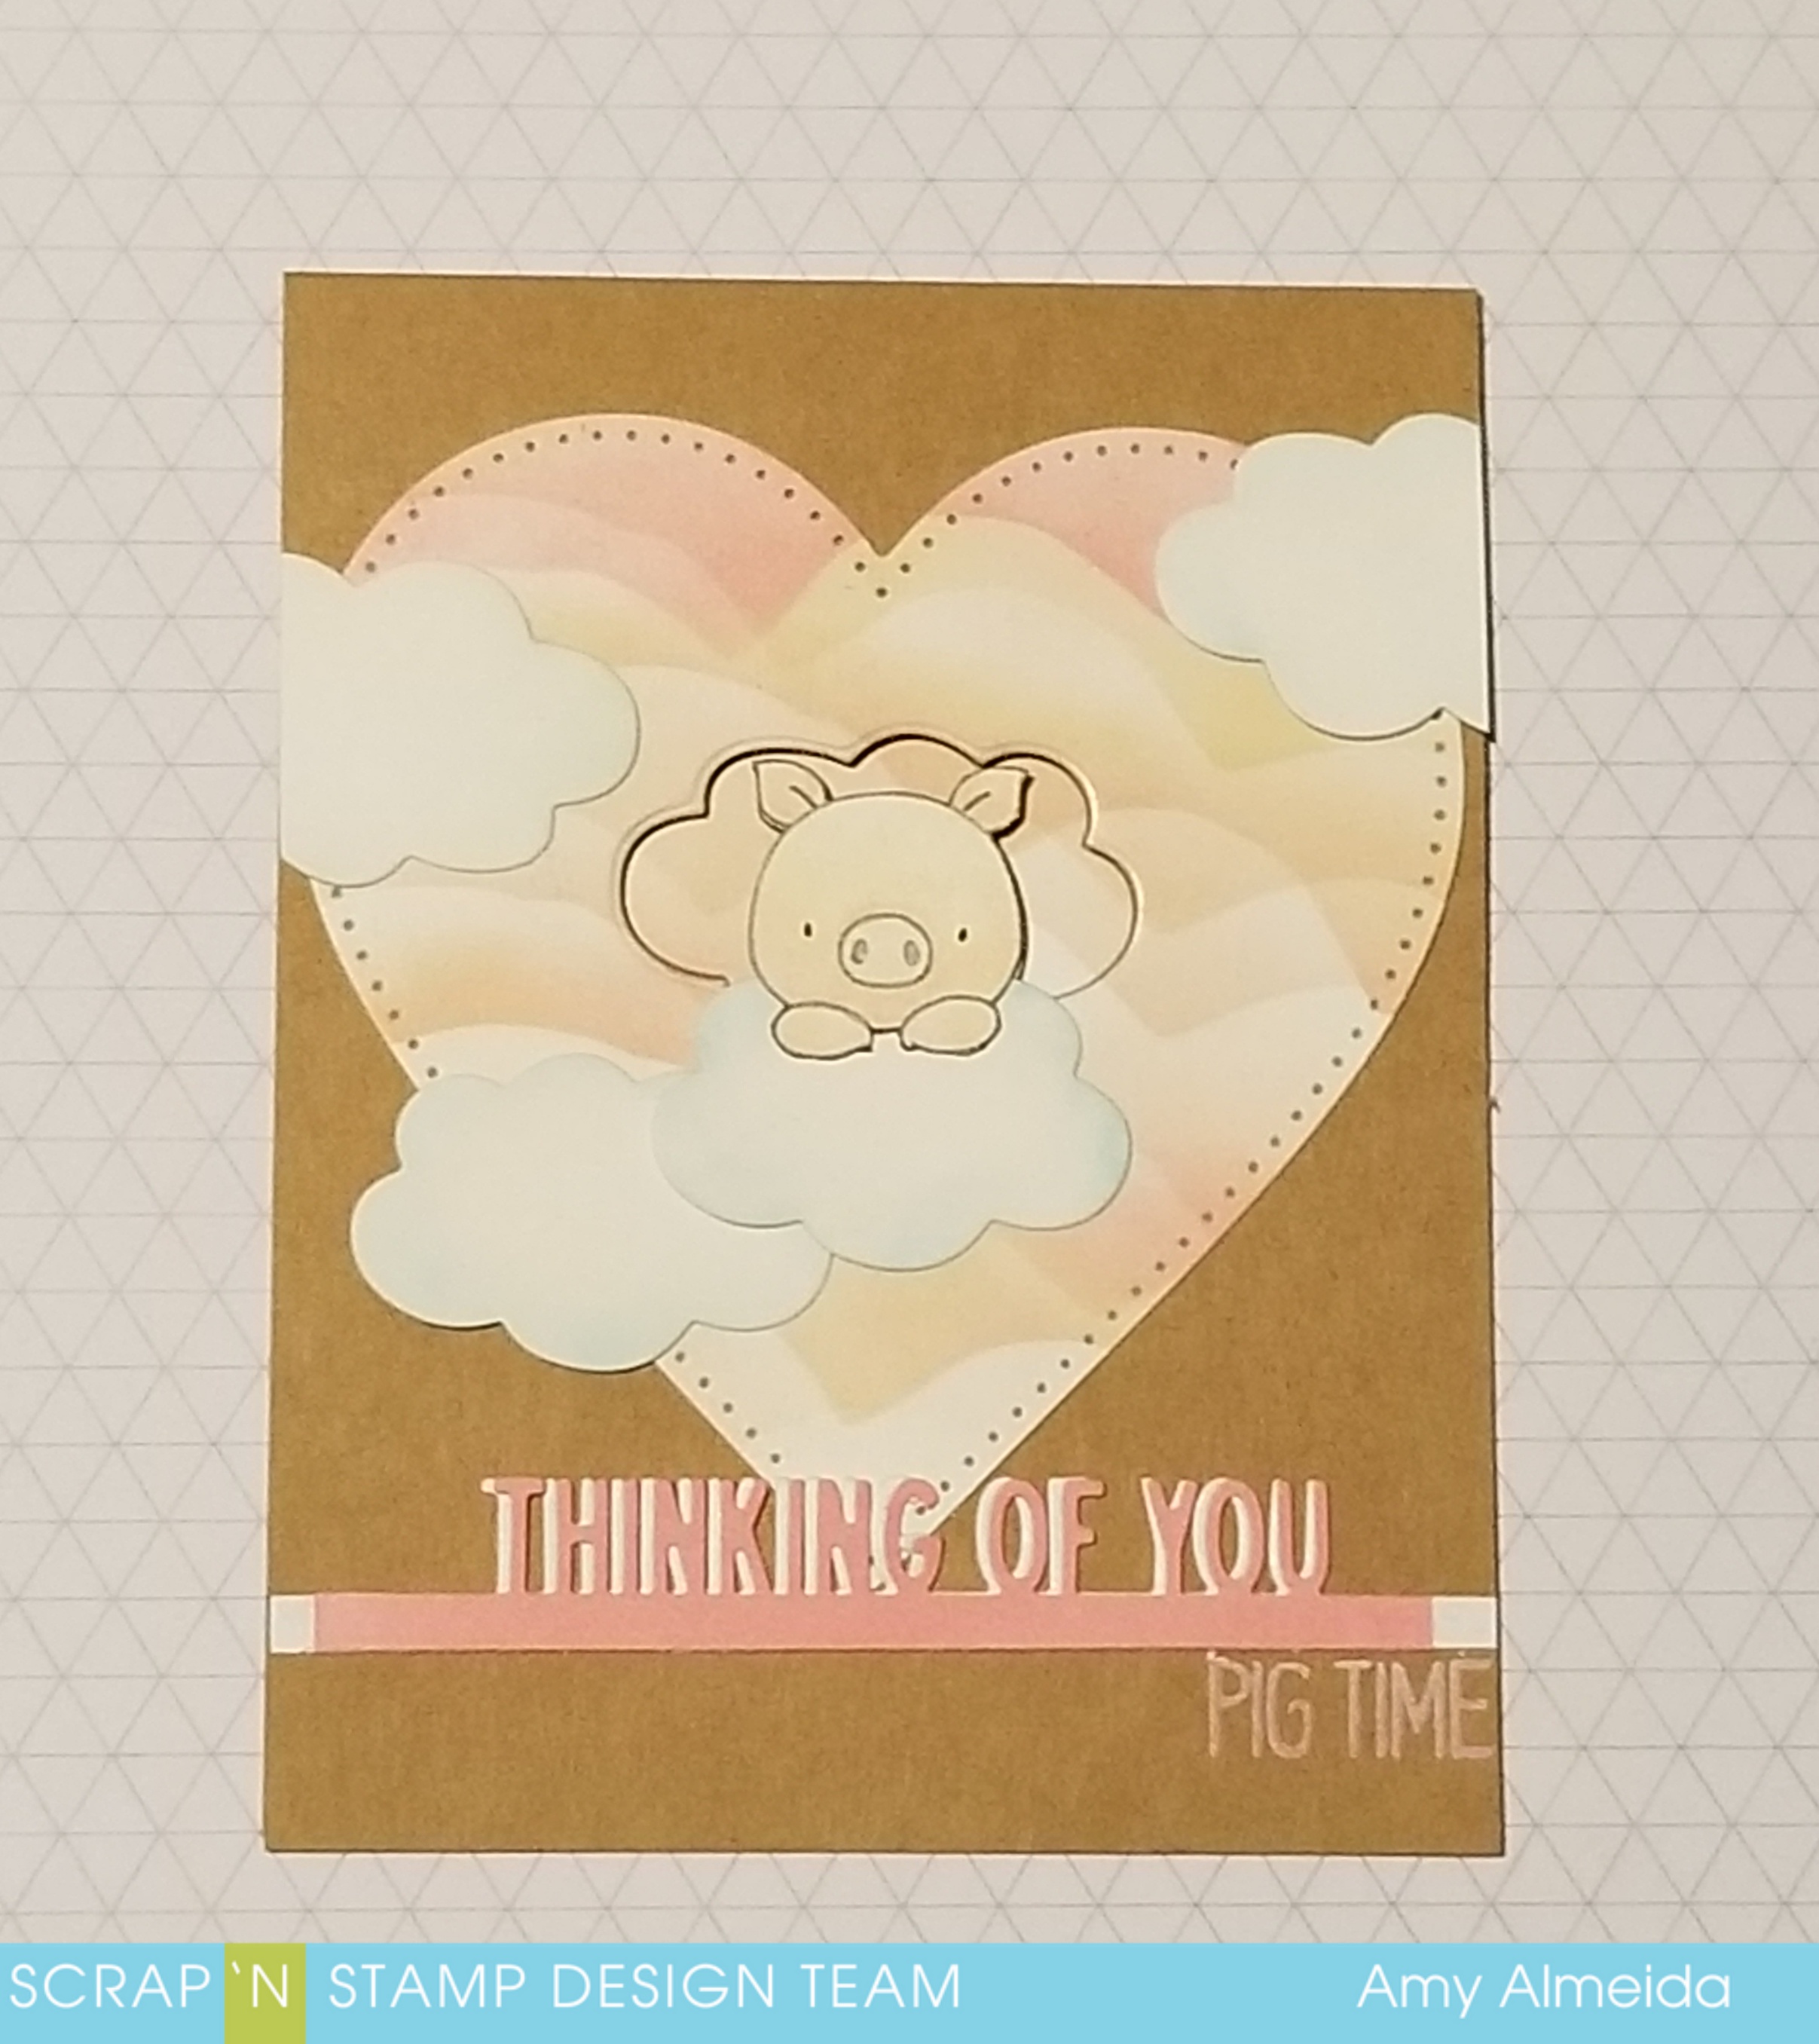
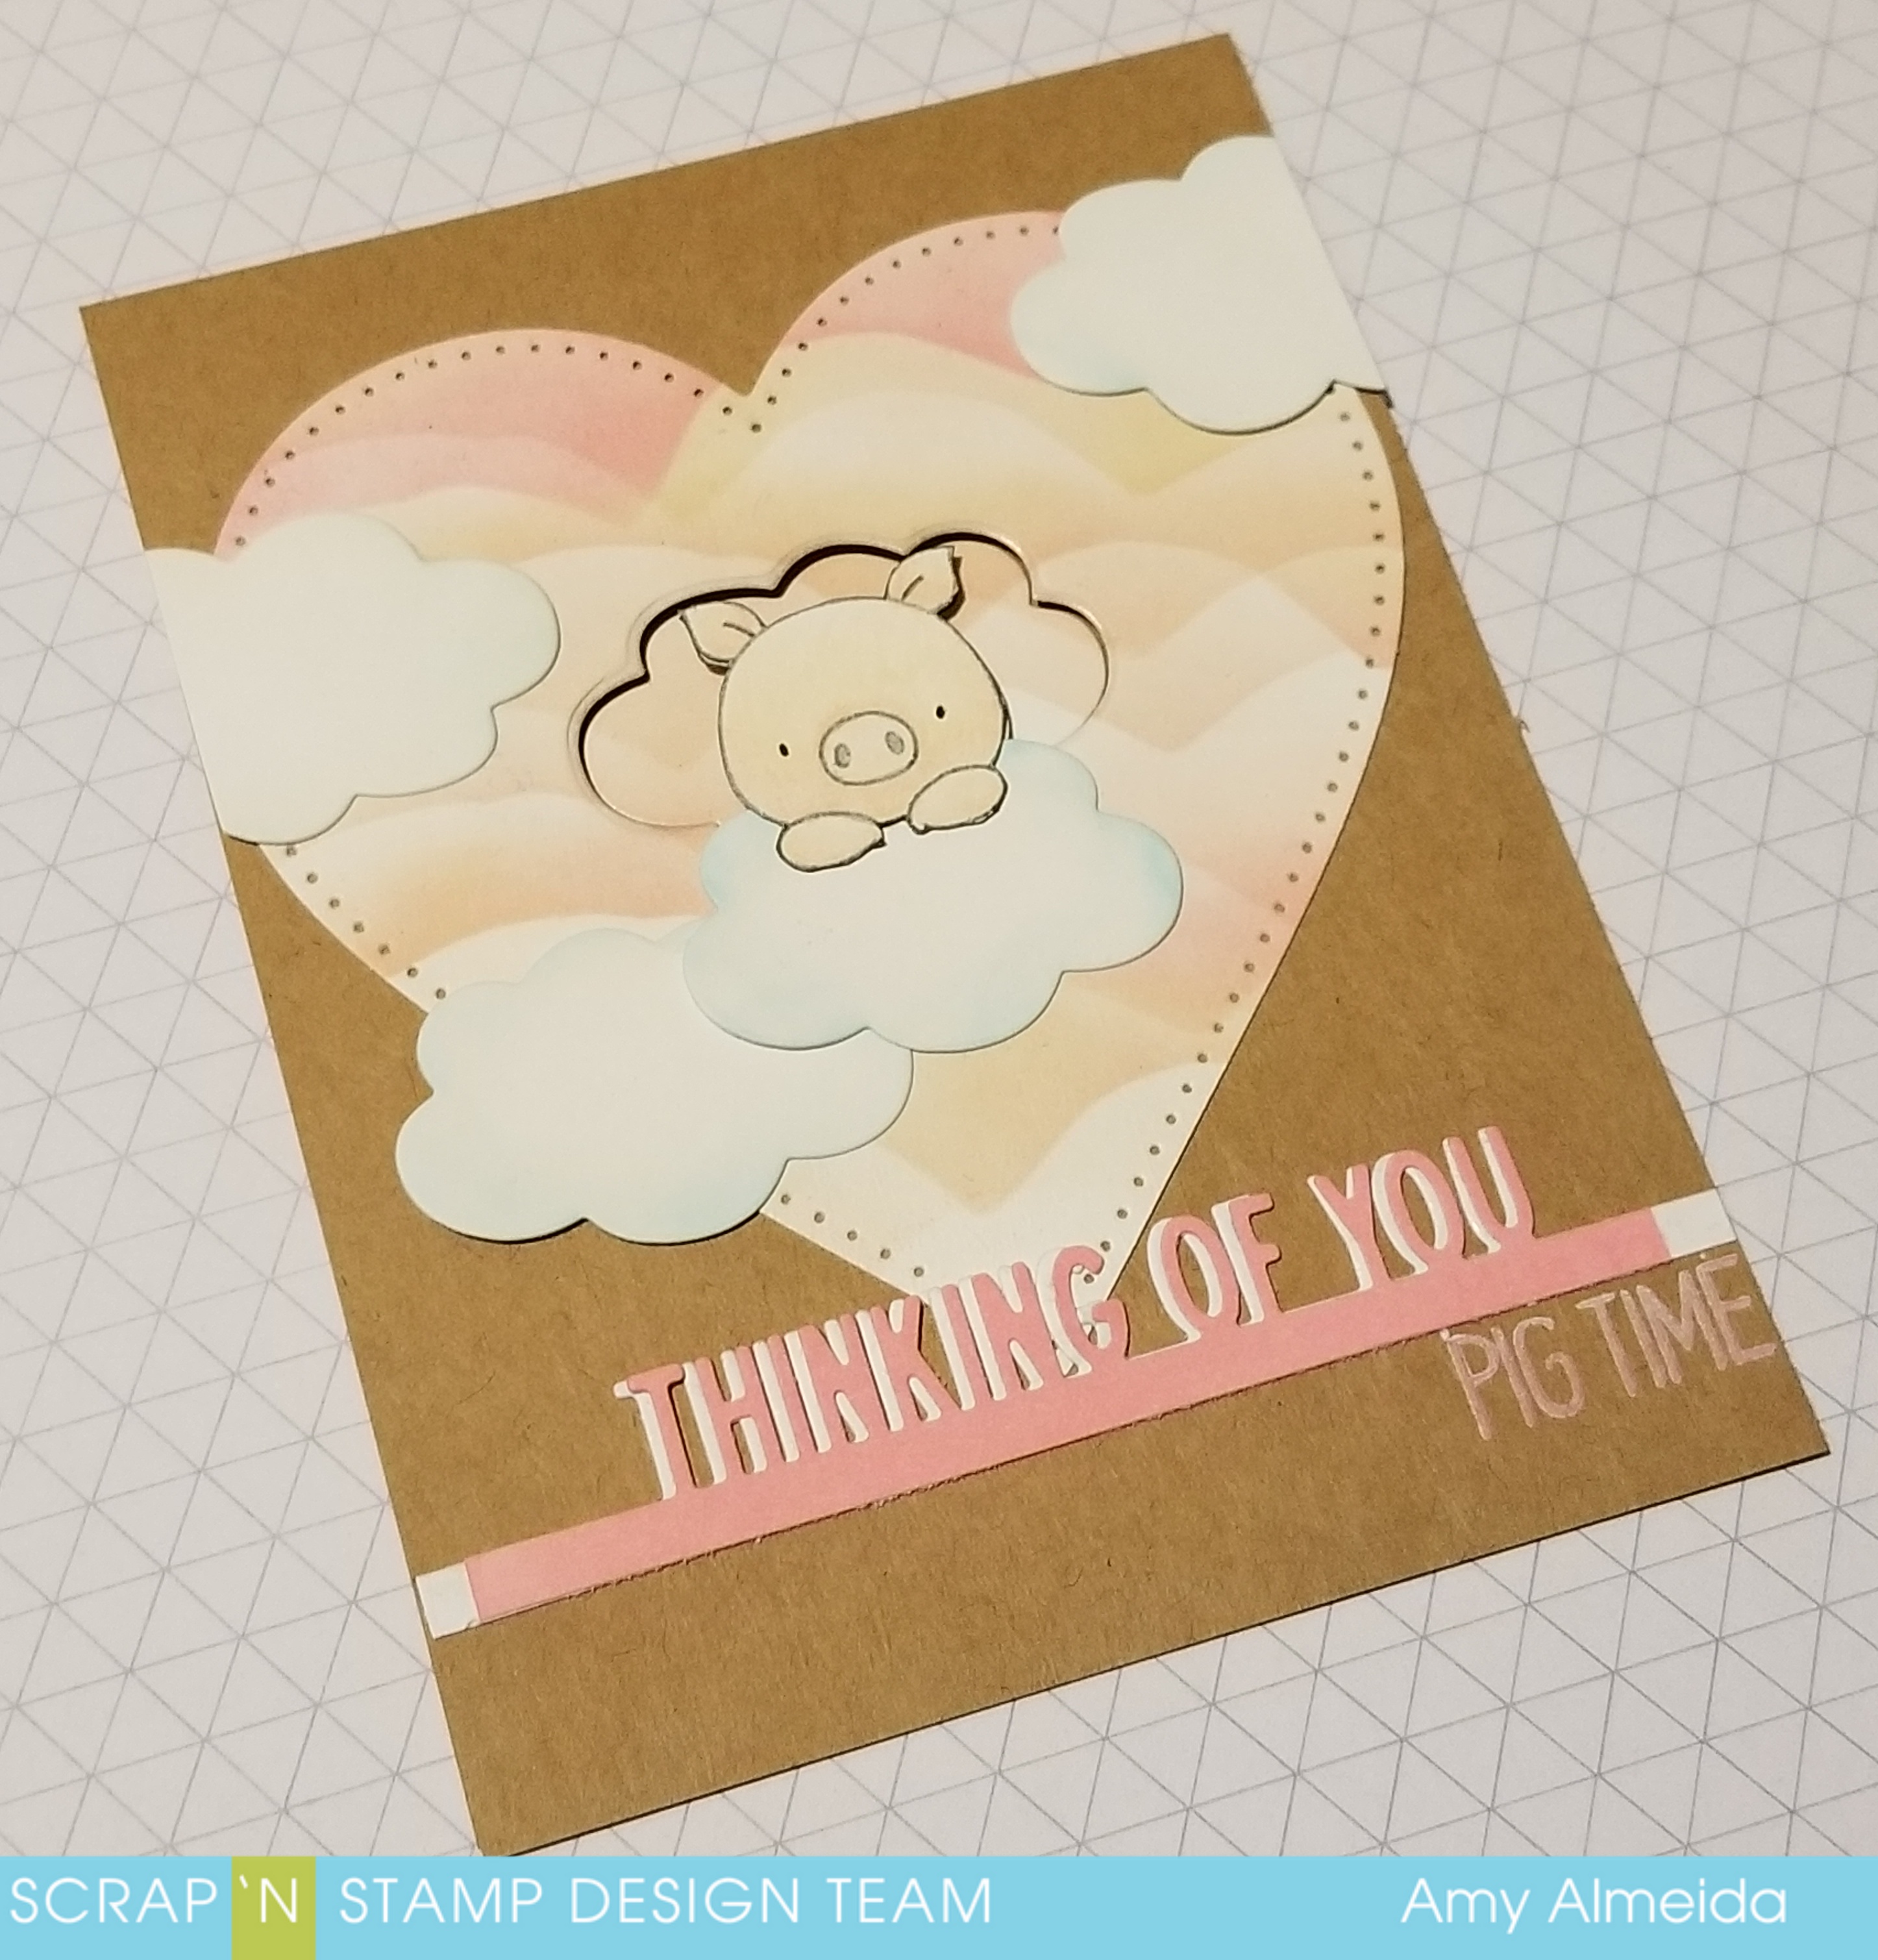
Here’s the fun and BRIGHT card I made using up a few pieces of scrap along with some adhesive.

I started by cutting 1/4′”strips out of my collection of scrap cardstock pieces. I then applied Be Creative Adhesive sheet to the back of a piece of copy paper cut to 4.25″x 5.5″. I  then peeled of the release paper and started lining up my strips…really quick and easy! ;o) I started with the colors of the rainbow but lost a bit  of the ROY G BIV order when I cut it down for my panel. BUT I still think it’s fun and pretty! lol

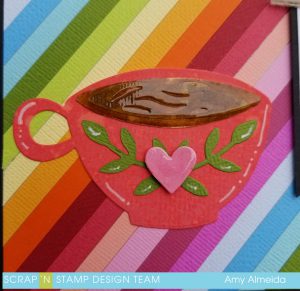
I applied Candied Apple Distress Oxide to Bristol Smooth paper,  straight from the pad, no blending tool and used that to die cut the cup from CUPPA LOVE. I  then used Vintage Photo Distress Oxide applied to Bristol Smooth to die cut the Coffee portion from the die set  as well. I adhered it all together and added some leaves and a little heart from the same set to complete my mug. Some little white gel pen highlights and some Nuvo Crystal Glaze applied to the coffee and heart finished it off…doesn’t it look good enough to drink???

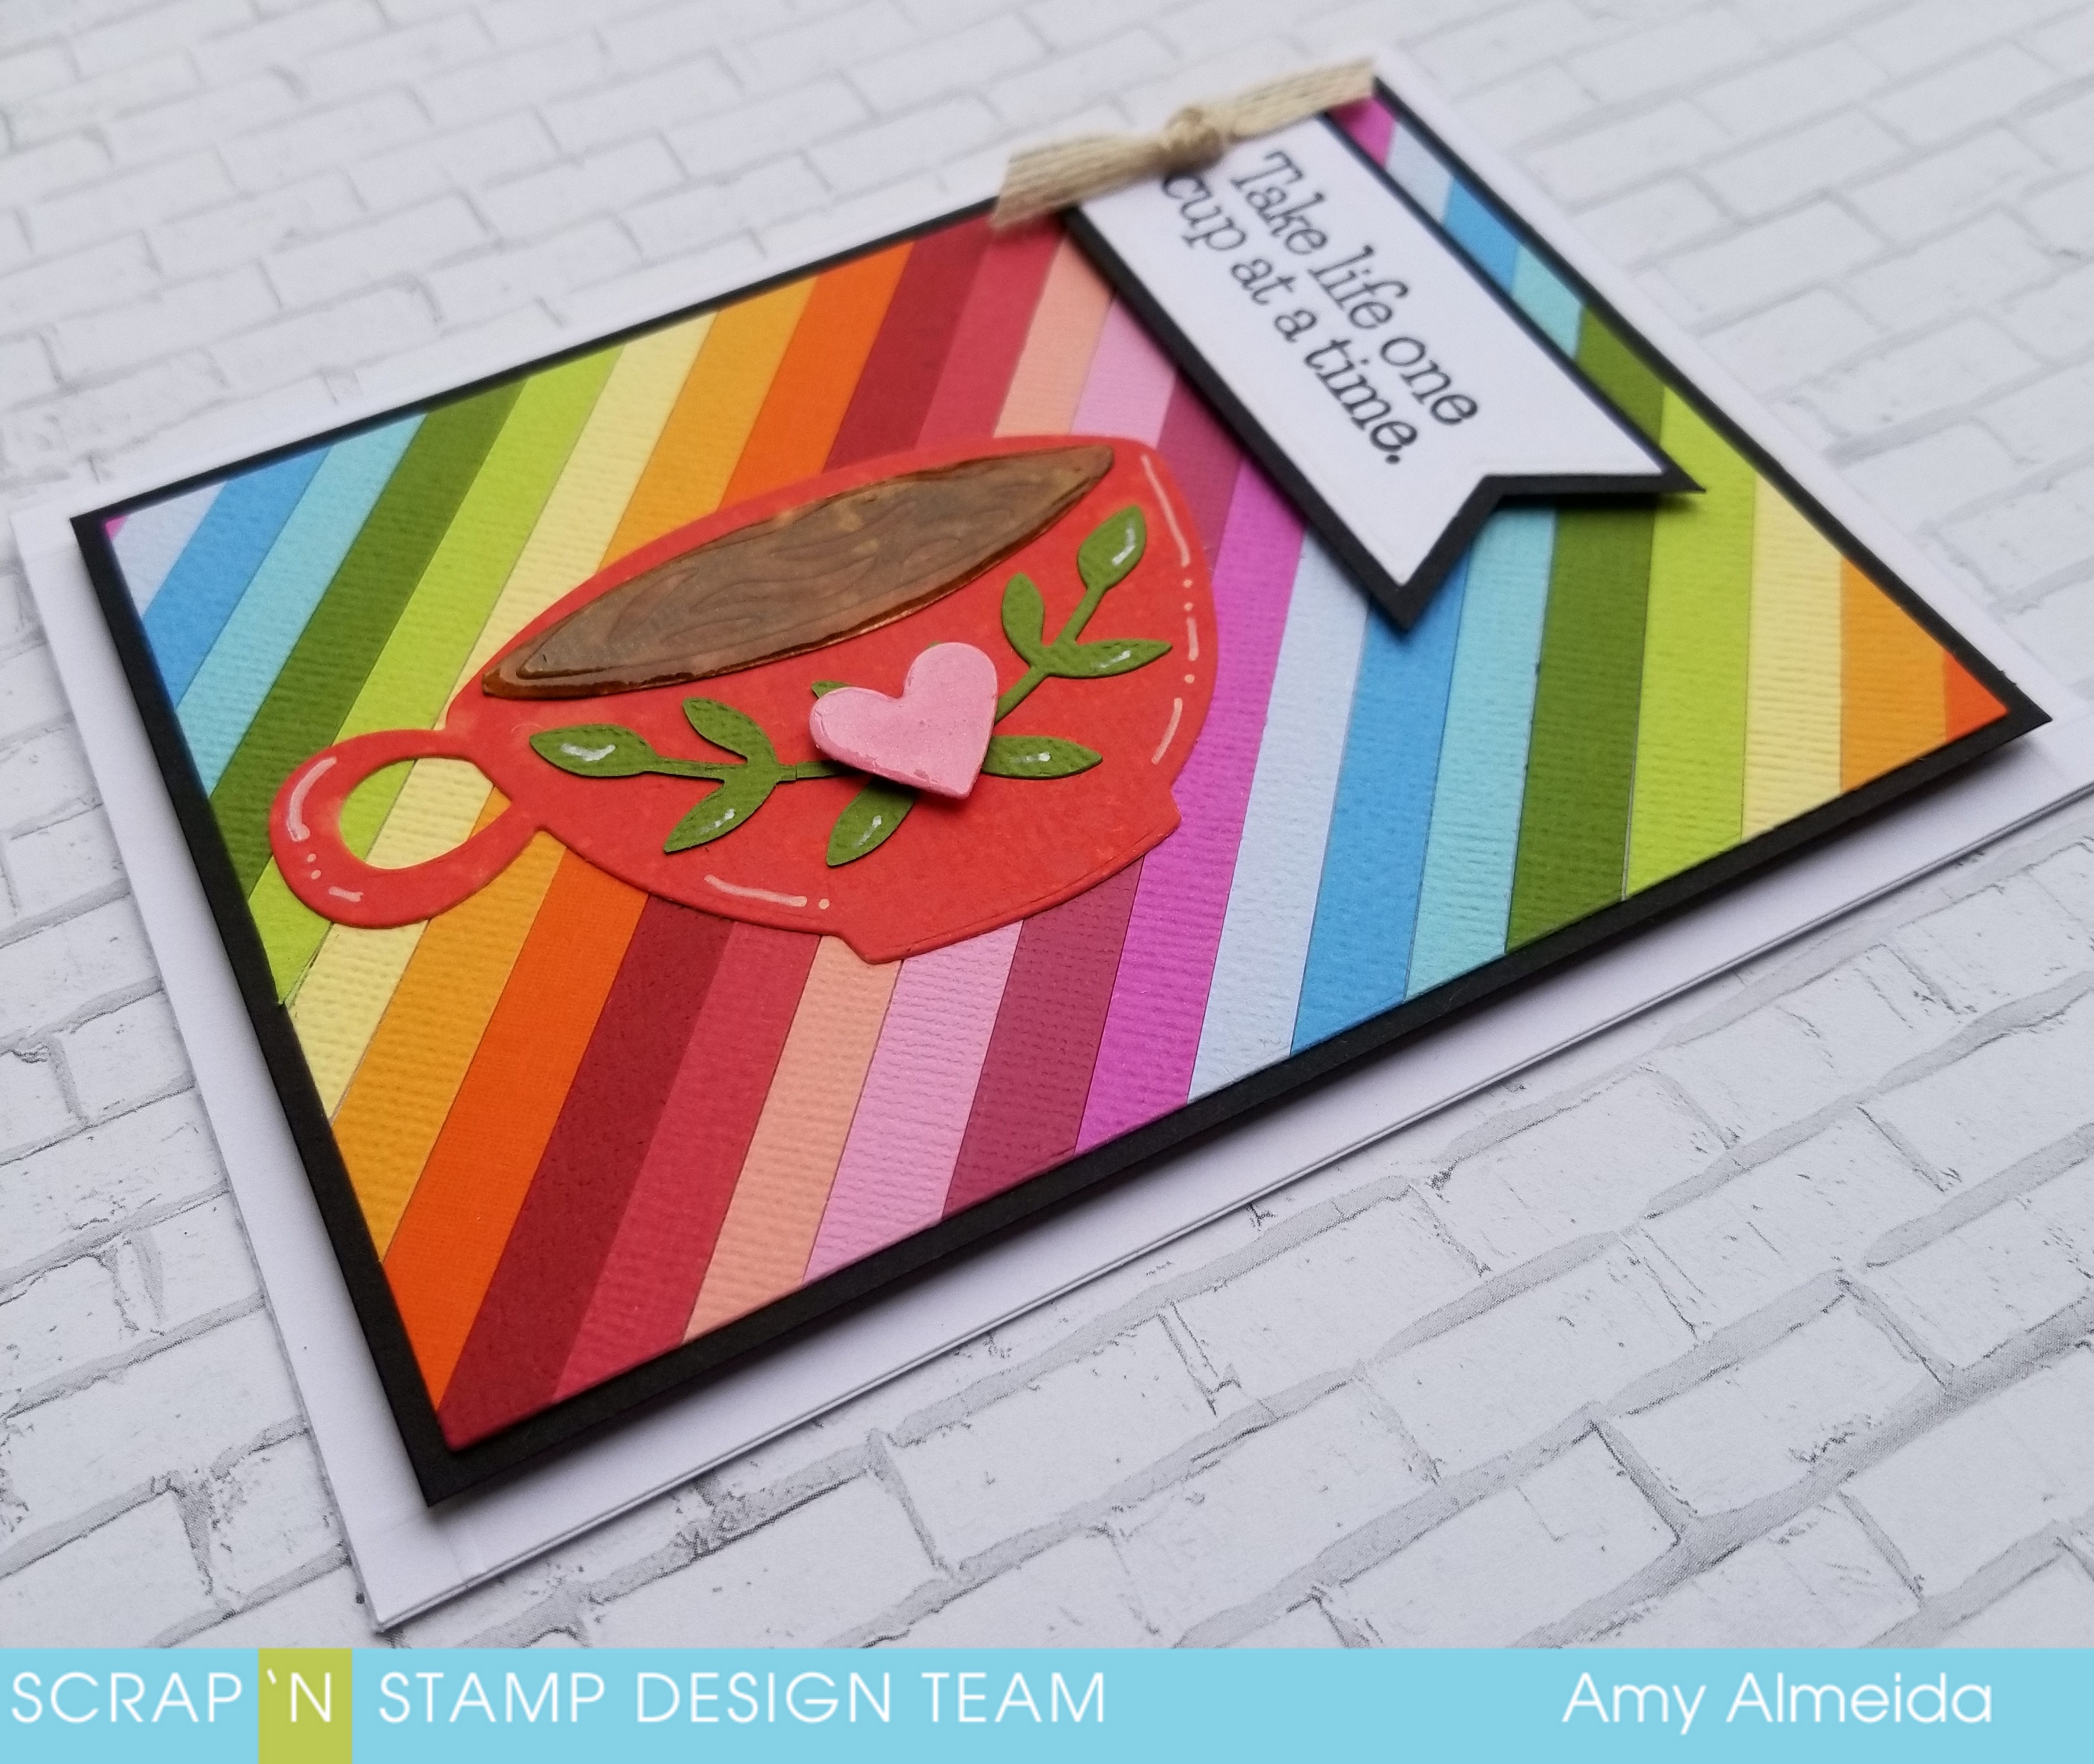
A sentiment from Art Impressions Latte Love Set stamped with Black Onyx Versafine Ink die cut with MFT-  Fishtails completed my sentiment. I adhered the panel to black cardstock and applied it to my base card with fun foam. A natural hemp ribbon finished off my card.

So  there we have it, a fun and relatively easy way to use up some scraps to get a BRIGHT background for your cards.

I sure hope you’ve enjoyed this tutorial and don’t forget to check out the LOVE IS IN THE AIR Challenge over on or FB page here.

Happy Craftin’!

~hugs~

Amy

Using up your scraps with a CUPPA LOVE Read More »

Thinking of you PIG TIME!

Happy Saturday crafty friends, I’m here with another lil’ make using MFT- Hog Heaven. I just love piggy’s and this little set just makes me smile!


I started with a panel of Bristol Smooth cardstock and ink blended some clouds with Worn Lipstick and Antique linen Distress Oxides. I then cut out the panel using a Sizzix Dotted Hearts Die. I cut out some clouds and inked the edges slightly with Tumbled Glass Distress Oxide. I used one of the cloud dies to cut through my Kraft cardbase to create the window for my piggy. I added an Impression Obession Edge die and stamped the “PIG TIME” sentiment from the set with Worn Lipstick Distress Oxide.

I colored the little piggy and his coordinating backside with Spectrum Noir Colorblend pencils and fussy cut them out and adhered them to my card.

And that’s the inside of my card. :o) How cute and versatile is this set??? Love!

Well I hope you enjoyed this fun and quick lil’ card using HOG HEAVEN. If you’d like to see the other card I made using this set, please go here.

Happy Craftin’!

~hugs~

Amy

Thinking of you PIG TIME! Read More »

Having a HOOT with coloring mediums!

I had so much fun playing with MFT- Warm & Feathered Hugs Stamp set. I made two tags using different mediums- Copics and Fabercastell Pencils.

This stamp set has a 3 adorable owls to choose from and so many fun sentiments, so I couldn’t decide which to use, so I used two images from the set and colored them with different mediums onto different cardstocks.I started with the second larges die in the Tim Holtz Stacked Die set cut from Neenah 80lb Cardstock and Bazzil Kraft Cardstock.

First up, I colored the owl with the adorable scarf and stamped him onto Neenah 80lb cardstock with Versafine Black Onyx ink and heat set it to dry.

I colored him with Copics and added a Signo White Gel pen for highlights. SO MUCH FUN TO COLOR THESE LIL’ GUYS!!

I added a branch for him to be perched on from Tim Holtz- Bird Branch Big Die and inked the edges with Vintage Photo Distress Oxide.  I adhered the branch to the tag and trimmed off the excess as it is a large die. I inked some Antique Linen Distress Ink to warm up the background a bit and stamped a sentiment from the Warm & Feathered Hugs set with Versafine Sepia Ink . I adhered the tag to black cardstock and trimmed around the tag leaving about a 1/8″ border and some gingham ribbon finished off my first tag using Alcohol Markers and white cardstock.

Next up, I stamped a different owl onto Bazzil Kraft Cardstock with Versafine Sepia Ink.

I colored the image using Fabercastell Goldfaber colored crayons- I  love the effect of coloring on Kraft cardstock with  colored pencils, such a sweet and soft look you get by layering the colors. I then added some white Signo Gel pen for highlights and added a Lawn Fawn Stiched Hillside border and edged the hill with some Tumbled Glass Distress Oxide to give the snowhill some definition.

I then added a different sentiment from the Stamp set and added the black cardstock border and ginham ribbon, like I did in the first tag.

There we have it, a couple of quick and easy tags using different coloring mediums and cardstock.

Thanks for stopping by and I can’t wait to see y’all in the New Year!

~Happy Crafting~

Amy

Having a HOOT with coloring mediums! Read More »

Free Shipping Anywhere In Canada