
Happy Sunday, my friend! Thanks for joining me today. I have a couple of fun things to share with your today; first, and easy embossing hack for when you don’t have any embossing ink. Second, a Giveaway! Yes – another Giveaway from Scrap ‘N Stamp! March is Scrap ‘N Stamp’s 13th Birthday celebration, and they’re giving YOU the gifts.
GIVEAWAY DETAILS

It’s super easy to enter this giveaway! All you have to do is leave a comment on THIS POST on my blog, or on this post on the Scrap ‘N Stamp BLOG. That’s it! At the end of the month, I’ll combine comments from both blog posts, and randomly draw one lucky person to WIN the Concord & 9TH YAY FOR BIRTHDAYS stamp set! (a value of $36.75)

DIAMOND SENTIMENTS
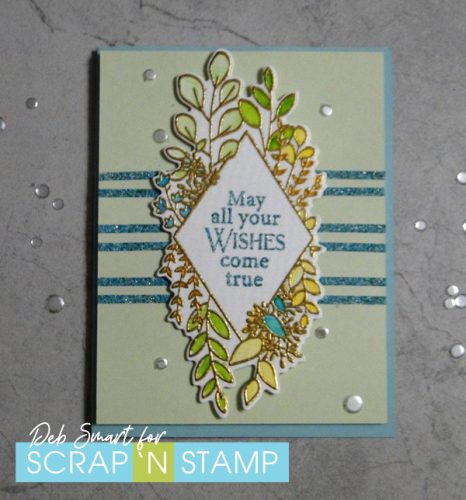
Today’s card is for the Scrap ‘N Stamp daily challenge word prompt of ‘flowers’. Having just gotten my order, I knew which stamp set I was going to use; the Diamond Sentiments set from Poppystamps. I wanted to do a subtle background for my card, but couldn’t decide on which embossing folder or die to use. Stay tuned for the hack!
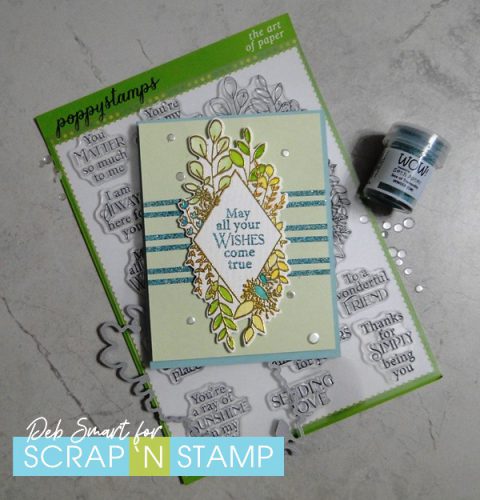
I chose the Diamond Sentiments bundle, as it comes with the coordinating die to cut out the stamped shape. Originally, that’s what I chose for my Giveaway – but then they sold out! You can ask to be notified when it’s back in stock, though!
First, set up the stamp and watercolour paper in your stamp platform. Cover the stamp with Versamark ink, and stamp firmly. Repeat this at least 2-3 times, to ensure good ink coverage, due to the texture of the watercolour paper. Next, cover the stamping with gold embossing powder, and heat set. Nope – this is not the ‘easy hack’ – that’s coming soon! Next, select one of the many sentiments from the stamp set, and repeat the Versamark stamping. This time, cover the sentiment with the new WOW Sea of Tranquility embossing powder, and heat set. Use your Zig Clean Color Real Brush Markers and a water brush to colour in the flowers and leaves. Now, use the coordinating die with your Big Shot, and die cut the image.
EASY EMBOSSING HACK
Here comes the hack! I decided that I just wanted some embossed lines on my background, but I didn’t have a stamp or die to use. Here’s how to create the heat embossed lines, without Versamark ink, or a stamp or a die. Set up a piece of cardstock in your stamp platform, or any piece of lined paper. Add strips of double-sided adhesive tape, using the lines on the paper as your guide. Now, remove the covering from the strips of tape, and cover the tape with the same Sea of Tranquility embossing powder. Use your heat tool, and set the powder! Voila – you now have perfectly embossed lines, in the colour you want! The stickiness of the tape, combined with the heat, act to bond the powder to the tape. Just give it a few seconds to cool down, and you’re done.

Another great thing about using the tape is that it comes in different widths, and you can create your own pattern or design!
Now add your die cut to the embossed panel using foam tape or squares, and then attach the whole thing to a blue card front, with more foam tape. Finish off the card front by adding some embellishments. I used my Gina K. Clear Quartz Solid sequins; I really need to order more colours!
COMMENT TO ENTER THE GIVEAWAY!
Don’t forget to leave a comment here, before you click away! The entry deadline is March 31st, and the winner will be randomly chosen, and announced after that. Be sure to follow ALL of the Design Team posts, as each of us has our own Giveaway! That’s a lot of chances to win a prize.
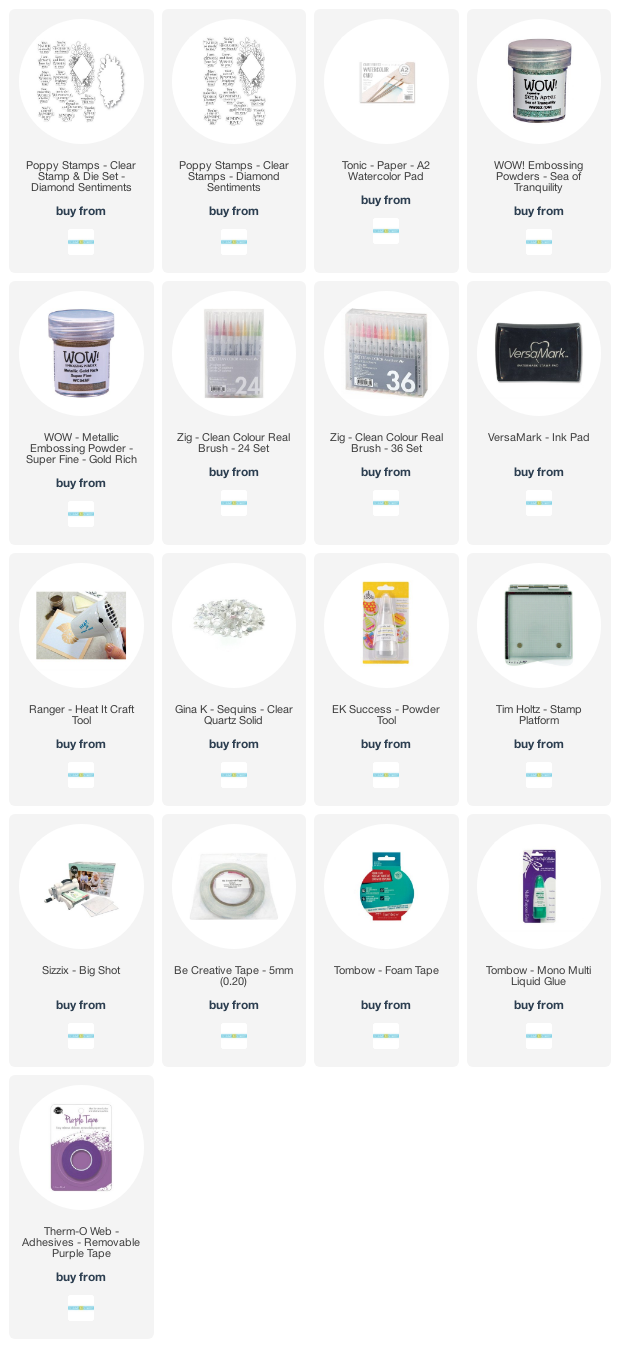
Affiliate links for supplies are provided. If you choose to use my links, you help support me in maintaining my blog, at no extra cost to you. Thanks in advance!

I love the idea of using double sided tape to emboss. Great card!
Cool idea! I’ll have to pull my tape out and give it a try!
Great tip! I purchased some of the tape in a really narrow width, and when I got it, I was puzzled at why I had ordered it. Now I can try this while waiting for the other reason to wander back to my brain. Lol! Thanks for sharing, and the chance to win!
Your card is absolutely lovely! And the embossing hack? Oh my stars! So clever! Adding this to my must try list!
~carol
Gorgeous, gorgeous card, Deb! So beautiful!
Forgot…I love your background, too.
You can never have enough birthday stamps!!
Love the leafy stamp from Poppystamps, it’s so elegant with all the embossing!
I love the idea of using double sided tape to emboss. What a gorgeous card!
Awesome card!
Yay and YAY for a great tip. I have used double sided tape for glitter, but never thought you could heat set it, whoa a new world that will be… and a lot less glittery messy. Thanks! Beautiful peaceful card.
Beautiful stamp design and colors! And I love the tip about the adhesive tape!
Beautiful card I can see why it has sold out. Thanks for the fabulous tip on the tape. I love how it accents your focal point.
Gorgeous card and
love the embossing
and colors!
Carla from Utah
Beautiful card!