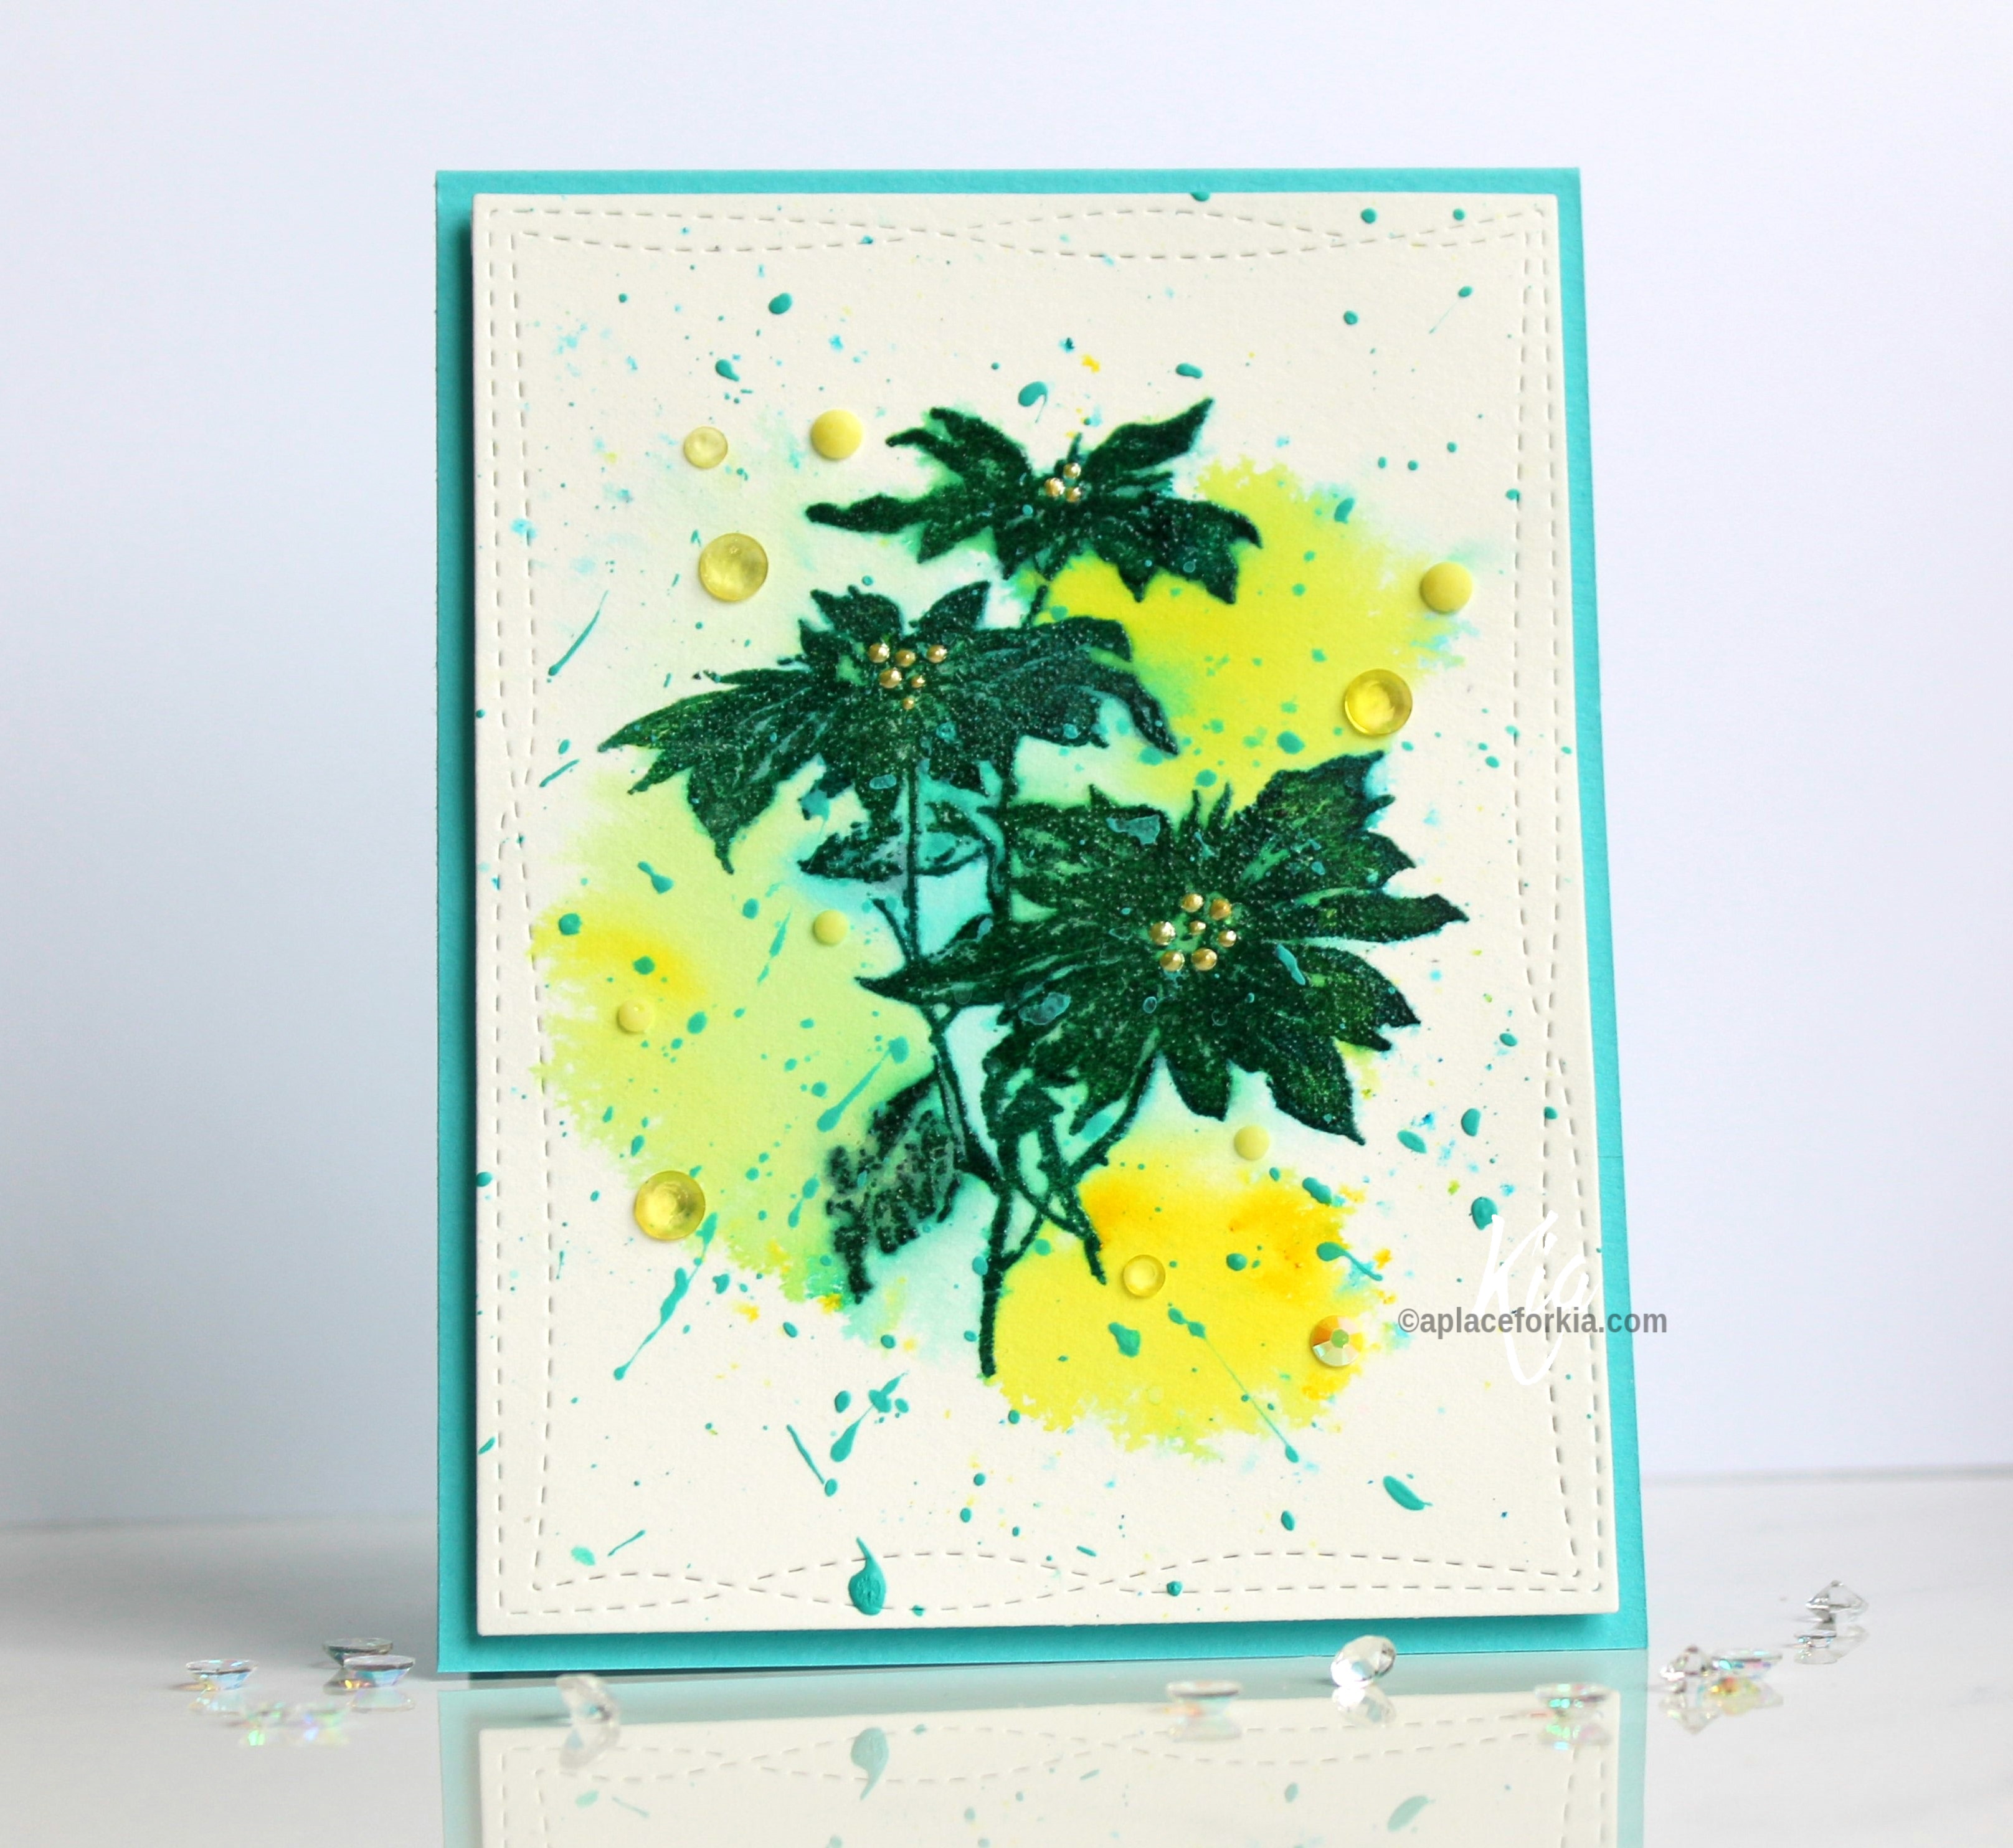
Hello fellow stampers, Kia here with you today to share this Poinsettia card.
To start this card and using watercolour paper I first die cut my panel using My Favorite Things Wonky Rectangle STAX.
I thought I would do something a bit different today, by painting my stamp with Color Burst Powders. Some time ago I was trying to ink up a background stamp with Color Burst powders, and the colour was something less than desirable. I needed something to give the paint something to grip to, and of course what came to mind is Versamark embossing ink. It worked perfectly, so I have done this every time I want to use a different kind of colour medium with my stamps. Excuse my shaky picture, I was taking it with my phone and only one hand available. lol
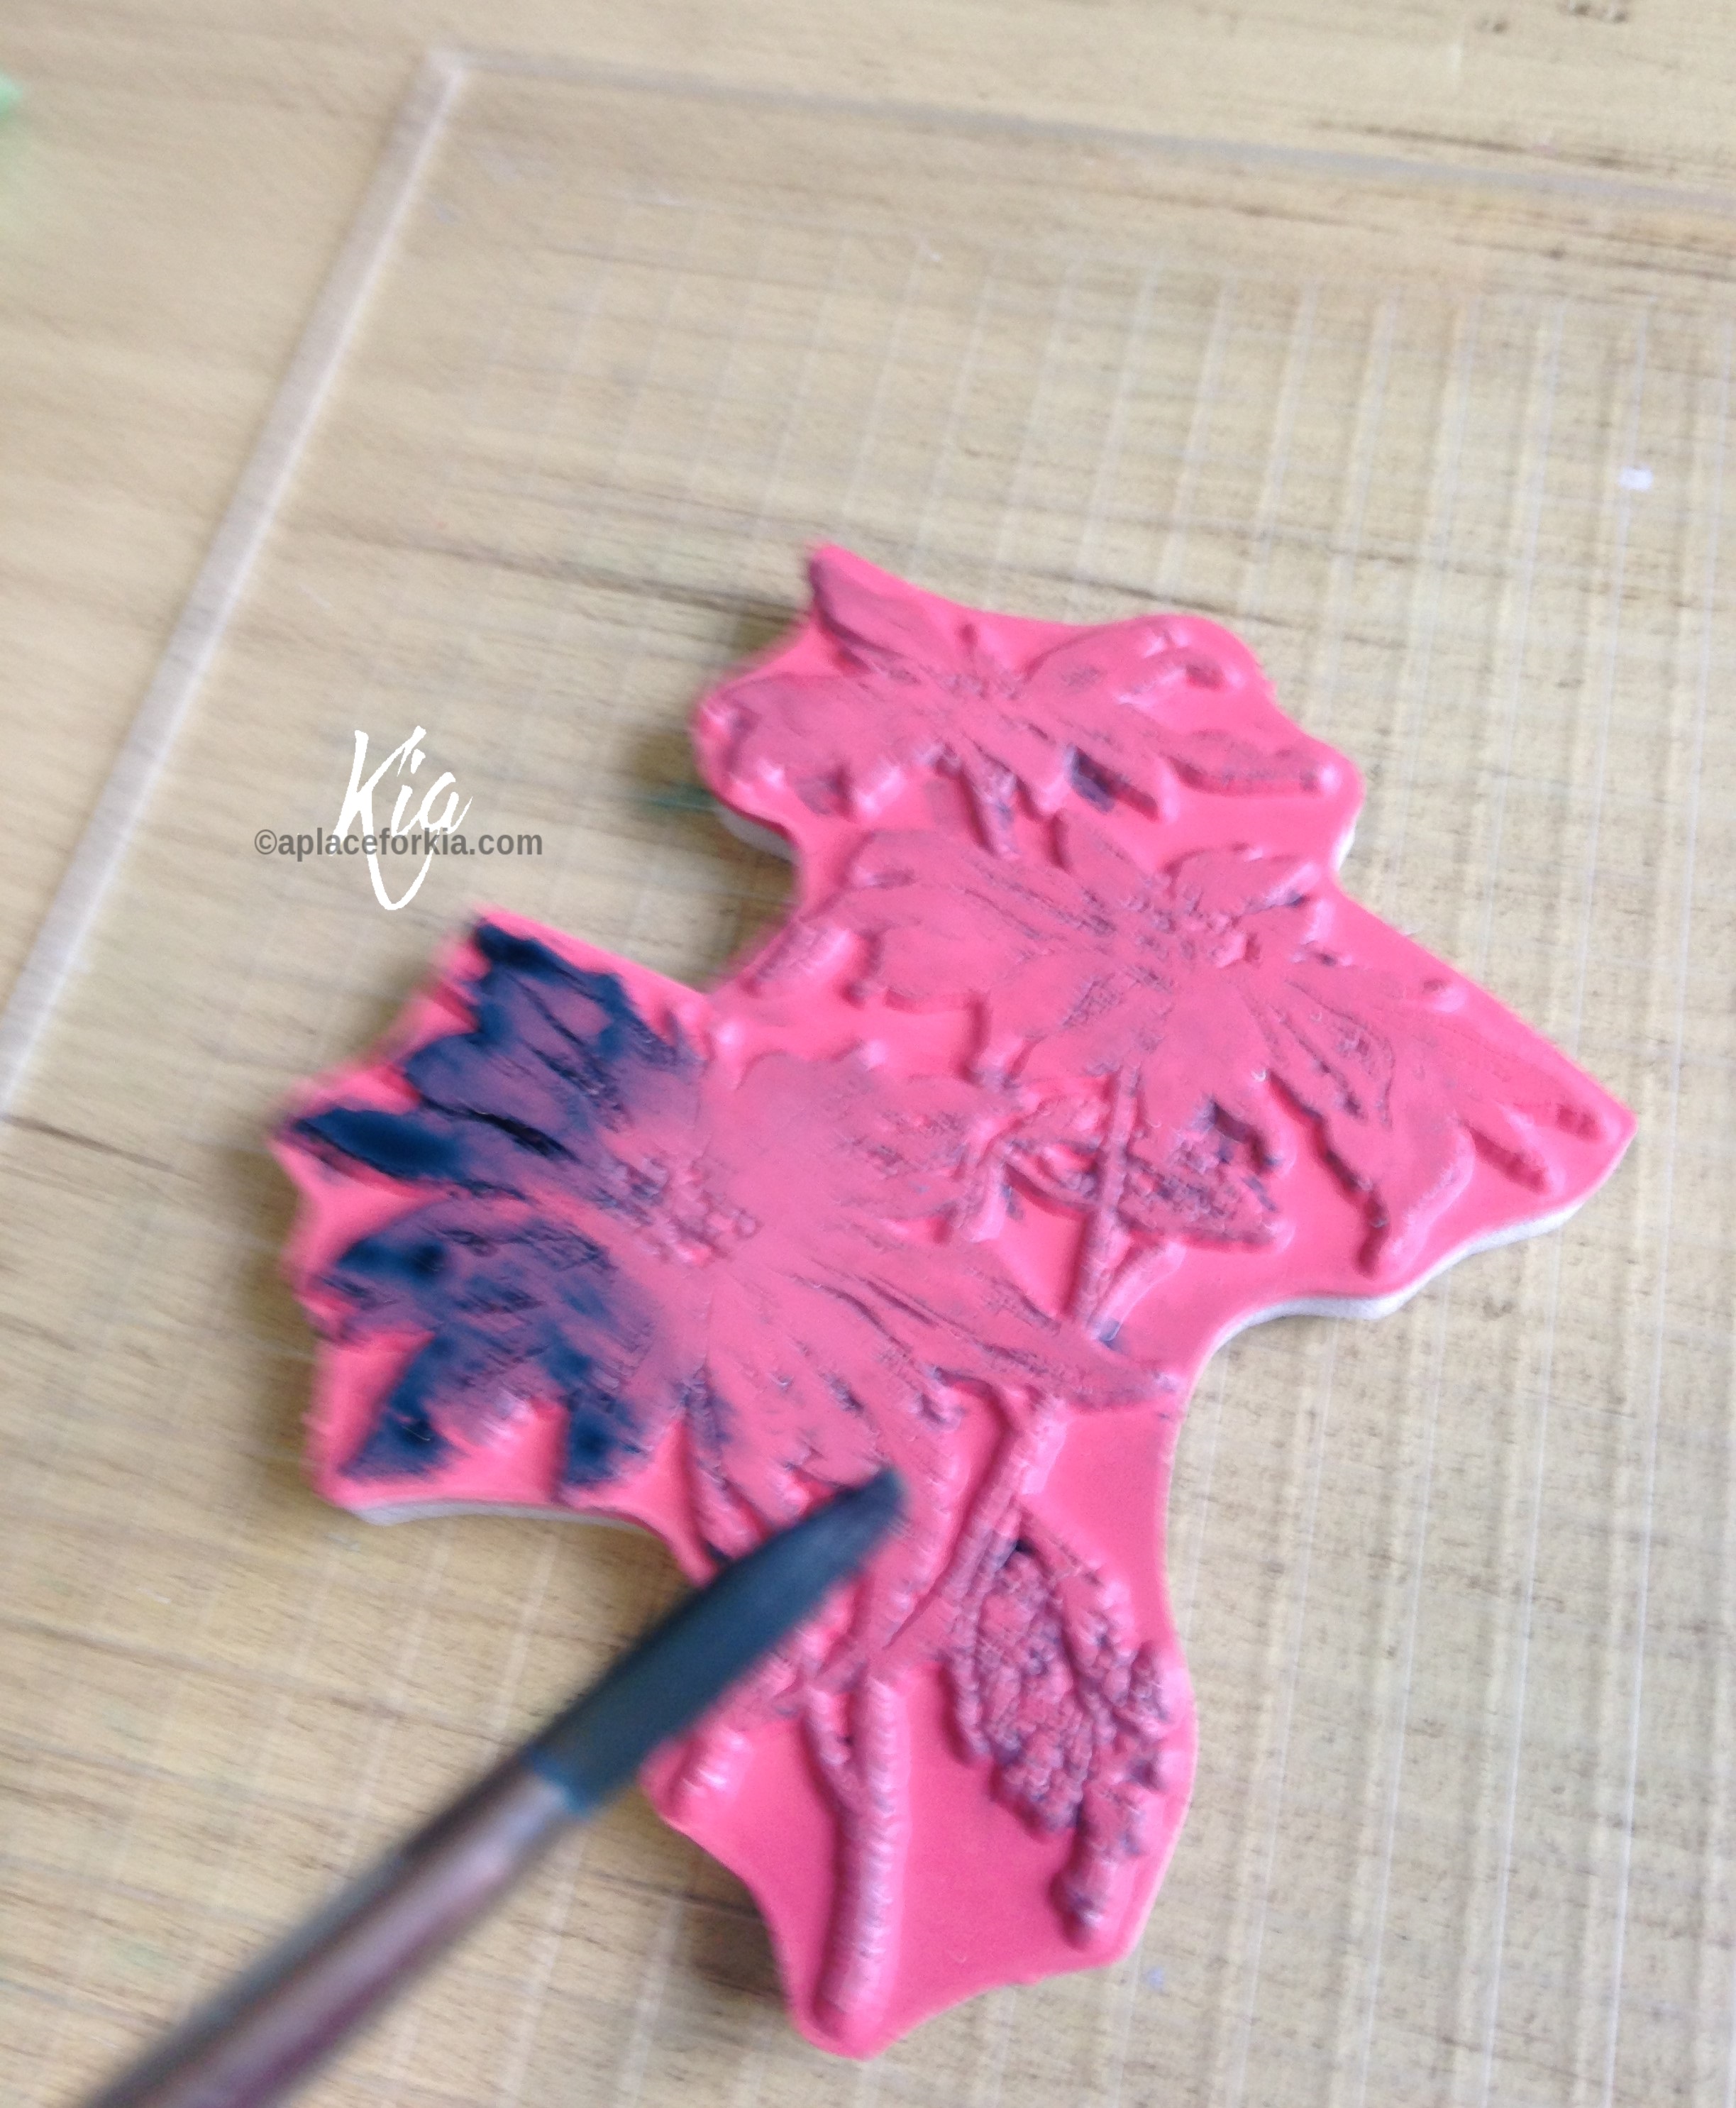
You can see how the colour attaches easily to the stamp. This is the second color I was using for this card, being Phthalo Green. I started by mixing up Turquoise Color Burst with a few spritzes of water, inking the stamp with the Versamark and painting on the colour. I then cleaned the stamp and did a second colour using Phthalo Green, using the same process. Once everything was dry, I inked up the stamp again with Ranger Paradise Teal and Library Green inks, then directly on top of the inks I used the Versamark embossing ink, and heat embossed with Nuvo embossing powder, which gave the flower back some definition. And yes, I get a bit of contamination in my Versamark, but I keep and use an older ink pad for when I do this, keeping a clean pad for my daily use.
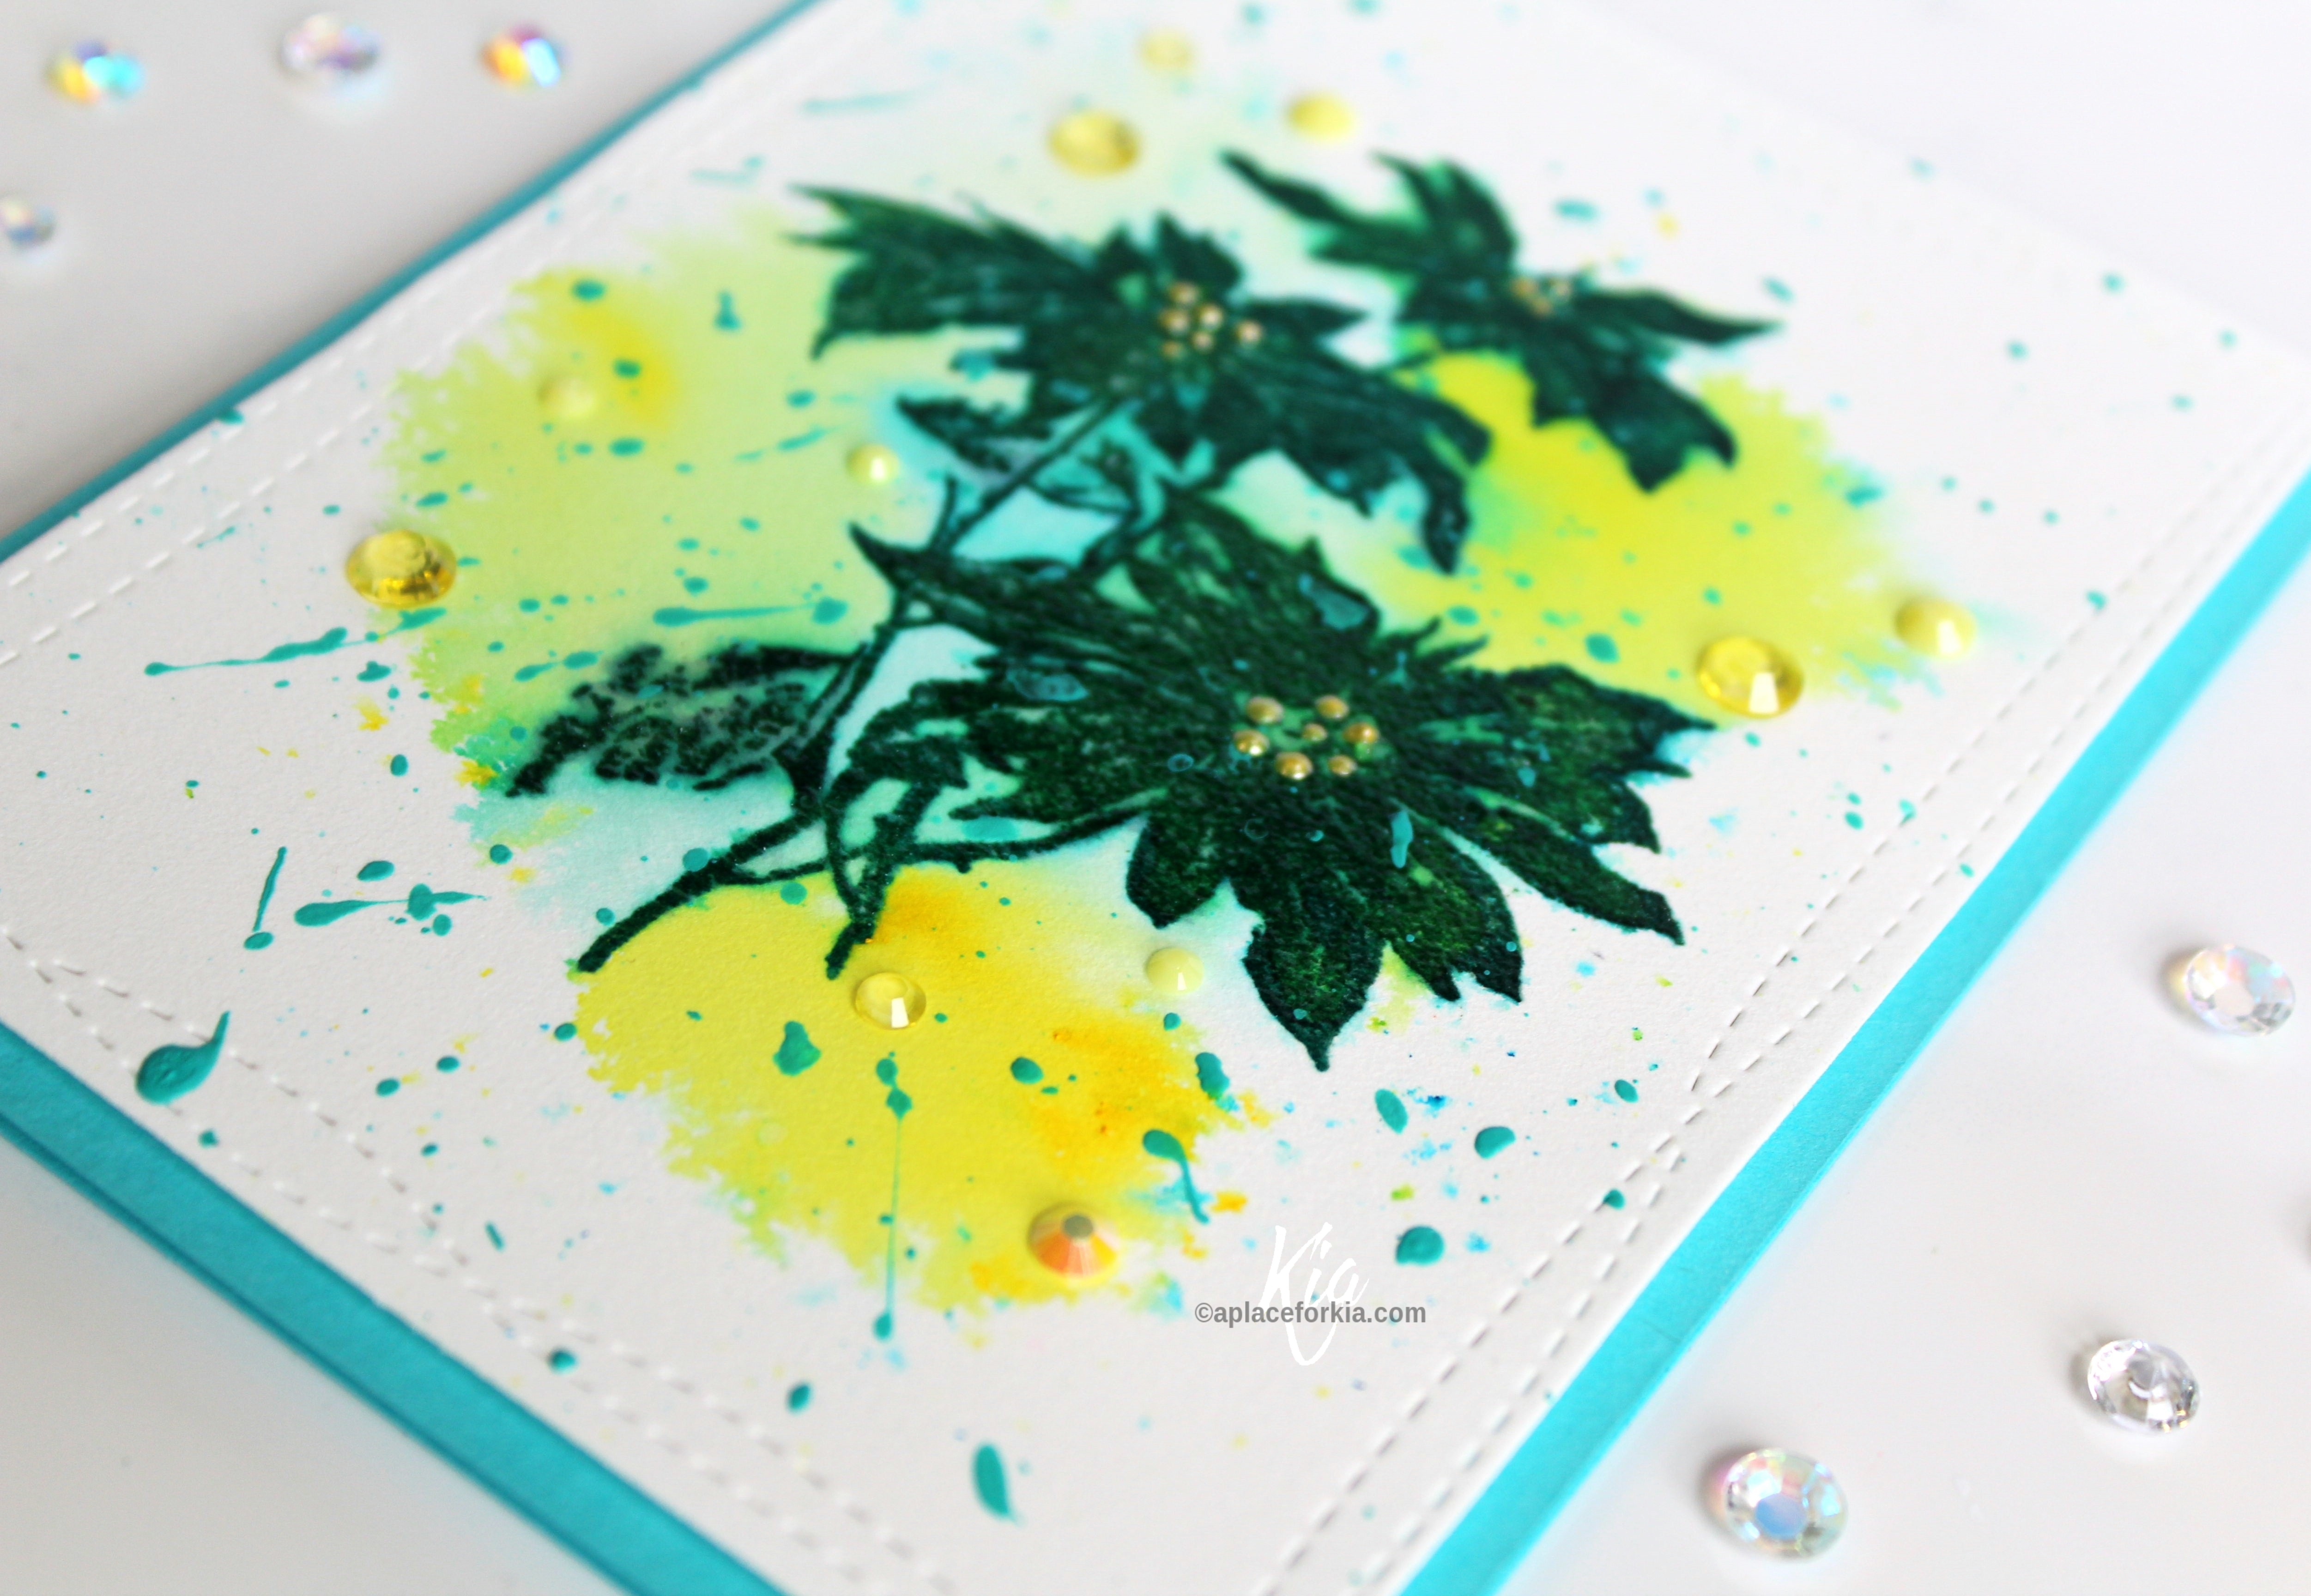
Once my panel was dry I then placed it back in the container with new saran, and sprinkled on Lemon Yellow Color Burst, again using water sparingly. As I spritzed, the colours from the previous stamp also migrated out to join the new colours. Love it! I tend to let my paints dry naturally as I think heating deadens the vibrancy of the colours, and it warps the watercolour paper. So, once the panel was dry, I attached fun foam to the back using Be Creative Tape and attached the panel, I also prepared the other side of the fun foam so I could attach the panel to my card base once I was done with the next step, which was to splatter with acrylic paint in turquoise. I used a liner brush to do this splatter, I like the differences in the splatters I get with it. I then attached the piece to my card base. Even though it was not dry, I could still finish the card. I then added Liquid Pearls (note to self, get the Dandelion Nuvo Crystal Drops) to the flower centres and a scattering of sequins to finish.
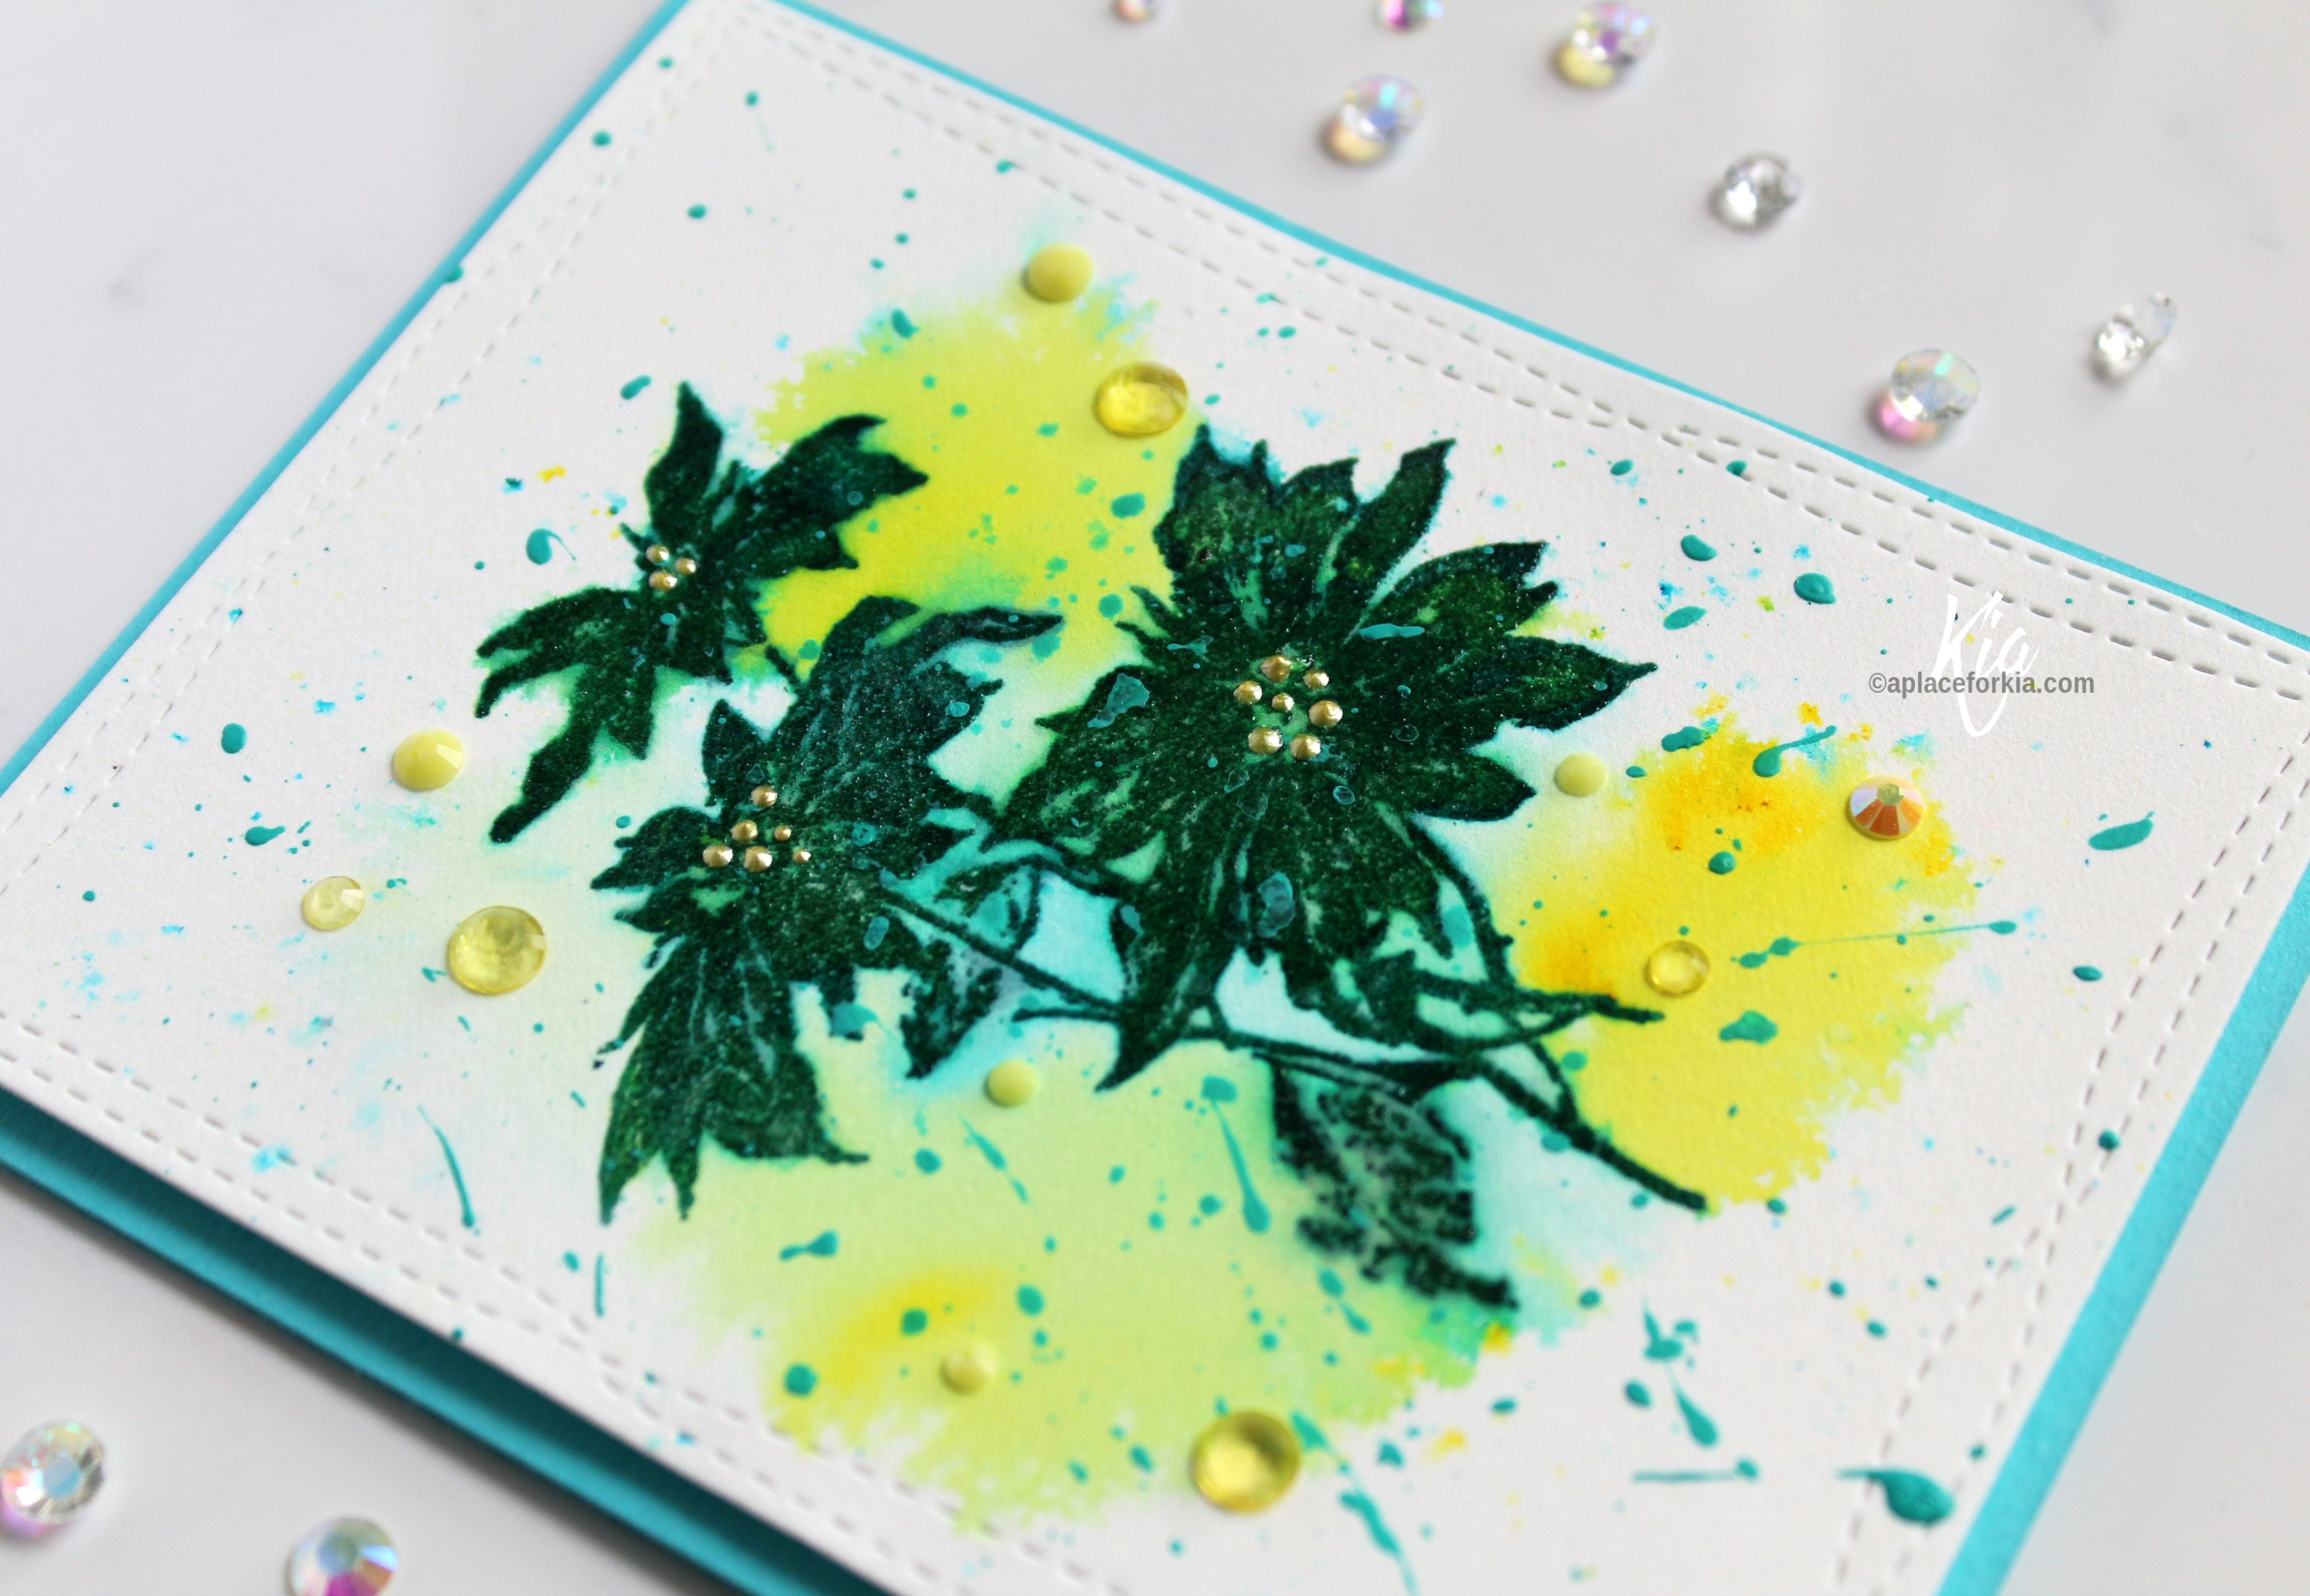
I hope you have enjoyed this card. I have other pictures of my process over on my blog in this post.
Thank you for joining us here at Scrap’n Stamp, I look forward to seeing you next time.