Scratch-N-Stamp
Search

Checkout

Keep up with Sales, New Products and other events at Scrap `n Stamp. Sign up for our newsletter now!

What's New

Hot Deals


Cuttlebug

Clean and Simple With Birch Press

Happy Wednesday Everyone! I am here today, playing with a die set from Birch Press, showing that you can keep these very busy and intricate designs clean and simple. As an added bonus, if you visit my personal blog on Friday June 28th) you’ll see another card using the leftovers from the card I’m sharing here today.
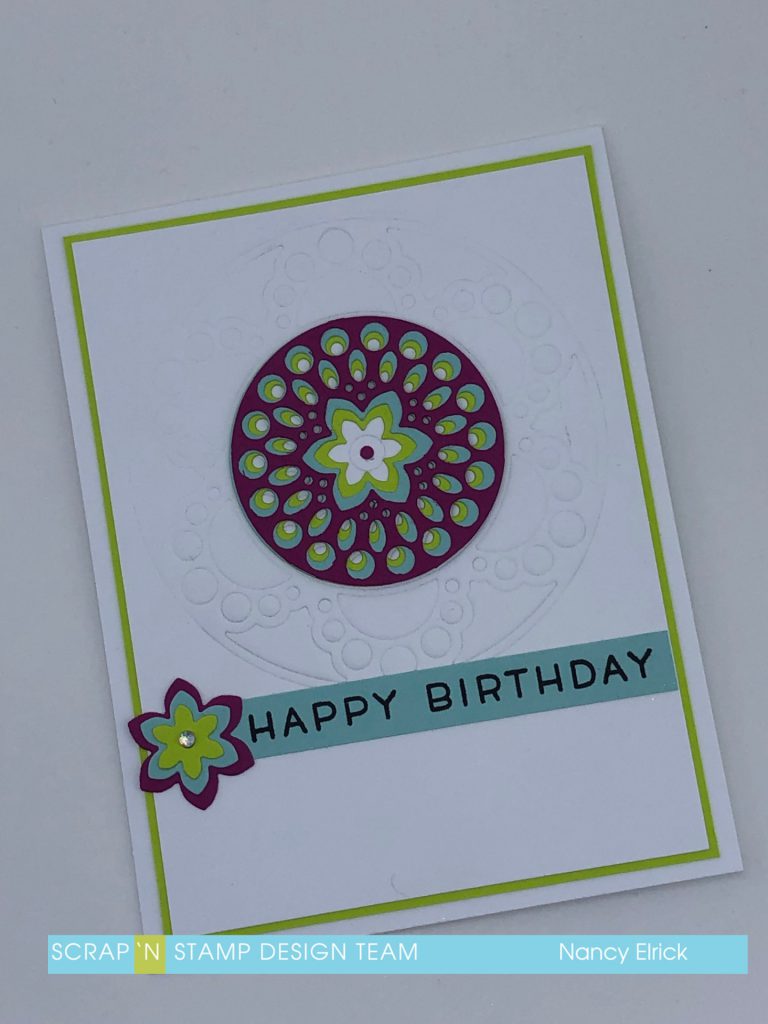
I had some fun trying some different colours to put together for this card… I wanted something bright and fun so I used a deep purple/pink colour, a light blue and a lime green along with black and white.

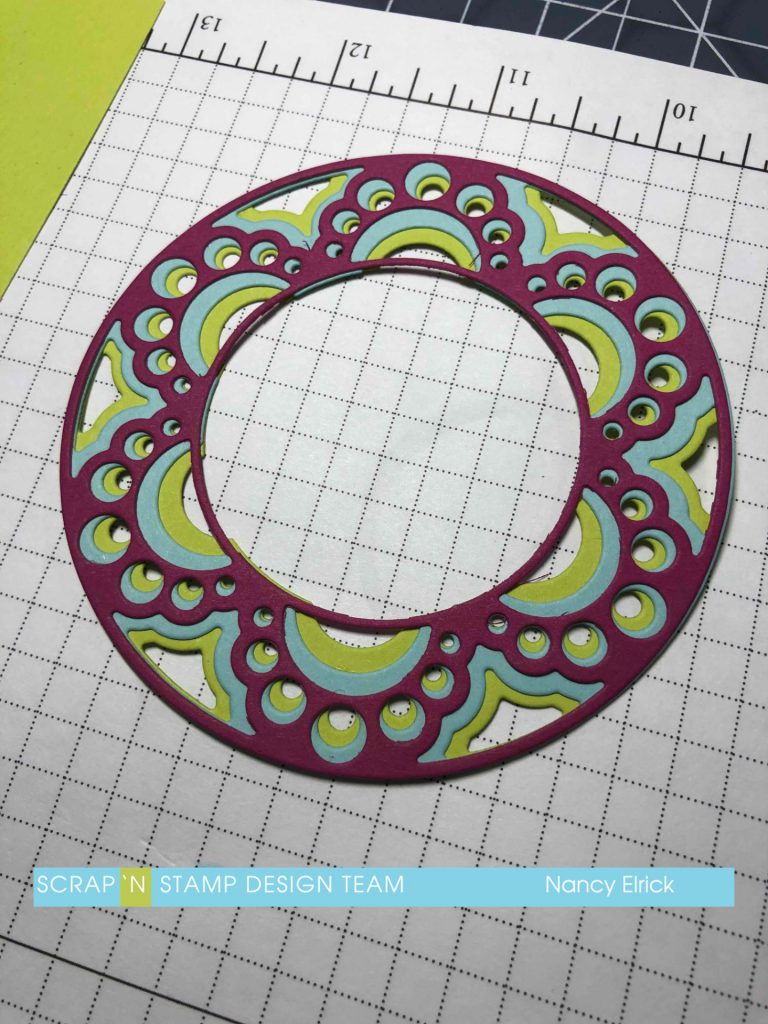
While the Birch Press layering dies seem expensive, you have to remember that there are three dies in each set… and in many cases, the centres are cut free from the outside ring of the design and you can interchange them with other sets. I didn’t do that with this card… I used the entire Bali die, but I only used the cut out portion of the centre ring. I cut each layer out of a different colour of cardstock. I put all of the layers together using liquid glue to allow for a little time to play with the layers before they stuck together completely to ensure I could get the layers as close to perfect as possible.
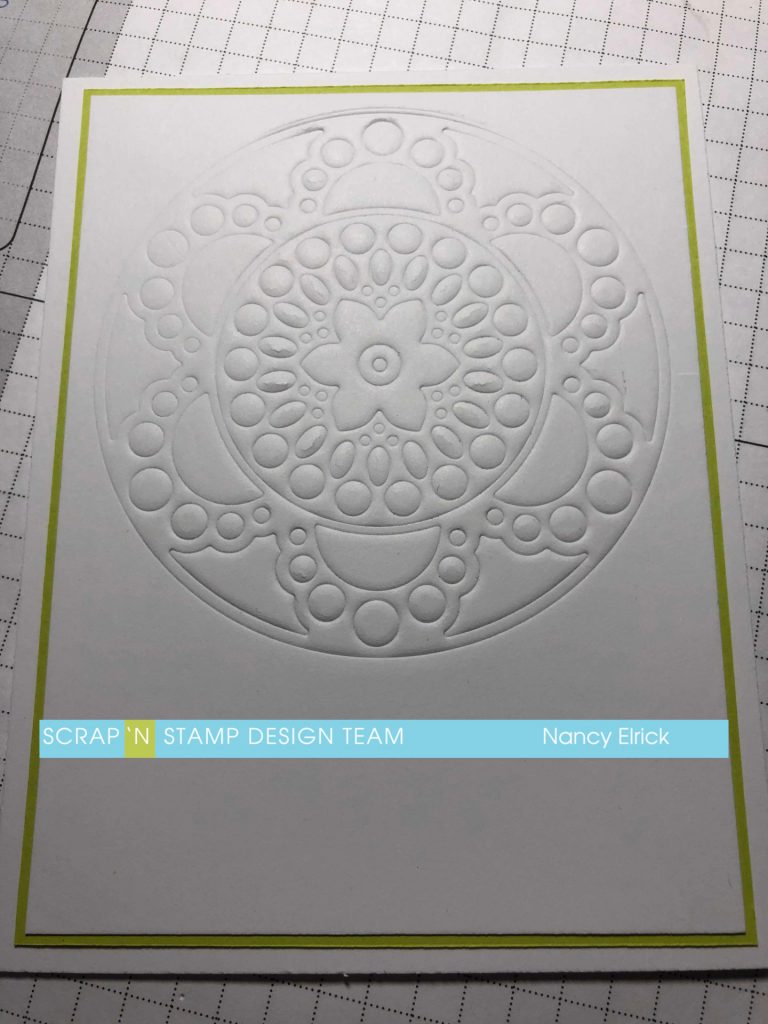
I set aside the colourful ring and grabbed the Bali A die and put it through my die cutting machine with the embossing mat. This embossed the image in to my white panel instead of cutting it out. I then layered a piece of the bright green cardstock behind my white layer leaving a 1/16″ border on all sides and then layered it all on to a top fold white card. I then added the colourful ring to the centre of the design, lining it up as best as I could. I added a small dot of cardstock in to the centre of the design for a little more interest.

To finish off the card, I stamped the Happy Birthday sentiment from Lawn Fawn Simply Sentiments in black VersaFine Claire ink on the blue coloured cardstock and cut it in to a strip. I put it on the front of the card, added flower centres from the Bali die layered together and topped it off with an iridescent gem.

This is a little sneak peek of the card that will be on my blog on Friday… I’ll hope you will pop by to see what I did with it….
Clean and Simple With Birch Press Read More »

NEW Sizzix Textured Impressions Embossing Folders

We have just received a new shipment of Sizzix Textured Impressions embossing folders at Scrap ‘n Stamp and we just had to send out a quick  news blast to let you know about them. Most of them have a Christmas theme but there is one birthday set – very cute.

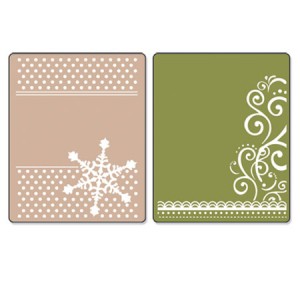
Just click on the picture or link to check them out in our store….656973 – Snowflake & Flourish Set
Set of two A2 folders that emboss a full 4 1/4″ x 5 1/2″ area.

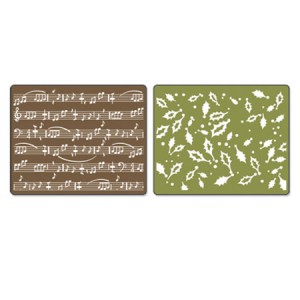
657139 – Holly Swirls & Sheet Music Set

The picture of the holly folder that came from Sizzix doesn’t show the swirls that connect the holly leaves but there are actually swirls connecting the leaves for a more overall design. This set also includes two folders that emboss a full 4 1/4″ x 5 1/2″ image. The music folder is great because it has a different orientation than other music embossing folders.

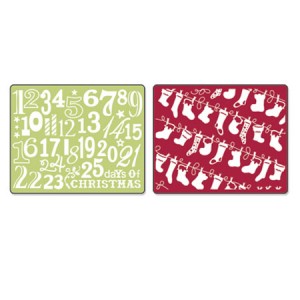
656976 – Christmas Stocking Set

This is so cute! I love all the little stockings and the numbers make a great background for cards or on scrapbook pages.

These two folders emboss a full 4 1/4″ x 5 1/2″ image.

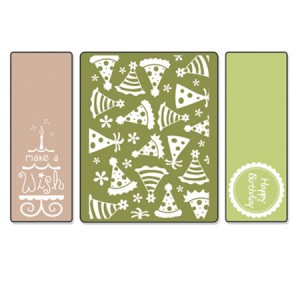
656987 – Birthday Set #5

This set of 3 folders includes one large folder that embosses an image 6 1/4″ x 4 1/4″ and 2 medium folders that emboss a 6 1/4″ x 2″ strip. Don’t you love all the party hats?

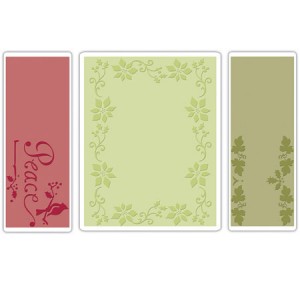
656988 – Peace Poinsettia Set

Another set of 3 folders with a beautiful poinsettia border on the larger folder and simple sentiment & border images.

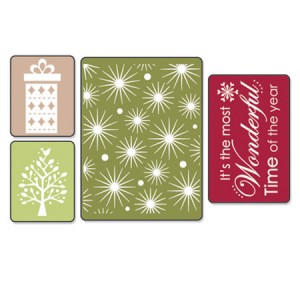
656984 – Starry Night Set

This set has four folders. One large, one medium & two small. Other than the Christmas sentiment I think you could use all the other images any time of year which makes this a very versatile set.

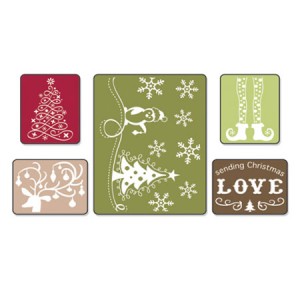
656985 – Sending Christmas Love Set

These set of 5 includes one large folder and four small ones. Whimsical & fun images.

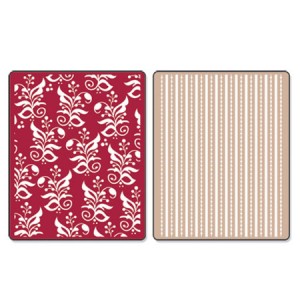
657137 – Botanicals & Beaded Ribbons

This is a very versatile set that can be used year round. The embossing folders give you a full 4 1/2″ x 5 1/2″ image.

And, last but not least…

656986 – Season’s Greetings Set

Set of 3 folders – one large and two border folders with contemporary designs.

These folders will all work in the Big Shot, Vagabond or Cuttlebug die cutting and embossing machines and can emboss cardstock, paper, thin metal sheets and vellum.

NEW Sizzix Textured Impressions Embossing Folders Read More »

Tuesday Tutorial: Thinking Outside Your Nesties – Part 1

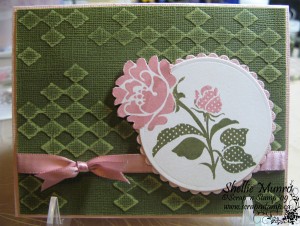
Hi everyone. This tutorial was put together by Shellie for us last year but I decided that it was time to feature it again because the technique is so much fun. It’s a great way to use your Nestabilities that has a real ‘wow!’ factor and it works with all kinds of shapes – circles, ovals, squares, rectangles, octagons and even the different labels. The key is to choose a stamp that is larger than the size of your Nestie so that it will go ‘hang’ over the edge.

Here is the original tutorial using regular stamps and Part 2 will show you how to use the same technique with our Studio K Digital Stamps.

Thinking Outside Your Nesties:

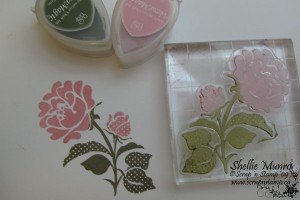
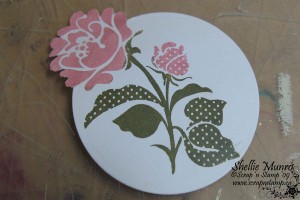
1. Select a stamp and then coordinate it with a Nestie is slightly smaller so that part of the image will be outside the Nestie shape. I chose  a floral image and inked it with Sage & Pink Petunia VersaMagic  dewdrop ink pads.

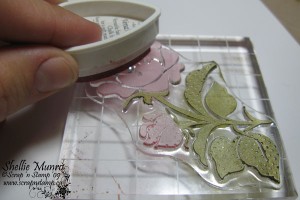
I used the direct to stamp technique to ink the different colors on my flower.

The shape of these dewdrop ink pads is perfect for inking small areas.

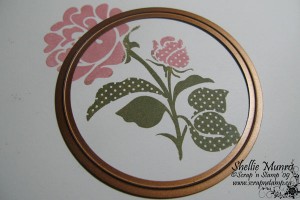
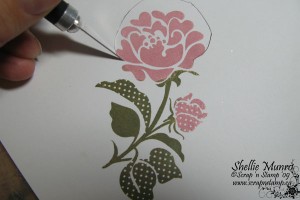
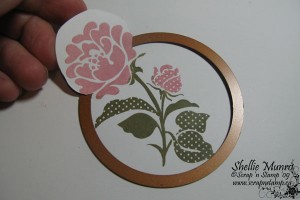
3. Choose a Nestie that fits the main part of your image allowing part of it to ‘hang out’ of the Nestie.

I used the  Large Standard Circles but you could use other shapes like ovals, octagons or one of the labels sets. Just lay the Nestie over your stamped image and try it out to see if you like it. Try different kinds until you find the one that you think will look the best.

4. Using your craft knife cut around the part of your image that will hang outside of the Nestie. Make sure you cut right against the image where your Nestie will sit.

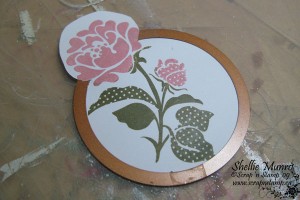
5. Place your Nestie over your image making sure your cut area is on top of the Nestie.

6. Run your Nestie/image stack through your Big Shot or Cuttlebug.

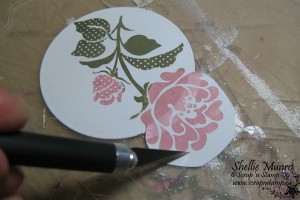
7. Cut around the rest of the image that was outside your Nestie with scissors or your craft knife.

This is what is will look like when you are done.

To Finish The Card:

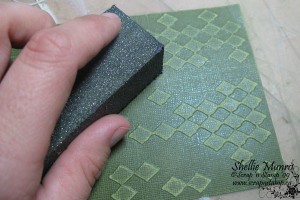
1. Emboss a piece of Core’dinations Cardstock using the Diamonds in the Rough CuttleBug Embossing Folder.

Once embossed gently sand the raised image using a sanding block.

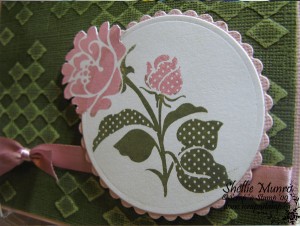
2. Create a border for your stamped image using the coordinating size of Petite Scalloped Circle Nestabilities.

Layer the card elements, add a little ribbon and you are done!

Thanks for dropping by. Hope you give this fun technique a try.

Happy crafting!

Shellie

© Scrap ‘n Stamp Canada 2010

Tuesday Tutorial: Thinking Outside Your Nesties – Part 1 Read More »

Free Shipping Anywhere In Canada