Scratch-N-Stamp
Search

Checkout

Keep up with Sales, New Products and other events at Scrap `n Stamp. Sign up for our newsletter now!

What's New

Hot Deals


Embossing Folders

Hot and Cold Embossing

Hi Everyone!

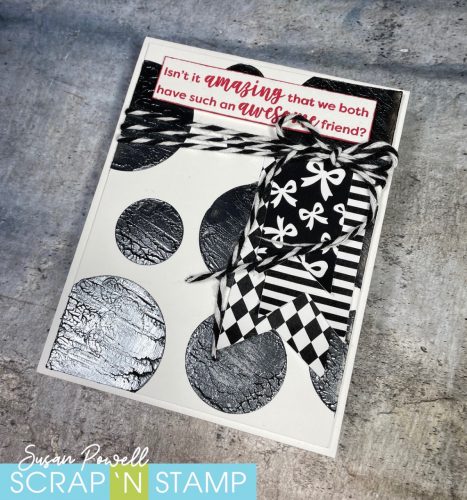
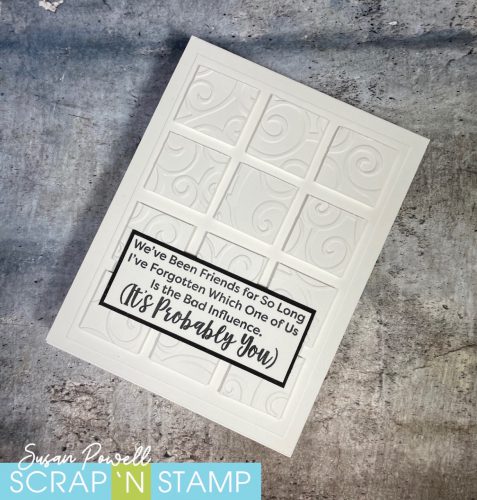
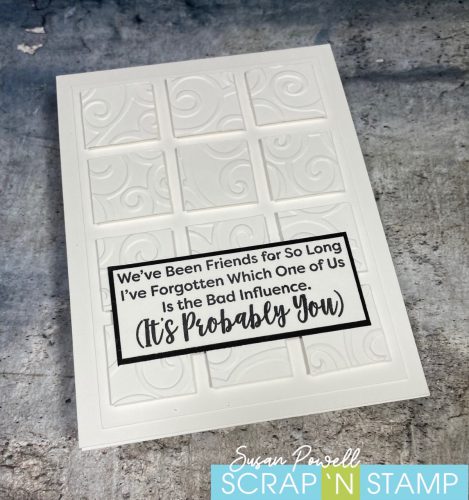
It’s Susan here with day 28 of the Random Acts of Cardness challenges and todays challenge is to use embossing on your projects. I chose to use an embossing folder (cold) and to heat emboss the sentiment (hot).

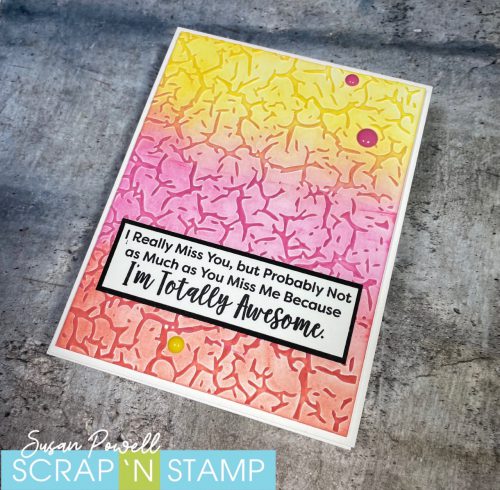
I started with the Taylored Expressions Peaceful Poinsettia Embossing Folder and a piece of watercolor card stock cut to 4 x 5 1/4″. I grabbed No.024 Wine Red and N0.052 Bright Yellow and scribbled them onto an acetate sheet.

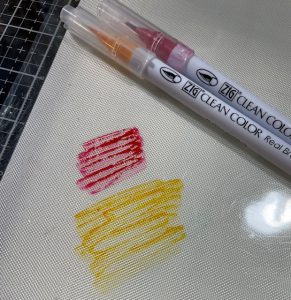
Next I spritzed it with some water.

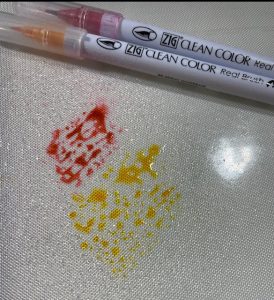
Then pressed the watercolor card stock into the puddles of ink until it was all covered.

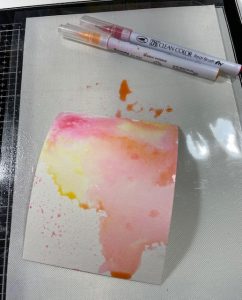
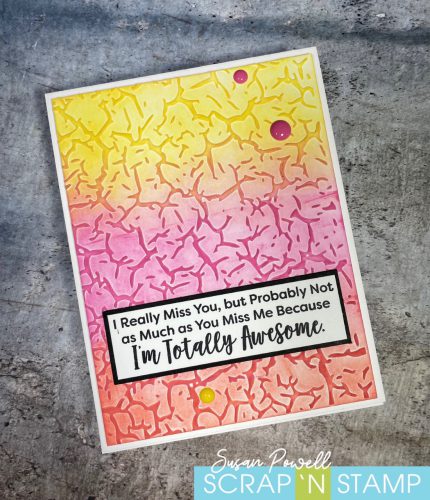
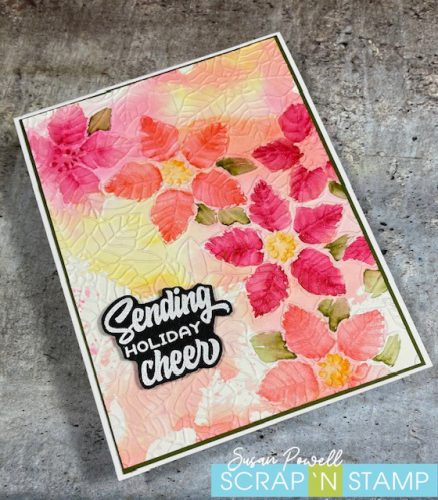
After I covered the whole panel I dried it with my heat gun. I used the peaceful Poinsettia Embossing Folder to emboss the inked panel then set about coloring it in. I used the same two colors I used for the panel and added No.021 Light Carmine and No.043 Olive Green to color in a few of the flowers and leaves. I did this by adding ink directly to the bottom part of the petal that I wanted to color then using a water brush I blended the color to the full petal. Some petals have two colors and some have the same color twice. Letting it dry after the first layer then adding more of the same shade in a smaller area is a great way to stretch your colors into more shades of the same color. I hope that makes sense.

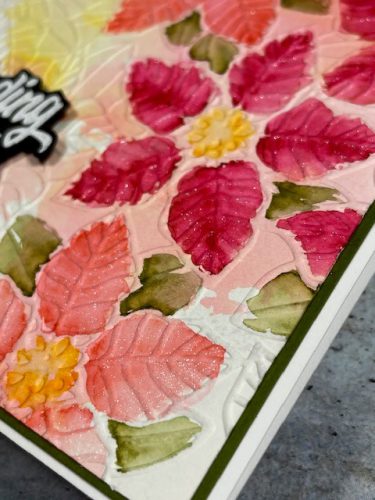
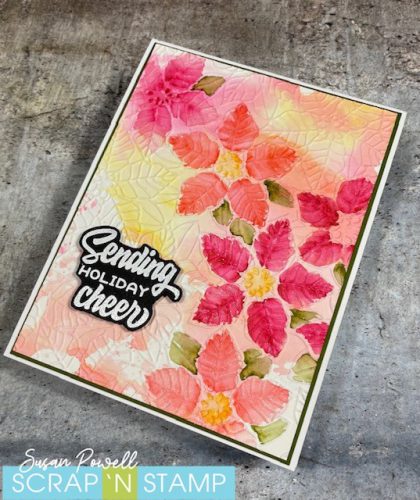
Once I finished coloring the panel I layered it onto a piece of the dark olive card stock from the Hero Arts Sampler Pack than adhered that to a white card base. I used a clear sparkle pen to add some sparkle to the petals of the flowers.

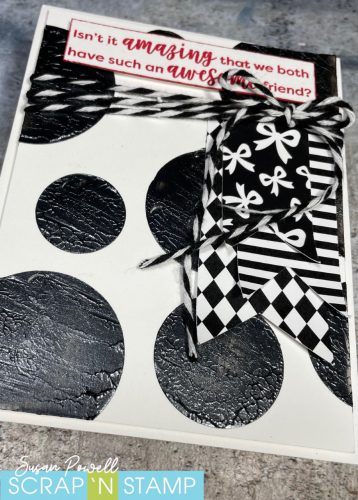
I used a sentiment from Taylored Expressions Beautiful Baubles Add-ons Stamp Set. I embossed it with white embossing powder onto black card stock then fussy cut it out. I added some craft foam to the back and adhered that to the card.


Happy Stampin’
and thanks so much for visiting!
Stay safe everyone!!
Susan


SUPPLIES
If you’re interested in purchasing any of the supplies I’ve used I’ve listed them below. I use compensated affiliate links which means if you make a purchase after clicking one of my links below I will earn a small commission at no additional cost to you.

Thank you! I truly do appreciate your support!


Hot and Cold Embossing Read More »

Tuesday with Tara {take 304} Typed Father’s Day

Happy Tuesday!  Tara here, back with a Father’s Day card that went together really quick thanks to a background & card base I put together previously!  (Read about that background HERE– isn’t Salvaged Patina lovely with Crackling Campfire Distress Stain Sprays?). I really love this effect on the 3D typewrite texture fades embossing folder- I’ll be playing with this one some more and using the letters individually as well!

It really is a fabulous background, so I wanted to keep whatever element I added on super simple!  I remembered I have a vintage typewrite movers & shapers die by Tim Holtz (it’s retired, but there are other fun ones that are still available, like this from Hero Arts)!  I cut the die from black Cardstock and added a bit of ink to accents the details.  I used my computer to type & print the sentiment in a typewriter font.  I printed it in a few different sizes so I could pick the best fit, since I hadn’t measured first 🙂

I finished off the typewriter with a few highlights with a Nuvo Aqua Shimmer Pen for a subtle bit of bling for this masculine card.   Since I mail a lot of my cards internationally (when I actually remember to mail them- I’m the worst at that!) I kept this card fairly one dimensional.  The colors on the background have so much texture that I didn’t really feel the need to add it elsewhere!

I hope you like it, and I hope my dad will too when he finally gets it in the mail 🙂

Inky hugs,

Tara

Tuesday with Tara {take 304} Typed Father’s Day Read More »

Simple Tips for Texture

Hi Everyone it’s Susan. Todays Random Act of Cardness prompt is texture. If adding texture is something you’ve shied away from because you thought it was too hard then you might want to give these ideas a try. The ones I’m sharing today are quick and easy.

I used texture paste, some twine and patterned paper for my first card.

I used the Basic Circles Stencil from MFT and some texture paste. The stuff I used is older and not available any more but I did link to some below that would work. Before removing the stencil I used the palette knife and bounced it along the stencil to add texture. After removing the stencil and letting it dry I added it to the card base with some craft foam but first I tied some bakers twine around the top. I tucked in some scraps of patterned paper that I cut into banners and curled up the edges. I stamped the sentiment in red for a pop of color.

My second card is probably the easiest way to add texture.

I used an embossing folder to add texture to this clean and simple card. After running it through my die cutting machine with white card stock I cut it into 1 inch squares. I added the squares using craft foam for dimension to a 3 3/4 x 5″ white card stock panel and then added that panel directly to a white card base. The sentiment is stamped in black in and layered onto black card stock then adhered to the popped up squares.


My last card also used an embossing folder.

After running the embossing folder through my die cutting machine I blended on some Distress Oxide inks and added it to a white card base with some craft foam.  I added a few mini jewels and a simple sentiment to finish this one off.

How do you add texture to your cards?

Please share your cards with us over on the Scrap’n Stamp Facebook page.

I can’t wait to see what you make.


Happy Stampin’

and thanks so much for visiting!
Stay safe everyone!!
Susan
Shopping list:
Below are links to all the goodies I used, just click on the icon to be taken to where you can purchase the product.
If you use my affiliate links when shopping there is no additional cost to you, I want to say thank you and that I appreciate it and you very much!


Simple Tips for Texture Read More »

Free Shipping Anywhere In Canada