Scratch-N-Stamp
Search

Checkout

Keep up with Sales, New Products and other events at Scrap `n Stamp. Sign up for our newsletter now!

What's New

Hot Deals


Picket Fence Studios

Whimsical Winter

Hello and Happy Sunday, I hope you all have had a wonderful weekend. It feels like forever since I have posted. Life sure gets in the way of crafty fun doesn’t it, lol.
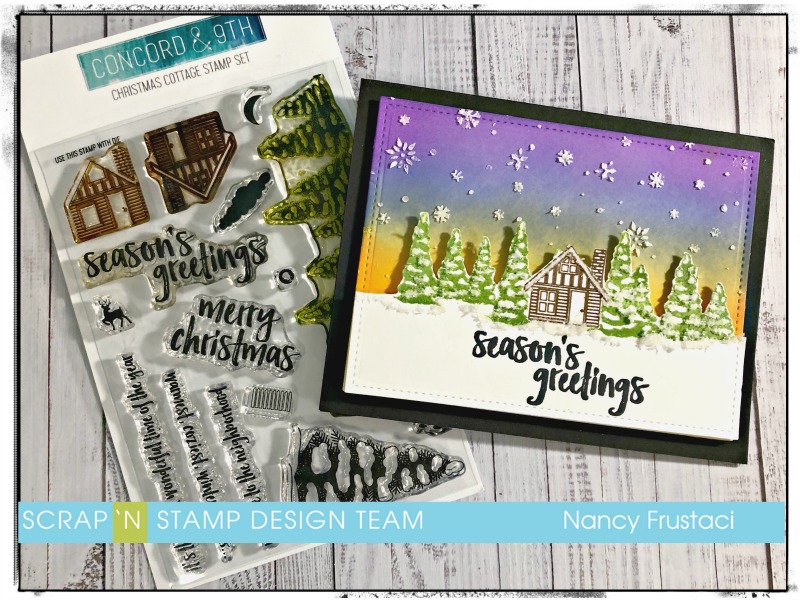
I decided to play along with the monthly challenge that we featured over at the Scrap’n Stamp Challenge page on Facebook. This month’s challenge was Christmas in July. I also used our featured product of the month which is Concord and 9th.
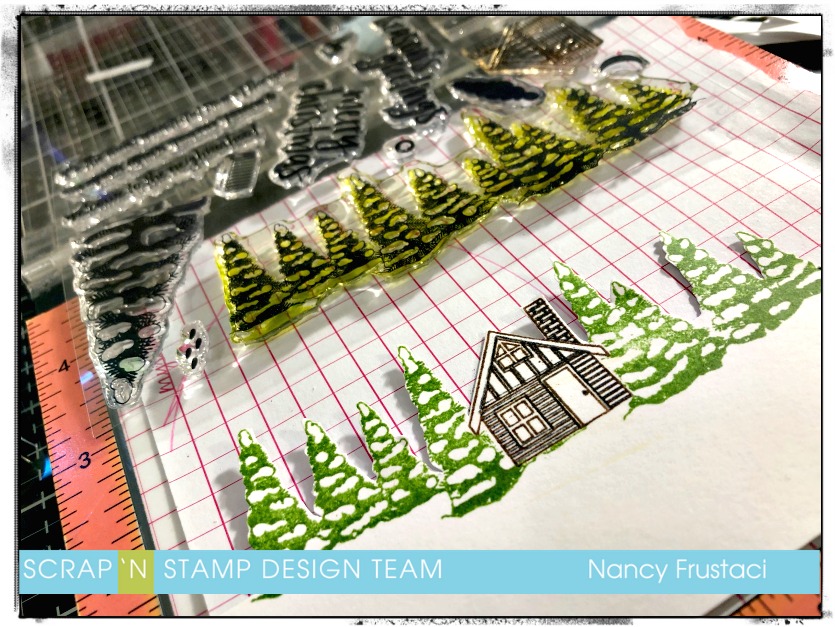
I pulled out The Christmas Cottage stamp set from Concord and 9th that I had purchased last year thinking I would create Christmas cards with it. Sadly I never touched it until this point, so yay for the challenge and product spotlight.

I began by die cutting some white card stock down to 5 1/4 x 4 using my Lawn Fawn stitched rectangle. From there, I pulled out my Misti, some inks and some masking paper to create the focal image for the card. I stamped the little cottage onto both the masking paper and the white diecut panels, using chocolate brown and black ink for the multiple layers. Once I had that done I fussy cut the little cottage mask and applied it to the stamped image, and went on to stamp the beautiful trees.
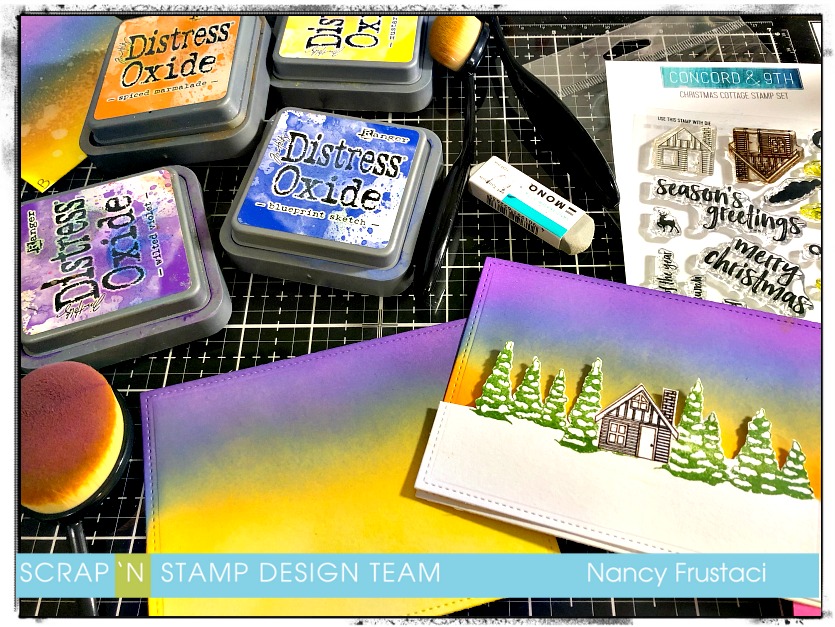
Once I was done with the stamping I actually fussy cut around the images, as I did not have the coordinating dies. At first I thought maybe I would do a shaker card but changed my mind. Instead, I decided to keep it clean and simple. I die cut a couple more panels using Bristol cardstock and the same stitched dies. I wanted everything to blend together once it was assembled. I decided to pull out my distress oxides and play around with a winter sunset, which actually turned out more like Northern lights so that’s what they are haha. Love “happy accidents” as Bob Ross would say. To create the background I did use my life-changing blending brushes from Picket Fences. I have to say I really love them, the blend is just so smooth.
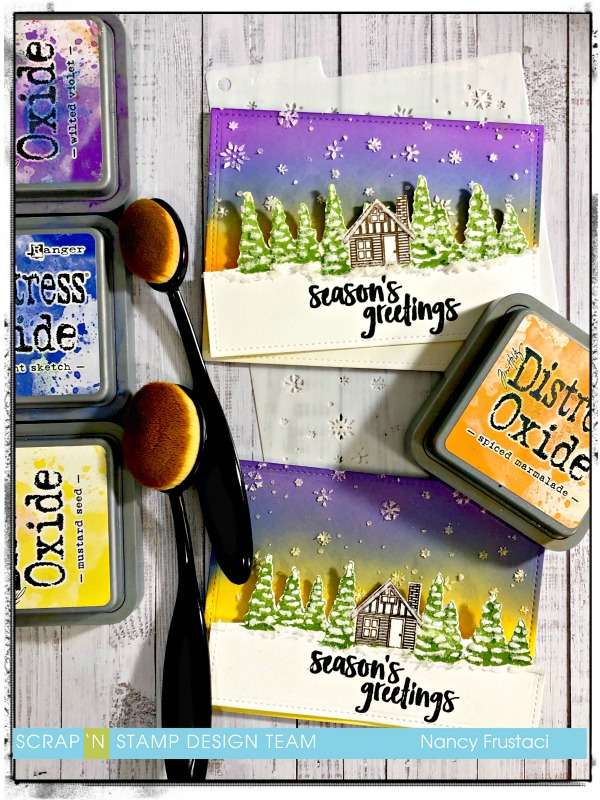
I allowed the distress oxide to settle and dry a little bit before moving on to adding the snowflake to the background. I used texture paste, some glitter and some of this Floral soft (fluffy-stuff) I had in my stash to add an extra dimension, sparkle, and interest to the scene. While I was waiting for the background to dry, I pulled out the Christmas cottage stamp set once more along with my Misti and Versa Clair nocturn ink to add the sentiment right onto the panel. Word of caution, heat set it as it takes a bit longer to dry and will smudge very easily. For one of the cards I had to cut down another panel and add a hill because I smudged the sentiment very badly.
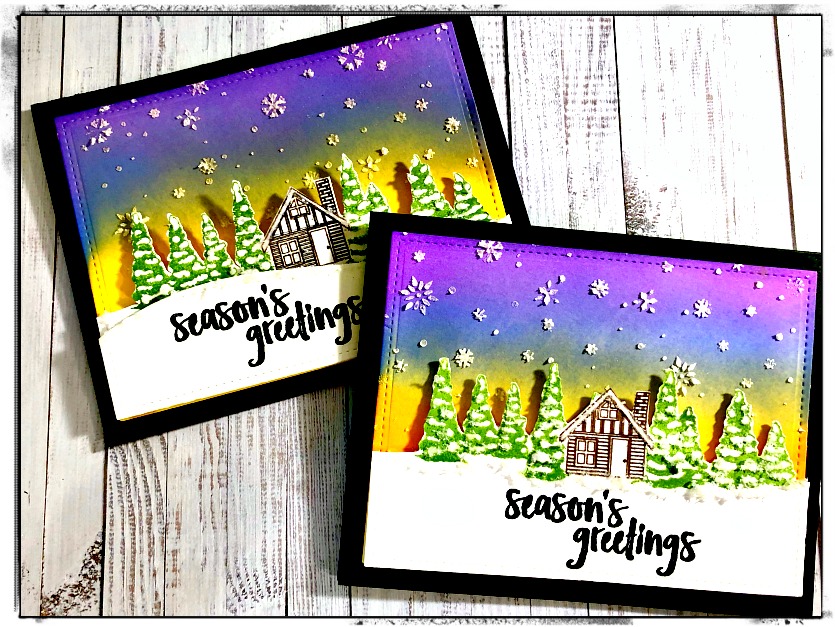
After I made sure everything was completely dry, I popped up the stamped image onto the background panel and used fun foam to adhere all of that to the black card base which measured 5 1/2 x 4 1/4 which is my typical go-to for cards. I hope you enjoyed this and found some inspiration, please come over and join the Christmas fun on our Scrap’n Stamp Challenge page, we love seeing what you create and there is a chance to win a prize as well. Share a photo of your card on our wall and get your name entered to win a $50 gift certificate to Scrap’n Stamp! You’ve got until July 31st to post. Make sure to hashtag it for another chance to win #SNSChristmasinJuly

Have a wonderful week a head

~Nancy F


Whimsical Winter Read More »

Tuesday with Tara {take 208}

Happy Tuesday!

I hope you enjoyed our Turnabout Blog Hop over the weekend- and if you haven’t checked it out yet, there is still time to hop along and leave some comments for a chance to win a $50 gift certificate to the online store!

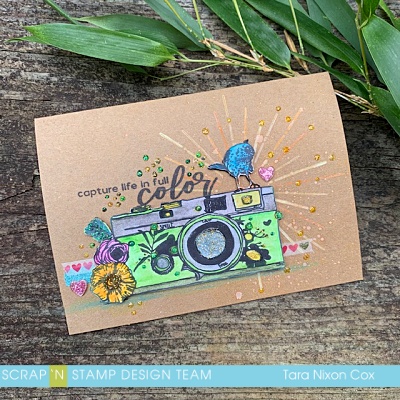
Today I’m sharing another simple card that uses the ‘Hello Sunshine’ Turnabout again, along with the same four colors of Distress Oxide Ink that I used on my card for the hop: Fossilized Amber, Spiced Marmalade, Squeezed Lemonade & Wild Honey, along with a spritz of Distress Oxide Spray in Spiced Marmalade, but this time I stamped it on a kraft card base. The effect of the yellow & orange inks on kraft is a lot more subtle, but I had something different in mind for this one… I pictured the burst design as the flash from this adorable little camera image by Picket Fence Studios!

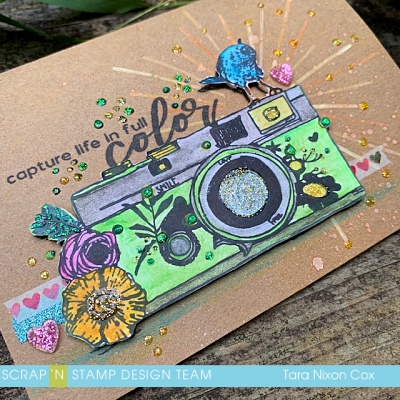
I fell in love with this “Capture Life in Color” stamp when I saw it, though I didn’t really know what I would do with it… except to make it colorful! I love pairing bright colors with kraft so I decided to give it a go. I stamped the image twice, once on white cardstock and once directly on the kraft base. I knew I would be fussy cutting the image, but thought the words would look best as part of the base rather than having a white outline around them.

After that, I did some very simple coloring with watercolor pencils (these ones by Nuvo have a nice mix of bright colors!), fussy cut my image and adhered it with 3D Foam Squares before adding some touches of glitter with Nuvo Glitter Drops in Honey Gold & Aquatic Mist. (always apply the wet stuff last! LOL). Once it sat for a bit, I decided to add some tiny pieces of washi tape and some heart bling to balance everything and add that extra touch of texture…

This card is super simple, but I think the colors and the message really POP! Hope it makes you smile, it’s a fun use for this Turnabout stamp design.

Inky hugs,

Tara

Tuesday with Tara {take 208} Read More »

Life Is Better By The Sea

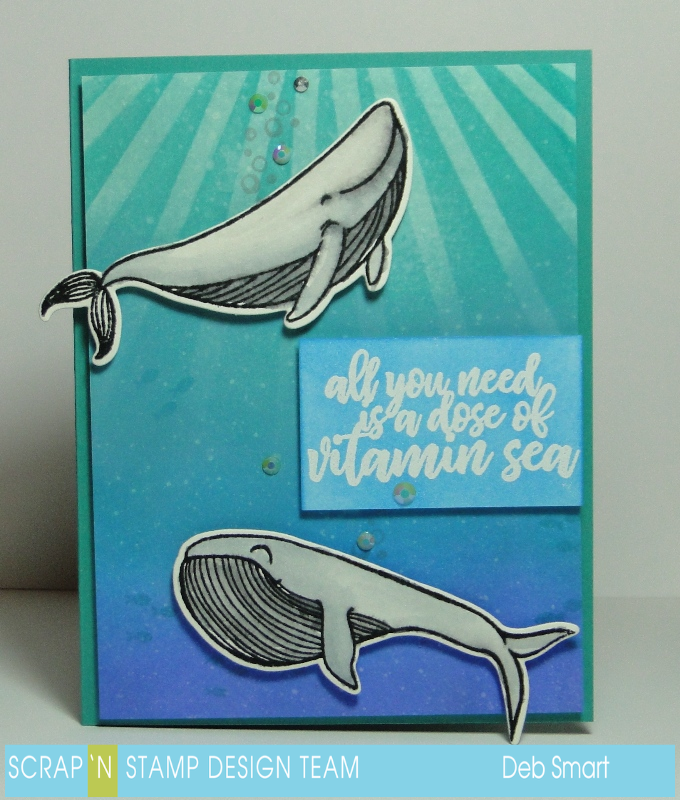
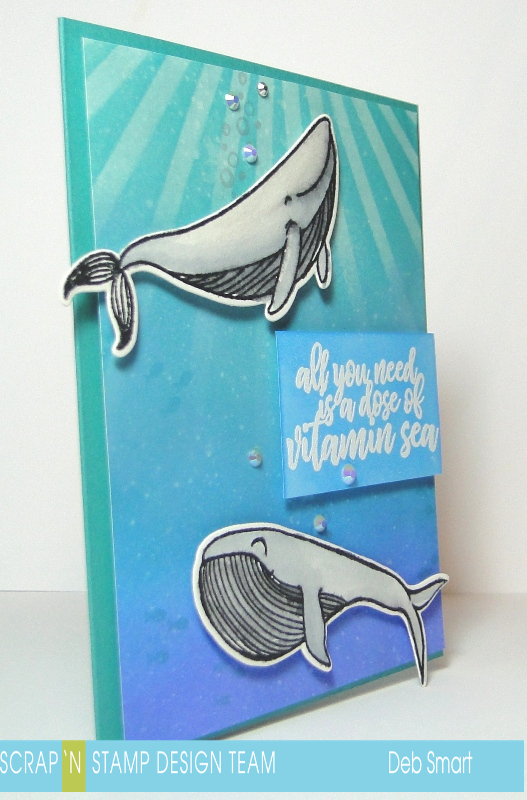
Hello stamping friend!It’s Deb here today, posting for the Scrap ‘N Stamp Design Team. Summertime weather has started here, which means that life is always better by the sea – or ocean, or lake! I’m using one of my favourite stamp sets called A Dose of Vitamin Sea, by Picket Fence Studios.

A WHALE OF A CARD

I love these whales! Don’t they just look happy to be swimming about?

Life Is Better By The Sea

I did a lot of my favourite thing – ink blending – for the background; that made me happy 🙂

BACKGROUND DETAILS

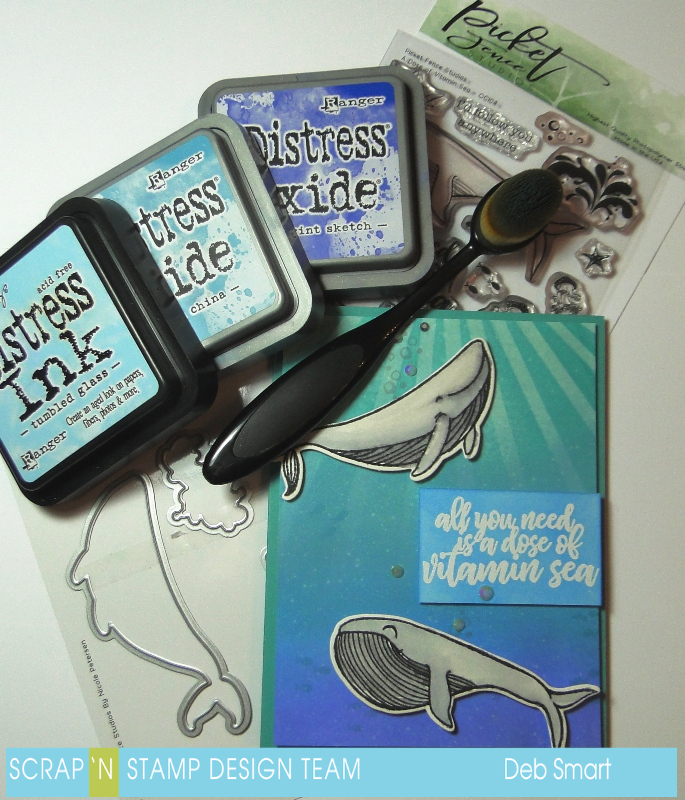
First, cut a panel of white cardstock. Use your blender brushes to add ink, creating a water background. Start from lightest at the top, to darkest at the bottom. The colours I chose are Tumbled Glass, Broken China, Salty Ocean and Blueprint Sketch, Distress inks. When you’re happy with your water, lay your stencil on top of the panel. To make sure it stays in place, I used a temporary spray adhesive, or you can use the Thermo Web Purple Tape, or even a washi tape. If you don’t have a sun rays stencil, you can always make your own if you have the Lawn Fawn Sun Rays die, and an acetate sheet!

Create the sun rays by blending Peacock Feathers Distress ink through the stencil, about halfway down the panel. Lighten the rays as you go, just as they would normally penetrate less through the water, the deeper they go.  Remove, and clean your stencil. Add a few small fish, stamping them in Salty Ocean Distress ink, randomly on the panel. Spray some water onto the panel, to create some lighter droplet areas.  Now, set aside your beautiful water panel, while you work on the rest of the details.

Life Is Better By The Sea

CREATE THE DETAILS

On a separate piece of white cardstock, blend Salty Ocean Distress ink. Stamp the sentiment in Versamark ink, and then cover it with white embossing powder. Set it with a heat tool, and set it aside.

For the whales, stamp them in waterproof ink onto watercolour paper, and allow it to dry. Use your Zig Clean Colour Brush markers in 091 Light Gray and 092 Gray Blue to colour the whales.  Next, use the coordinating Dose of Vitamin Sea Dies to die cut the whales.  Lay your whales on the panel, and stamp some bubbles above them, in a light gray ink.

Now you can attach the whales and the sentiment to the water panel, with foam tape or squares.  Add a little bling by attaching some small rhinestones, near the stamped bubbles. Now you can finally attach your image panel to an aqua cardstock base. There you are – these happy whales prove that life is better by the sea (or in their case – in it!).

ARE YOU INSPIRED?

Is life better by the sea for you? Or do you prefer a lake, or pool? Whichever you prefer, I hope that my card has inspired you to add a water theme to your crafting! I’ve attached links, where possible, to the products I’ve used in my card. Online shopping is quick & easy – and it’s like Christmas when it arrives at your door! Thanks for spending some time with me today – happy stamping!

Life Is Better By The Sea

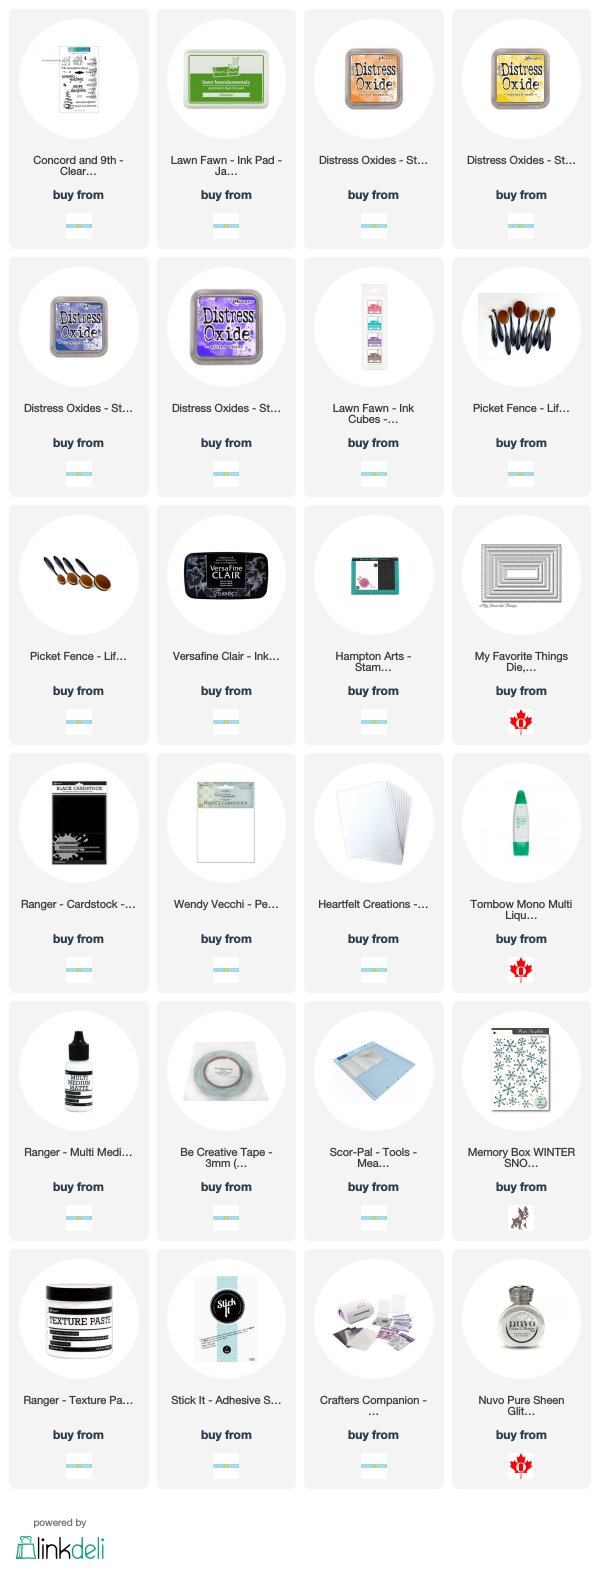
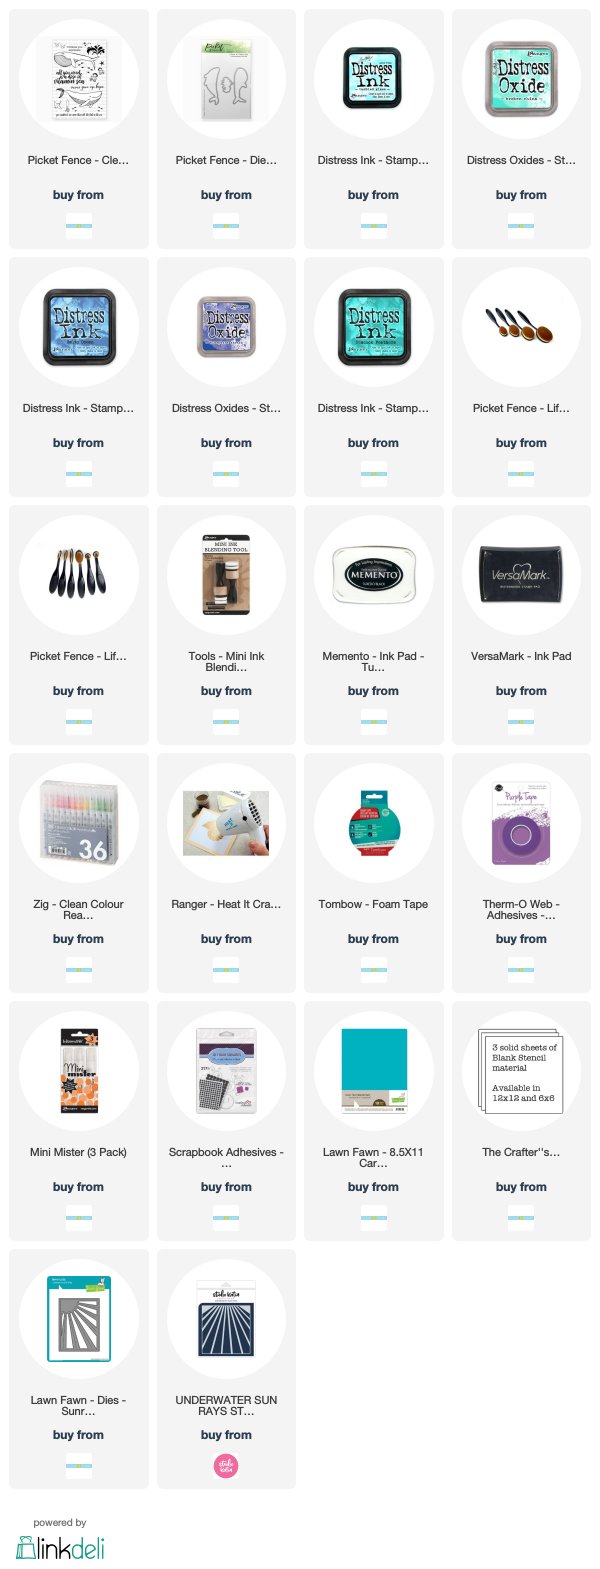
Compensated affiliate links are provided where available, at no cost to you. Your purchase through these links provides me with a small percentage, which helps keep my blog going,  to share with you! Thank you in advance!


Life Is Better By The Sea Read More »

Free Shipping Anywhere In Canada