Scratch-N-Stamp
Search

Checkout

Keep up with Sales, New Products and other events at Scrap `n Stamp. Sign up for our newsletter now!

What's New

Hot Deals


Slimline

Friend Bloom

Happy Birthday Scrap’n Stamp!

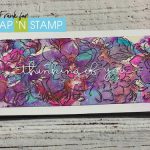
I am thrilled to be with you today to celebrate and share with you two cards I have made for today, using the new Daniel Smith Watercolour Dot card.

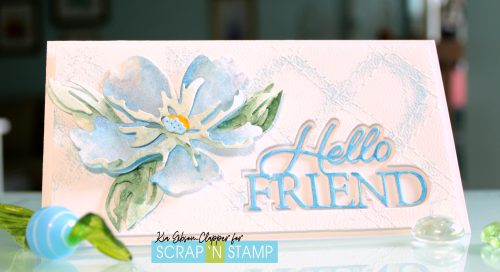
On both cards I used the beautiful Memory Box Gentle Blossom, which I loved painting. Both cards also have the same embossed backgrounds, using different colours and layouts.
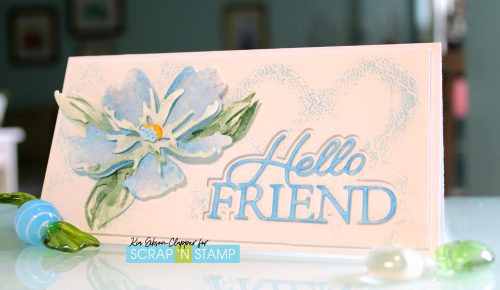
This card looks darker as I turned it away from the light of the window. I started with the flower doing my first layer using Lapis Lazuli Genuine.

It is a colour that I do not have as yet, but it is on my wish list. It made a beautiful base colour for this card.

I dried each layer of colour as I went along with my painting on both cards.

I then added in my main colour, which is Irridescent Electric Blue, doing a few layers using this colour, then blending in with Irridescent Sapphire.
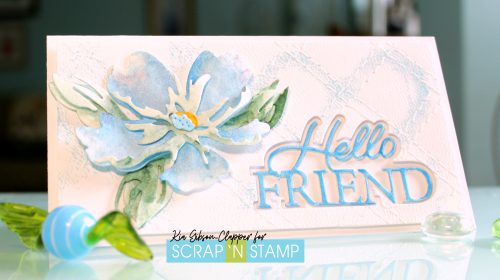
For the leaves and leaf centre I used Jadeite Genuine along with Cascade Green. The flower centre has a light wash of the Irridescent Electric Blue and Aussie Red Gold.

The background was done using the Quilted embossing folder with Tumbled Glass Oxide rubbed on the folder before running it though my Gemini. I then die cut the sentiment out using the shadow for the sentiment.

The sentiment is die cut 3 times, with the Fabriano Hot Press paper attached to the top piece.

I then attached the embossed piece to the card using foam tape. I styled the flower pieces and glued them together using Nuvo Adhesive, then attached to the card panel using foam squares.

I painted the sentiment using the Irridescent Electric Blue for several layers to achieve the dark colour.
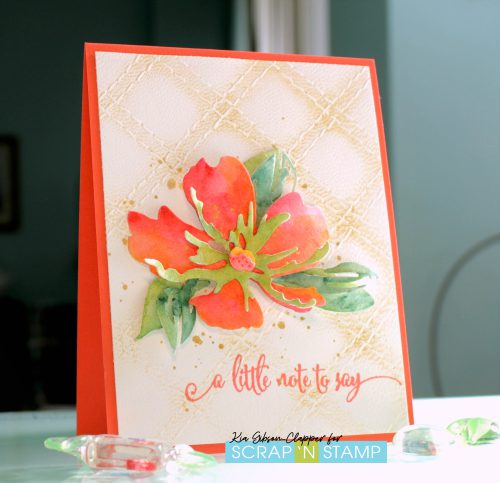
This is “A Note”.

I am using the same dies and embossing folder for this tent card.

On the embossing folder I used Delicata Gold ink, then splattered using Gansai Gem colours in gold and attached the piece to my card base.

For the flower and leaves I am using Fabriano Hot Press watercolour paper. I decided that I wanted this card to have a saturation of the Coral colour, however I did not start with that colour.
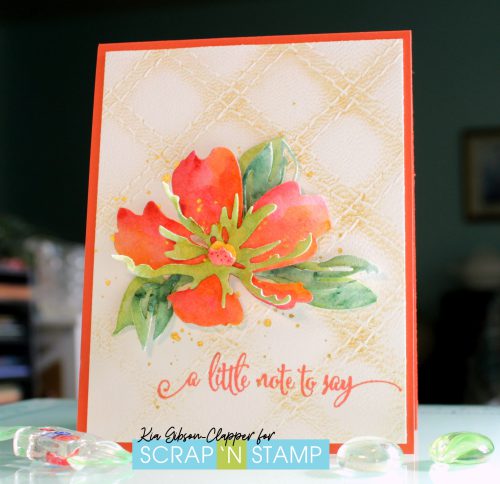
I first applied a base colour of Rose Madder Permanent. I then blended in Raw Sienna Light, and finally the Quinacridone Coral.

When finished adding the Coral I added splatters to the flower using the Gansai Gem Gold colour.

For the leaves and greens I used Cascade Green along with Serpentine Genuine. The flower centre is the Coral along with the Aussie Red Gold.

Once all the layers of colour were completed I styled the flowers and leaves, gluing them together and adding them to my card using foam squares.
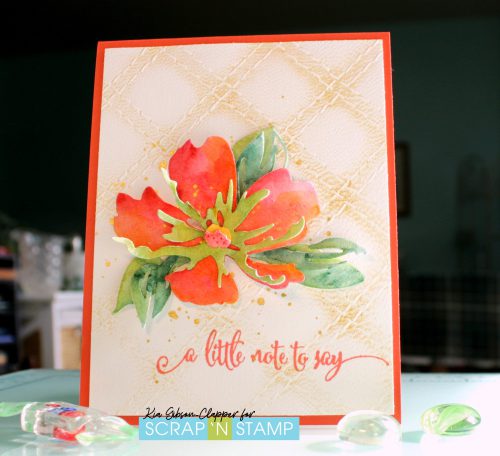
Once all the layers of colour were completed I styled the flowers and leaves, gluing them together and adding them to my card using foam squares.

To finish up I stamped the sentiment using VersaFine Clair ink in Tulip.

I hope that you have enjoyed this rather long post today. I very much enjoyed using the Dot card to paint my cards and think it is the perfect way to check out the colours by Daniel Smith.

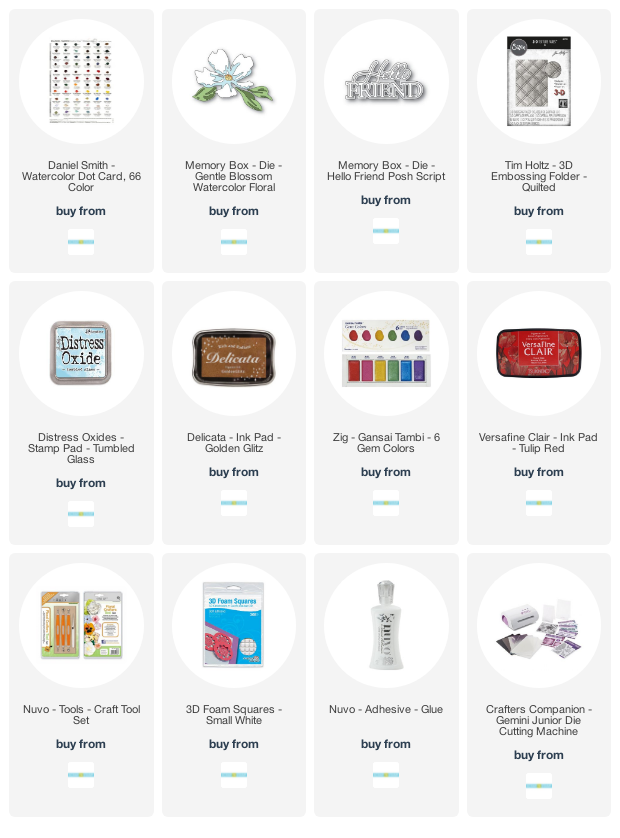
Following are Affiliate links to the Store for the products I used for these cards, at no extra cost to you.

Friend Bloom Read More »

Random Act of Cardness Day 12 – Stencils

Hi Everyone!

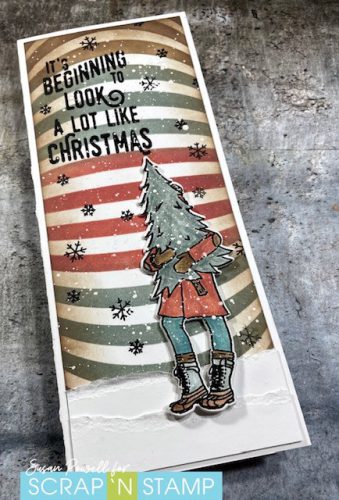
I hope you’re having a fun weekend. It’s Susan and I’m here to share some fun using the prompt from today’s Random Act of Cardness, That prompt is Stencils. I chose to use three different stencils – one was slimline and two were 6×6 – and make three slimline cards with them. I have video showing the process with each stencil but not how I made the cards. The video would’ve been too long if I did that too.

To watch the video please click HERE.

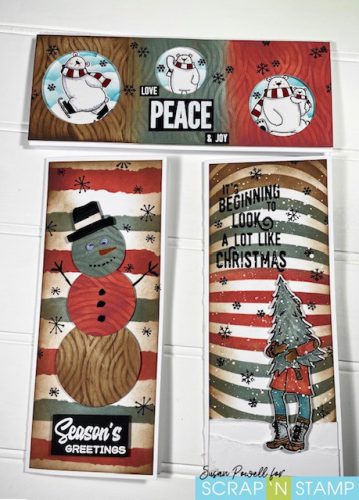
Below are the cards I made. If you have any questions about any of them, please leave me a comment here or on my YouTube channel and I will get back to you asap.

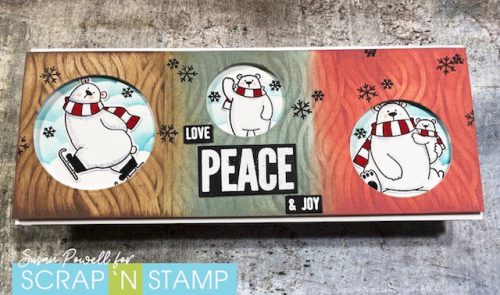
The first card uses the Wave to Me Stencil from Heffy Doodle. I paired it with the Polar Bear Pals from MFT,  the Full of Joy Stamp Set from C&9th, and the cloud stencil from MFT. The snowflakes are from the Avery Elle Snow Fun Stamp Set. I colored the images in with Tombow markers.

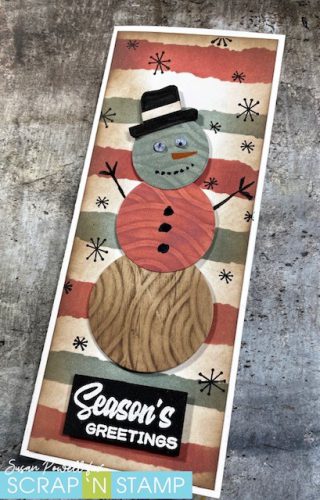
The second card uses the Heffy Doodle Broad Strokes Stencil and the circles I cut from the card above. The sentiment  and the snowflakes are from the Beautiful Baubles Add Ons from Taylored Expressions. I used some markers to draw the rest of the snowman and his hat.

The last card uses the Festive Friends from C&9th and Avery Elle’s Snow Fun for the snowflakes. I colored the image in with the same Distress Oxides I used on the panel plus the Broken China Distress Oxide. The snow is just torn card stock.

Happy Stampin’
and thanks so much for visiting!
Stay Safe Everyone!!
 
Susan
SUPPLIES
If you’re interested in purchasing any of the supplies I’ve used I’ve listed them below. I use compensated affiliate links which means if you make a purchase after clicking one of my links below I will earn a small commission at no additional cost to you.

Thank you! I truly do appreciate your support!


Random Act of Cardness Day 12 – Stencils Read More »

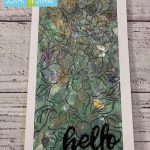
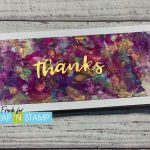
Slimline Alcohol Ink Gel Prints

Happy Sunday Funday!

Chala here and I am sharing some fun slimline cards using the Alcohol Ink Gel Print technique.

Today I pulled out several products to play around with including the Lavinia Boblong Printing Press, which is perfect for slimline gel prints, the Lavinia Leaf Mask, Mandala stencil, various Alcohol Inks, Pink Fresh Studio Heartfelt Thanks Stamp Set and various sentiment dies, acrylic white paint and brayers.

This technique is easier to watch than explain, so I have created a video of today’s cards.  Go ahead and click HERE to watch and see how I created 6 fun cards!

If you are not into watching the video, I will do my best to explain.  You want to drip some alcohol inks onto the gel print and use the brayer to move the ink along the surface.  Be mindful of what colours you choose as you do not want to create mud.  The important thing to remember is to let the alcohol inks dry between the layers.

Once the ink has dried you can now use a stencil and lay it on top of the gel plate.  I like to use my brayer to help lay the stencil flat on the plate.  Next add a few more drops of alcohol ink and again, you can use your brayer to help blend the colours.  The more ink you use the longer you will have to wait for it to dry before proceeding with the next step.  After the ink has dried again, you can now remove the stencil.  To clean my stencils I use hand sanitizer, you can also use isopropyl alcohol or ink blending solution.

The next step is to use a small amount of white paint (although you can use other colours and eve add in perfect pearls to add shimmer) and brayer a thin layer overtop of the alcohol inks.  Then lay your carstock on top.  I like to use an old gift card to smooth over the back of the cardstock to ensure I am lifting as much of the image as possible.  Then slowly pull the cardstock back to reveal your masterpiece.

I continued this process with several backgrounds and even used Alcohol Ink Pearls to add a beautiful shimmer to the background.

I trimmed the backgrounds down to fit onto a 4″ x 8.5″ slimline card base and adhered with some Art Glitter Glue.

You can finish the backgrounds off by adding stamping or simple die cut sentiments or even fun Tim Holtz Paper dolls. The possibilities are endless!  For my die cut sentiments I heat embossed with either gold or clear embossing powder to help the sentiments stand out.

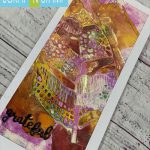
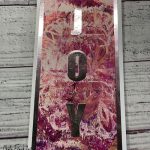
Here is a look at the finished cards.

I hope you enjoyed todays slimline cards and technique and that it has inspired you to give this technique a try!

Thanks for stopping by and enjoy the rest of your day!

~Chala

Slimline Alcohol Ink Gel Prints Read More »

Free Shipping Anywhere In Canada