Scratch-N-Stamp
Search

Checkout

Keep up with Sales, New Products and other events at Scrap `n Stamp. Sign up for our newsletter now!

What's New

Hot Deals


backgrounds

Bounty of Backgrounds

Hello Again!  It’s Chala and I am back to share a bounty of backgrounds with you!  I will be using two simple techniques to create 9 cards!

Since I created so many cards it may be easier for you to watch the video.  It is a bit on the longer side, running approximately 24 minutes, but you can always skip through what you don’t want to watch.  You can click HERE to watch the whole process and see all 9 cards I created.

The first technique I used was the “smooshing” technique with Watercolour Markers.  You can use any watercolour markers you have on hand.  I used some cheap Artist Loft as well as Zig Real Clean Brushes.  I love this technique for the cool loose backgrounds you get.  If you don’t have watercolour markers, don’t fret!  You can also use this technique with your Distress Inks!  Just smoosh them onto some acetate, squirt water and lay your panel down.  Just keep in mind where you put your colours down to avoid making “muddy” colours when they blend.

I let the panel soak up the “smooshed ink” until the panel starts to curl up.  You can then lay it down again to cover any spots that may have been missed.

I did four panels that were “loose” and the last panel I created I tried to control the scene a bit more as I wanted a “beach” feel.

I then went through my stash and found several dies and stamps that I haven’t used in a while to layer over top.  I will provide a list below of the items I can link to.

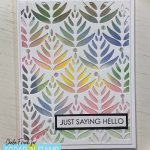
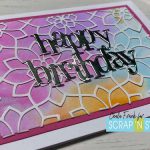
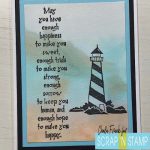
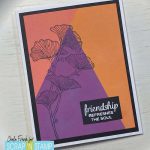
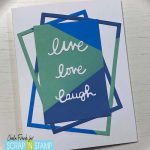
Here is a look at a few of the cards I created using this technique
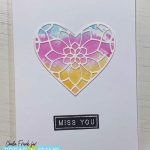
The next technique I used was overlaping Distress Oxide Ink blending with some masking.  Watch the video to find out how I avoided a sticky disaster!

This created some beautiful and bold backgrounds and it even created some custom colours by layers two different distress oxide colours on top of each other.  These beautiful backgrounds really speak for them self, so I just added some simple stamping and/or die cuts over top.  Here is a look at three of the cards I created using this technique.
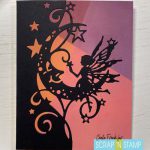
Again, I really encourage you to check out the video to see the entire process of how these cards came together.

I hope these cards have given you some inspiration to create your own bounty of backgrounds!

As promised ,here is a list of materials used with links where available.

Materials:

MFT Rectangle Stax set 2 – similar – Hero Arts Nesting Rectangle Dies

Post-it removable labelling tape

Artist Loft Watercolour Markers

Zig Real Brush Water Markers

Distress Oxide Ink in:  Spiced Marmalade, Abandoned Coral, Seedless Preserve, Cracked Pistachio, Faded Jeans, Salty Ocean

Blending Brushes

Concord & 9th – Alphabet Die set

Stencils

Birch Press Viola Die Plates

Birch Press Kinsley Heart Layer set

Elizabeth Craft Dies – Leaf Pattern Background

Creative Expressions Luna Fairy Edger Die

Lavinia Stamps Dandelions

Hero Arts – Thinking of You stamp set

Stampers Anonymous Beautifully Braided

Gems/sequins

Art Glitter Glue

White cardstock

Coloured Cardstock

Wendy Vecchi Make Art Stay-tion

Tim Holtz Glass Mat

Stay crafty my friends!

-Chala xoxox


Bounty of Backgrounds Read More »

Tuesday with Tara {take 305} Big Hugs

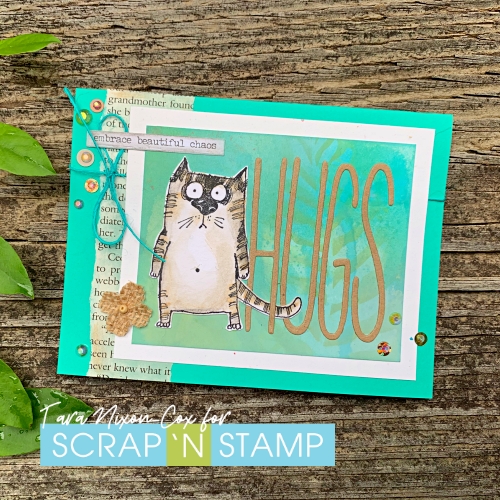
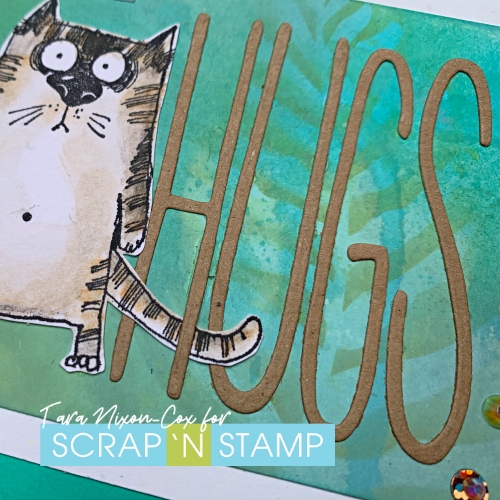
Happy Tuesday!  Today I’ve got a card inspired by my sister, Joy.  She is a giver of AMAZING hugs and she recently welcomed a snuggly tabby cat into the family… so I decided to pair a snarky cat stamp with the Twiggy Hugs die by Memory Box!

I did some simple, scribbly watercolor on the cat and cut him out of white card stock.  I cut the ‘hugs’ from a variety of papers, but decided on simple Kraft on an inked background (which I did during the same crafty session as the one in my first- and only so far, ha!- video).

The rest of the card is pretty simple assembly- a scrap of book print, some sequins, bling, twine & a sticker.   I did make sure to wrap his little tail around the letters like a bit of kitty cat affection.  I love how the height of the cat is so similar to the height of these letters!  They will be fun to work with and I’ve got a few ideas brewing for things I can pair with them…

I’m sure looking forward to the day when I can get big hugs from friends & family that are so far away… but for now, paper hugs like this will have to do!

Inky hugs,

Tara

Tuesday with Tara {take 305} Big Hugs Read More »

Tuesday with Tara {take 198}

Happy Tuesday!

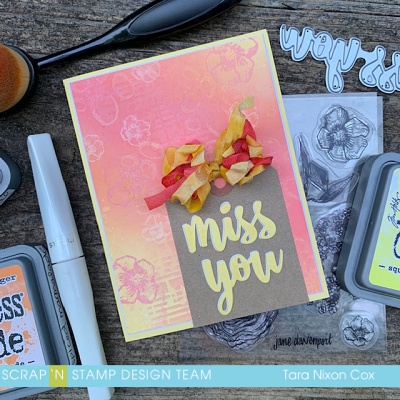
Today I’m sharing another card that features a fun, inky background with Distress Oxide Inks. Back when we had our blog hop at the beginning of the month I was torn between the color combo I used and this one… both of which featuring the springy shade “Squeezed Lemonade“. Today my combo includes Spiced Marmalade & Abandoned Coral, blended together with a Life Changing Blender Brush.

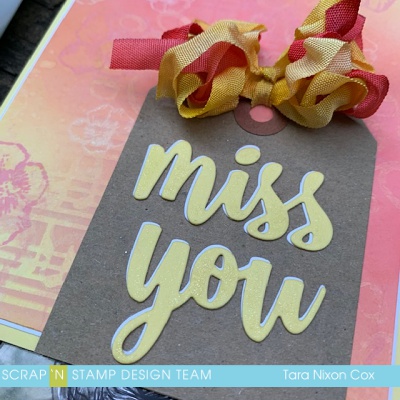
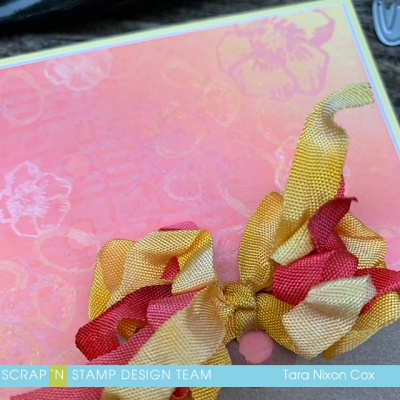
I stamped over the background with some floral images by Jane Davenport and added some ink through a stencil as well. I misted and splattered water and finally added a few more stamped images from Tim Holtz’s Media Marks set. It was a fun layered background, but was hard to know when to stop since I could have easily kept adding more layers of ink! I wanted a bold sentiment that would pull out the lemonade color, so I chose to cut this “miss you” by MFT out of a pale yellow cardstock by Lawn Fawn with a thin layer of white (which was also my base for the inked background). I adhered them together just slightly offset and brushed a bit of Wink of Stella over the letters for a hint of sparkle. I almost mounted the sentiment directly on the background… but in the end decided to add a kraft tag with some crinkle ribbon in darker shades of the same colors to finish it off.

It’s a simple card, but has some great details when you get a closer look! Here’s another angle of the blended background…

There is still time to join along in our facebook group and share your ‘Background Check’ creations! It’s been fabulous seeing what everyone is doing with this theme! Hope you’ll join us!

Inky hugs,

Tara

Tuesday with Tara {take 198} Read More »

Free Shipping Anywhere In Canada