Scratch-N-Stamp
Search

Checkout

Keep up with Sales, New Products and other events at Scrap `n Stamp. Sign up for our newsletter now!

What's New

Hot Deals


backgrounds

Background Check Blog Hop

Welcome to the Scrap ‘N Stamp April Blog Hop!  We are so glad you are here with us today to get some inspiration on a fun variety of ways to create backgrounds using the Life Changing Blender Brushes that are new in the SNS online store!
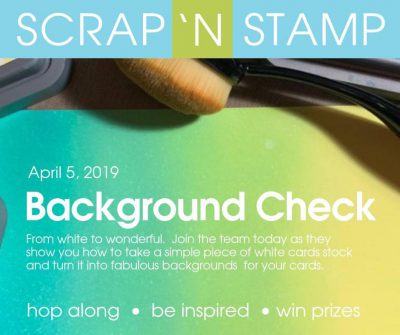
Here’s the full hop order!  You’re at the beginning with me (Tara) and my card!  If you get lost anywhere along the way, just pop back here for the next link 🙂  Don’t forget to leave comments along the way for a chance to win fabulous prizes… we are giving away 8 Background prize packs and one $50 gift certificate to random commenters along the way! BONUS: You can have 20% OFF the brushes this weekend using the coupon code BRUSH20 (ends Sunday!)

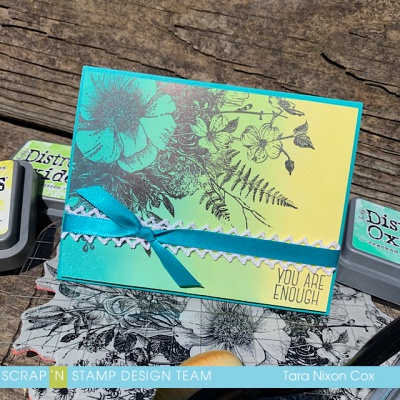
I made two similar cards for today’s hop- here’s a look at them together:
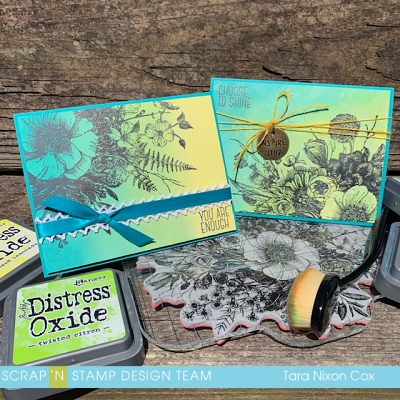
For these cards I wanted to feature a simple ombre type background to let this HUGE stamp shine- it’s Glorious Garden by Tim Holtz and it comes with four simple sentiments and a grid block big enough for the design (I was super excited to see that, though I used it with my stamp platform).  I am brand new to these brushes and a pretty die hard fan of the Ranger Blending tools, but I found these easy to work with and create smooth ‘line free’ blends with my Distress Oxide Inks (for both cards I used Squeezed Lemonade, Twisted Citron, Cracked Pistachio and Peacock Feathers).  They were also really easy on the hands, which I’ve heard from a lot of people who struggle with gripping tools.  There are several smaller set options if you aren’t ready for the full set of brushes (or don’t have the budget- I totally get it!).  I think the 2 pack sampler would be a great start!

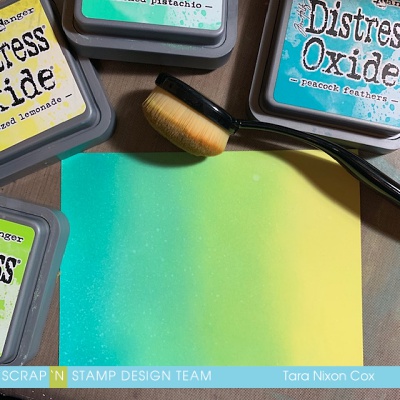
My ‘before’ photo of my first card is actually the graphic for the hop, but here it is again so you can check out those smooth blends… I only misted a tiny bit of water to add a bit of oxidization.
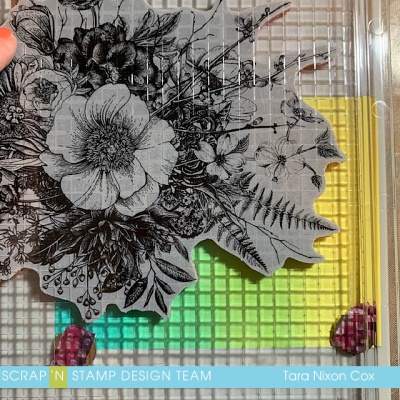
Here is what the stamp placement looked like in my stamp platform.  I used Versafine Clair and stamped twice to make sure my impression was perfect.
I wanted to keep these cards really simple, so just added a bit of ribbon with some lace behind it.  When adding ribbon to a top layer like this, I have a little trick I use to keep the knot (or bow) in exactly the right spot.  First, I cut the ribbon so it’s plenty long (at least 3-4 times the width of the layer, ) and tie the knot/bow in a loop, like this:
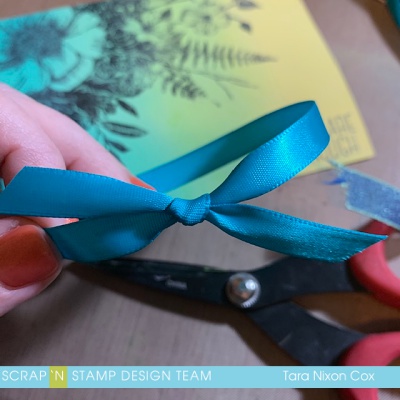
Then I find my perfect spot and snip the ribbon so it has overhang on both sides, which I will adhere to the back of my card.
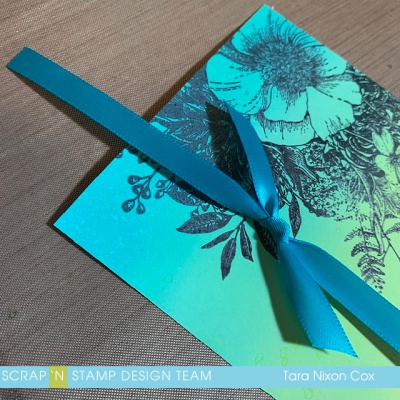
The amount of overlap doesn’t really matter, as long as there is enough to tape securely (it may be 1/2″ on one side and 3″ on the other… nobody will know!)  Here’s another look at that card:
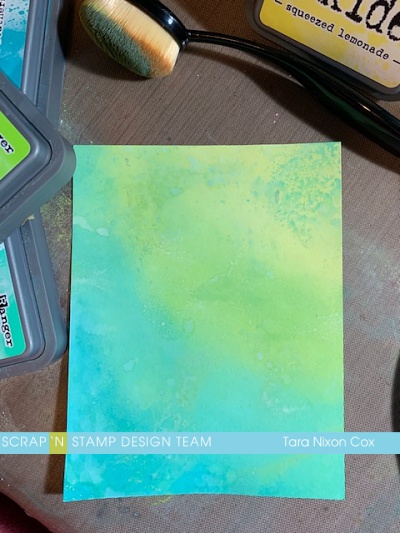
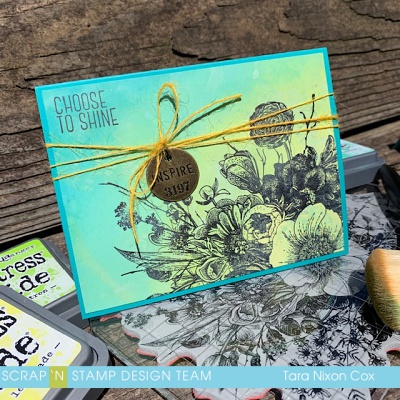
For my second card, I did a diagonal ombre and added a bit more oxidization with some wet, inky layers on my craft sheet.  I wanted the yellow to be in the big blossom this time, with the design coming up from the bottom right corner.  Here’s a peek at my background before I stamped on it.. love that subtle oxidization!
And here’s the finished card!
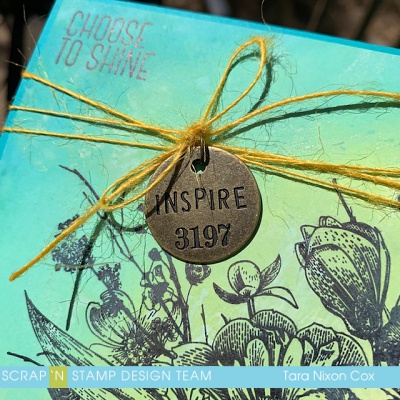
I went for yellow twine and a Tim Holtz charm to finish it off:
The cards are very simple, but the fabulous backgrounds and that gorgeous floral stamp really shine.  I hope you like them!  I’ll have a similar card design on a very different background to share with you on Tuesday, so please check back!  If you are ready to try your hand at creating fabulous, inky backgrounds, please join us on our Challenge Page!  We’d love to see what you create (and you’ll get another chance to win a gift certificate!).


Hop on over to see what Nancy E. has created next!

Have fun hopping!

Inky hugs,

Tara

Background Check Blog Hop Read More »

Alcohol Ink and Acetate Backgrounds

Hi Again, Chala here for today’s blog!

I was looking around my craft area and realized I have a lot of craft supplies that I have not even used yet!  Something new will come out and I just HAVE to have it….but, sometimes the chaos of my life takes over and these supplies will sit for weeks, months and sadly even years before I get a chance to play with them.  That is how I feel about my alcohol inks.  I have used them a bit, but not nearly enough!  So, I decided to pull them out along with some acetate and a few stamps and dies that I have purchased but have not yet used.  Some of the dies have been sitting so long I don’t even know how, when or where I got them from!  But I am glad I am using them now!

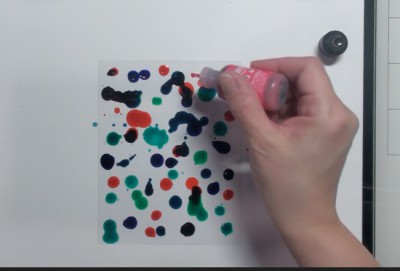
To start, I gather all of my alcohol inks.  The colours I currently have are Patina, Pool, Aquamarine, Amethyst, Coral and Flamingo.  (However, I have also seen the new Pearl Alcohol Inks and I think I might need to purchase some of those!!)  I also grab my Blending Solution and my Starbucks reusable straw to help mix the colours.

I have some acetate cut down to standard A2 size (5 1/2″ x 4 1/4″).  I start to drop colours onto the acetate.

I then add some of the blending solution to help move the colours around. I will pick up the paper and move it back and forth to get things flowing.   I also grab the straw and blow air to help move the ink in particular areas  (To see how each background was created I suggest you watch the YouTube video). I add more of the alcohol inks and blending solution as I go along until I get the look I like. This is not something you can necessarily “teach”.  I recommend you just play around until you get something that you like.  Each person will have their own preference of when to stop or keep going.  If you absolutely hate the result you can do one of two things.

1.  Set it aside!  Chances are once it dries you will like it.

2. You can use some rubbing alcohol and a paper towel and wipe it all off and start over!

 I suggest you try to set it aside first.  That is what I did with some of mine.  I will even show you in my YouTube video what I did with the ones that did not work out or I did not particularily like as a background.

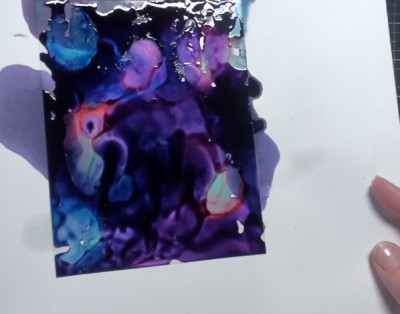
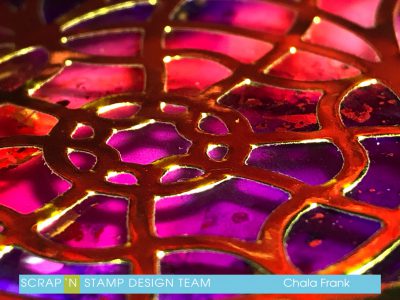
I will make a few backgrounds using different colour combinations and blowing techniques with the straw.  I will also add silver and gold deco foil to a couple of them before they dry completely to add a little shimmer and shine!  Here is a close up of one of those backgrounds.

The picture just does not do it justice!  They turned out super cool!

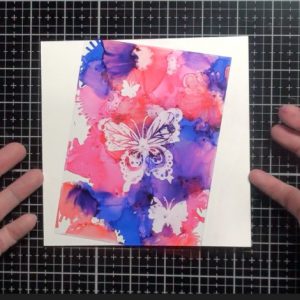
From here there are SO many things you can do!  I begin trying out the Alcohol Lift Ink.  I tried using some detailed stamps and some with larger surface stamp areas.  I like to use the Tonic Stamp platform because you can turn the lid around to use with clear or cling rubber stamps.  I apply the Alcohol Lift Ink liberally onto the stamp, close the lid down onto the inked acetate and apply even pressure.  I then open the lid, slide out the acetate and re-stamp onto white cardstock.

Then I bring back the acetate and with a paper towel I dab up the excess alcohol ink and then buff the surface with a clean area of the towel.  The detailed stamp didn’t give me the results I had hoped for on the acetate… but the stamp with larger surface area turned out well.  Here is how that one looks.

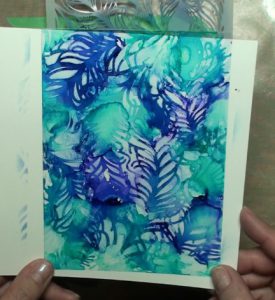
I encourage you to take a look at the stamps you have and play around!  I even tried using a stencil and  lifting the ink with a foam ink blender and the Alcohol Blending solution.

The possibilities are absolutely endless!

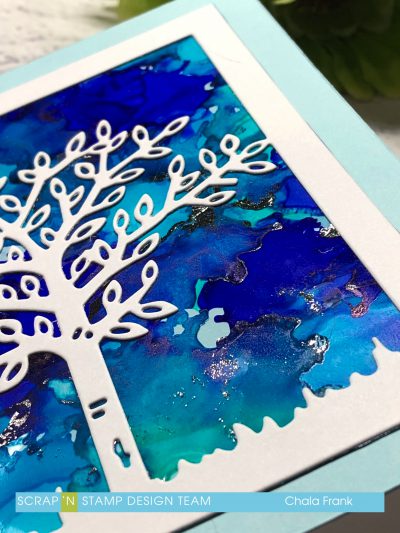
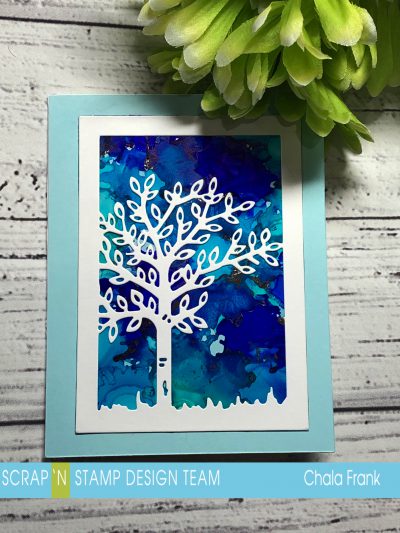
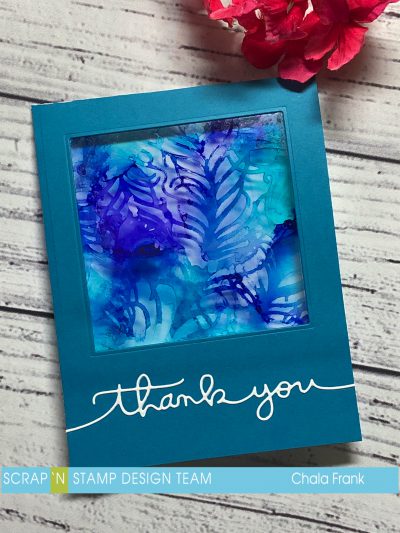
I was also able to put some of my unused die cuts to good use!  I created some trifold cards (a Jennifer McGuire technique) as well  as some window cards to give a stained glass feel!  Here is how those cards turned out.

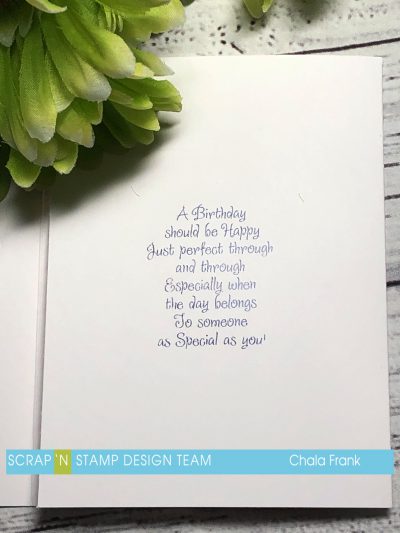
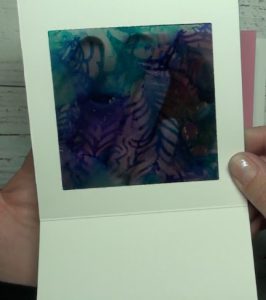
This first one is with silver deco foil and a trifold card.  I used one of my “not so good” backgrounds to stamp a sentiment on the inside using the Alcohol Lift Ink.

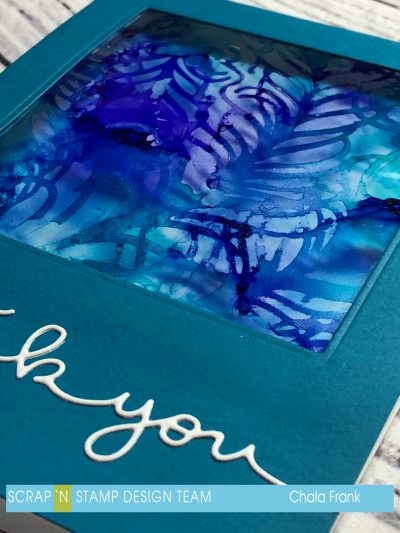
This second card I used the stencil background and a top folding A2 size card.  I sandwich the acetate between two pieces of cardstock so that when you lift the card it has a stained glass look/feel.  I left enough room at the bottom to adhere a die cut sentiment and this will also allow me a space to write on in the inside of the card and not be seen through the window.

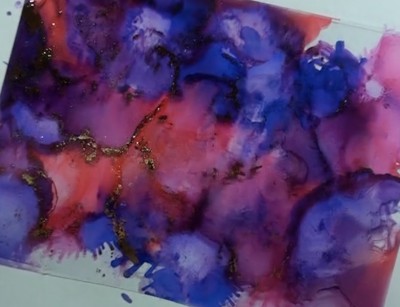
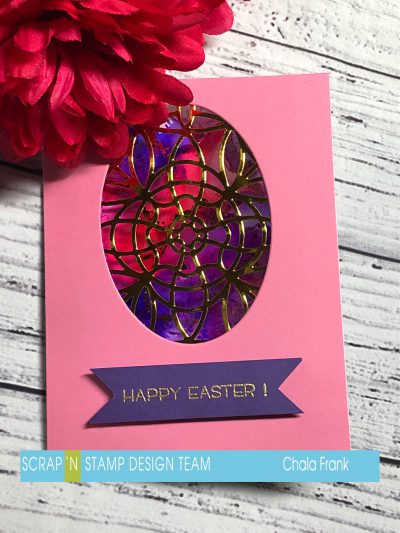
The last one I am using is another background with deco foil, this time in gold.  These colours reminded me of Easter….and I had a die cut that reminded me of a Ukrainian Easter Egg design.  So, I pulled out an oval die set I had, some gold foil cardstock and made a card that used the window card and trifold card ideas together.  Again, I sandwich the acetate and the gold cardstock between the card base and the card panel.  I heat embossed a sentiment with gold embossing powder on a banner and popped it up with foam tape.  Here is how the last card turned out.

I kept these cards simple, but if you like you can add embellishments such as sequins and pearls.

I will save the other backgrounds and stamping that I did to create cards at another time.

I encourage you to watch the video below as it gives greater detail on this technique and the assembly of the cards.

https://youtu.be/IAhHIlwZZs8

Thanks for stopping by for today’s post!

Remember to check out all the amazing products and sales at the Scrap ‘N Stamp site!

Happy Crafting!

~ Chala

Alcohol Ink and Acetate Backgrounds Read More »

Autumn Leaves Blog Hop

Happy Blog Hop Day!  Thanks for joining us- I hope you’re cozy with a warm beverage of choice (tea, PSL, whatever floats your boat…) and ready for some autumn inspiration.  We are celebrating colorful autumn leaves today!  There’s 7 of us with projects to share, which means 7 chances to win a $25 gift certificate to spend in the store!  Leave comments along the way and please feel free to share about the hop & leave some comments on facebook too 🙂  We are giving away THREE gift certificates and will announce the winners on October 2!

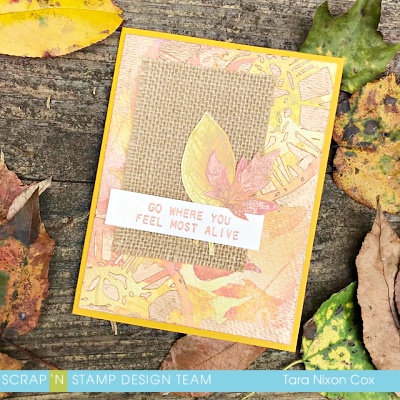
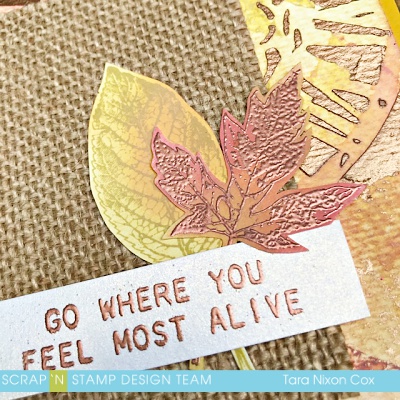
Today I’ve got a pair of cards to share with you, both feature the new Nature’s Wonder stamp set by Tim Holtz, which includes a variety of gorgeous leaves & simple sentiments.  Unfortunately it seems to have been very popular and is a bit tough to get ahold of… I’ve paired it with some autumn shades of Distress Oxide Ink (Abandoned Coral, Aged Mahogany, Crushed Olive, Fired Brick, Fossilized Amber, Spiced Marmalade), Copper Embossing Powder and on this card, Nuvo Embellishment Mousse in Cosmic Brown.

My background started with a variety of stamped leaves, each inked in two of the Distress Oxide Colors.  I then used an Ink Applicator & blending foams to add more color to the background.  I painted each of the leaves with a water brush to give the background a watercolor feel, and I also spritzed a bit of water over it as well.  It was very pretty, but a softer look than I wanted… so I selected a stencil with a bold design (this is an old clockworks stencil by Tim Holtz) and applied the Nuvo Mousse with a palette knife.  The directions said it could be applied thick or thin, so I started as thick as I could get it for lots of texture… then applied some thin swipes along the edges the design was not on.  It’s beautiful how it picked up the texture of the watercolor paper!

I added simple layers to the card, some stamped/embossed images which I fussy-cut (hopefully dies for this set are in a future release!), burlap paper (from my stash- this stuff is mounted on cardstock and it’s fabulous) and a simple but bold text block with a sentiment copper embossed on it.

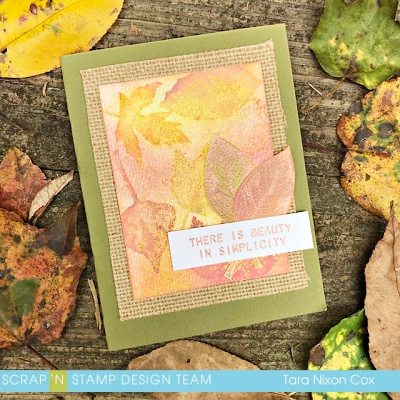
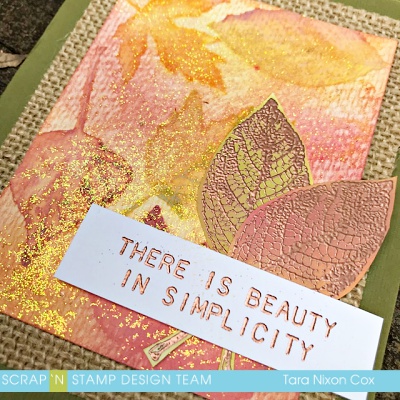
For this second card, I started with the same background base of Distress Oxides, but decided to add some Nuvo Glimmer Paste in Moonstone over the stamped panel.  I simply smeared a bunch of it over the panel loosely just to see what it would do, and I kinda love it in all it’s imperfections!

My layers are different, but feature the same elements as my first card.  I like how this background turned out more vibrant than the first one, so I wanted to allow more of it to show under the cut leaves.  The glitter paste really picks up on the warm tones in my background!

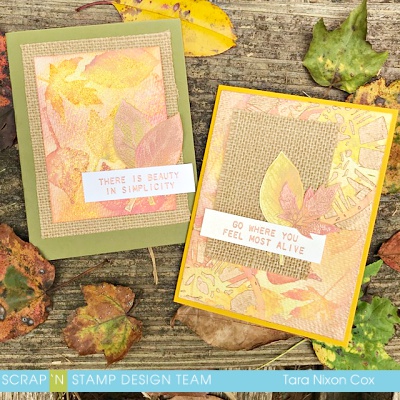
And here’s the two cards together- along with some colorful leaves that have freshly fallen!

I hope you like my cards.  Autumn is my favorite season and you’ll be seeing a lot more autumn pretties from me in the coming weeks… but today, you get a variety of inspiration from our talented Design Team!  Enjoy!

Here’s the blog hop order:

Happy Hopping!  Be sure to leave comments along the way for a chance to win 🙂

Inky hugs,

Tara

Autumn Leaves Blog Hop Read More »

Free Shipping Anywhere In Canada