Scratch-N-Stamp
Search

Checkout

Keep up with Sales, New Products and other events at Scrap `n Stamp. Sign up for our newsletter now!

What's New

Hot Deals


beach theme

It’s Sum-Sum-Summertime!

How are you enjoying your sum-sum-summertime?! We’re (thankfully) through our heatwave here in Vancouver. Now is a great time to be inside, catching up on your summer birthday cards or even starting your holiday winter cards! It’s never too early.

IN A PINCH

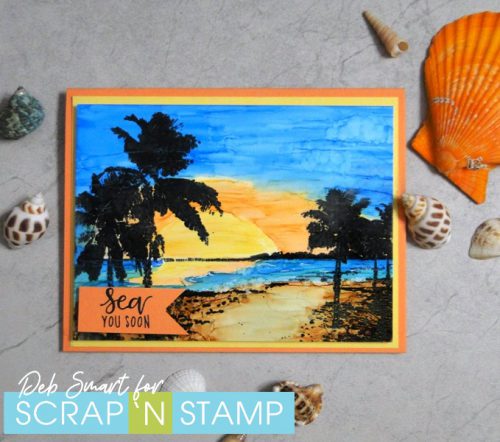
Today’s prompt for the Scrap ‘N Stamp Random Acts of Cardness daily prompt challenge is ‘summer’. So I finally got to use my new stamps & dies called In a Pinch, from Hero Arts! It’s full of great beach themed images, which is perfect for summer.

It's Sum-Sum-Summertime!

How fun is this?! The sentiments in this set are also cute, and punny!

CARD DETAILS

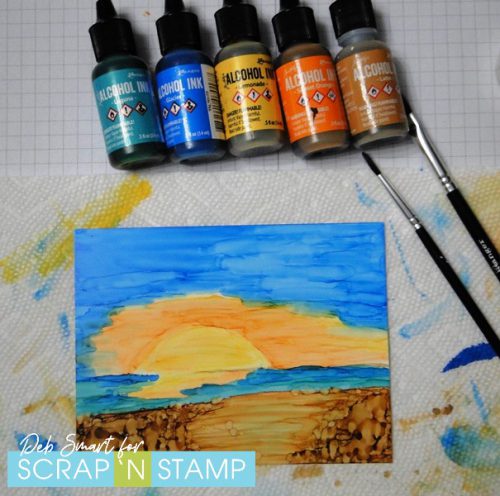
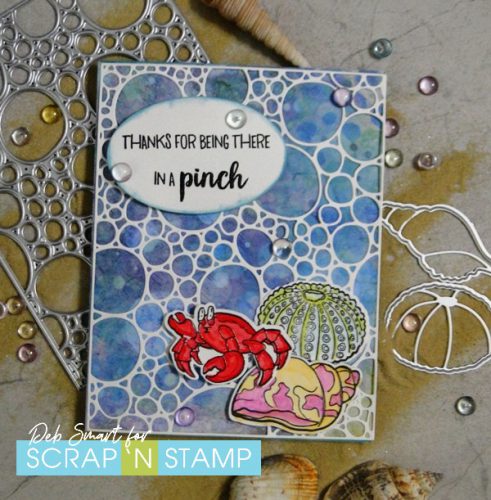
Start with the Tim Holtz Bubbling Die, and die cut white cardstock with your Big Shot. Next, layer the die cut over a sheet of this gorgeous Lavinia Stamps DreamScapes paper in blues, greens & purple. Now, attach this to your card base. Next, stamp the shell, sea urchin and crab from the In A Pinch stamp set in Nocturne ink, onto white cardstock. Cover the stamping with clear embossing powder, and heat set. I didn’t realize, until I was heat embossing, that I had stamped on Yupo instead of cardstock. That’s okay –  alcohol ink markers are perfect for colouring on Yupo!  After colouring, use the In A Pinch Die Cuts with your Big Shot to die cut each image.  Layer the images with glue and foam tape on the bottom corner of the card front.

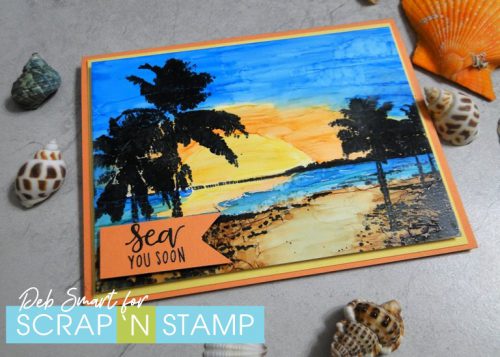
Stamp the sentiment onto white cardstock in Nocturne, cover with clear embossing powder, and heat set. Die cut the sentiment with an oval die, and pop it up with foam tape in the top left corner. Add some Brutus Monroe Acrylic Bubbles to the front for more fun!

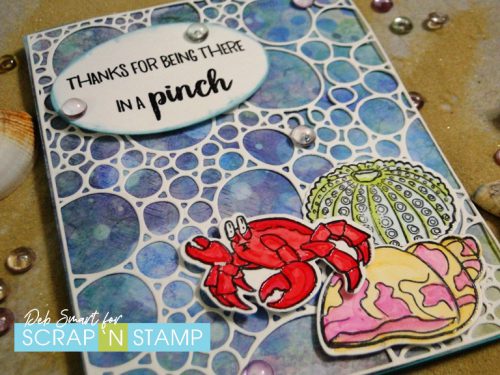
I love the fun dimension that the Bubbling Die adds to the card front!

JOIN THE SUM-SUM-SUMMERTIME CHALLENGE!

Playing along with the Scrap ‘N Stamp Random Acts of Cardness challenge is easy – and free to join! Head over to the Facebook page HERE. Play along with as many days as you like. Create and then share your card on the page, using the hashtag #snschallenge there, and your other social media accounts.  At the end of the month, one person is randomly chosen as WINNER of a $50 GIFT CERTIFICATE to the Scrap ‘N Stamp store!
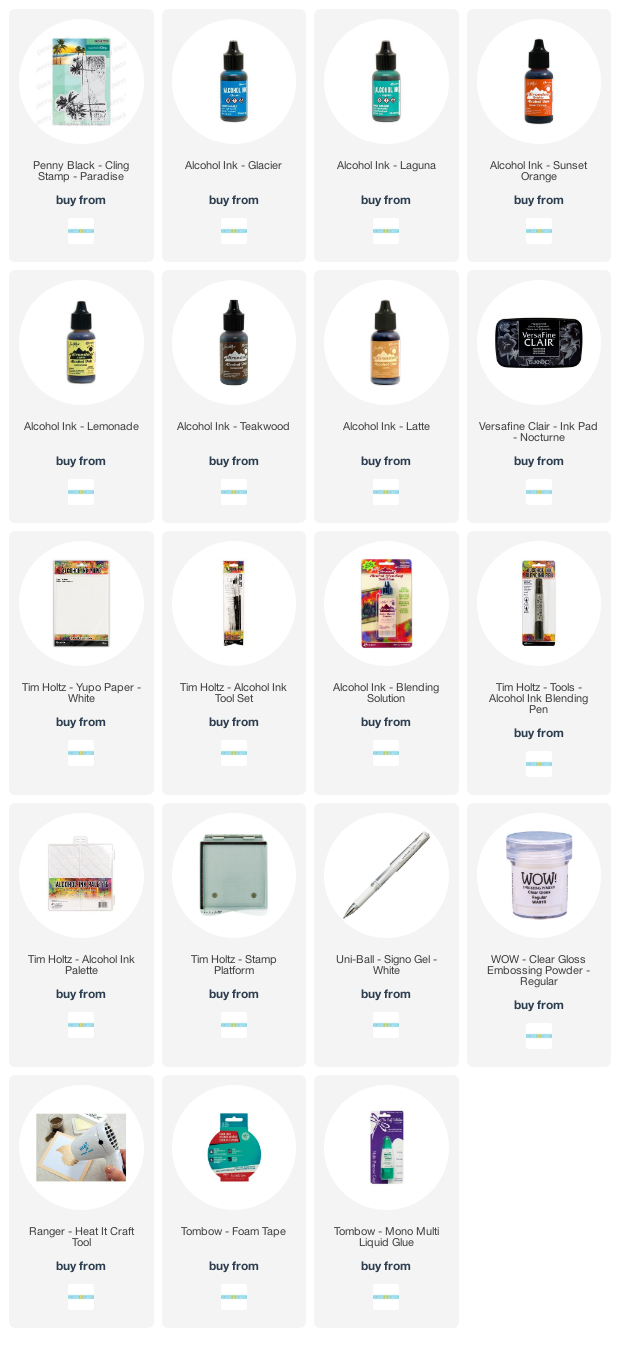
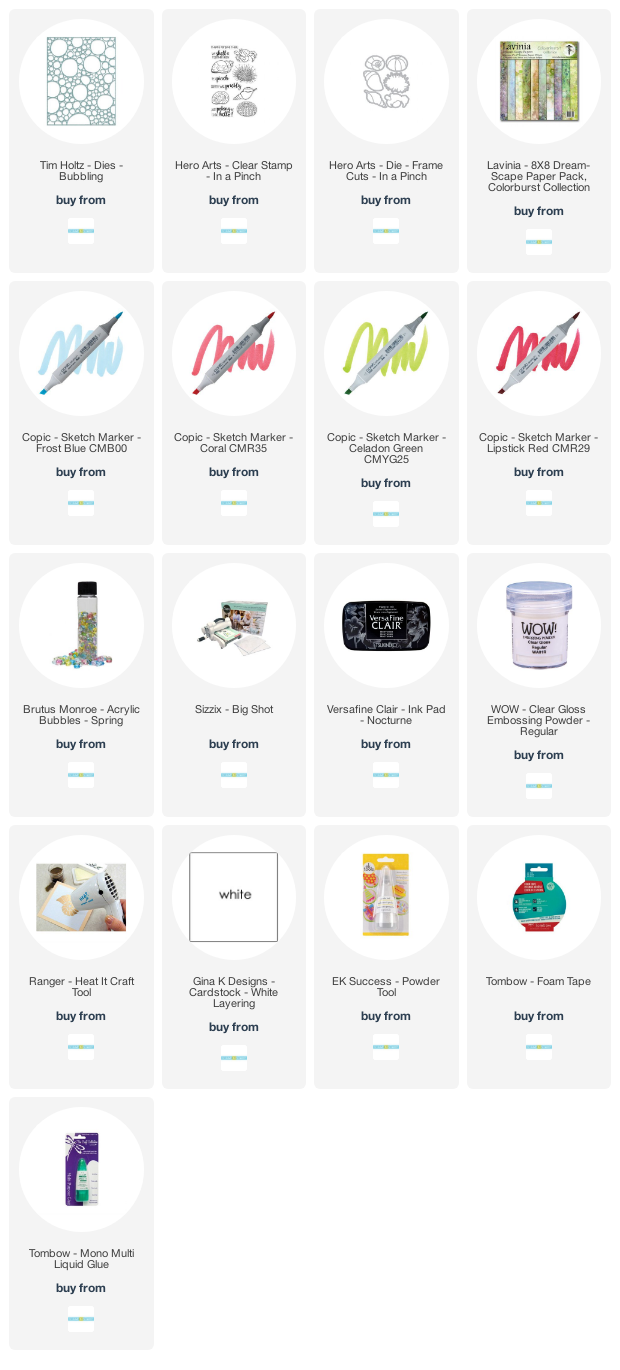
It's Sum-Sum-Summertime!

SUPPLIES

When you shop for supplies at the Scrap ‘N Stamp store, be sure to use my Designer Discount Code 10DEB, for 10% OFF your total purchase (regularly priced merchandise only).

Affiliate links for supplies are provided. If you choose to use my links, you help support me in maintaining my blog, at no extra cost to you. Thanks in advance!


It’s Sum-Sum-Summertime! Read More »

Trip to Paradise

Welcome to the weekend! Deb here, for the Design Team today. It’s a sunny one here in beautiful Vancouver, which also happens to be home to Scrap ‘N Stamp, as well as me!  Summer will be here soon, which is one reason why I chose the word ‘sea’ for today’s challenge word. We could all use a trip to paradise this year, I think – even if it’s just on paper.

PENNY BLACK PARADISE

If you’ve been following my blog at all, you’ll know that I love painting with alcohol inks. So I decided that I’d create a beautiful background for the Penny Black stamp, called Paradise. Here’s a look at the completed card.

Trip to Paradise

I don’t know about you’d, but I’d be happy walking along that path next to the sea! And what a pretty sunset, right? It’s easier than you think to paint – let me tell you how.

PAINTING THE BACKGROUND

First, start with a piece of Yupo. The final size will be 5″ x 3 3/4″, but you can start larger if you want. Set up the Yupo and the Paradise stamp in your stamp platform. Next, lightly ink up the shore line and the horizon line in a light ink – I just used a light brown. This is just for reference, so you know where to paint the sand, water and sky.  Stamp lightly, and then remove the Yupo, but leave the stamp in place.

Start with the sand, pouring a bit of Latte ink onto that area. Add a bit of Blending Solution, and tip the Yupo from left to right – keeping the ink within the shore line. Use a small brush to  help cover the area. The Ranger alcohol ink brushes are perfect for this! Next, add some Teakwood ink to the left and right sides, and brush into place. Keep the ‘path’ area lighter.

Allow the sand area ink to dry, and move onto painting the setting sun. Place some Lemonade and Sunset Orange inks into 2 wells in your ink palette. Using the horizon line reference, pick up some Lemonade ink, and create your setting sun. Add a bit of the yellow below the horizon line, for the reflection. Next, pick up some of the Sunset Orange, and paint around the yellow sun. Add some into the reflection. If the colour is too strong, dip your brush into some Blending Solution, dab off any excess onto paper towel, and then lift some of the ink off of the Yupo.

Now you’re ready to paint the water, and sky! To your ink palette, add Glacier and Laguna inks to 2 more wells. Pick up Glacier with your brush, and paint in the water. Leave a line near the shore white, and then add Laguna ink in that area. Paint Glacier ink onto your sky, using Blending Solution or an Alcohol Ink  Blender Pen to lighten up some areas.  Here’s a photo, below, of how my painting process looked.

Trip to Paradise

Remember that you’ll be stamping over with the Paradise stamp, so every inch of your painting doesn’t have to be ‘perfect’.

TIME TO STAMP

Once you’re happy with your sunset background, and the ink is dry, place it back into your stamp platform. Cover the Paradise stamp with a pigment ink, such as Versafine Nocturne or StaZon ink – remember that the Yupo is a slick surface, so regular ink will wipe off. Stamp firmly onto your background; you can ink & stamp more than once if necessary. I love using my stamp platform, for this reason!

Trip to Paradise

The stamp adds more texture to the sand, as well as adding the horizon and shore lines. With a white gel pen, add some highlights to your trees, and waves to the water.   The sentiment is from an older Hero Arts stamp set, called Color Layering Waves.  Layer your sentiment, and then your work of art onto coordinating cardstock and a card base, and you’re done!

JOIN THE DAILY CHALLENGE!

If you haven’t already, I hope that you’ll join the Scrap ‘N Stamp Daily Challenge. It’s on the Facebook Group HERE, where you’ll find a new word prompt for each day of the month. Play along as many times as you’d like, by creating your project & then share a picture to the group. Be sure to use the hashtag #SNSCHALLENGE there, and on your other social media sharing sites. At the end of the month, one lucky person is randomly chose to WIN a $50 Gift Certificate to shop at Scrap ‘N Stamp!

SUPPLIES

Have fun creating your own trip to paradise – however you interpret that! I’ll be looking for your ‘sea’ creations in the FB group. If you need supplies, links are below.

Affiliate links are provided. If you choose to use my links, you help support me in maintaining my blog, at no extra cost to you. Thanks in advance!


Trip to Paradise Read More »

Free Shipping Anywhere In Canada