Scratch-N-Stamp
Search

Checkout

Keep up with Sales, New Products and other events at Scrap `n Stamp. Sign up for our newsletter now!

What's New

Hot Deals


blog hop

Hop Into Spring Blog Hop

Hi!  Thanks for stopping by today, we’ve got some fun projects to share with you on our Hop Into Spring blog hop 🙂  The hop starts HERE with projects by ME (Tara) & my Mom, Julie!  Be sure to leave a comment on each of the blogs and we’ll be selecting a winner to receive the featured die set!

I’ll give you the links later in the post as well, but to make it easy, here’s the full (short) list:

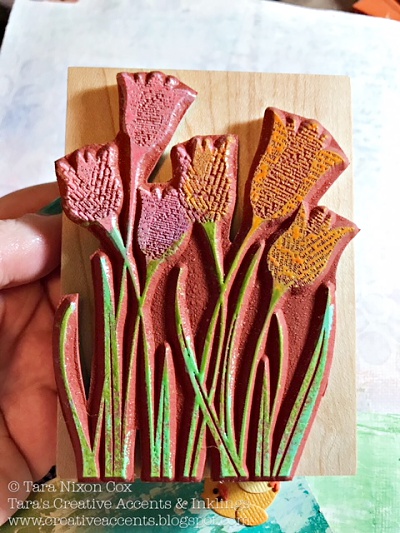
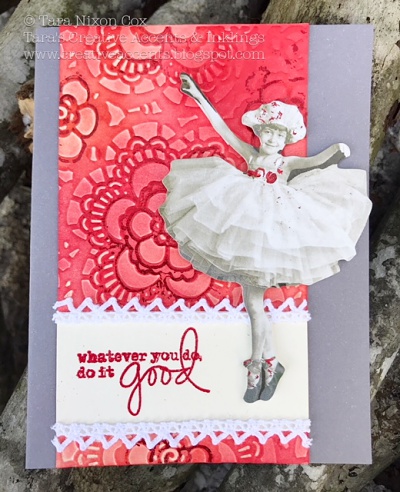
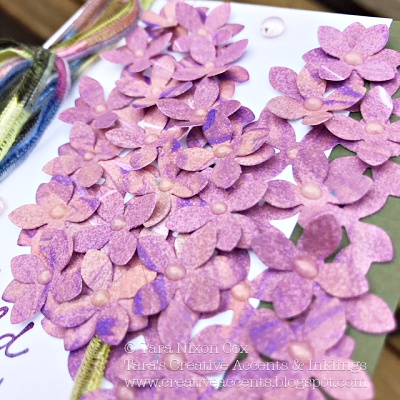
Today our projects all feature the lovely lilac die by Dee’s Distinctively, a great Canadian company!  This beautiful die features two parts- a base with the entire lilac shape and another with individual blooms.  I chose to use both parts on my projects today, cutting from some pretty marbled paper (more on that later!) and shaping the individual blooms to add dimension and texture to my project!

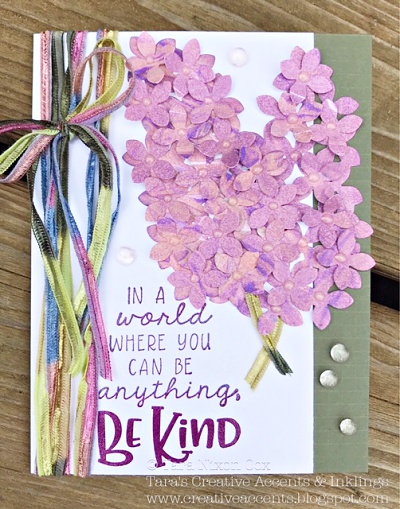
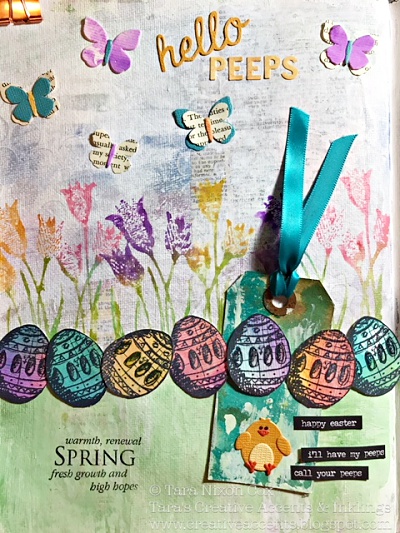
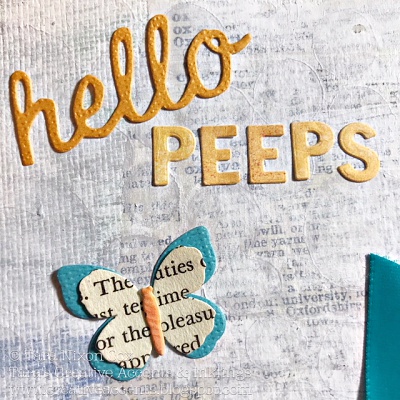
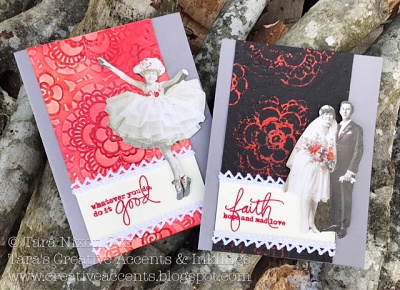
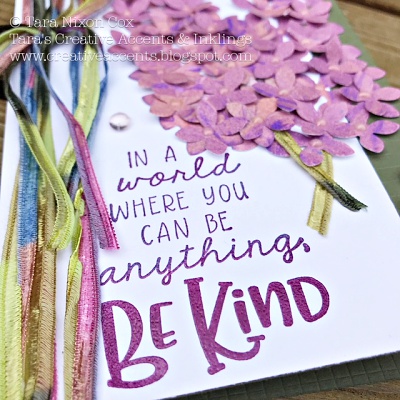
The blooms were so pretty that I kept the rest of my card quite simple… the palette was inspired by the combination of the lilacs and the fun variegated fibers I came across.  I had the pleasure of crafting with my Mom on my recent visit and using primarily supplies from her creative space on the cards.  In fact, I’m sharing two cards with you today- one of which my mom created 🙂   Here’s a closer look at my sentiment, by Taylored Expressions, simply stamped in pigment ink & clear embossed.  Love it!

I used some dimensional drops in the centers of the blossoms (similar to Nuvo drops or Glossy Accents) and added some dimensional drops around the card as well.

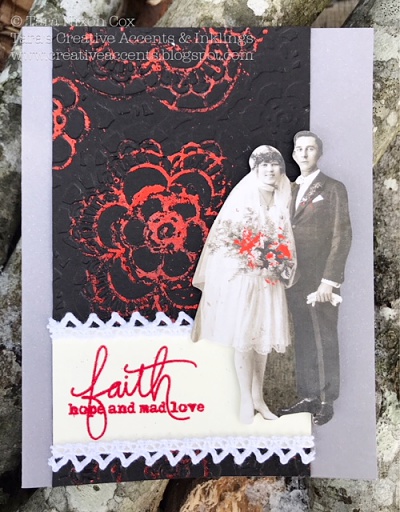
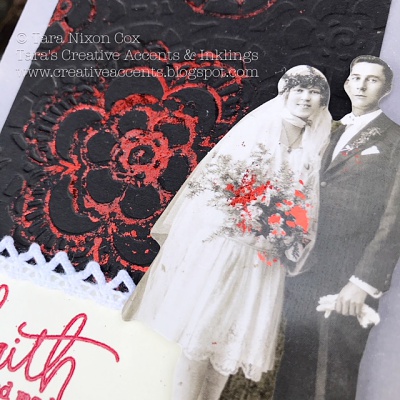
Here’s the card my Mom, Julie made:

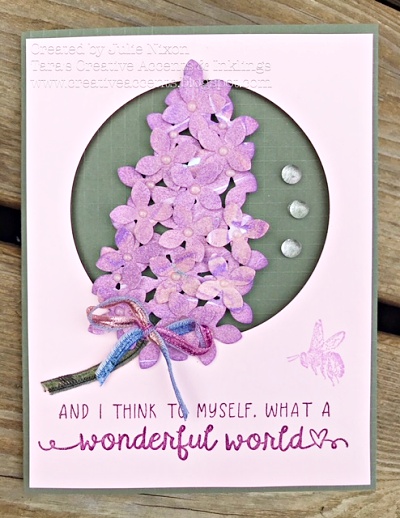
She had a pre-cut frame panel that provides a perfect focal point for the lilacs!  The sentiment is from the same set I used and she added the sweet little bee from a Tim Holtz minis set 🙂

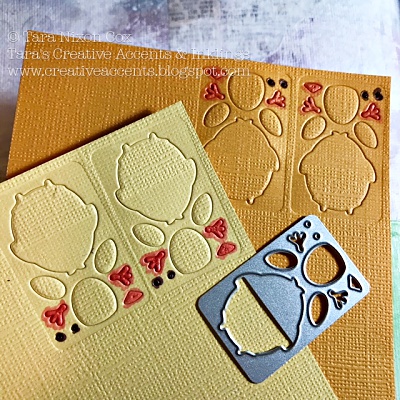
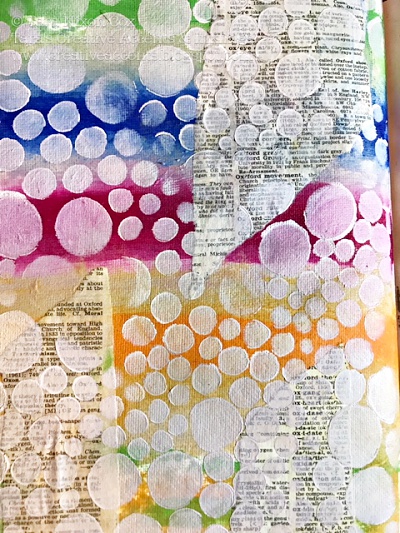
The lilacs were all cut from some paper I created using a Shaving Cream Marbling process at a recent make & take day at a nearby store.  Here’s a few process pics- I started with a coral base and added purple for my second run since I wanted to work with these dies.  So glad I did, Love the results!

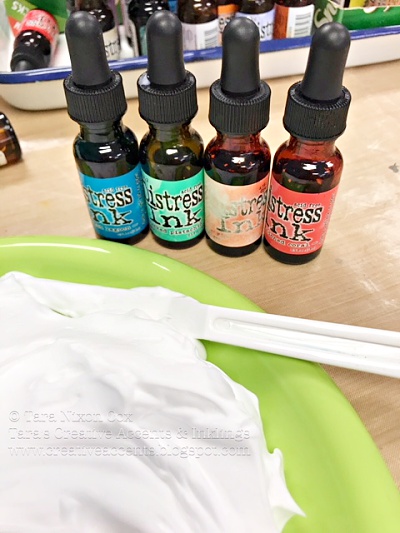
Start with shaving cream foam and Distress Ink Re-inkers… drop and drag a tool through to create patterns.

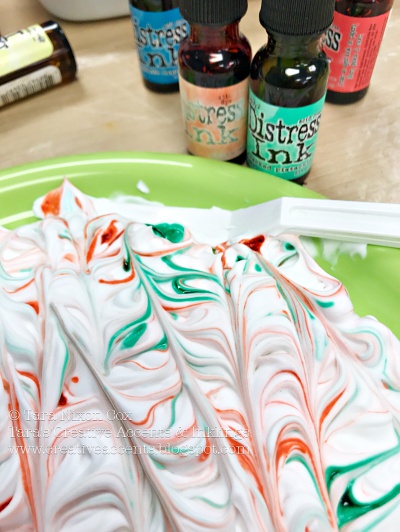
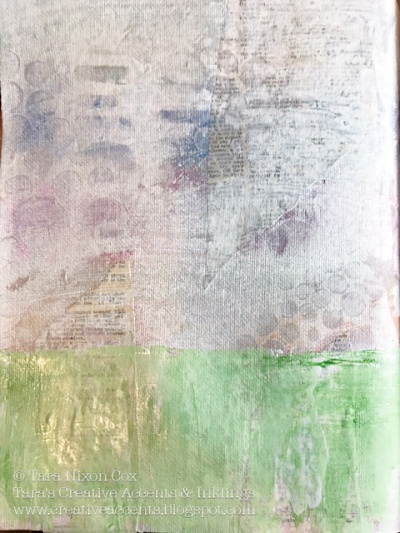
lay your paper into the patterned foam, remove and then scrape the foam from the paper to reveal the pattern!  Add some more drops of color and repeat until it’s not pretty anymore LOL.  Here’s my finished pieces:

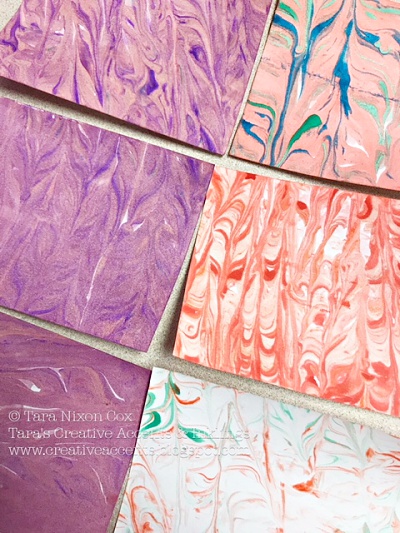
It’s a bit messy, but easy and a fun way to create backgrounds!

Next on the HOP head over to see…

As you can see, we are a smaller group for today’s hop- we lost some amazingly talented ladies as they’ve gone on to other commitments (we wish you guys all the best- love seeing what you’re doing on social media!) and we have decided to step it up and start an official Design Team! We’d love to have YOU apply!  You can find all the details on Facebook and by clicking over to this blog post 🙂

Have a creative day!

Inky hugs,

Tara


Materials Used:

Dee’s Distinctively Die: lilac

Taylored Expressions Wonderful World Stamp Set


Hop Into Spring Blog Hop Read More »

Side Order Blog Hop!

Welcome to the Scrap’n Stamp Side Order Blog Hop!  Today we are featuring the new Sizzix Side Order dies that Tim Holtz released to work with the Sidekick machine (but of course they’ll work in any of the larger die cut tools you own as well!) these little sets are a lot of fun and have some great value in a tiny package, each includes 4 dies and a mini embossing folder!!   There’s a variety to choose from, which you can find in the online store OR you can win one of 3 sets just by leaving a comment on the blogs along the hop today!

I get to be the first stop today, sharing with you my art journal page featuring the springtime set! First, check out the little chick die- I cut it twice out of two shades of yellow card stock (with adhesive on the back to make piecing easier) and colored the beak & feet orange and the eyes dark brown with Copic markers.

I got a couple variations doing it this way… you’ll see both side by side in a future blog post 🙂  But here’s how my page came together:

I also used the hello & butterfly dies on my page- as well as some old Hero Arts stamps from my stash and Tim Holtz’s blueprint Easter Egg stamp.  The flowers were inked up with a variety of Distress Oxide Ink pad colors and stamped on the painted background…

I mixed in some alphabet stickers to create my title… love the little butterfly wings out of book print!  See how it carries from the page background, to the tulip stamp design and the butterfly wings…

The eggs were stamped on a watercolor background also created with Distress Oxide on watercolor paper.  And is that little chick not the cutest thing ever?  He’s definitely calling his peeps to set up some Easter festivities… 😉

Here’s how the background of my page progressed… from bold & ugly to a soft spring background 🙂

I had fun with a colorful variety of Dina Wakley paints… going through the ugly to make a great textured background I ended up being quite happy with!

I hope you liked my page!  It was a challenge for me to use these mini elements on a large area like the art journal. I’ll be back Tuesday for my weekly blog post with a card using some of the same elements, I hope you’ll come visit!  But for now, check out the hop- the following ladies have created some fabulous projects I think you’ll enjoy!

Side Order Blog Hop starts…

Enjoy!  Don’t forget to leave comments along the way for your chance to win a Side Order of your own 🙂

Inky hugs,

Tara

Side Order Blog Hop! Read More »

Getting Fab with Foil BLOG HOP

Thanks for stopping by to check out our ‘Getting Fab with Foil’ Blog Hop!  I’m so glad you came to check out our projects, each of which will feature Shiny Transfer Foil by Ranger!  I know I’m looking forward to see what everyone did with this fabulous product!  I had fun, but look forward to experimenting more with it and the ladies are sure to bring inspiration!  The fun bonus on this hop is that each blog along the way will be giving away a package of foil!  So be sure to leave comments here and at each stop… we’ll be back next Saturday to announce the winners (who will have two weeks to contact the store to claim their prize).  The full list of creative ladies in todays hop is near the end of this post- for now, check out the cards I made…

First is my little ballerina card 🙂  I actually started with a large (size 8) manila tag, embossed with a doily pattern by Sizzix/Tim Holtz.  I inked up the tag with assorted shades of red/coral Distress Ink, leaving some spots lighter than others for dimension.  I then embossed a sentiment (Mama Elephant) on a strip of ivory card stock and figured out my placement with the paper doll (Tim Holtz) I selected.  I used a fine tip Sakura Quickie Glue pen to trace some of the design on my background, then placed the foil over it and rubbed over it (I used an old gift card as my tool).  I repeated this in several spots on the tag, experimenting with dry time to see what gave me the best results.  I was looking to get a sort of rough look to it, not a solid foil design, and for the most part that’s what I got.  These foils will work with a variety of tapes and glues, and since this glue pen is a combo temporary/permanent glue it really made a difference how long I waited to apply the foil!

I added a little bit of foil accent to the paper doll as well.  I had to wait a long time for the glue to dry on this surface – and some of the flaky bits you see are simply because there was some adhesive stuck to the foil (instead of the foil sticking to the adhesive).  It’s kinda fun though 🙂  As you can see, I finished it off by adhering my tag to a card and trimming off the tag top. A bit of thin lace from my stash and foam adhesive to place my doll finished off the card quite nicely.  I really like the look of the red foil on the red background.  You could almost say it was subtle if it wasn’t flashy. lol

My second card uses the same elements, but this time I used a black tag that had only been embossed, not inked.  The foil is much more visible on this card, with all it’s imperfections… it gives a tattered lace feel that I love for this one as a wedding, anniversary or Valentine’s Day card.

Again, I added a bit of foil to the paper doll… I kept the pieces very abstract as I didn’t want it to overwhelm the image.

It’s hard to photograph, but it really is shiny 🙂

Here’s my two cards together:

Now… have fun checking out the rest of the ‘Getting Fab with Foil’ projects!  And don’t forget to leave comments for a chance to win some foil of your own!


Materials Used:

Ranger Shiny Transfer Foil- Basics

Ranger Shiny Transfer Foil- Holiday

Sakura Quickie Glue Pen

Tim Holtz Embossing Folder

Tim Holtz Paper Dolls

Distress Ink (assorted shades of red & coral)

Lace Trim from my stash

Everyday Sentiments by Mama Elephant

Grey card stock

Manila Tags- black & manila


Getting Fab with Foil BLOG HOP Read More »

Free Shipping Anywhere In Canada