Scratch-N-Stamp
Search

Checkout

Keep up with Sales, New Products and other events at Scrap `n Stamp. Sign up for our newsletter now!

What's New

Hot Deals


card

Tuesday with Tara {take 37}

Happy Tuesday!  I wanted to share something GREEN in honor of St. Patrick’s Day coming up this week, so I’m sharing this card I made for  my awesome family back in BC.  It’s simple, but has some fun textures I hope you’ll enjoy!

missing you (1)

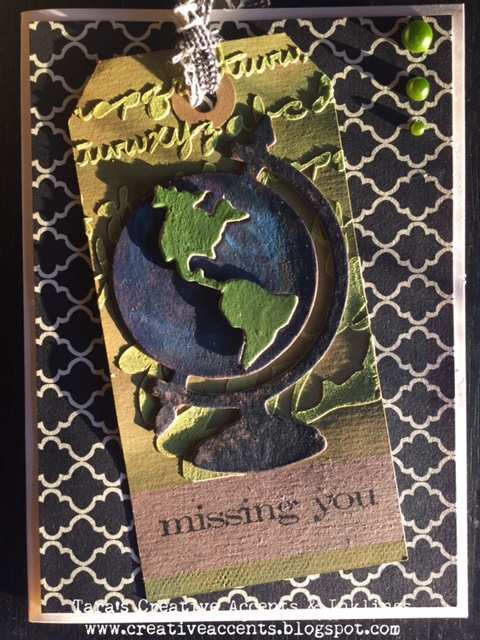
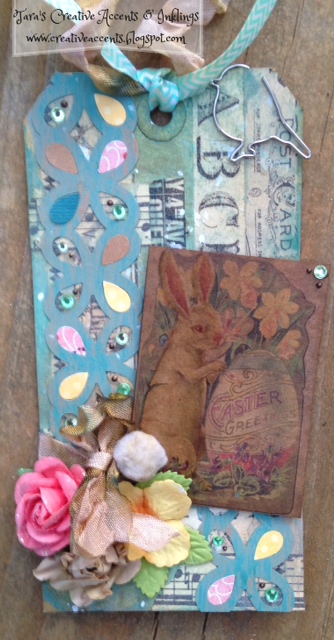
I used the mini globe sizzix die by Tim Holtz, cut from chipboard, painted with Distress Paint and sanded lightly.  I did some finger painting to add some blue to the globe base and Viva Decor Inka Gold to make the land shimmer in green!

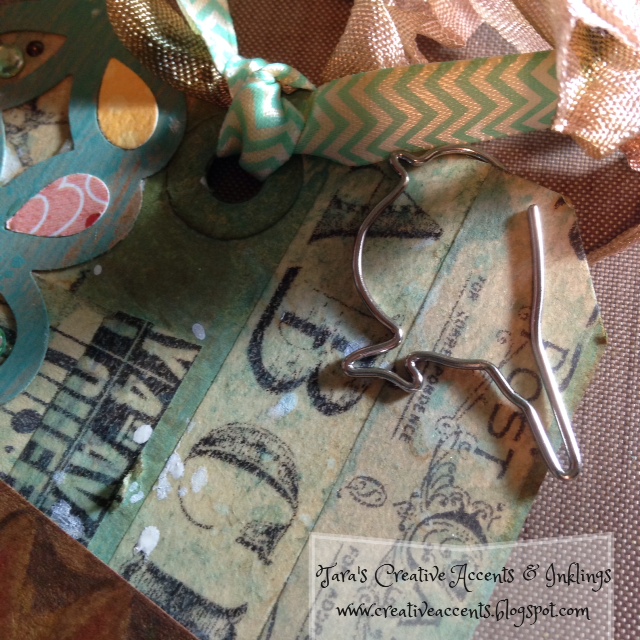
The tag was created using Ranger Texture paste through a fun scripty stencil onto a kraft tag.  Once dry, I masked off a section at the bottom (a post it note or piece of low tack washi tape works great!) and inked the entire tag up with some green Distress Ink.  I lifted my mask and stamped the sentiment with black Archival ink.

missing you (2)

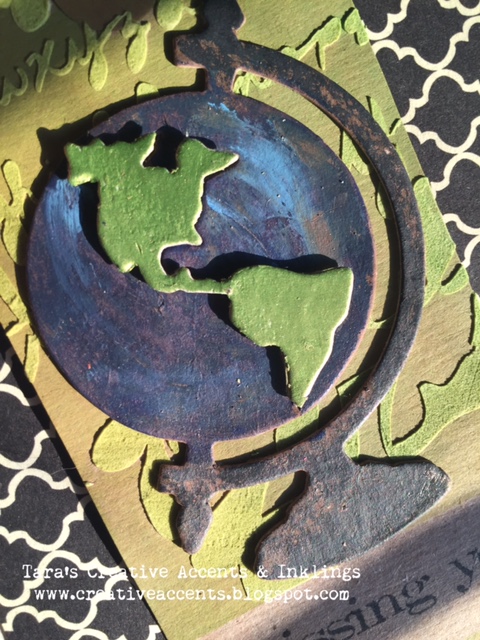
As you can probably see from the shadows, I cut the ‘land’ from the rest of the die and raised it with foam adhesive.  (I do apologize for the shadows- I forgot to take pictures until I was ready to send this off in the mail and had to work with less than perfect light!)

missing you (3)

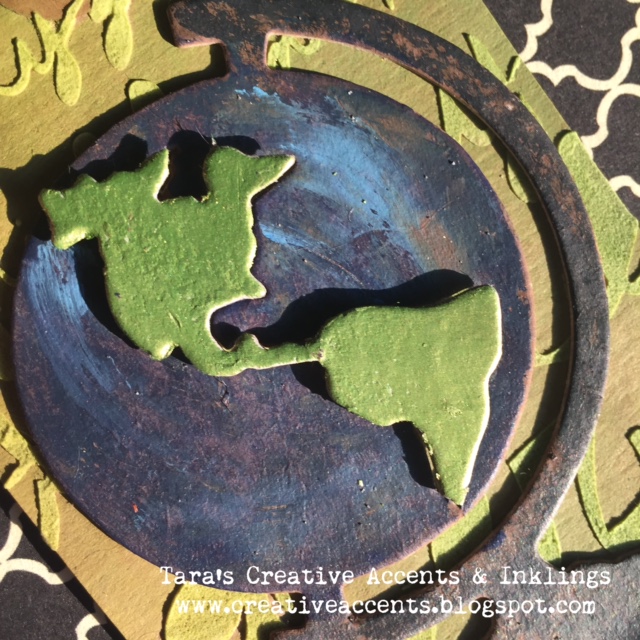
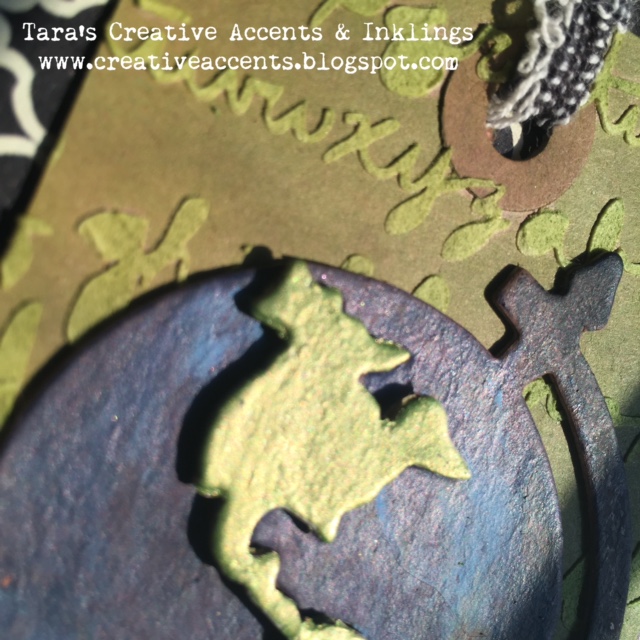
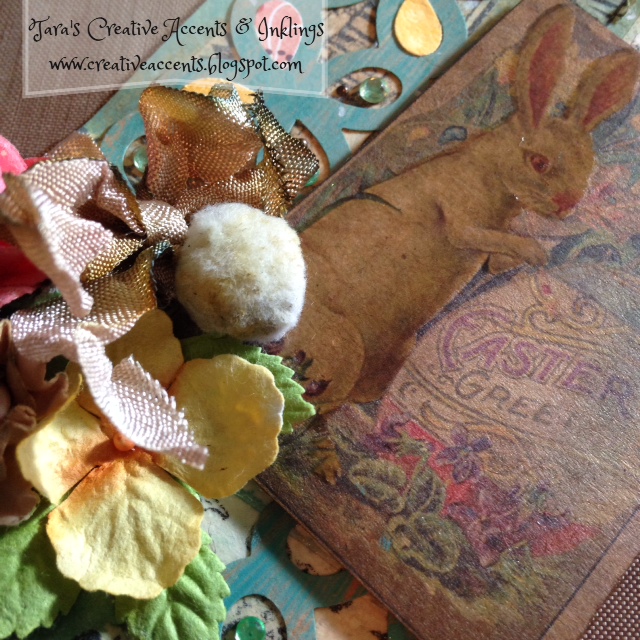
This last photo is just to show the awesome shimmer you get from the Inka Gold paint.  love that stuff!

missing you (4)


Materials used:

Tim Holtz Simple Sentiments Stamps

Tim Holtz mini globe sizzix die

Crafter’s Workshop alphabet script stencil

Kraft Tag, patterned paper, kraft card, chipboard

Ranger Texture Paste

Distress Ink & Paint (assorted black, blue & green shades)

Viva Decor Inka Gold Paint (love this yellow green color I used on the globe!)


The winner of our Memory Box Die giveaway last week is…

Mary-Frances Gray

Congrats!  Send us a message with your mailing address so we can ship off your prize 🙂

This week, you could win this fabulous stencil:

tcw-541s_749_detail

We are trying something new with a giveaway widget this week…please feel free to share this giveaway with your friends 🙂

UPDATE: I messed up the rafflecopter link a bit (oops) so used random.org to select from comments & fb likes… and the winner is “Julie aka mom” yay!  My mom is my most faithful blog fan, & leaves regular comments, so it’s exciting to see her win!  

Hope you have a fantastic week!  See you next week,

Inky hugs,

Tara

Tuesday with Tara {take 37} Read More »

Tuesday with Tara {take 36}

Happy Tuesday!  It’s becoming clear to me that Easter is early this year… so I thought I’d share a bit of Easter inspiration with you today!  This is a tag I made inspired by techniques by Tim Holtz, I’ve always loved his ’12 tags’ series and taking the techniques to create my own unique tag using the materials that I have on hand.  I’ve been a bit slack keeping up with them… but as I look at projects from previous years, it inspires me to continue!  And I have to say I love his ‘remix’ theme this year, giving a fresh take to older tags!

AprilEasterTag

Here’s the tag that inspired mine- as you can see I made a few changes, including adding an Easter image, which is an image from one of Tim’s seasonal paper pads.  I did follow the background technique (using tissue tape, Distress Paint & Distress Ink), so you can check that out on his blog since he’s already given excellent instructions 🙂  I used a paper punch that had a similar design to the die and assorted Prima flowers instead of creating my own.  Of course I added some Crinkle Ribbon into the mix!  Here’s a couple close ups for you:

AprilEasterTag2

AprilEasterTag1

And here’s a bonus card I created with extra supplies from my tag:

AprilEasterMini

I love using those extra bits to create a mini tag, and then turning it into a card 🙂

This week I’ve got another giveaway… a little something to help inspire your spring creativity!  But first, here’s who won last week’s giveaway:

Heather!

You are this week’s random winner of some Distress Watercolor Cardstock 🙂  Contact us with your mailing address and we’ll send it your way!

How about a chance to win a Memory Box die?  Just comment and let me know your favourite spring flower and you could win this little cutie:

mbx-99-360_1053_detail

As we’ve been doing the last few weeks, you can get an extra entry on our facebook page as well!  Look for the question on the current pinned post!

Have a creative week,

Inky hugs,

Tara

Tuesday with Tara {take 36} Read More »

Tuesday with Tara {take 8}

Twinkle Twinkle and happy Tuesday!  This is a simple & small card that would make a fun non-traditional baby card.  I wanted to show you a fun way to create your own embellishments with some basic supplies and stamps or dies that provide the shape you are looking for, so here it is in pictures…


I stamped this mini blueprint image 3 times because I wanted to get some dimension.  A die cut shape would have been great if I had a star the size I wanted, but you can use what you have to fit your project!  Each stamped image was painted with Penny metallic paint by Dina Wakely.    yum!

My top layer was treated to something extra with Texture Paste through a small detail stencil.

It was *almost* dry when I added another layer of Penny paint over it… sometimes I’m not so good at waiting for things to dry 🙂  I used tiny foam squares to layer my pieces together, and added some paint on the white squares so they wouldn’t stand out on my project.

I used a sepia Archival Ink to add some depth around the edges of my star.  It was applied with a foam inking tool.  I wanted just a bit more shine and thought I should try something besides the crackle paint I seem to always use lately… so I grabbed some transluscent texture paste and wiped it over my star.  I had to walk away this time… dry time is a bit longer, but once it’s clear it’s ready to go!

Yeah… that added some nice shine to it!  I think I’d try an even thicker layer next time!

The same Penny paint was applied with an inking tool, through a star stencil, onto my craft cardstock before I diecut the ‘twinkle’ word from it.  I then painted a couple layers of it onto the cut out shape before gluing to my card with Matte Medium.  Extra copper touches were added to finish off my card… a generous smear of Distress Stickles to the card base had already dried before I assembled everything.  Copper Thread (from We R Memory Keepers Sew Easy collection) tied around the kraft added another metallic touch.

It’s a simple card with lots of fun metallic touches that really do add some twinkle!  This card is just 4×4, so it’s a perfect size to send a quick note or attach to a gift!

Hope you have a creative Tuesday!

Inky hugs,

Tara

Tuesday with Tara {take 8} Read More »

Free Shipping Anywhere In Canada