
Carved Ornaments Die
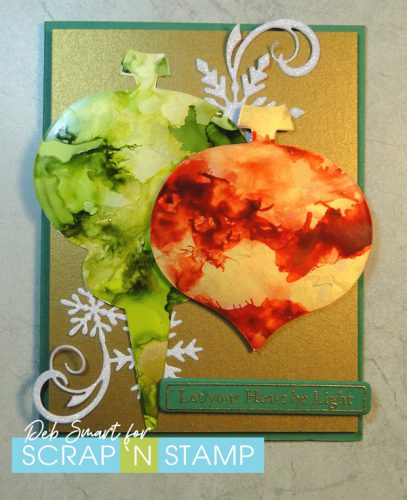
Hello, my friend! It’s Deb here, for the Design Team. Are you like me, and start stressing over your holiday cards as soon as the calendar flips to November? Maybe it’s because I have to mail to family overseas, but I always start to panic. Well, today I’m going to share a holiday card that you can easily ‘mass produce’, if you’re short on time. It uses the Tim Holtz Carved Ornaments Die for 2 fabulous ornament shapes.
CARVED ORNAMENTS DIE
This die is one of the Sizzix ‘Bigz’ dies, which means you can die cut 2-3 sheets of cardstock at a time, as well as being able to cut other heavier substrates, as well. So if you’re into stitching or sewing, you could die cut fabric or felt ornaments for your tree, or as gifts! I, however, stick to what I know – which is paper!
I love the large size of these ornaments!
CARD DETAILS
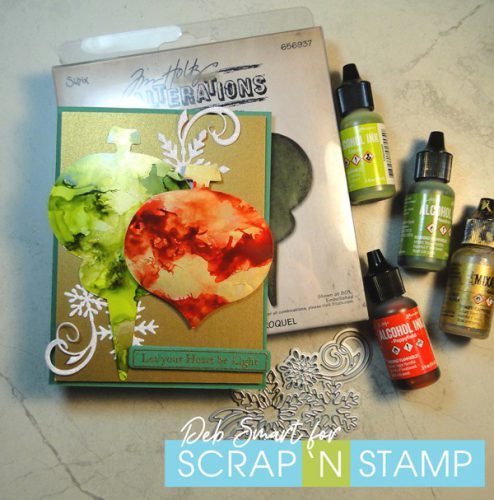
I just HAD to decorate these ornaments with my alcohol inks! First, I die cut the ornaments from Yupo – the perfect substrate/base for alcohol inks. Next, I chose my colours. I decided to be ‘traditional’, and use red and greens. For the green ornament, I first dropped Citrus and Meadow alcohol inks, added some Alcohol Blending Solution, and then use the Tim Holtz Air Blower to move them around on the Yupo. Next, I added some Gold Mixative, with more Blending Solution, and moved it around. I continued to do this, until I was happy with the result. For the red ornament, I repeated the same steps, this time I used just Poppyfield aclohol ink with the Gold Mixative. It’s super easy to do this technique, and fun, too!
If you were going to mass produce the ornaments, I’d suggest doing a whole sheet of Yupo at once, and then doing the die cutting. You can even stack 2-3 sheets of Yupo on top of the die to cut at once. Your card making would go really fast!
Set aside your ornaments – they will be dry before you know it. Use the Big Shot again with the Hero Arts Snowflake Cluster die and Lawn Fawn sparkle paper. Use a sentiment from the Poppystamps Christmas Quotes stamp set, and stamp in Versamark onto green cardstock. Cover it with gold embossing powder, and set with a heat tool. Use the coordinating dies that come with the Christmas Quotes set to die cut the sentiment. Now you’re ready to put your card front together!
LAYER IT UP!
Snip the Snowflake Cluster die cut in half, placing it in the bottom left and top right corners of a piece of brushed gold cardstock. Next, glue the green ornament to the left side. Attach the red ornament with foam tape or squares to the right & overlapping the green ornament. Next, attach the sentiment die cut at the bottom right, under the red ornament. Finally, attach the card front to a green card base, using foam tape.
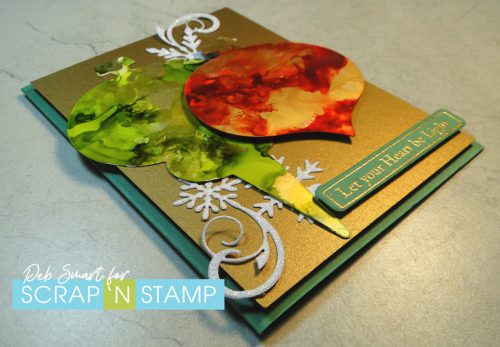
The shine of the alcohol inks is so pretty in real life – hard to photograph without a glare, though.
JOIN THE DAILY CHALLENGE
Today’s prompt for the Scrap ‘N Stamp daily challenge is – you guessed it – ‘ornaments’! If you’re not playing along, you really should! All you need is a Facebook account, and the ability to share a photo of your project. You can find the group page HERE, Play along with as many days as you like, posting your project with the hashtag #SNSCHALLENGE there, and on your other social media accounts. At the end of the month, one lucky person is randomly drawn to WIN a $50 GIFT CARD to shop at Scrap ‘N Stamp! A new list of daily prompts is posted at the beginning of each month, so you can keep playing along.
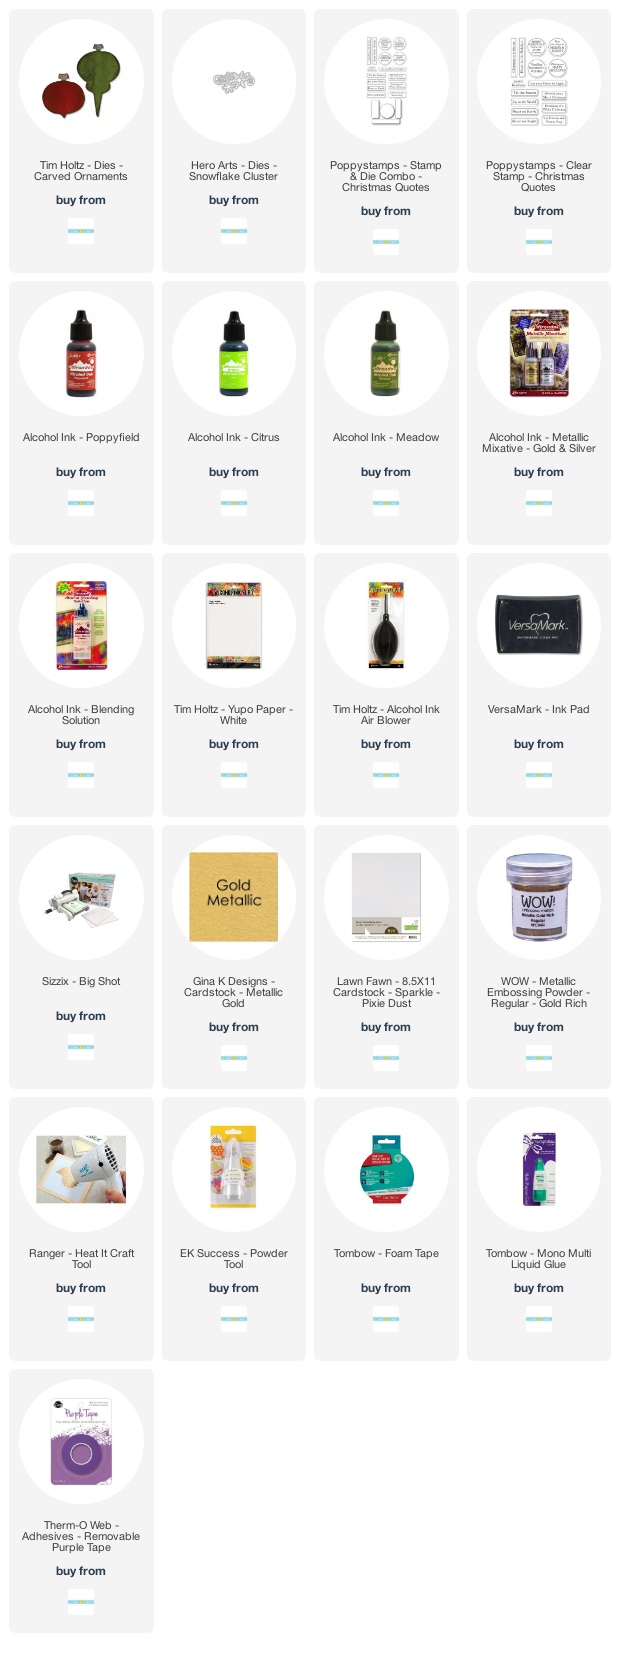
SUPPLIES
All you need to re-create my card, and create your own, is available in the Scrap ‘N Stamp online store. Have fun creating! I’ll be looking for your projects in the challenge group.
Affiliate links are supplied, below. If you choose to use my links, you help support me in maintaining my blog. Thanks in advance!
Carved Ornaments Die Read More »
