Scratch-N-Stamp
Search

Checkout

Keep up with Sales, New Products and other events at Scrap `n Stamp. Sign up for our newsletter now!

What's New

Hot Deals


color burst

Tuesday with Tara {take 110}

Happy Tuesday!

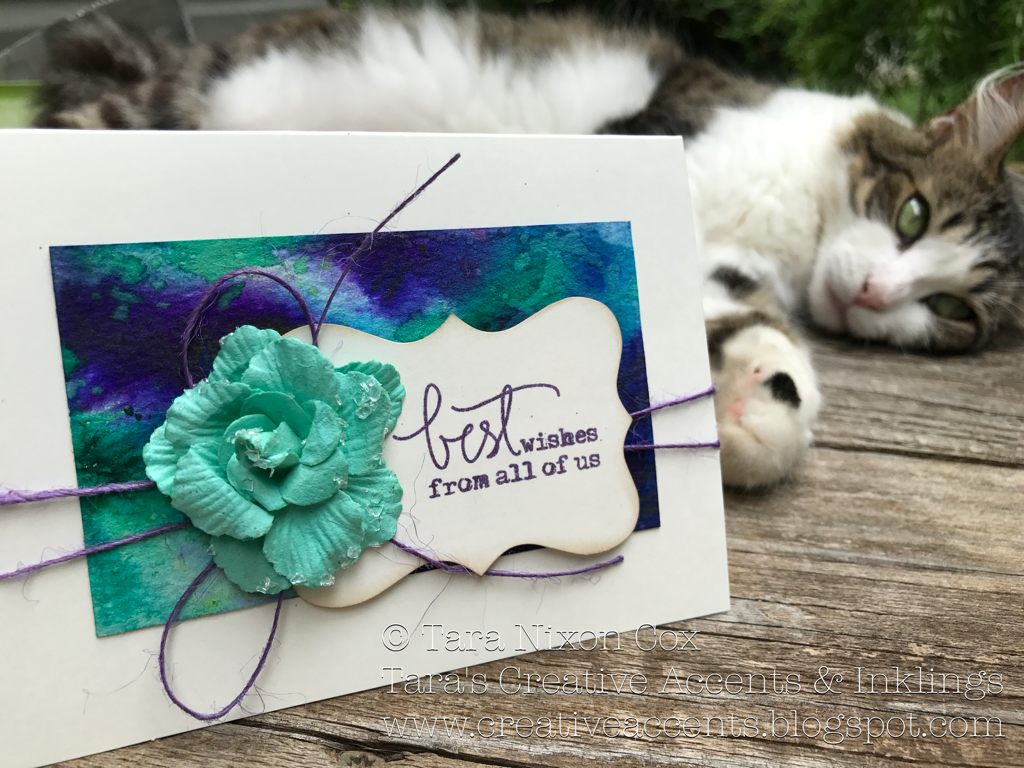
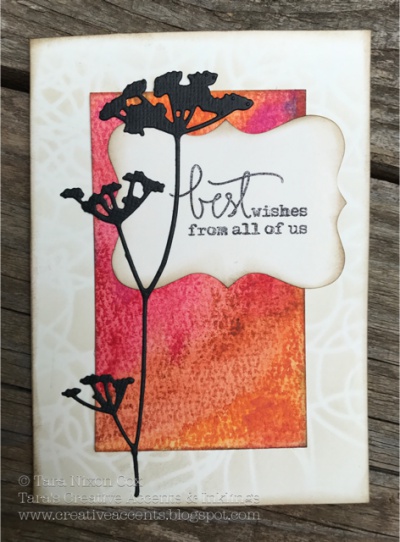
Today I have a set of cards to share with you that I created with my mom when she was visiting earlier this summer.  We wanted to make a variety of all purpose cards for her to use, and came up with a plan featuring the gorgeous Wildflowers dies by Tim Holtz.

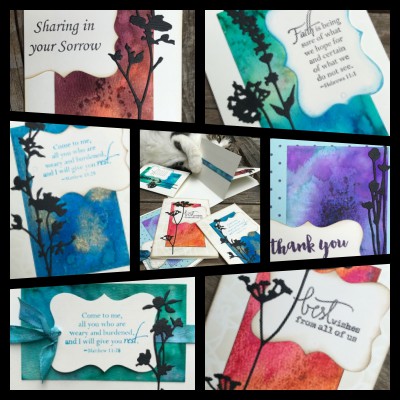
I started by preparing some black card stock and adhering some wide Be Creative tape to the back of it (I have a large roll around 5″ wide, but you can also get it in sheets which is great for this purpose!).  I then cut the wildflowers from the adhesive backed card stock, which made these detailed images a breeze to adhere to the cards!


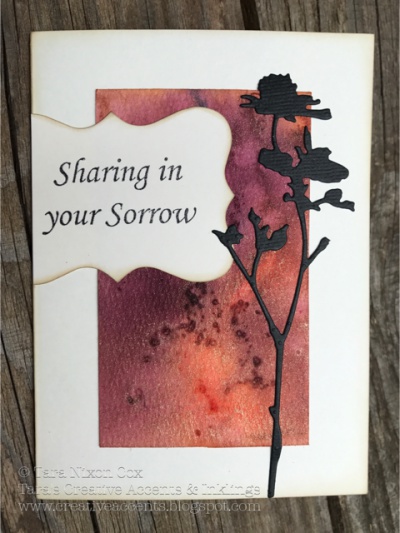
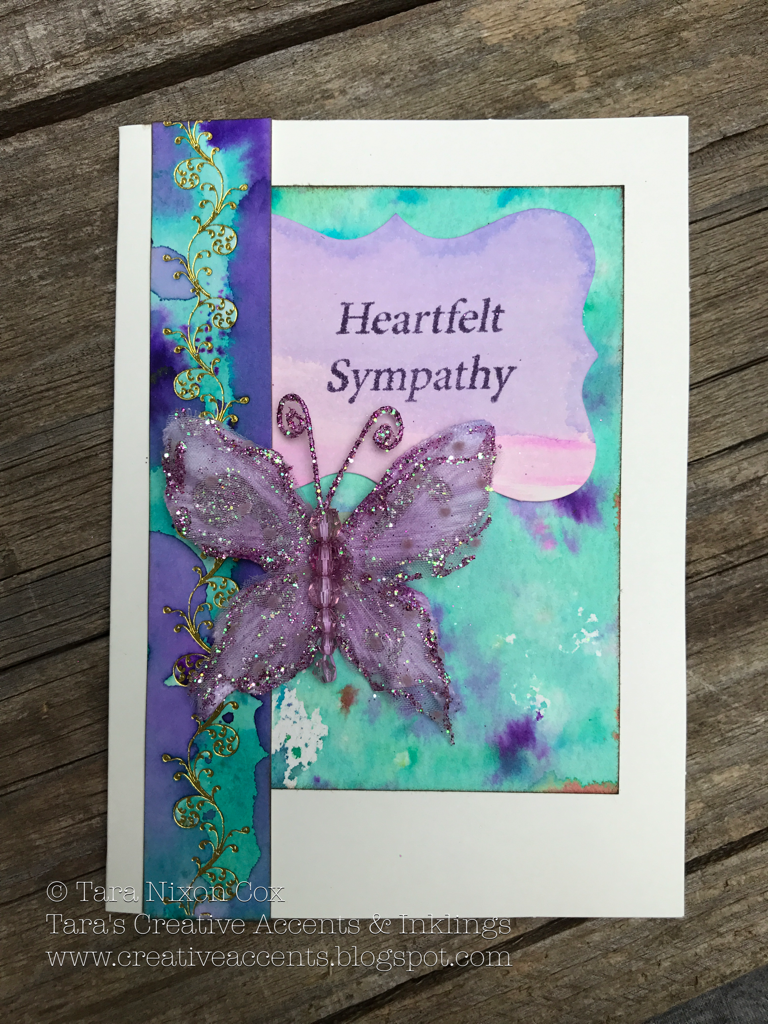
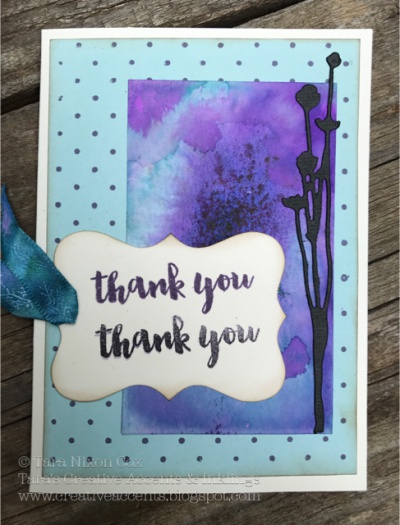
Next we took some pre-cut pieces of watercolor card stock and inked them up with Color Burst- we had a great time combining colors and adding copper Liquid Metals Color Burst to some of them!  As these were small pieces, I generally chose 2-3 similar colors to blend on each piece.  I love how easy it is to mist with water, sprinkle some powder and mist some more… The backgrounds were set aside to dry while we grabbed some pre-cut tags and stamped sentiments on them.


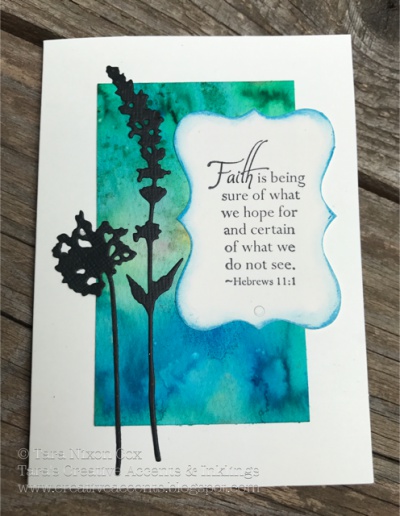
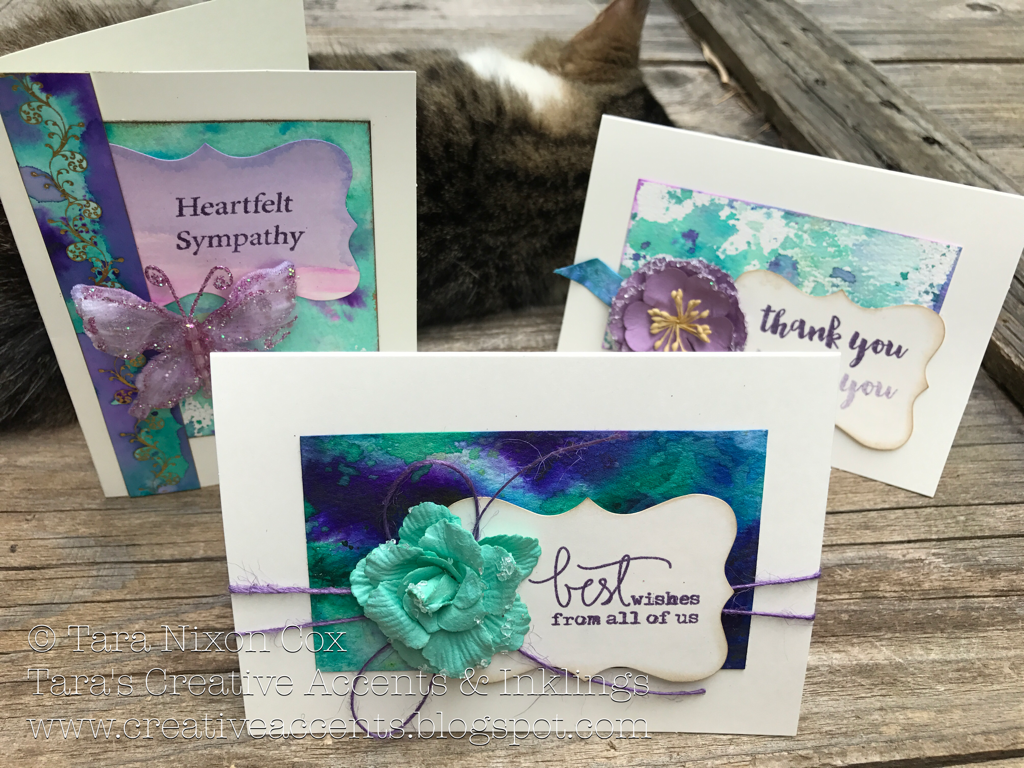
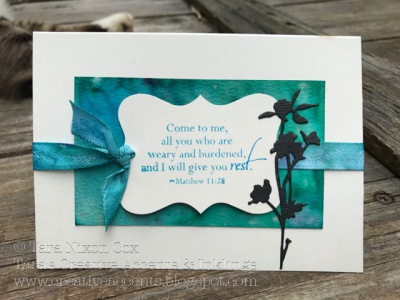
Once we had all our pieces, we assembled the cards- six in total from the seven floral dies we cut!  To some we added ribbon or a stenciled background, but they are all very similar.  This was a quick and easy card set, but I think the results are very striking!

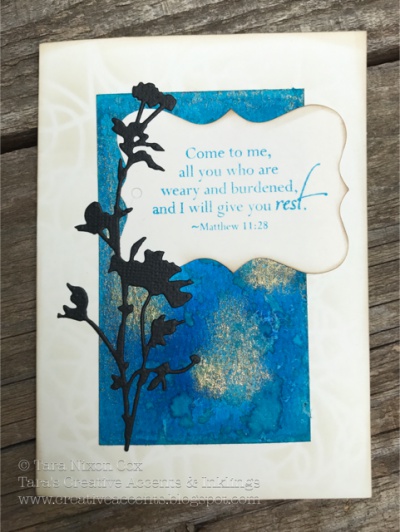
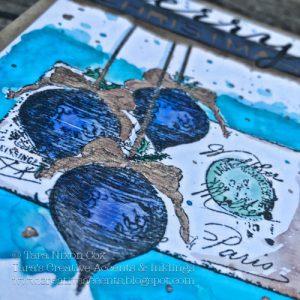
Do you see the difference in texture on this next card?  This background was made with Distress Crayons and water instead of color burst.  It’s interesting how the crayon clings to the texture of the card stock.

For this last card we added a simple stamped background for a completely different look.

As I mentioned on the previous post I shared with pics of another group of cards Mom & I created, my cat Abbey was super helpful when I was trying to photograph the cards!  LOL  Here’s a photo of her helping that just cracks me up.

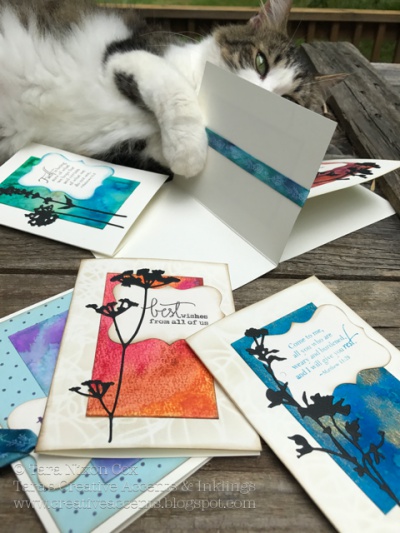
I was trying to get a ‘card set’ photo but after this one I just gave up… sometimes you just have to let your pet win the battle!  Anyways, I hope you like these simple cards and the simple contrast in the design.  They were a lot of fun to make!

Thanks for visiting!  Have a creative week,

Inky hugs,

Tara


Materials Used:

Tim Holtz Wildflowers dies

Be Creative Tape– large pieces/sheets to back card stock prior to die cutting

Black Card Stock

Watercolor Card Stock (I used pre-cut pieces)

Color Burst Brights

Color Burst Earth tones

Color Burst Liquid Metals (Copper)

Distress Crayons Set 2

Assorted Distress & Archival Ink

Assorted Sentiment Stamps


Tuesday with Tara {take 110} Read More »

Tuesday with Tara {take 107}

Happy Tuesday!

If you follow us on facebook or have been browsing the online store lately, you may have noticed Scrap n’ Stamp is celebrating Christmas in July with a variety of Christmas goodies on sale all month long!  I decided to join in the fun and pull out a few Christmas supplies (bought in after Christmas sales!) that had not yet seen any love… I’m featuring a stamp by Impression Obsession, dies by Tim Holtz/ Sizzix and watercolor painting  with Colorburst.

I stamped the ornament collage image in black Archival ink on watercolor cardstock, then misted water onto my craft sheet and squeezed a small amount of ColorBurst into the puddle. I mixed and painted with a brush, gradually adding more water and color to get the desired look. I’ve used two different shades of blue, plus a touch of green and a mix of sepia (brown) and cooper (metallic).

I wanted to add something extra to the ornaments, so decided to try painting on some transparent texture paste.  It’s a unique look, with very visible brush strokes.  Kinda cool… but I think I’ll stick to good ole Glossy Accents next time 🙂  I do love that copper shimmer in the bows, though!  And it looks fabulous in my splatter spots as well!

The title is a combo of a positive cut of the ‘merry’ die by Memory Box and a negative cut out of ‘Christmas’ by Tim Holtz/Sizzix.  I love these together, and added some torn kraft glassine paper behind them to add some extra dimension.

My card is on a 5×7 kraft card base, which framed this larger stamped image & the die cut words quite nicely.  I don’t normally do larger cards like this, but sometimes it’s best for the design 🙂  I hope you like it and I hope you are checking out all the specials on Christmas goodies in the online store!

Next Tuesday we are hoping to be back with another BLOG HOP for you to check out with more fun Christmas inspiration!  Hope to see you then!

Inky hugs,

Tara


Materials Used:

Holiday Words 2 dies by Tim Holtz/Sizzix

Merry script die by Memory Box

Ornament Collage stamp by Impression Obsession

Black Archival Ink

Watercolor Cardstock

Colorburst (shades of blue & brown/copper from brights & earth tones sets)

Kraft Glassine by Tim Holtz

Transparent Texture Paste

Assorted card stock

Tuesday with Tara {take 107} Read More »

Tuesday with Tara {take 103}

Happy Tuesday!

Today I’m sharing with you a quick card set I created together with my mom when she was here visiting last week.  She was needing a variety of cards to keep on hand, so we picked up some basic supplies (a set of ivory cards & envelopes and some cute die cut labels) and set to work!  Mom had never had a chance to play with Color Burst before, so we decided that would be a fun medium to work with!  We used some small pieces of watercolor paper and experimented with a variety of colors & techniques- so much inky fun! The cards I’m sharing today feature one of Mom’s favorite color schemes, teal/aqua & purple.  I hope you like them!

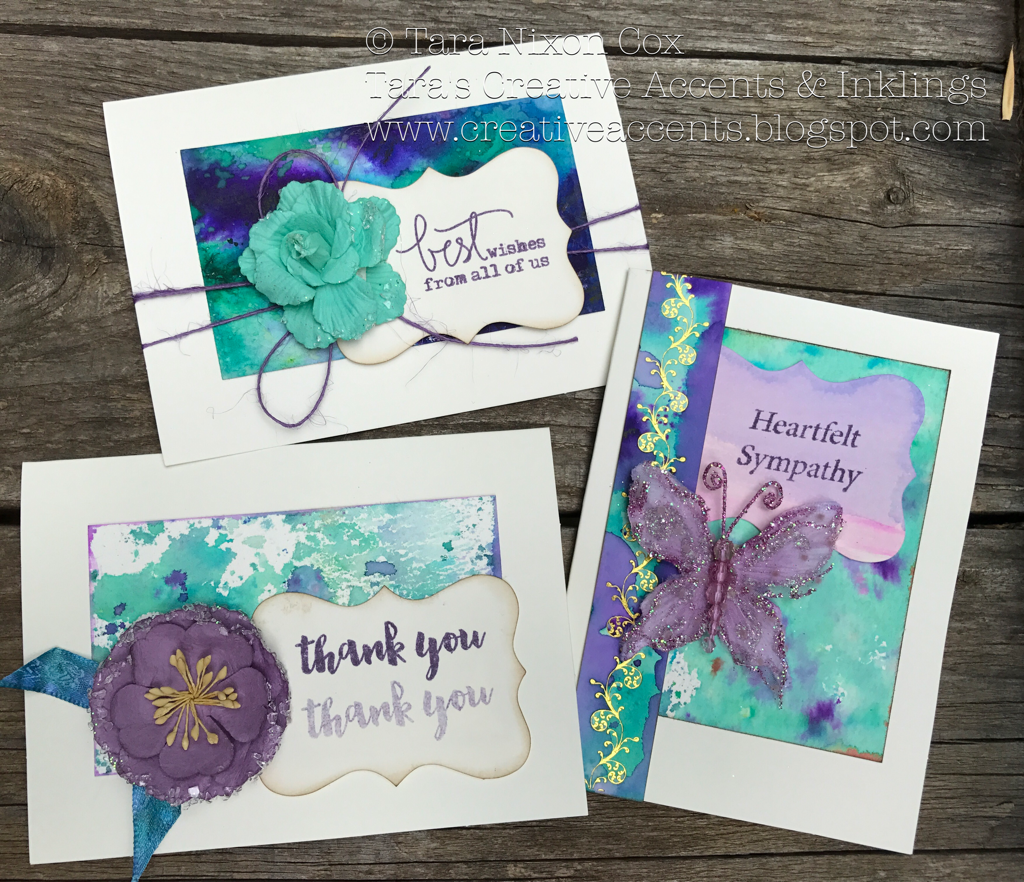
As you can see, we stamped sentiments on the labes and embellished them with some pretties by Prima.
Here’s a closer look at the cards… and my cat who wanted to help with the photos 😉

You can see some subtle patterns in this one from applying an inky stencil and some salt to the paper while it was still wet.  I almost didn’t cover the background at all, it was so pretty!

I had some resist design paper we used for the border on this one, similar to designs you will find in the Prima Paintables pads (which are 40% off right now!). I used some watery ink spots from my craft sheet to add subtle color to the die cut shape.

This final card has a softer look, from picking up color that was left on our craft sheet after applying just a small amount of Color Burst to the paper.  The ribbon was also inked up using that leftover color 🙂

I know this final photo isn’t very good… but I had to share how helpful and accommodating Miss Abbey was while I was trying to take pictures.  LOL.   I have another group of cards I’ll share on another blog post that includes her as well!  Usually I can work around her, but she must have known I needed the photos right away so I could pack up the cards to send home with Mom!  I hope this helps you see how using a few basic supplies can allow you to create a fun variety of cards to have on hand!  Sentiment stamps can be your best friend… and pretty embellishments make putting it all together really easy!

Inky hugs,

Tara


Supplies used:

Cards & Die Cuts

Watercolor Paper

Resist finish paper (like Prima Paintables here, here, here and here!)

Color Burst brights & Earth Tones

Assorted Sentiment stamps (this one would be great!)

Dusty Concord Distress Ink

Assorted ribbons & flowers from the stash 🙂

Ranger Non-Stick Craft Sheet

Tuesday with Tara {take 103} Read More »

Free Shipping Anywhere In Canada