Alcohol Inks Are ALWAYS Fun!
Hi Everyone! I hope you are all having a great weekend.
This is Susan and I’ve got a fun technique to share with you today. I was playing with my alcohol inks and realized I need more colors. I only have 3 right now and I wasn’t getting the results I was looking for which is okay because it gives me an excuse to buy more 🙂 . So I grabbed my alcohol ink markers and played with those and had a ton of fun.
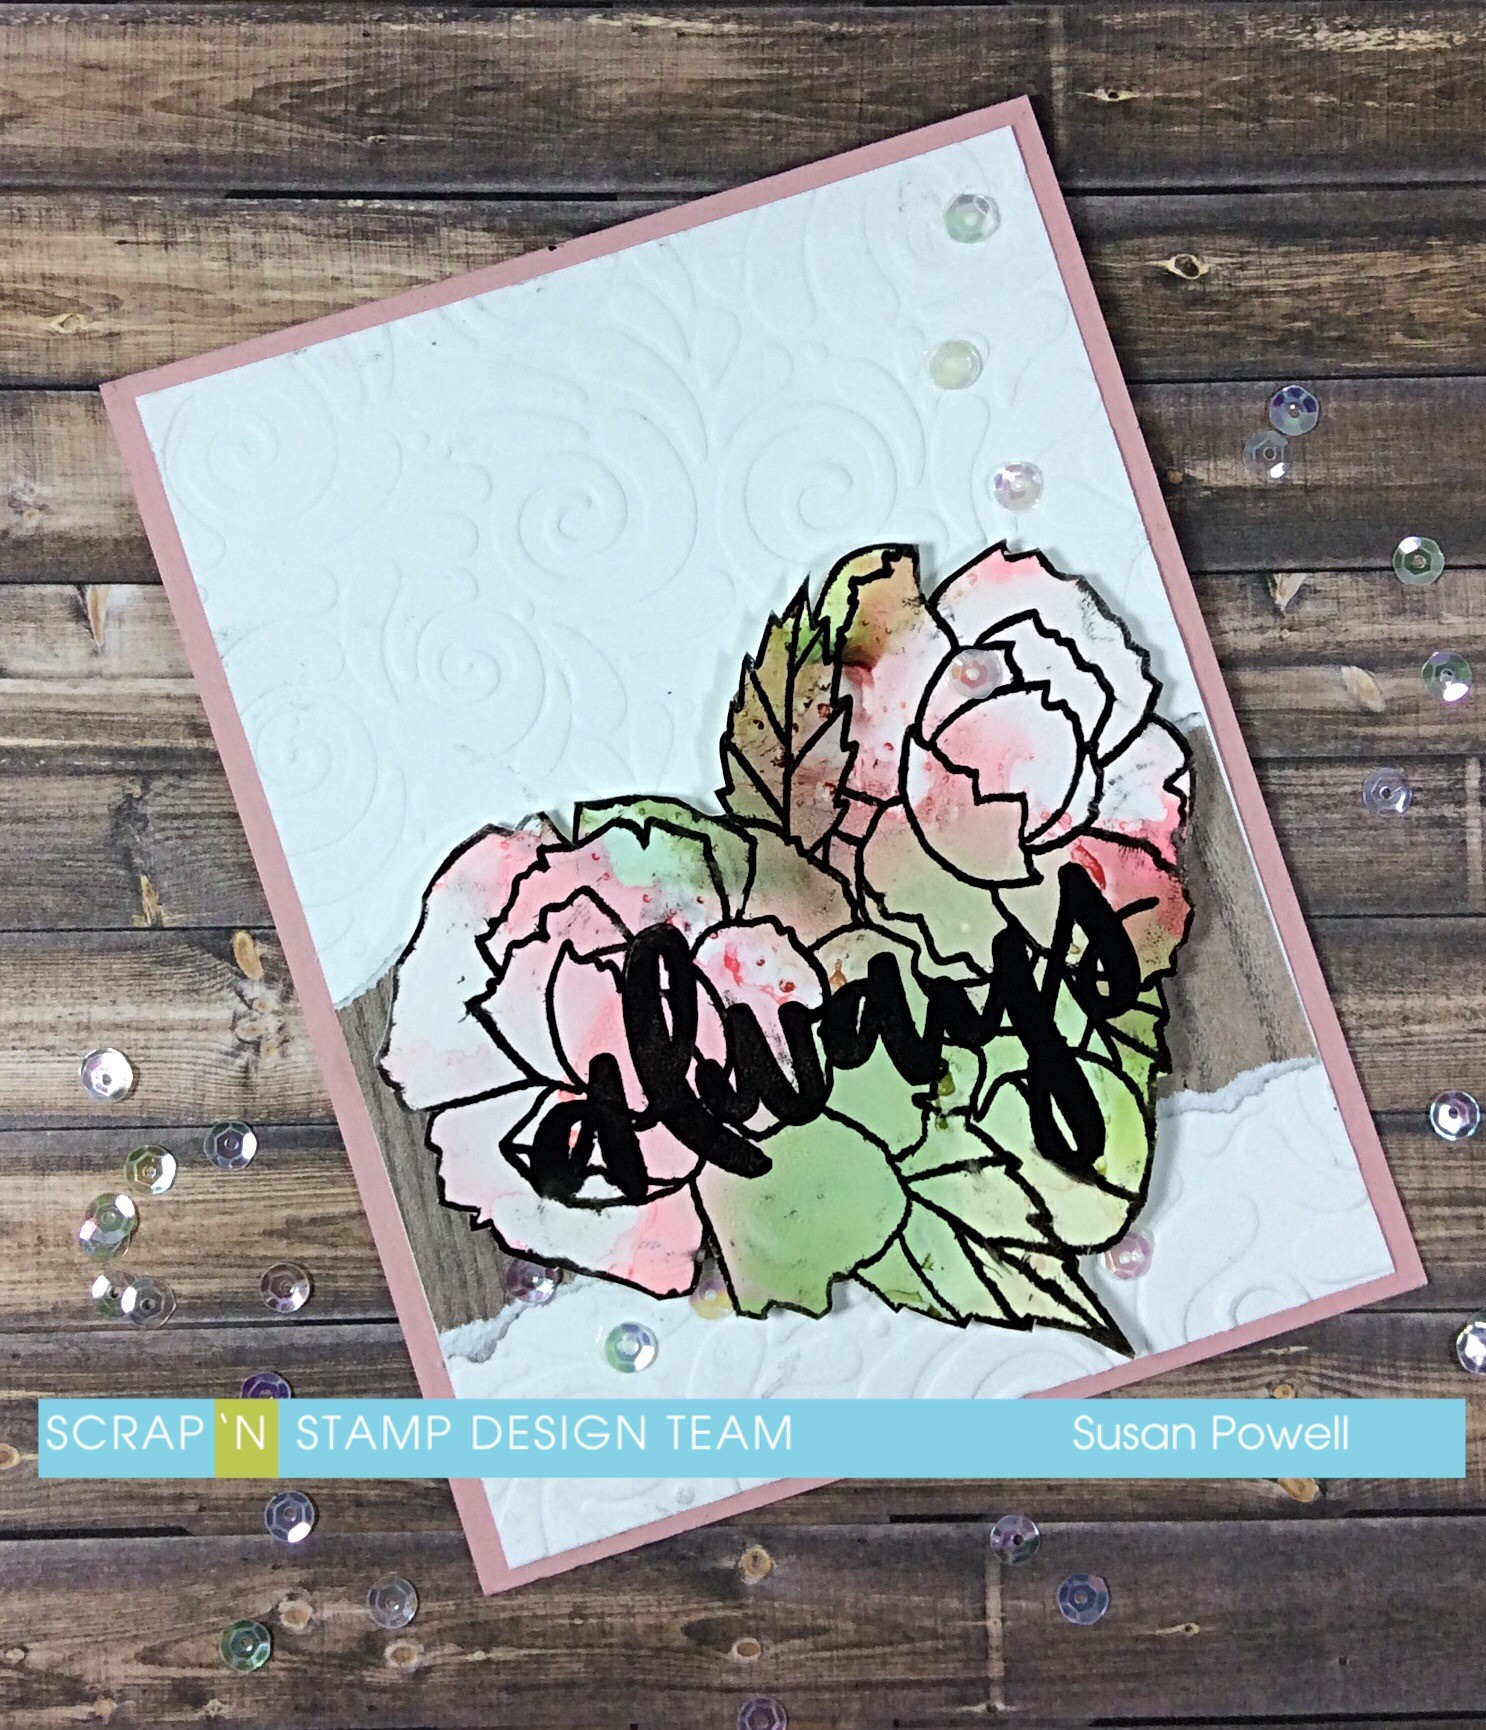
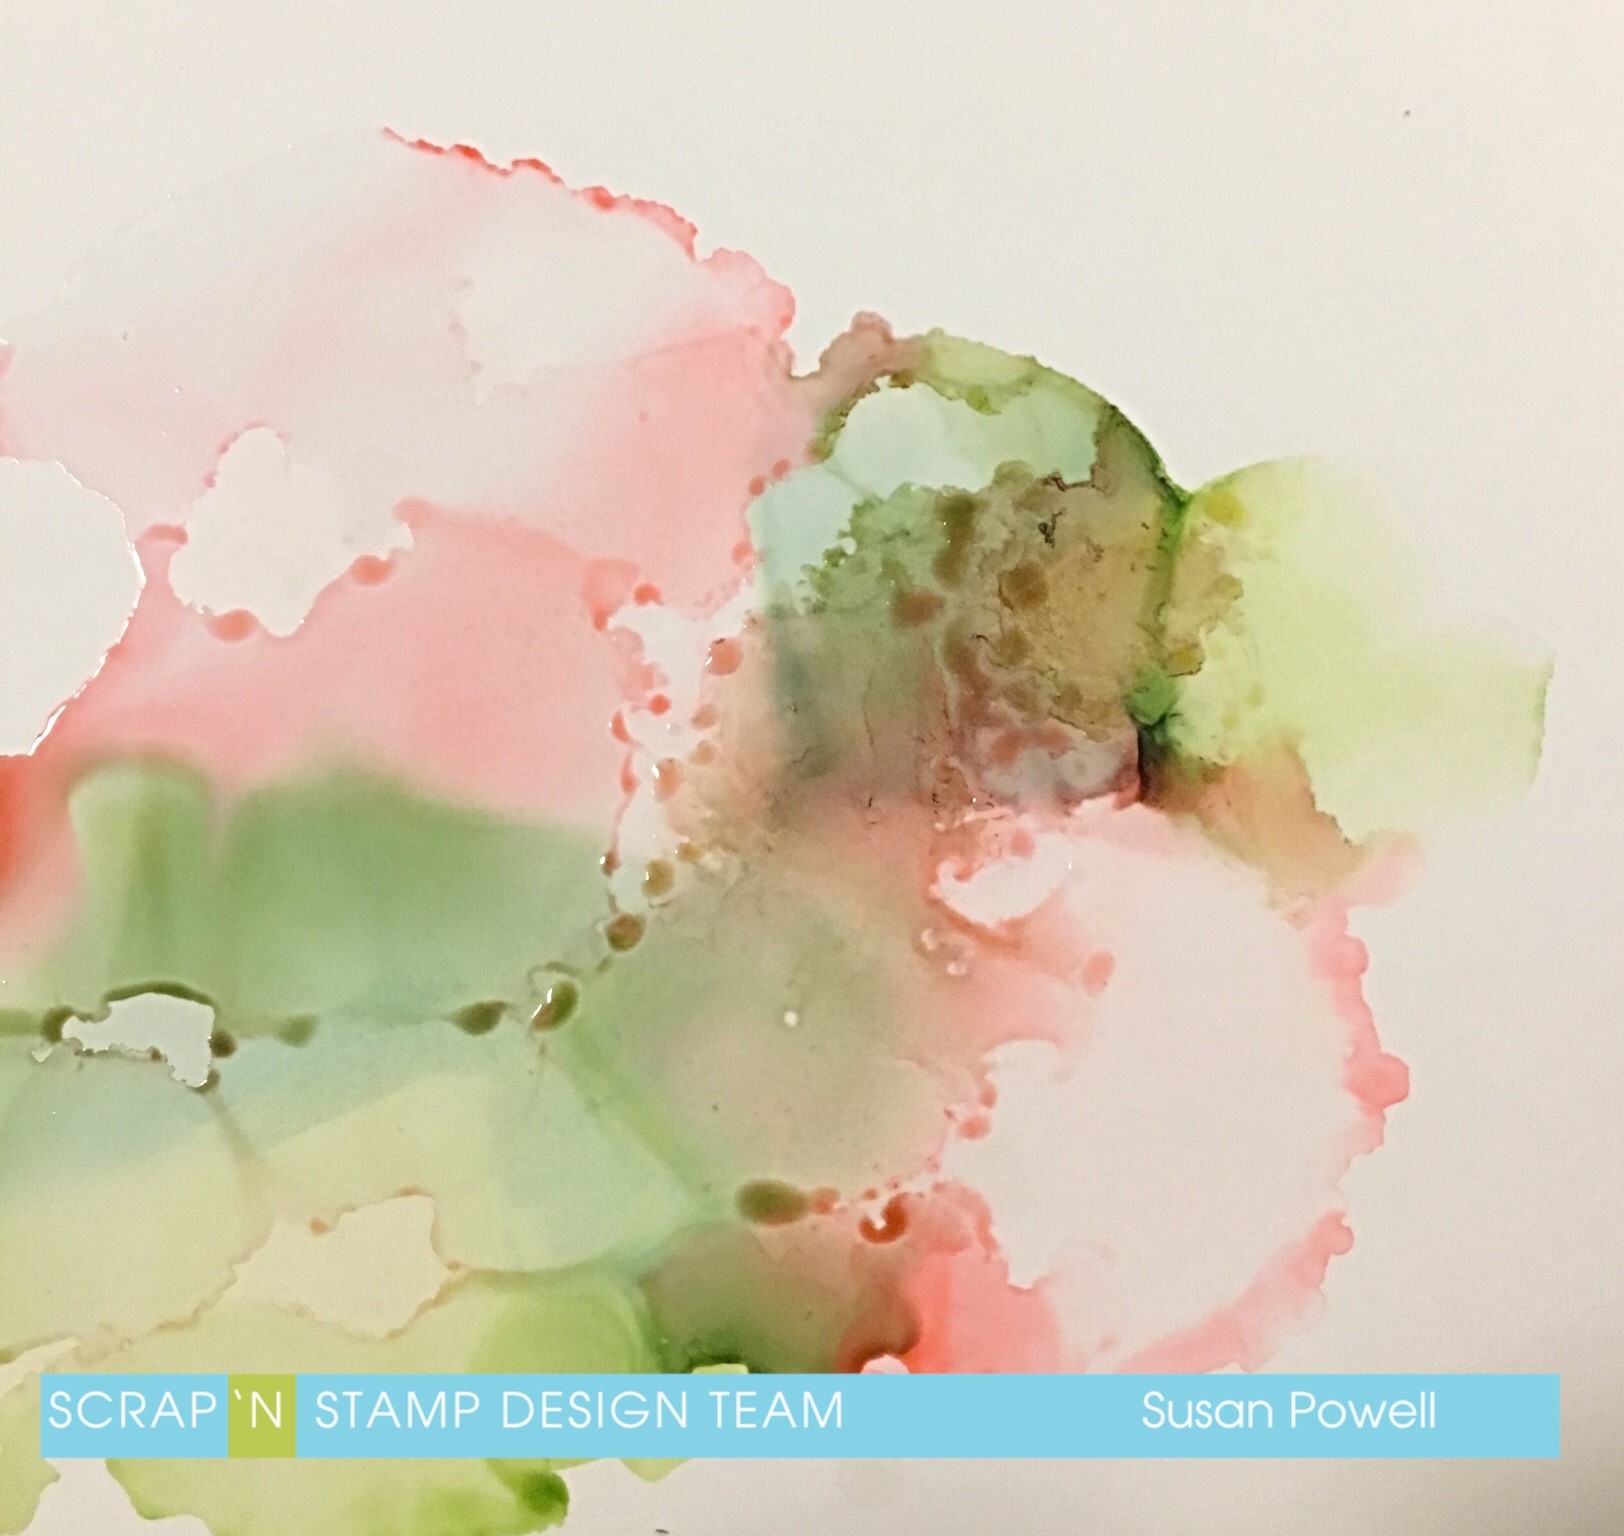
This is the result of my fun.
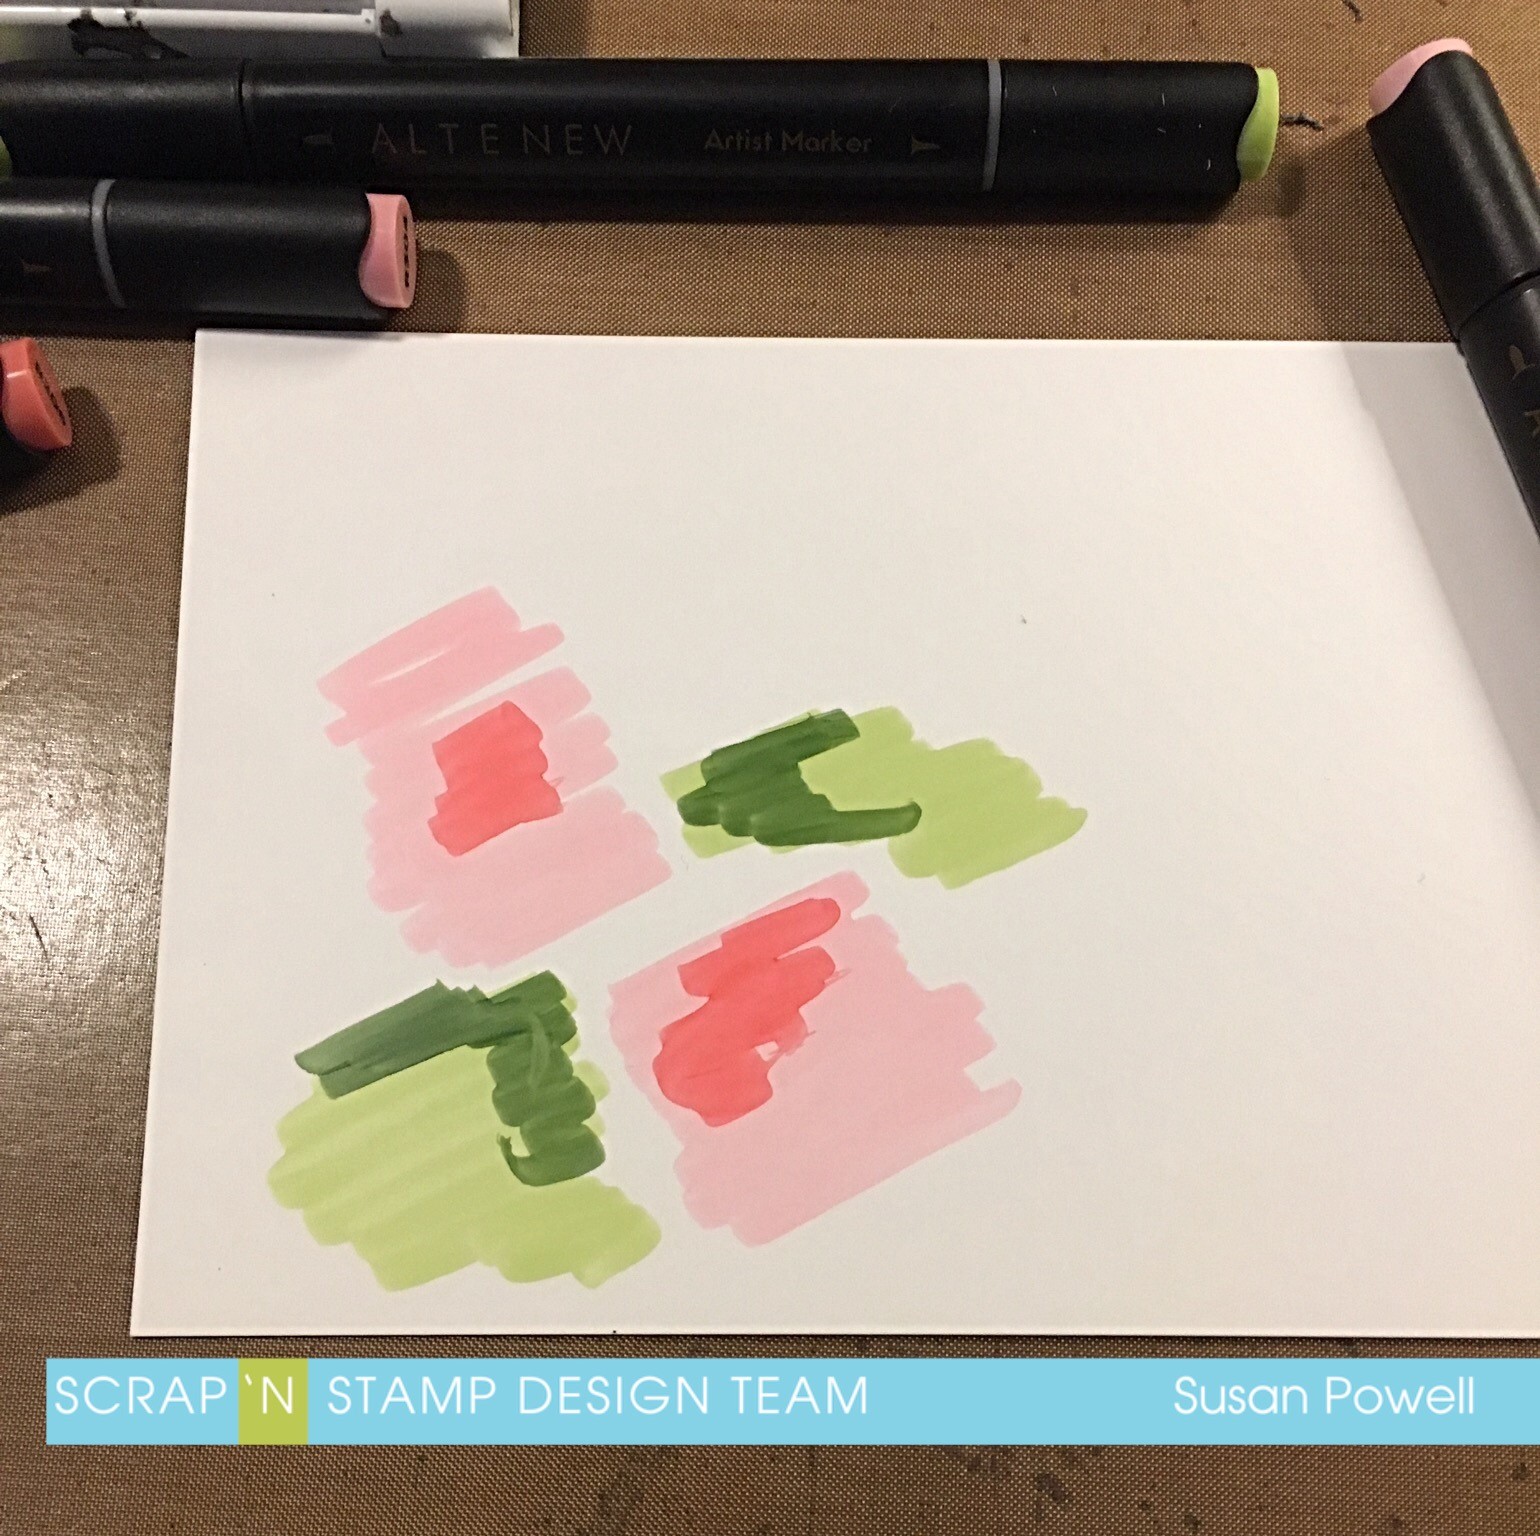
To do this technique you are going to need Yupo paper – it’s made for alcohol inks. You’ll need some alcohol ink, either in the bottle or if you’re like me and don’t have the colors you need in the liquid form then grab some alcohol markers. And you also need some Alcohol Blending Solution and a straw.
The first step is to lay down some ink. I knew I was using the You Are Here Stamp Set from Concord & 9th so I grabbed a couple shades of pink for the flowers and a couple shades of green for the leaves. I started by positioning the stamp on the paper and getting an idea of where I was going to need color. I lifted up the stamp and scribbled on the ink in the general areas of where I wanted them.
This next part is where all the fun happens. Take your bottle of Alcohol Blending Solution and squirt on a few drops. You’ll see the ink start to separate and move around. If you want it to move more you can use a straw. Just aim it at the ink and blow through it and you can move the color around. You can add more blending solution and continue moving the ink around until you are happy. The one negative thing about using markers is you can’t add more ink to the mix. If you are using liquid alcohol ink and you want more color just squeeze some on, add some more blending solution and move it around until you are happy with the results. I was going for a softer look so markers worked just fine in this situation.
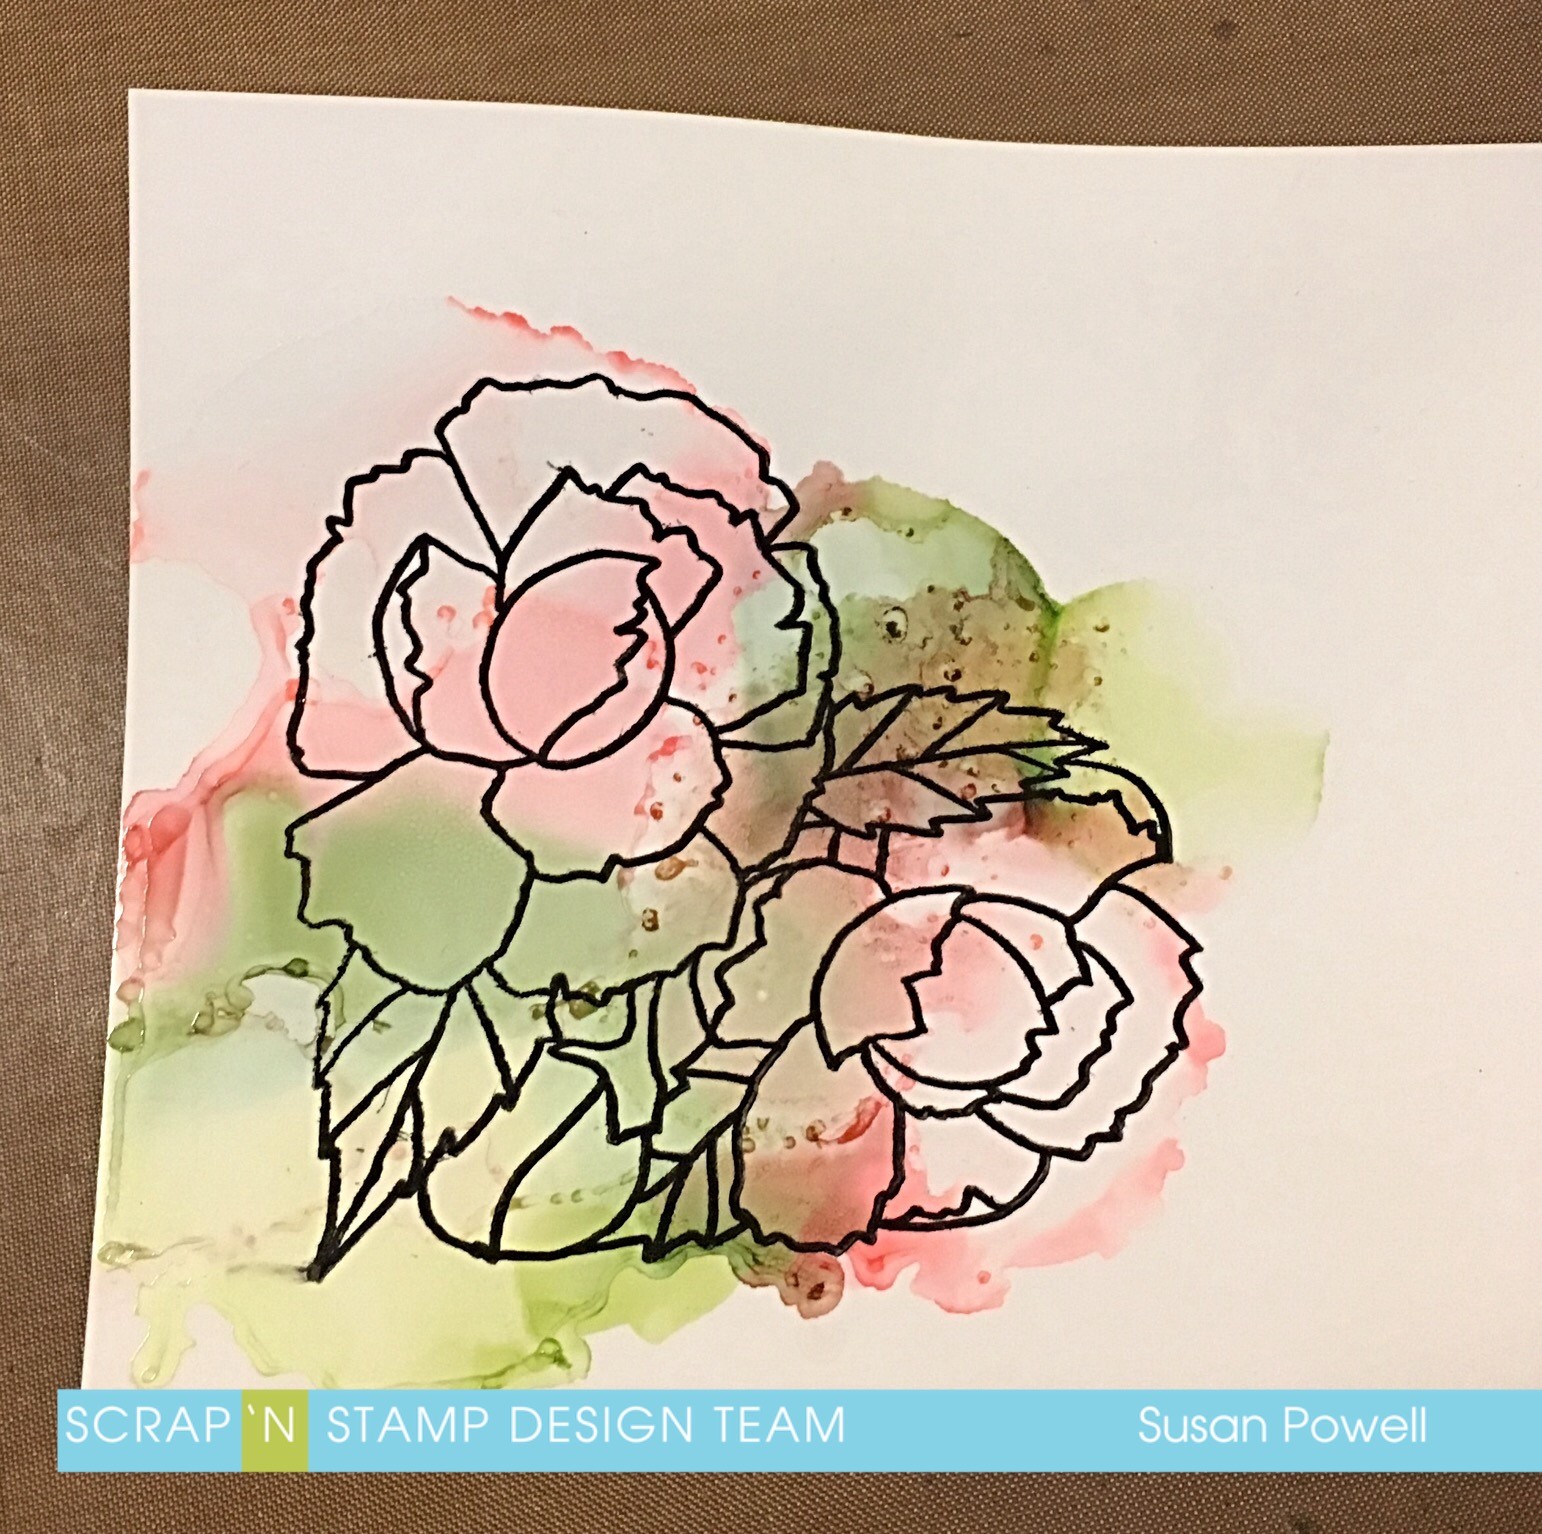
Next is the hard part. At least I find it hard. It’s the waiting until it’s dry before you can turn it into something. It doesn’t actually take that long but I still found the waiting hard so I helped it along a bit with my heat tool. Not sure I would advise that too much as it did warp my paper a bit. To fix that I ran it through my big shot a couple of times and that seemed to help.
To stamp the image I used my MISTI. I wasn’t sure if I would get a crisp, clear image the first time because I don’t have a lot of experience with this technique and I’m glad I used it. I stamped it 3x using Versafine Onyx Black Ink before I was happy.
Now to turn it into a card. I used the stamp always from the same set as the flowers and stamped that using my MISTI tool. I stamped that 3x so as to get a deep black impression. I set that aside for a bit to be sure that the ink was dry before I fussy cut it out. Next I reached into my pile of designer paper that I need to use up and pulled out a strip of woodgrain pattern. I cut it to 4″ wide and tore the long edges. Next I cut a piece of white cardstock to 4×5 1/4″ and ran it through my big shot using an embossing folder with a swirly pattern on it and then layered that onto a soft pink card base. I added the strip of woodgrain paper and then added the cut out flower image with some craft foam for dimension. Finally to finish it off I added a few sequins with some liquid glue.
I hope you are inspired to give this technique a try.
Happy Stampin’
and thanks so much for visiting!
I’ve linked to a few of the items I used below. Scrap’n Stamp carries a wide variety of colors for alcohol inks – too many to list but if you’re looking for some I’m sure you’ll find it in the store.

Alcohol Inks Are ALWAYS Fun! Read More »