Scratch-N-Stamp
Search

Checkout

Keep up with Sales, New Products and other events at Scrap `n Stamp. Sign up for our newsletter now!

What's New

Hot Deals


Design Team

TBT – 2 Ways to use Tim Holtz Mixed Media Dies

It Throwback Thursday and I thought I’d share TWO great ways to use your Tim Holtz Mixed Media Dies.  Have you heard that Sizzix is 30% OFF ? Ends Midnight

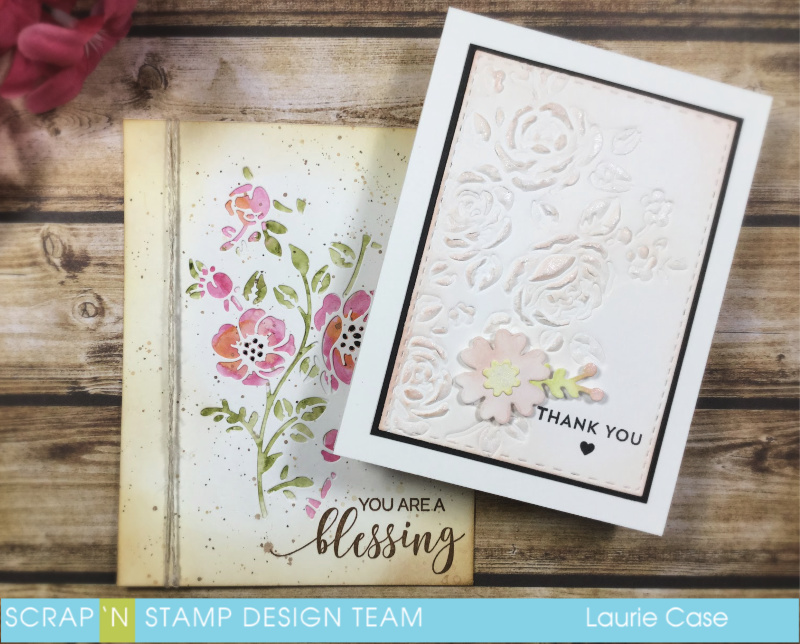
Welcome back, crafty peeps!!  Laurie here to share two cards using dies from the Tim Holtz Mixed Media Set #5.  If you’ve never seen or used these, I highly recommend you check them out!  Each set has 3 large, amazing dies and the price point is awesome!!

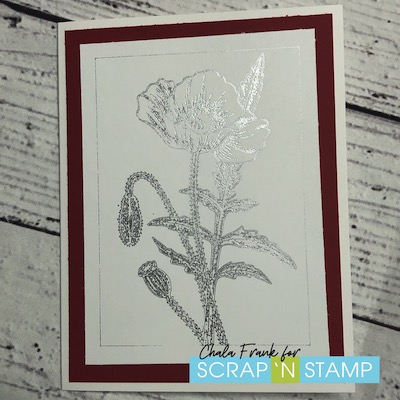
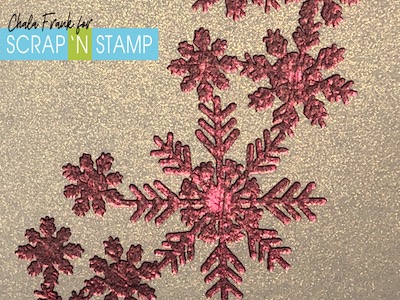
My first card features some lazy watercolouring which will be hidden behind a panel cut with one of the floral dies in this set.

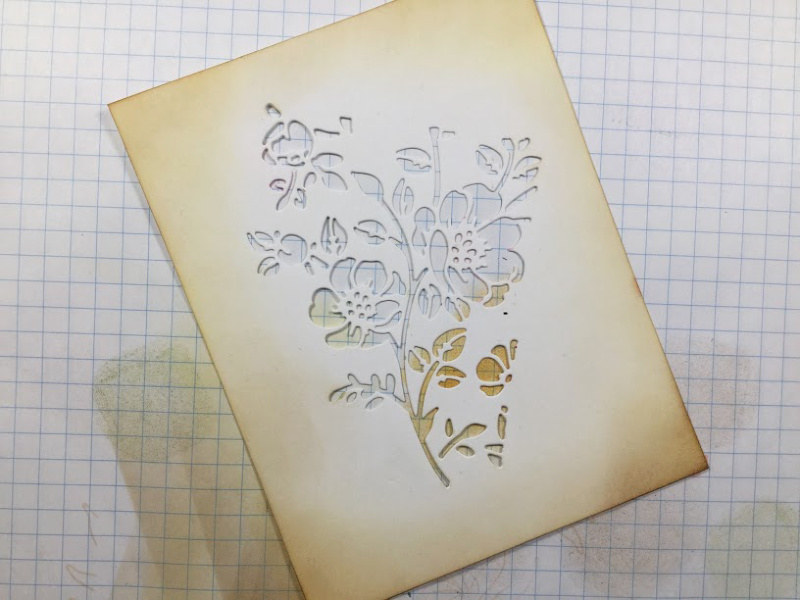
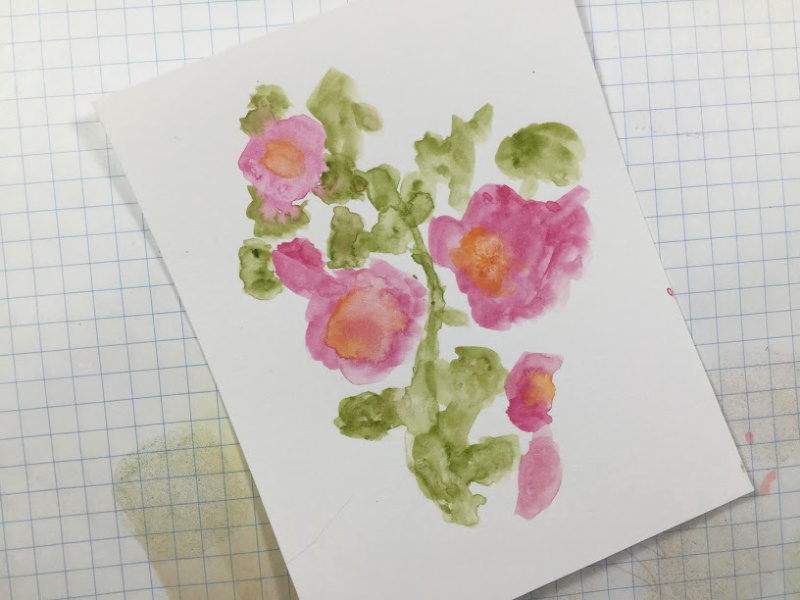
I cut the image out of white cardstock and inked the edges with Wild Honey and Vintage Photo Distress Inks.  For the watercolouring, I used Bristol Smooth paper and a cheap set of watercolour paints.  I’m sure there was an easier way to do this but I just kept putting the die cut panel over the Bristol and roughly lined up where the ink should go!!

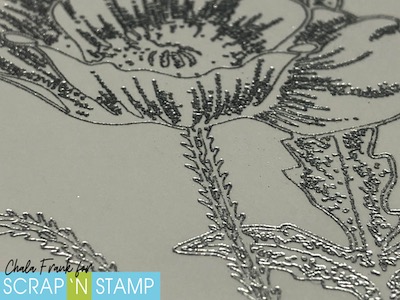
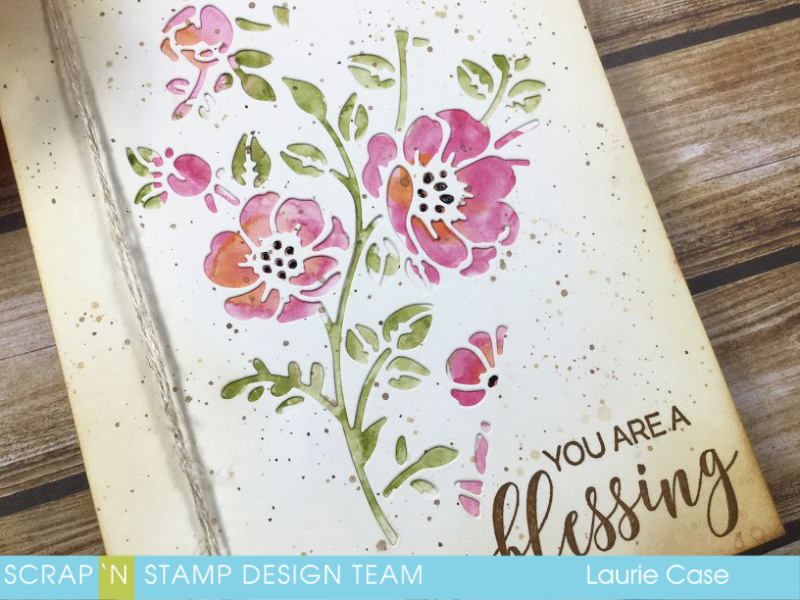
I think that this panel looks pretty cool on its own!!  But layered up together, it looks like this:

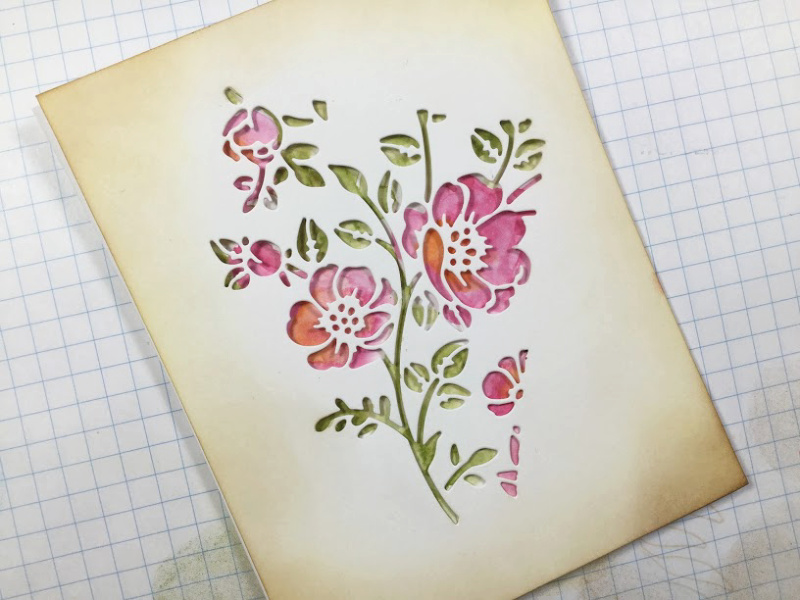
Before adhering the two panels together, I added some splatters with the Vintage Photo as well as Ground Espresso Distress Inks.

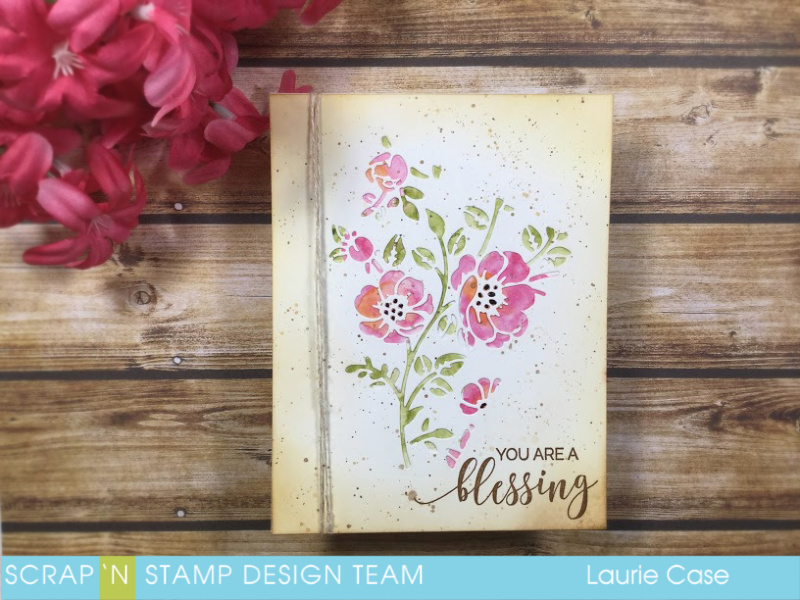
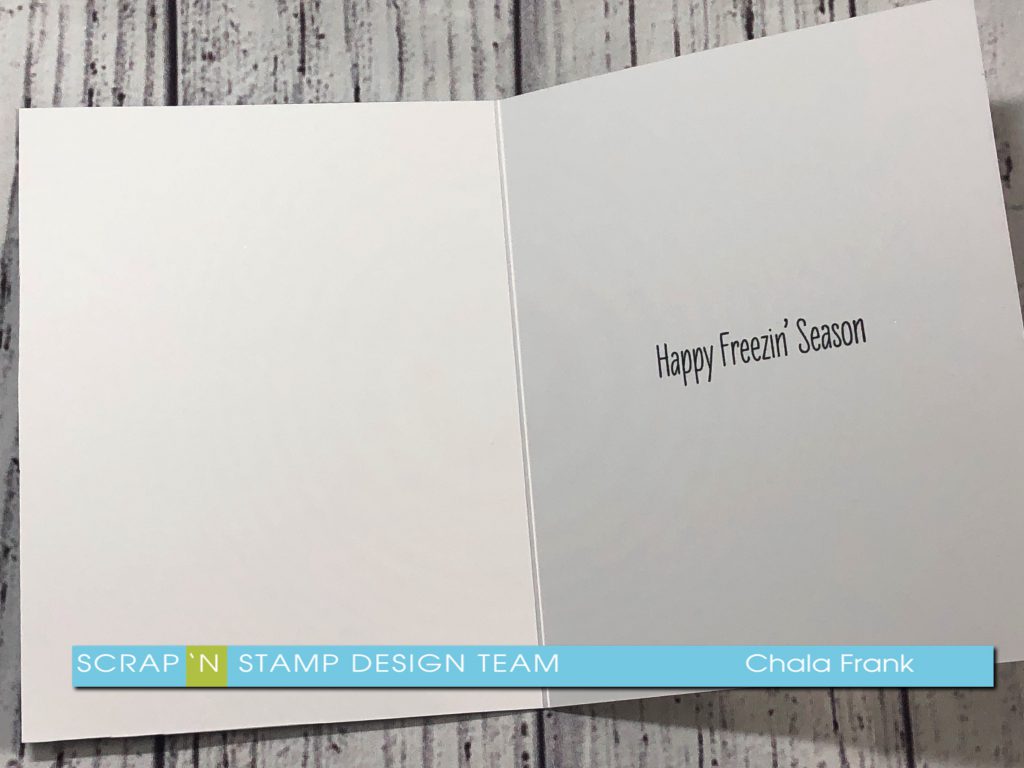
I added some twine to the left side and stamped the sentiment in Vintage Photo. I used my Misti for this as Distress Ink doesn’t stamp well and I need multiple impressions.  The sentiment comes from the Penny Black Choose Happy Stamp Set.

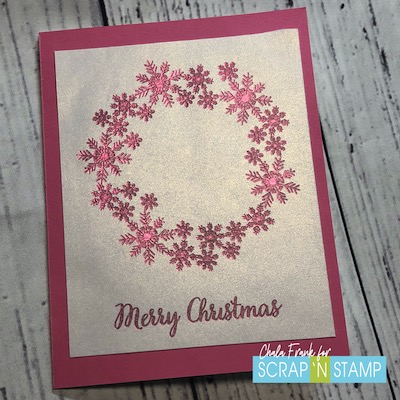
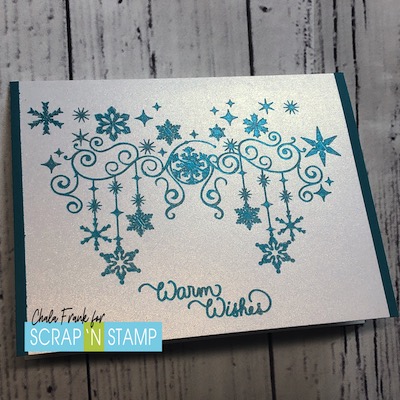
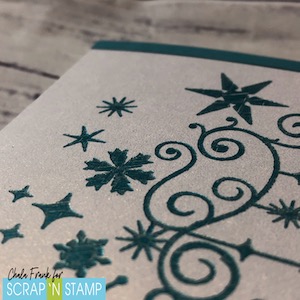
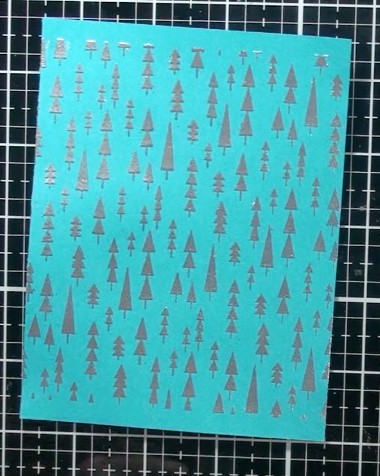
For the second card, I used another one of the dies from this set and used it to emboss!  You can do this with all your dies as long as you have a tan embossing mat and the correct sandwich for your die cutting machine!

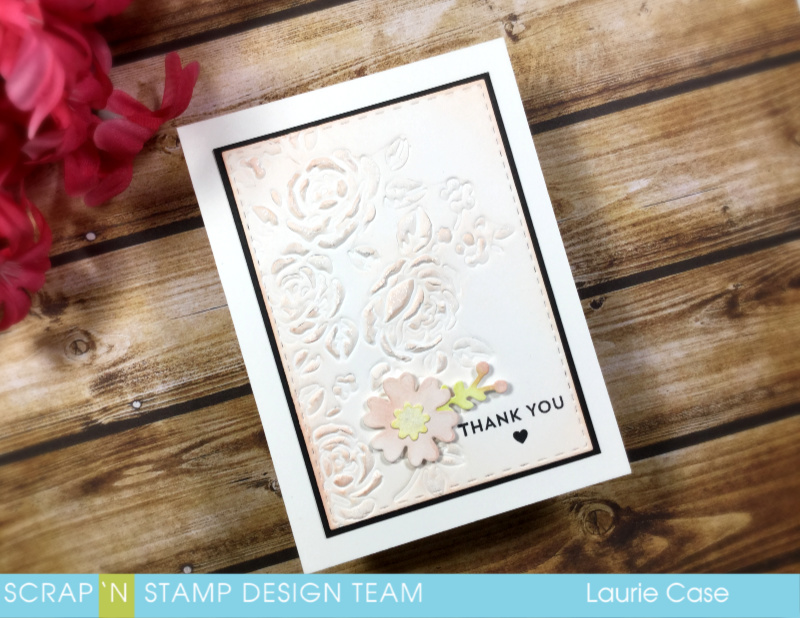
This gives a very pretty result. To bring out the embossing a bit more, I lightly blended some Tattered Rose Distress Ink over top. I should mention, that I had that stitched rectangle in my “spares” bin so that was cut already.  You would want to make sure you cut down your panel BEFORE embossing it!

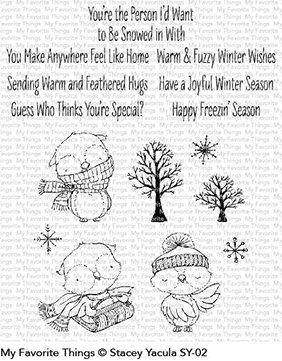
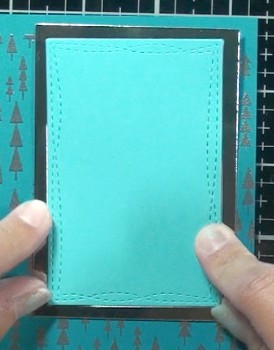
I adhered the embossed panel onto a piece of black cardstock that was slightly larger.  The “thank you” sentiment and heart come from the From the Heart Stamp Set from MFT…this is a great set to have in your stash!!

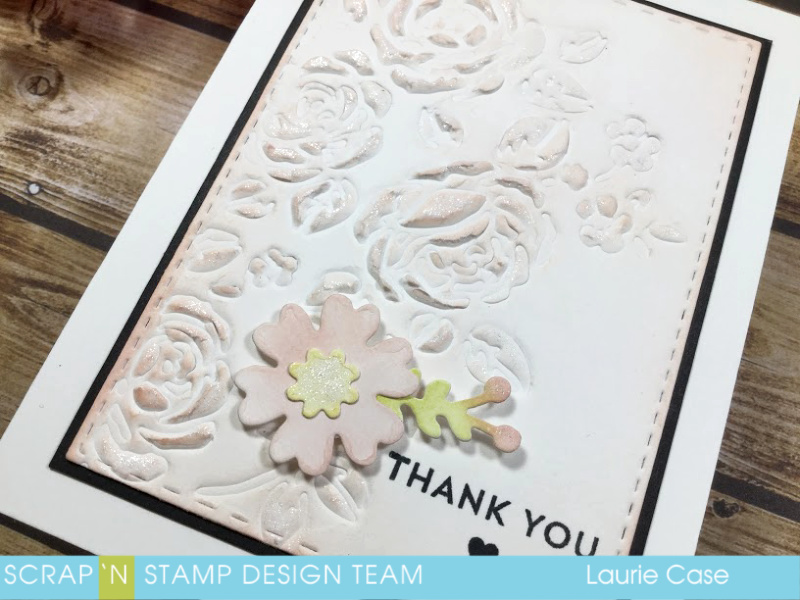
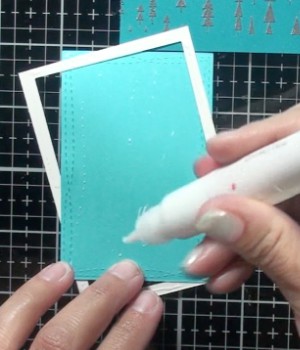
As an added touch, I used a couple dies from the Spring Floral Cluster Dies from Flora and Fauna and some shimmer pen on some of the raised portions!

And those are my projects for today!! Hope you found a little inspiration here today!

Thank you so much for stopping by!

See you soon…

Laurie

TBT – 2 Ways to use Tim Holtz Mixed Media Dies Read More »

Beginner Foil Quill…and a Secret!

I’l Be Gnome for Christmas Foil Quill

Hello Again! It’s Chala and I am back to share with you my beginner foil quill experience….and a secret!

The Foil Quill is one of this years’ hottest new craft items that can be used with the Silhouette, Brother, Cricut and Sizzix electronic die cutting machines. Today I am using my Silhouette machine to show you my very attempt at this technique.

There are specific carriages for each machine and they are ALL included in the one kit. So no need to purchase each carriage separately which is great if you own more than one type of die cutting machine!

Now, I am going to be honest. When this product came out I was not interested in getting it at all. I thought…this is a tool that I really don’t need. So, when I was sent the Foil Quill kit I was very appreciative of getting it…I was excited to use it….but, I really was not optimistic that I would actually like it.

I use my Silhouette machine quite a bit, so I like that I can use this tool with designs that I already own that I purchased through the Silhouette America Design Store, or you can purchase USBs that have designs on them.

This video will show you right from opening the kit, looking at the instructions and my first use and thoughts on the product.

Remember, if you are interested in the products used in the video, I will link them below…

Ready to see what happened and my thoughts? Here’s the video!

https://youtu.be/eGQIPvNZFDU
The Cards
THE SECRET……

Well…if you watched the video (witch I apologize for how long it was….) you will know that I am IN LOVE with the Foil Quill! It exceeded my expectations and now I want to foil ALL THE THINGS! In fact…I had so much fun I didn’t even stamp! Although…you totally can and I think the Foil Quill will up your card making game!

My BIG secret is….Starting Black Friday Scrap’N Stamp is offer the Foil Quill at 50% OFF (while supplies last)! WHAT?!! I know! Make sure you click on the links below to head over to get yours and to check out all the other great Black Friday Deals!

Materials:


Beginner Foil Quill…and a Secret! Read More »

Warm & Feathered Hugs – Freezin’ Season

Helllllloooooo! Guess who’s back? It’s Chala! I am hoping to cheer up your mundane Monday by continuing to celebrate Christmas in July!

It’s funny to think about cold weather right now…only because we have really just started having summer weather here. None the less, I did manage to get in the spirit to make this sweet card using My Favorite Things – Warm & Feathered Hugs stamp set. I absolutely LOVE every single image in this set. Also, the sentiments are perfect for not only Christmas cards….but, Winter themed cards that I can send to my friends who don’t celebrate Christmas. Today’s card is a card that can be just that!

MFT – Warm & Feathered Hugs

To start I am going to stamp the little owl with the scarf with Memento Black Tuxedo ink onto some smooth Crafter’s Companion white cardstock. I have chosen this type of ink and cardstock because they both work well for Copic colouring. I will set this stamped image aside to give the ink some extra time to dry and to think about how I want to colour him.

I was searching through my stash of cardstock and found a piece that I must have stamped up the last time I was making Winter cards. I thought why not use use this on the card! (To make this panel I had cut a standard A2 size panel from some cardstock similar to Lawn Fawn’s Peacock colour and then I used a stamp called Mod Trees and my Versamark ink and silver embossing powder.)

I then picked some light blue cardstock similar to Lawn Fawn’s Mermaid cardstock secure it with some Thermo-Web Removable Purple Tape and die cut that with my Gemini Jr. using the 3rd largest size (2 3/8″ x 3 5/8″) MFT Wonky Stitched Rectangle Stax Die.

I also used this same die and cut a piece from some silver mirrored cardstock similar to Tonic – Mirror Cardstock in Frosted Silver and trimmed the outside edge to make a frame that would fit around the mermaid coloured piece.

I start to plan how I want the layout of these pieces to be on my card and I decide that I want the silver frame to be offset at an angle to the light blue cardstock.

Now that the layout is planned out I can move on to Copic colouring that cute little owl. The colours I use are: C0, C1, C2, C5,YR04, Y08, B18 & BG02. Once he is all coloured up I will fussy cut him out. (If you don’t like to fussy cut you can get the coordinating dies!) I am getting better at my Copic colouring! Practice, Practice, Practice! I am pretty happy with how he turned out!

Now it is time to assemble all the pieces. I start by using liquid adhesive to glue together the wonky stitched rectangle and the silver frame.

I then glued these pieces onto the tree card panel that I had found in my stash. I then adhere the owl onto the blue cardstock and add some snowflake sticker embellishments and adhered with my glossy accents. I also add two clear Sparkletz droplets.

I will let the embellishments dry for a bit and then come back and adhere that panel to my A2 card base with a tape runner.

I decided that I would keep the front as is and put my sentiment on the inside. I couldn’t resist using the “Happy Freezin’ Season” sentiment that comes with the stamp set. I pulled out my Stamp Perfect and my favourite sentiment ink VersaClaire Black Nocturne ink. I first stamp the sentiment down onto some clear packaging just to make sure that it is straight and looks good. The last thing you want to do is spend all that time on your card only to stamp your sentiment crooked!! 😫 Trust me, I have done it! The last thing I do is add some Clear Wink of Stella to the owl’s scarf and my Winter Freezin’ Season card is complete!

Share a photo of your card on the Scrap’N Stamp Facebook Challenge Page wall and get your name entered to win a $50 gift certificate to Scrap’n Stamp! You’ve got until July 31st to post. Make sure to hashtag it for another chance to win #SNSChristmasinJuly. Winner chosen by random draw. One entry per day.

I hope you enjoyed today’s card! Remember to head on over to check out my YouTube Video and hit the subscribe button and notification bell to catch all my crafty creations! Leave me a comment to let me know how you like my fun themed intro for this video!

https://youtu.be/TJXO6vY64HU


Happy Crafting!

~Chala, xoxox

Additional materials used:

Warm & Feathered Hugs – Freezin’ Season Read More »

Free Shipping Anywhere In Canada