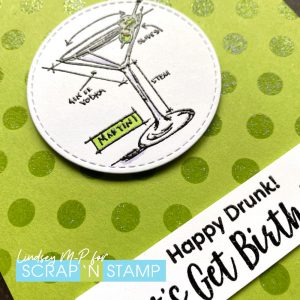
Happy Friday! For Day 16 of April’s Random Acts of Cardness, the prompt is DRINKS! I almost made a coffee themed card, but it is Friday, after all…
Today I’m using the smaller size of the Tim Holtz Cocktails set – we have the larger size of this set in the store, or if you like the smaller better, we have the wine set in both small and large. (The large are great for filling the front for a quick CAS card!) I added just a bit of colour and shading to the martini with a few Copic markers. For the background, I wanted to give a nod to our Polka Hop from earlier this month, so added sparkly dots with a Flora and Fauna stencil, Versamark and Wow holographic embossing powder – so sparkly in real life! For the sentiment, I used my current favourite snarky one from My Favorite Things Sassy Pants Birthday Greetings 2.
If you are playing along with the Random Acts of Cardness challenge, don’t forget to tag your social media photos with #snschallenge so it’s easy for everyone to find! TGIF – hope your Friday is full of fun!
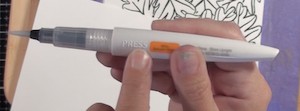
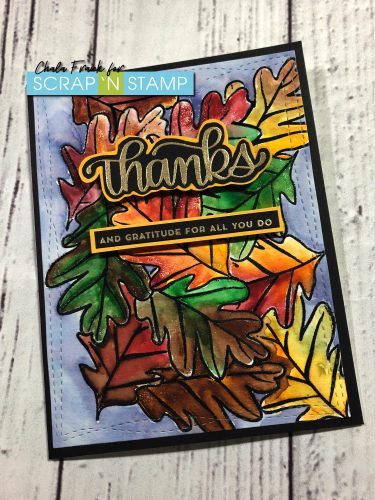
Hello! Chala here for today’s blog and I am excited to share a “new to me” product the Nuvo Aqua Flow Watercolour Pens.
Scrap’N Stamp sent me two packages of the Nuvo Aqua Flow Pens to try and I thought I would share my thoughts and the card I created.
Having used pens similar to this in the past like the Wink of Stella and the Aqua Flow Waterbrushes I thought I had a good idea of how they worked…but, I quickly learned that there were some differences as well!
Let’s start by talking about the sets I received and the colours that are included in each.
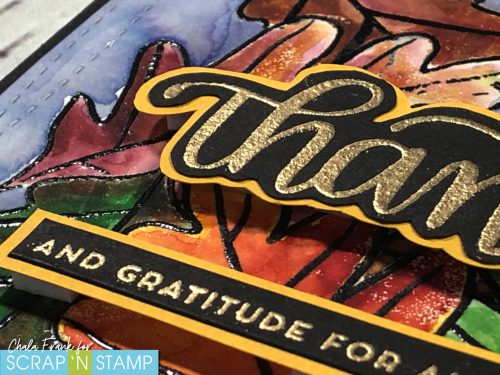
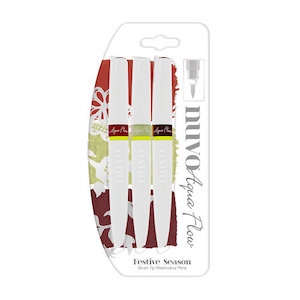
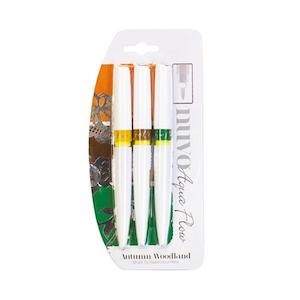
The Festive Season set which included Matador Red, Pressed Olive and Baked Cherry. The Autumn Woodland set and it comes with Spiced Ginger, Rustic Oak and Evergreen Fern. These sets really compliment each other well and were perfect for the fall themed card I had in mind. I did some simple stamping, masking and heat embossing to create a scene and then wanted to watercolour the images in. (Check out the YouTube video to see the card being made) Before I got started though…there was a bit of set up with the pens.
The first thing you need to do is to remove the little yellow washer. To do this you unscrew the pen top from the base. Remove the yellow washer. You can throw this away as you won’t need it anymore. Carefully rethread the top and bottom piece together, being careful not to cross-thready. There should be a “click” once it is together. I recommend taking the lid off the top to do this as it took me a while to figure out I was just turning the lid and not the whole pen top.
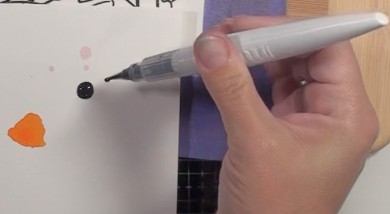
With the two pieces are back together, locate the raised word “press” it should be located next to the colour indicator swatch on the base of the pen. gently squeeze to push the watercolour into the clear reservoir of the pen. Don’t squeeze too hard as you can actually project some of the pigment out. You will want to have a scrap piece of paper handy so that when the colour drips out you can work it into the bristles of the brush. This process can be seen in my YouTube video which is linked below.
Continue this process with all of your pens. Once they are primed and ready to go….it’s time to play!
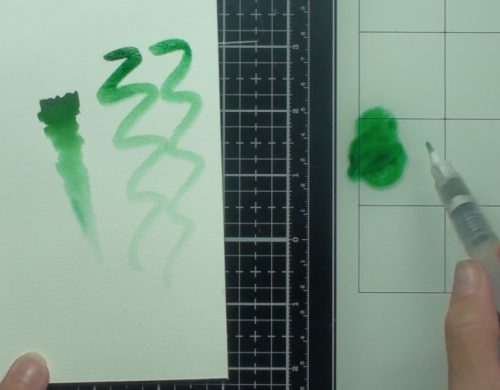
The one thing I noticed was how “juicy” these were and how rich the pigment is! A little goes a long with with these babies! You can use them direct to paper, wet on dry, wet on wet or scribble some onto a smooth media surface like the Tim Holtz Glass mat and then use a brush to pick up the colour. Again, I show all of this in my YouTube video linked below.
These pens would be great if you like to travel with your supplies. It is best to seal them in a bag or container to ensure they do not leak or become crushed. I think the best way to store these would be laying flat on their side or with the brush tip pointing up in a container to avoid leaking.
Please note that on the back of the packaging there is a bright yellow sticker that says “Adult use only. Not suitable for under 14’s”. I am not exactly sure why this would be…but, it must be there for a reason. The only thing I can think of is because the pigments are so rich they might stain! So, if you are using with small children…use at your own risk!
My honest opinion is that I really enjoyed using these and I think if you are looking for alternative to tradition cake/pans of watercolour these might be fun for you to try. Below is the finished card that I created.
I love how rich the colours are, not like your traditional watercolours which can be quite translucent. That’s not to say that you can’t achieve that translucent look by adding more water. Again, I encourage you to check out the YouTube video where I show how I used them. I also will link all the materials I use below and in the YouTube video description.
https://youtu.be/T8oe89dRGQk
Nuvo Aqua Flow Watercolour Brush
I hope that you found this blog and video helpful and it inspires you to try them out! I would love if you share your creations over at the Scrap’N Stamp Facebook Challenge Page!
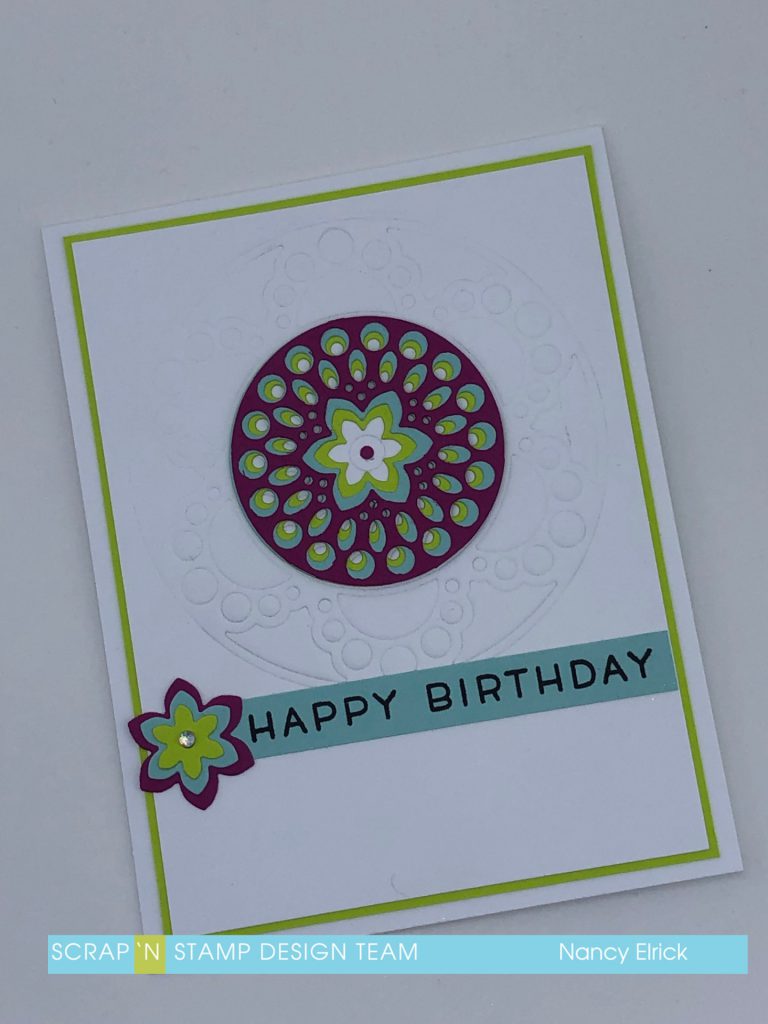
Happy Wednesday Everyone! I am here today, playing with a die set from Birch Press, showing that you can keep these very busy and intricate designs clean and simple. As an added bonus, if you visit my personal blog on Friday June 28th) you’ll see another card using the leftovers from the card I’m sharing here today.
I had some fun trying some different colours to put together for this card… I wanted something bright and fun so I used a deep purple/pink colour, a light blue and a lime green along with black and white.
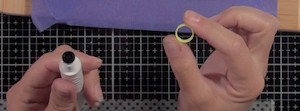
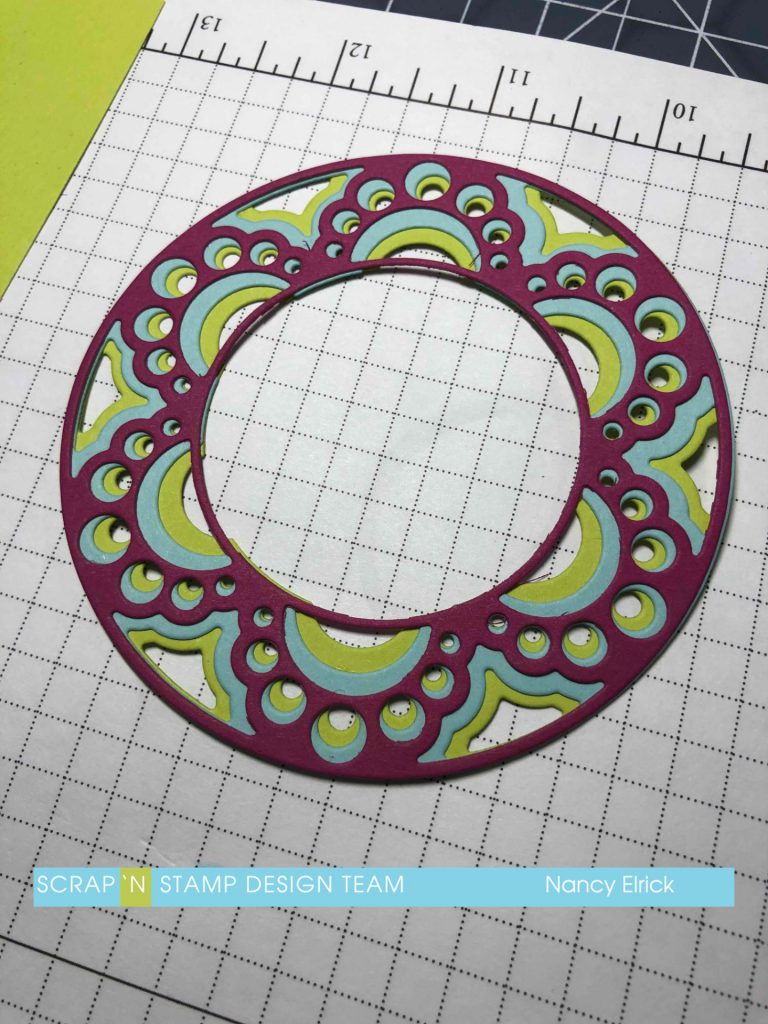
While the Birch Press layering dies seem expensive, you have to remember that there are three dies in each set… and in many cases, the centres are cut free from the outside ring of the design and you can interchange them with other sets. I didn’t do that with this card… I used the entire Bali die, but I only used the cut out portion of the centre ring. I cut each layer out of a different colour of cardstock. I put all of the layers together using liquid glue to allow for a little time to play with the layers before they stuck together completely to ensure I could get the layers as close to perfect as possible.
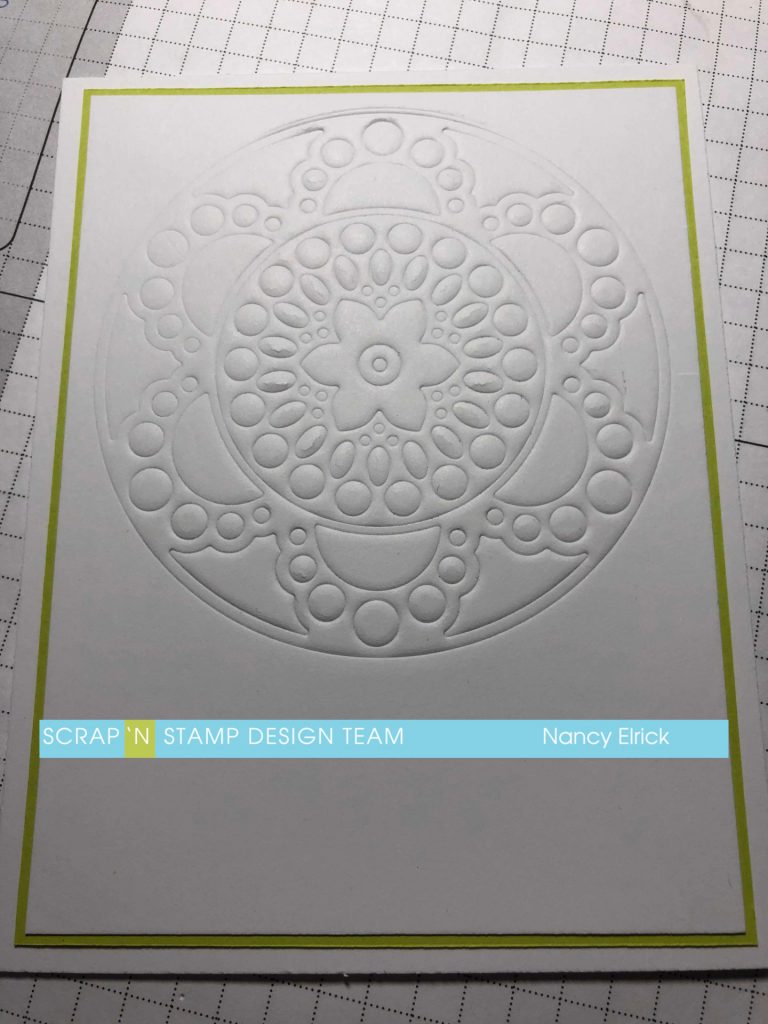
I set aside the colourful ring and grabbed the Bali A die and put it through my die cutting machine with the embossing mat. This embossed the image in to my white panel instead of cutting it out. I then layered a piece of the bright green cardstock behind my white layer leaving a 1/16″ border on all sides and then layered it all on to a top fold white card. I then added the colourful ring to the centre of the design, lining it up as best as I could. I added a small dot of cardstock in to the centre of the design for a little more interest.
To finish off the card, I stamped the Happy Birthday sentiment from Lawn Fawn Simply Sentiments in black VersaFine Claire ink on the blue coloured cardstock and cut it in to a strip. I put it on the front of the card, added flower centres from the Bali die layered together and topped it off with an iridescent gem.
This is a little sneak peek of the card that will be on my blog on Friday… I’ll hope you will pop by to see what I did with it….