Scratch-N-Stamp
Search

Checkout

Keep up with Sales, New Products and other events at Scrap `n Stamp. Sign up for our newsletter now!

What's New

Hot Deals


Foil Quill

Digital Greetings

This image has an empty alt attribute; its file name is digital-greetings-1.jpg
Digital Greetings

Hey guys! It’s Chala here for today’s Random Acts of Cardness word “Greetings”!

It looks like we will all be celebrating Christmas a lot differently than we all wanted to. So, I decided to take today’s challenge word and bring my handmade card to life with a digital greeting. This is a unique way to send a special video greeting to my loved ones far away.

It is a really simple process actually. All you need is a smart phone and/or a computer. I incorporated my Silhouette die cut machine, but you don’t need one to create this type of card.

I started out by searching for a *free* program that could convert a video into a QR code link. The best one I could find was a site called Mevie. It allowed me to upload a video I took with my iPhone. All you need to do is register for free, which I recommend. As a registered user you can store your videos indefinitely. Otherwise, your videos would only be available for 30 days.

The process to upload and create the code was very quick and easy, even with my old and slow Mac! Watch the video below to see how I created it.

http://www.youtube.com/watch?v=5pmV36mMS0E

After the QR code is created and saved you can then print it out and add it either to the front, inside or back of your card. Just make sure you let the recipient know there is a little something extra for them by scanning the code with their phone camera.

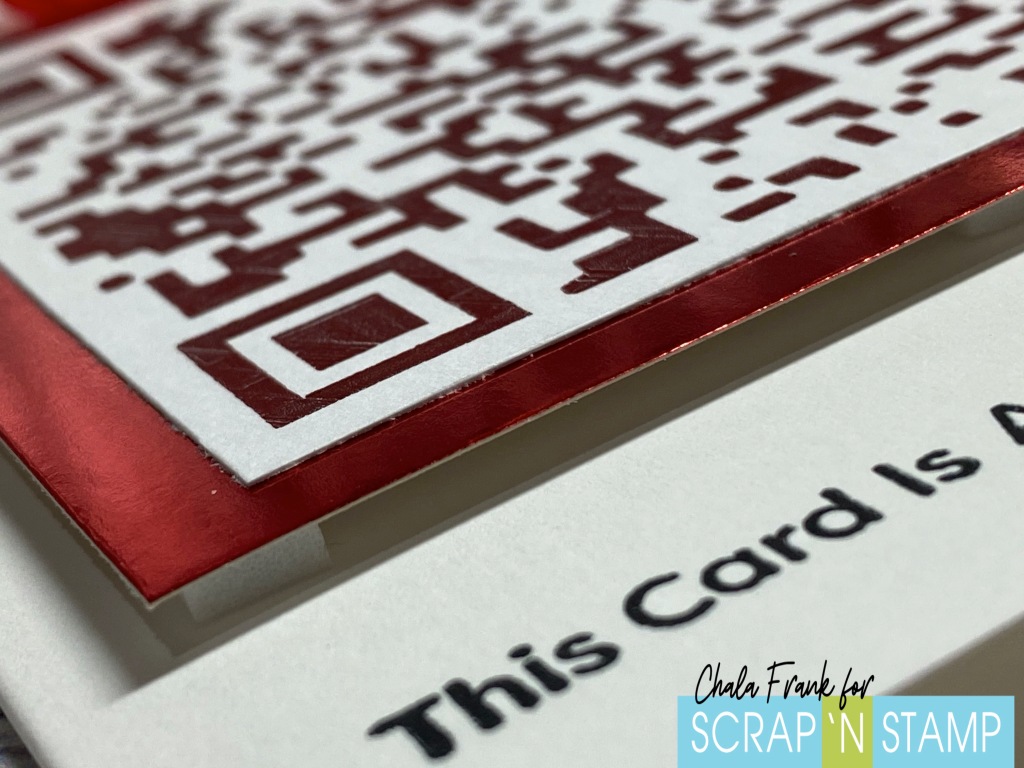
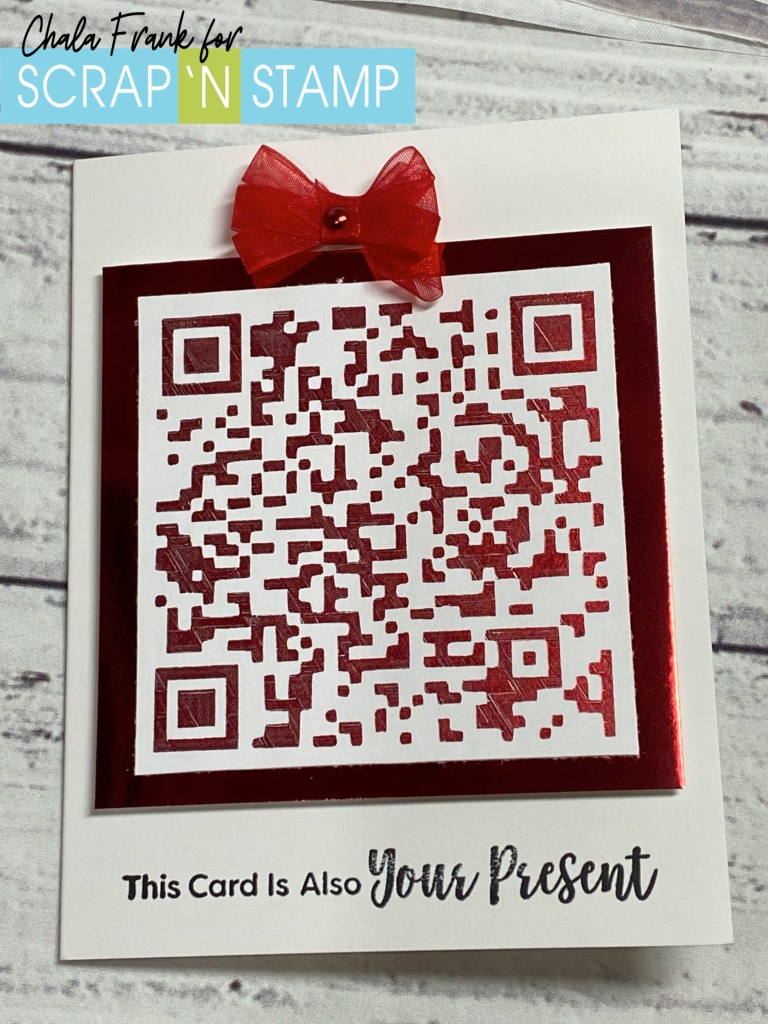
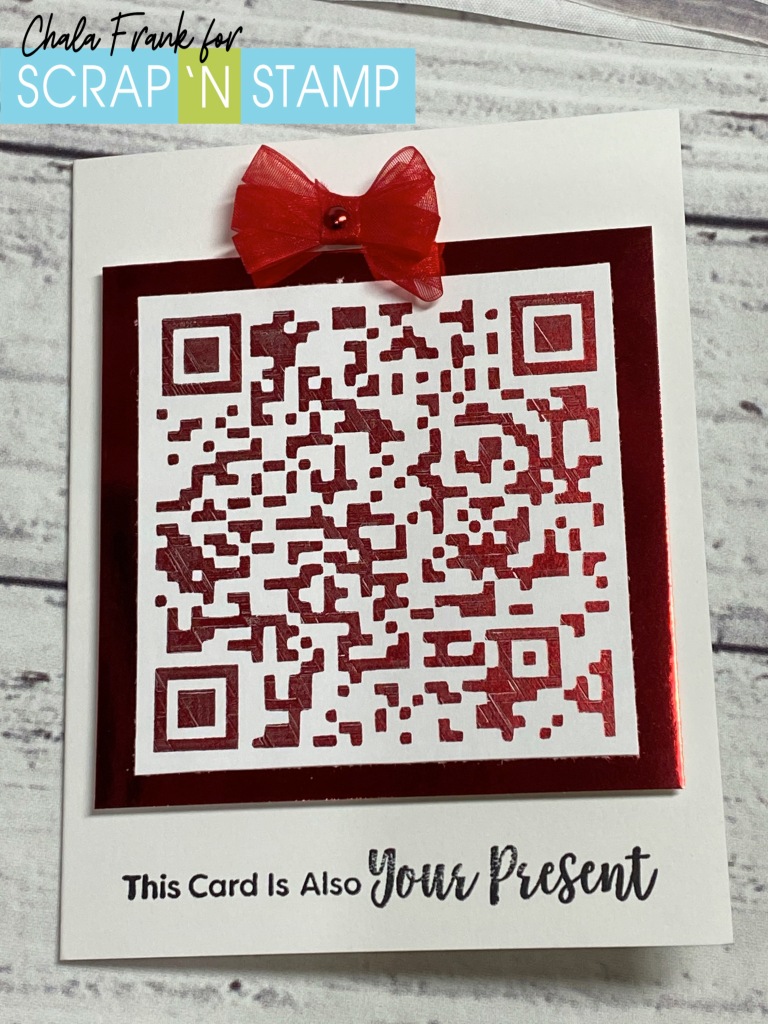
I made my code the main event of my card and wanted to make it look like it was the wrapping paper of a present. To step it up a bit, I pulled out my We R Memory Keepers All in one Foil Quill. The best part is as of the date of this posting it is part of the Black Frid’eh 50% off Sale over at Scrap’N Stamp! I won’t go into all the details of how I did the foiling as I have shown how this product works before and you can check out that video by clicking HERE. Basically, I imported the image, traced it and then instead of “cutting” I sketched the image with the Foil Quill using some Gemini Paper Craft Berry Foil and the cross hatch sketch feature ensuring that I decrease the spacing between the hatching to create a more solid sketched image.

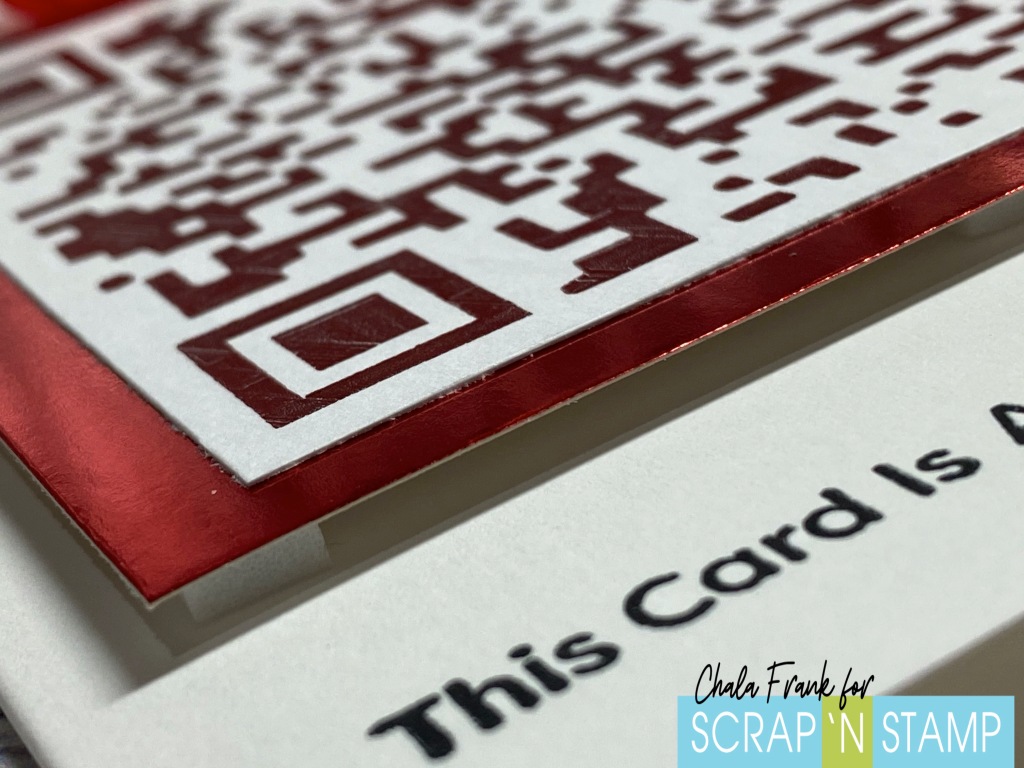
I was a little worried about whether the QR code would work with the foiling or if the shine of it would cause issues. Luckily, it worked perfectly!! I then trimmed out the QR Code into a square for my “present”. I adhered it onto a standard A2 size folding card with some foam squares and created a ribbon bow and secured it with a brad. One very important thing to remember is to adhere the QR code the correct way up! Surprising, I got it right the first time (trust me, no one was more shocked than me! lol!). I then trimmed out the code and layered it onto a piece of red foil cardstock from the American Crafts 6×6 Holiday paper pack.

I kept the sentiment super fun and simple using the My Favorite Things Sassy Pants Holiday Too sentiment “The Card is Your Present” with VersaFine Claire Nocturne Ink in Nocturne. I thought this one was perfect! I then left the inside blank so that I could write to the recipient as well as to let them know to scan the present for a special “gift”.

I know that this card may seem really simple to look at, but if you have loved ones who would enjoy receiving a video greeting, it will be an incredibly special keepsake and something they will want to show others!

Remember, you don’t have to make it into a present, you can create your regular cards and simply print, cut out the code and adhere it on the inside or back of your card.
This image has an empty alt attribute; its file name is digital-greetings.jpg
Digital Greetings
This image has an empty alt attribute; its file name is digital-greetings-2.jpg
Digital Greetings
This image has an empty alt attribute; its file name is digital-greetings-2-1.jpg
Digital Greetings

I thank you for so much for stopping by today and I hope this has given you a way to send a special greeting to those you can’t be with.

This image has an empty alt attribute; its file name is screen-shot-2019-09-28-at-11.01.00-am.png
Crafting Through the Chaos of Life!

Digital Greetings Read More »

I Can’t Help Foiling in Love!

Hey There!  Today’s card is embracing the Random Act of Cardness Facebook Challenge word “foil”!  I can’t help foiling in love with foil!  I have been enjoying the We R Memory Keepers Foil Quill so much that I wanted to share another card with you!

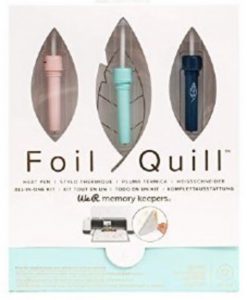
The Foil Quill can be used for a variety of different projects (not just cards) and it comes in a few different varieties.  There are the foil tip pens which you can buy in the bold, standard and fine tip as well as the calligraphy pen.  However, today I am going to be showing you the All in One Kit for an electronic die cutting machine like either the Silhouette or Cricut machine. I also have some FANTASTIC GIVEAWAY news!  One lucky blog follower will win their very own We R Memory Keepers All in One Foil Quill set for their electronic die cutting machine!  This is a prize value of $147.00 dollars!  WOW!  All you have to do is comment below and let us know what is the first thing you would make with the Foil Quill All in One set if you won!  The winner will be chosen randomly by the close of business on Friday, August 14, 2020 and will be announced over at the Facebook Challenge Page!

Now, let’s get to today’s card.  This one is fairly simple but has such an elegant look.  I will be using the Silhouette machine and Silhouette Design Studio (Business Edition) to create today’s card.  If you need a more detailed version of how this card was made I encourage you to head over to watch the YouTube video here:

https://youtu.be/6jycrOj3XHA

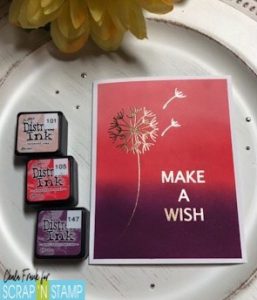
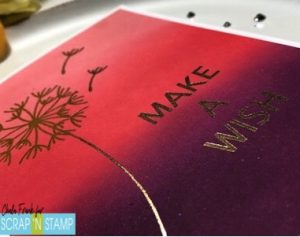
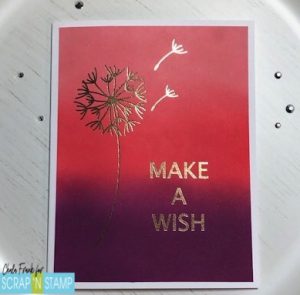
I started off ink blending a standard A2 size card panel with one of my favourite Distress Ink combinations:  Tattered Rose, Abandoned Coral and Seedless Preserves.  You can use either the regular Distress Inks like I did or the Distress Oxide inks.

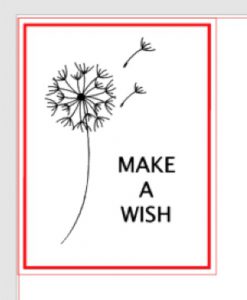
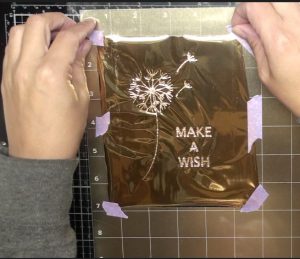
I then chose and elegant dandelion image and created a custom sentiment that says “Make a Wish”.  The wonderful thing about the Silhouette Design Studio is you can totally create your own design or choose one from the Design Store.  There is always a free file of the week and the images are a fairly reasonable price point.

There is a bit of fine tuning that you need to do with the image.  You will have to select the images and change the setting from cut to sketch and then choose your sketch lines.  I recommend you watch the video as I show this process as well as link to my Beginner Video that I made going into greater detail of how best to choose your settings.

Once you have your settings selected you can then get your project ready to foil.  Now, I again I embraced a few “learning opportunities”  (aka: mistakes”) and I feel it is important to share them with you in hopes that it helps you with your project.

I am using the We R Memory Keepers Magnetic Mat and I have to say I really like it!  If you are just using the regular adhesive mat you have to put down some scrap paper then tape your project to the scrap paper and then tape your foil over top.  If you do not do this and simply apply the foil straight onto the adhesive mat you the foil will come off onto the mat and you will ruin it (This surprisingly was not the mistake I made).

Silhouette has also come out with a new version of their adhesive mat which I like much better than the old one.  They have smaller grid lines and have made the mat so that there are arrows on both the top and bottom of the mat allowing you to feed the mat in either way.  This will extend the life of your mat as well.

With that said, you will want to place the magnetic mat onto the adhesive mat.  The magnetic mat comes with 4 magnets.  Two short ones and two long ones.  I had originally planned to do a foil border around my card so I did not end up using them this time.  However, I think they will be very handy on future projects.

Once my magnetic mat was adhered to the adhesive mat I placed my panel down (this is where my mistake came in).  I place my project so that it was not lined up with the top left side.  Rather, I chose to place it one inch to the right and once in down.  I used a small amount of Thermo Web Purple Tape on the corners to hold it in place and then layer the foil over top.  Again, using a small amount of the purple tape I began adhering the edges of the foil down ensuring that it was laying tight and smooth.  Then I loaded the mats into the machine.

Now I can go back to my computer.  Here is my mistake.  On the design window of Silhouette Studio I forgot to move my project down one inch and over one inch.  So, when I sent my project to the machine it was not foiling in the correct area.  I quickly stopped it and removed it from the machine.  I could see that it was going to foil beautifully (YAY!).  However, I now could not use this panel (BOO!).  I will trim off the little bit of foiling and save this for another card (YAY!).  This means I had to redo my ink blending panel (BOO! sort of….I find ink blending therapeutic).

After I had the new panel completed I repeated the process of securing it to the magnetic mat (ensuring everything was smooth) and then I changed the position of the project within the program.  I double check my settings and sent it to the machine.  SUCESS!

The process took a while as I chose to have it do two passes just to be sure everything foiled nicely.  I was not disappointment.  Once the project was complete, I removed the mat from the machine and then removed the foil from the project.  Again, the outcome was stunning!!  As I said before, I originally planned to have a foil border around it, but I really liked it without it so opted not to send it through again (I could have done it all at once, but wanted to see what it looked like first – glad I did that!).

I trimmed 1/8″ off each side and then adhered the panel to a standard A2 size side folding white card base.  You could add gems or other embellishments if you want, but I really liked the simplicity of this card.

I really want to try doing this technique overtop of watercolour, as well as playing around to see if I can foil with alcohol inks and the Yupo Paper.  Stay tuned for a future post to see how this turned out!

I hope that you are inspired to add some foil to your cards!   If you don’t have an electronic die cutting machine you can always use the freestyle pens!  There are a ton of amazing foil colours to choose from and you can check out some of them here.

Remember to comment below for your chance to win the amazing We R Memory Keepers All in One Foil Quill  set for your electronic cutting machine!

Thanks for stopping by and have an amazing week!

~Chala

I Can’t Help Foiling in Love! Read More »

Beginner Foil Quill…and a Secret!

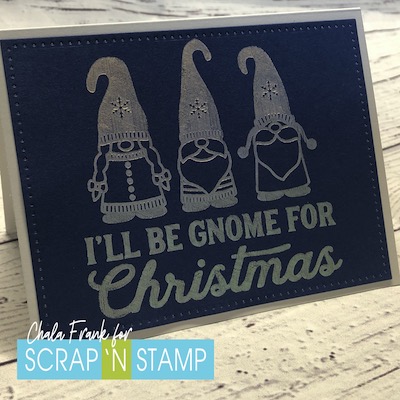
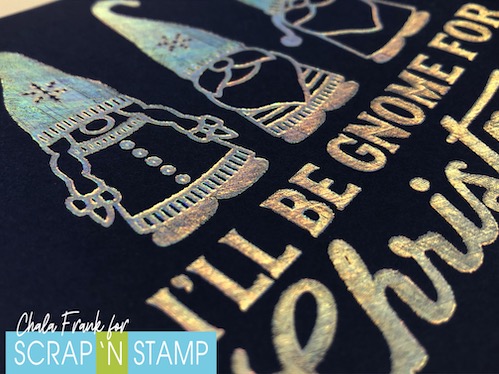
I’l Be Gnome for Christmas Foil Quill

Hello Again! It’s Chala and I am back to share with you my beginner foil quill experience….and a secret!

The Foil Quill is one of this years’ hottest new craft items that can be used with the Silhouette, Brother, Cricut and Sizzix electronic die cutting machines. Today I am using my Silhouette machine to show you my very attempt at this technique.

There are specific carriages for each machine and they are ALL included in the one kit. So no need to purchase each carriage separately which is great if you own more than one type of die cutting machine!

Now, I am going to be honest. When this product came out I was not interested in getting it at all. I thought…this is a tool that I really don’t need. So, when I was sent the Foil Quill kit I was very appreciative of getting it…I was excited to use it….but, I really was not optimistic that I would actually like it.

I use my Silhouette machine quite a bit, so I like that I can use this tool with designs that I already own that I purchased through the Silhouette America Design Store, or you can purchase USBs that have designs on them.

This video will show you right from opening the kit, looking at the instructions and my first use and thoughts on the product.

Remember, if you are interested in the products used in the video, I will link them below…

Ready to see what happened and my thoughts? Here’s the video!

https://youtu.be/eGQIPvNZFDU
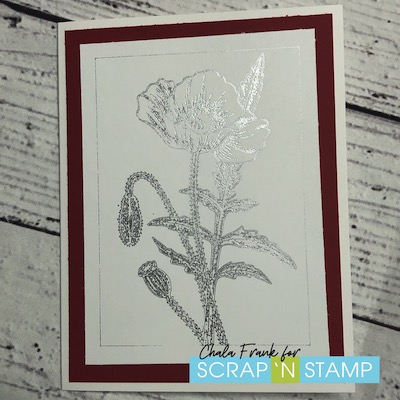
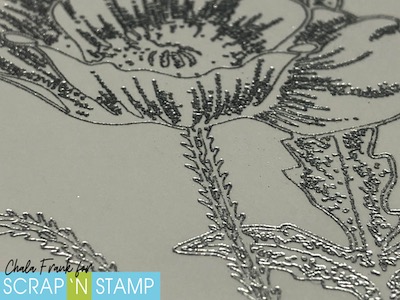
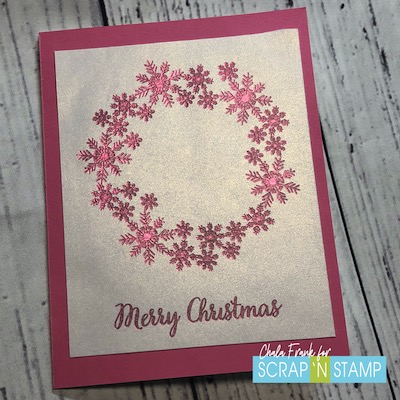
The Cards
THE SECRET……

Well…if you watched the video (witch I apologize for how long it was….) you will know that I am IN LOVE with the Foil Quill! It exceeded my expectations and now I want to foil ALL THE THINGS! In fact…I had so much fun I didn’t even stamp! Although…you totally can and I think the Foil Quill will up your card making game!

My BIG secret is….Starting Black Friday Scrap’N Stamp is offer the Foil Quill at 50% OFF (while supplies last)! WHAT?!! I know! Make sure you click on the links below to head over to get yours and to check out all the other great Black Friday Deals!

Materials:


Beginner Foil Quill…and a Secret! Read More »

Free Shipping Anywhere In Canada