
Hello again everyone! I am posting this tutorial a little bit early this month because I thought you might find this a handy project to make with Christmas just around the corner.
If any of you give gift cards you are going to love how easy this holder is to make and you can completely change the look just by adding different embellishments, ribbon or die cuts. You can make them look really girlie or totally masculine – it’s all up to you!
And…you can make two gift card holders from 1 – 8 1/2″ x 11″ piece of cardstock and 1 – 12″ x 12″ sheet of double-sided patterned paper or 2 – 6″ x 6″ pieces like the ones I used from some of the paper pads that we carry. Yes…that’s all it takes!
So let’s get started and I’ll show you just how quick and easy they are to make…
(if you want to see more detail in any of the pictures just click on it and it will be enlarged)
Step 1: Cut the base of your gift card holder from the cardstock – 4 1/4″ x 10″ . Then score it at 3″, 4″, 5″ & 8″ as shown.

Step 2: Fold the base along the score lines so that it looks like this.

Step 3: This is completely optional but I wanted to have a decorative edge to the ends of the gift card holder so instead of a border punch I used the edger from Spellbinders Edgeabilities Classic Petal (e8-006) and my Big Shot to add this pretty detail. If you haven’t used these dies before you may want to give them a try. They are super easy to use and give you lots and lots of options. If you click on the link above you can see a video on how they work. Once you have a couple of sets you can mix and match all the pieces and then there are literally hundreds of designs that you can create.

Step 4: Cut all the pieces of patterned paper.
Inside pieces: Cut two pieces 4″ x 2 3/4″ & two pieces 4″ x 3/4″ & two pieces 4″ x 1 3/4″
Outside pieces: Cut two pieces 4″ x 2 3/4″ & two pieces 4″ x 1 3/4″

Now use the same Spellbinders Classic Petal edger to add decorative edges to the pieces that will go onto the two end sections of the gift card holder base.
Step 5: Apply the outside pieces to the base with double-sided adhesive and then put thin strips of double-sided adhesive onto the sides and one long edge of the base as shown. Remove the backing and attach those two sections together. This is how you make the little pocket that the gift card will sit in.

Step 6: Turn over the gift card holder and use a ruler and craft knife to cut off about 1/16″ of cardstock along the edge of the fold. Now you have created the slot where you will place your gift card.


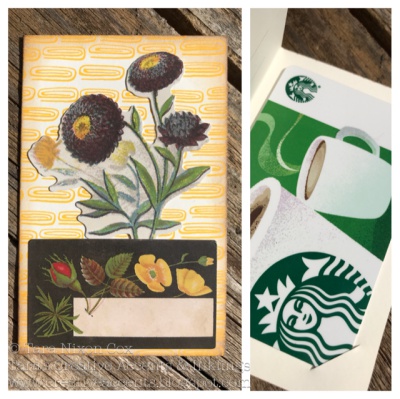
Step 7: Use double-sided adhesive to apply all the inside pieces. I also added a plain oval so that I would have somewhere to write a little message. Now you are ready to add the closure and for this I picked the Tombow Hook & Loop Fastener Tabs. These things are amazing! They are ultra thin – about 1 mm for both pieces – and they hold like crazy. Perfect for all those projects where you need something to stay closed but you don’t want a lot of bulk. And they are self-adhesive. You get 24 tabs in a package and as you will see I only used half of one for this holder.

Step 8: Cut one of the Hook & Loop Fastener Tabs in half and apply it to the inside center of the top flap.

Then take the backing off the other side and close up your gift card holder and press down.

Presto! Just like magic you have your fastener tab in just the right place without any measuring or fussing around.

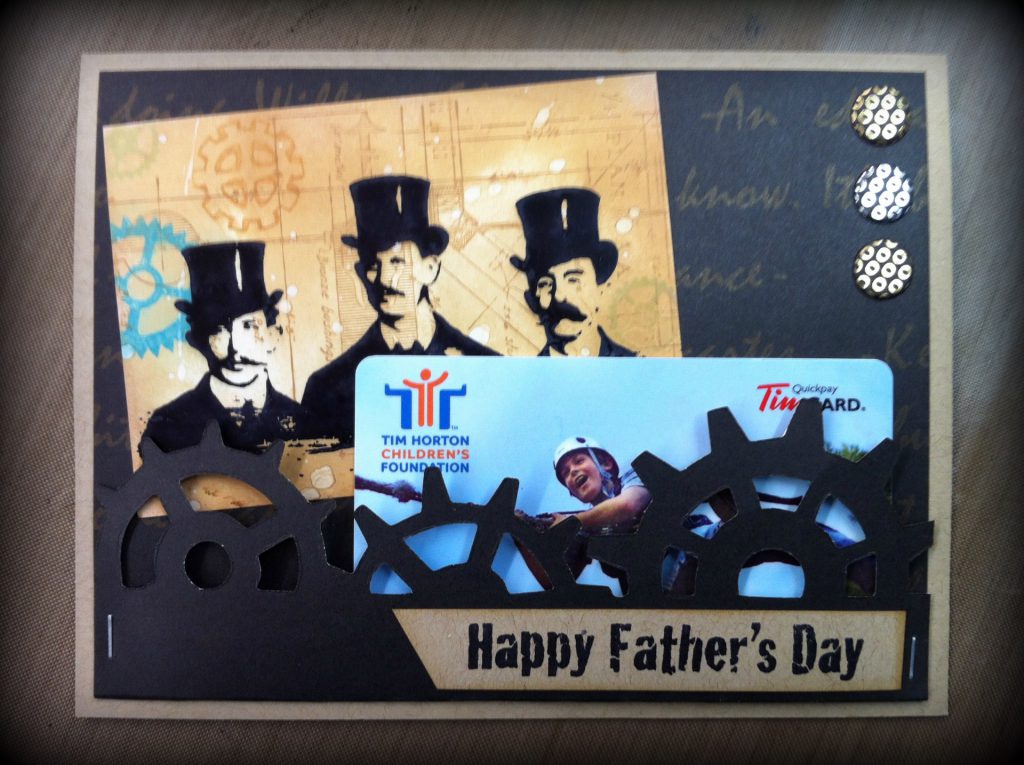
This is the inside of my gift card holder with a gift card in it.

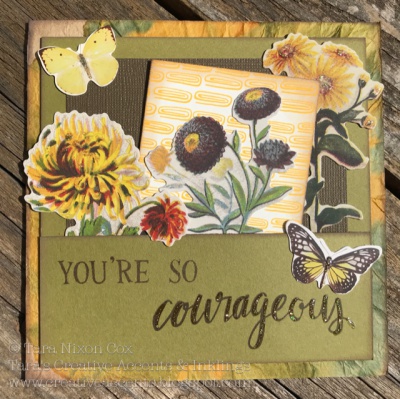
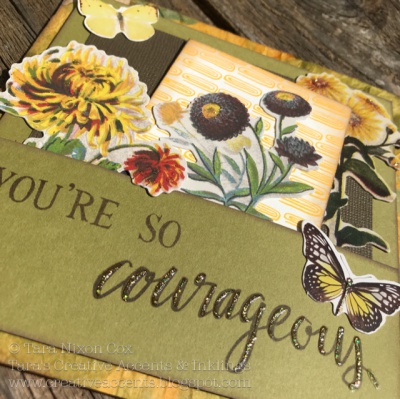
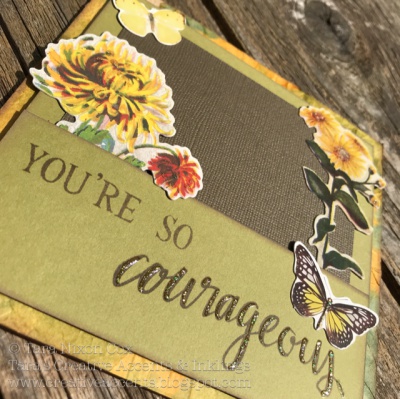
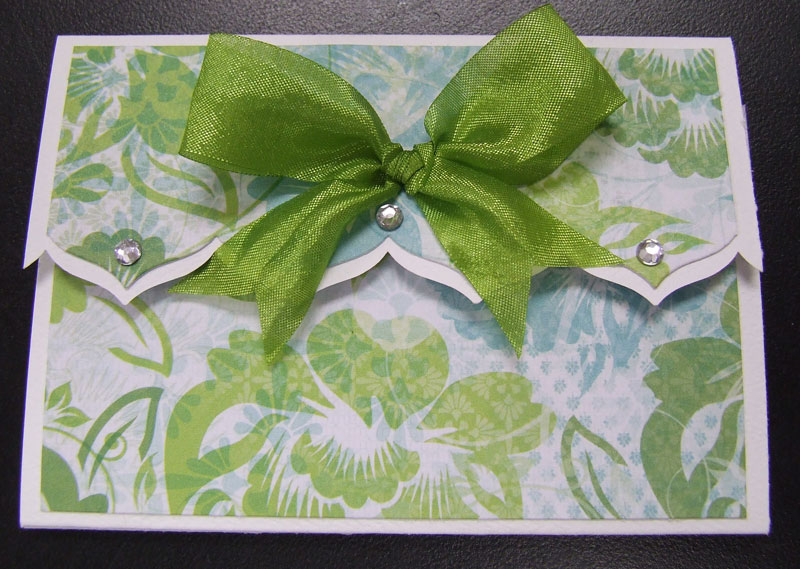
And I couldn’t resist adding some ribbon and a little bling to finish it off but you could add all sort of things – die cuts, silk flowers, buttons…there’s really no limit to what you can do with these little holders.

I am going to use this gift card holder for an upcoming birthday and wanted something fresh and bright so I used paper from the Kaisercraft Chapter One paper pad. I just love the colors in this collection and I think my friend will too.
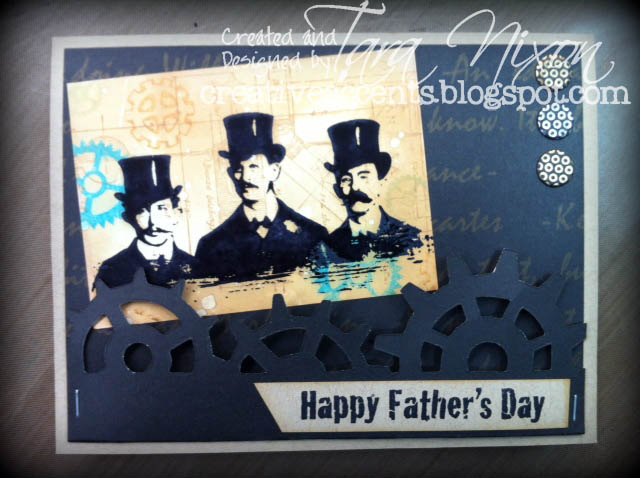
Take a look at how different you can make these look just by changing the papers and rounding the corners instead of doing a decorative edge. For this Christmas gift card holder I used papers from the Kaisercraft December 25th paper pad. I just love the vintage look of these papers and the die cuts that are included made adding the embellishment on the front really easy.


Well…that’s it for this tutorial. I hope you enjoyed it and give these gift card holders a try. Thanks for dropping by.


