Tuesday Tutorial: Glitter on Acetate Technique
Hi everyone! I’m back again with another glitter Tutorial. This technique is one that we featured last year and it is so popular that I wanted to show it again and also show more samples using not only stamping but Outline Stickers too. You follow exactly the same steps when you use Outline Stickers and they are a great option for beginners or anyone that isn’t into stamping but wants to create this awesome look.
There are a few things that I just love about the Glitter on Acetate technique. First, it creates a sort of stained glass effect. Very cool! Secondly, once the glue is dry the glitter never comes off. Yes, that’s right. No bits of glitter falling off your project. It’s stuck exactly where you put it and is on the back of the acetate so it can’t get rubbed off. Third, it’s very easy. Just like paint by numbers. If you can stay in the lines when you are coloring, you can do this!
Here are step-by-step instructions. Hope you give it a try.
Supplies you will need:
- Acetate sheets
- Outline stamp or Outline stickers
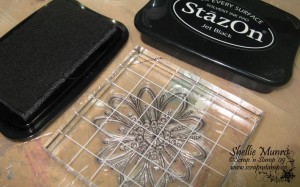
- StazOn ink (if you are stamping)
- Ranger Glossy Accents
- Studio K Opaque Glitter
- cardstock, double-sided adhesive & foam squares for frame
Step 1:
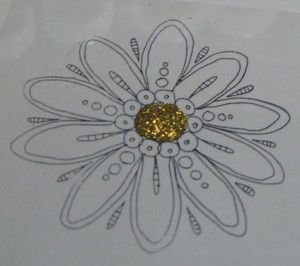
Stamp your image onto an acetate sheet using StazOn ink and let dry. Or, if you are using Outline stickers, peel the outline image you would like to use from the backing sheet and adhere to the acetate sheet. Make sure you leave a good border of acetate around your image as you will need this later to attach it to the frame. The reason you frame it is so that you can raise it up off your card base with foam dots later. This gives it more dimension and really does make it look more like stained glass.
Step 2:
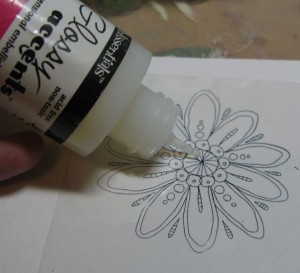
Flip over your acetate sheet so that you are working from the back side. This is very IMPORTANT when you are working with the Outline stickers. If you work on the front you may get glue on the sticker outline and then you won’t get a crisp image. Apply Glossy Accents to all the areas that will be the same color of glitter. In this case, we started with the center first.
Step 3:
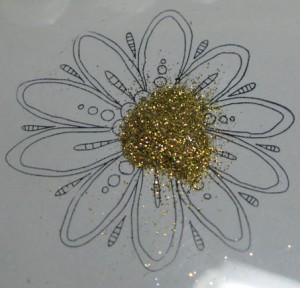
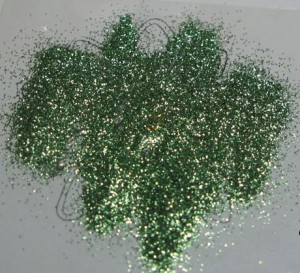
Sprinkle glitter over the Glossy Accents and then shake off excess.
Step 4:
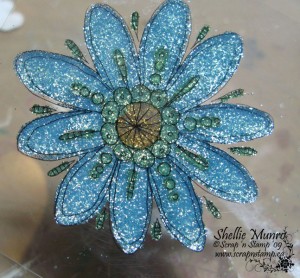
Repeat steps 2 & 3 for each additional color until your image is completely covered. Set aside, with the glitter side facing up and let dry for several hours or overnight.
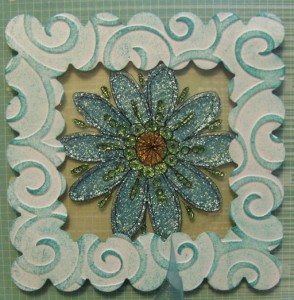
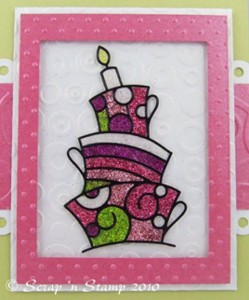
This is our finished image. As you can see each color of glitter stayed exactly where is what applied and there was no mixing of colors.
Step 5:
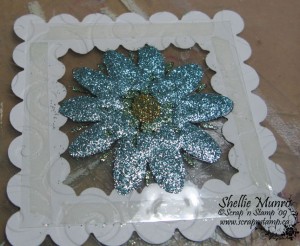
To use your image you will need to mount it in a frame as shown here and then apply it to your project. If you don’t raise it up off of your background it will still look pretty but it isn’t quite as effective.
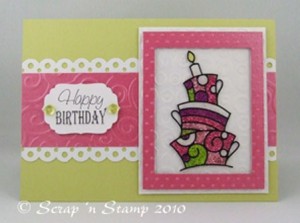
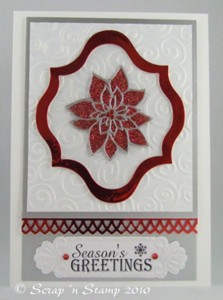
Here’s the finished piece again and pics of some other designs using Outline stickers.
This card was made with the Elizabeth Craft outline stickers – Funky Cakes. This is a really cute sheet of stickers that has cakes for birthdays and weddings on it.
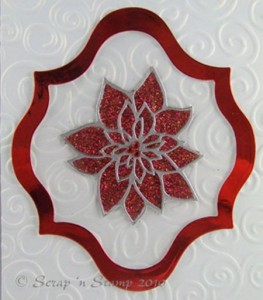
The next card was made with the Dazzles Stacked Poinsettias outline stickers.
There are lots of other Outline Sticker designs that would work for this technique, everything from flowers, cakes & birds to oriental themes and of course Christmas designs. Many of the stickers come in black, silver and gold and some of our seasonal ones are also available in white.
Thanks for dropping by.
Happy crafting!
Tuesday Tutorial: Glitter on Acetate Technique Read More »


