Happy Sunday Crafters!
I feel like we just finally are getting into summer weather and here we are talking about Christmas again!? Lol! Today I am playing along with the Random Acts of Cardness Challenge and Christmas in July theme by showing you a card that is “snow simple!”
I really want to show you how you can take a stamp set that you already have and make it feel like a Christmas/Winter card just by adding a bit of snow.
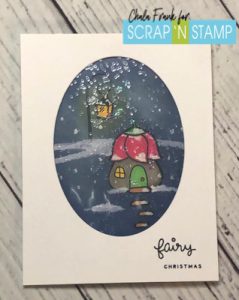
I will be using Lawn Fawn’s stamp set Fairy Friends however, another super cute set that you could use is the Frosty Fairy Friends. I will be doing some ink blending and masking.
When I am creating a scene card I like to plan out on scrap paper where everything is going to go. Basically, I stamp everything out and then plan my masking and in what order I need to stamp everything. This saves me from making too many mistakes and ruining my good cardstock.
Once I have everything planned out I can go ahead and stamp the images that I want to appear in front first with Memento Tuxedo Black ink. I will then stamp the images again onto a Gina K Masking Magic sheet. I fussy cut out the images with my Cutter Bee Scissors and apply the masks overtop of the images.
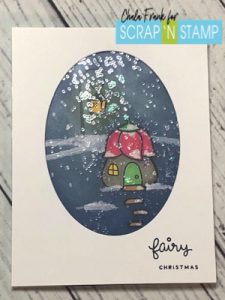
I then ink blend with my foam ink blending tool in the colour Chipped Sapphire adding a nice dark solid layering of the ink to the background. I then use my small Picket Fence Life Changing Blending Brush and blend Tsukineko Brilliance Moonlight White Ink around the light and fairy house to give the effect of light reflection. I also take advantage of the circular shape of the foam blending tool and make a circular impression around the actual light in Squeezed Lemonade Distress Ink. Adding this yellow colour gives another dimension to the glowing light feel.
I can then remove the masking paper with my Tim Holtz Craft Pick and colour the images with my Copic Markers.
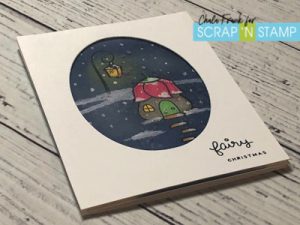
To make this stamp set feel more “Wintery” or “Christmas” like I begin sketching out where I want the little piles of snow to be with a white gel pen and then I go over these areas with white acrylic paint with a fine paint brush and also add a few dots here and there to look like falling snow.
Now, you can totally leave your card just like this. However, I took it a step further (because this girl likes a bit of sparkle on her cards) and I pulled out my laminator and some glitter embossing powder as well as some little iridescent stars that I sometimes use in my shaker cards. I could have also actually made this a shaker card…but, I was feeling lazy and I also wanted the look of the snow falling without having to shake the card.
I let my laminator heat up and then I sprinkled the glitter embossing powder and iridescent stars in-between the laminator sheet and ran it through. Using white heat embossing will also work depending on white kind of look you want. I suggest you do a few test pieces to see how your embossing powders react as well as play around with how much powder to use.
I die cut an oval in another card panel piece and adhered the snowy laminated piece to the back with Be Creative Score-Tape, trimmed off the excess laminating piece.
I then did a bit of stamp surgery using my Cutter Bee Scissors and altered one of the sentiment stamps so that I could just use the word “fairy”. I then stamped “fairy” and “Christmas” on the lower right hand side of the oval card panel. I then adhered this panel onto the stamped card piece using one layer of foam tape. I think maybe two layers would have been better for more dimension. The last thing to do was then to adhere all of this onto a side folding card, again I used the Be Creative Score-Tape for this.
I really wish that you could see this card in person as when you move it back and forth in the light the look of the snow between the laminated sheet is quite stunning against that ink blended background.

I hope this card has inspired you to look at the stamps sets you have and to see how simple it is to transform them into Winter/Christmas themed cards by adding a little snow.
Hoping you stay cool this week and I look forward to seeing what you create that is “snow” themed by posting your photos on the Scrap’N Stamp Facebook Challenge Page!
Take care!
~Chala

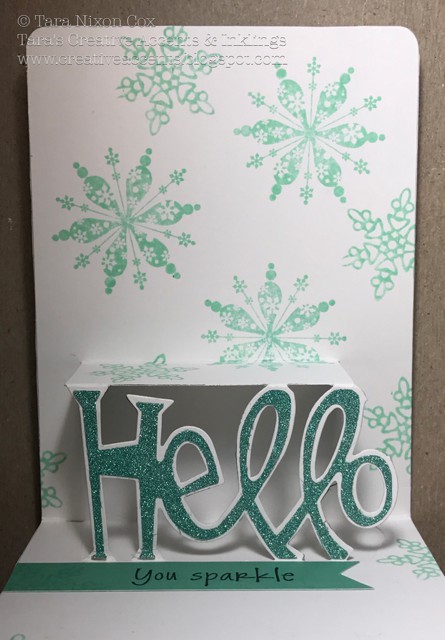
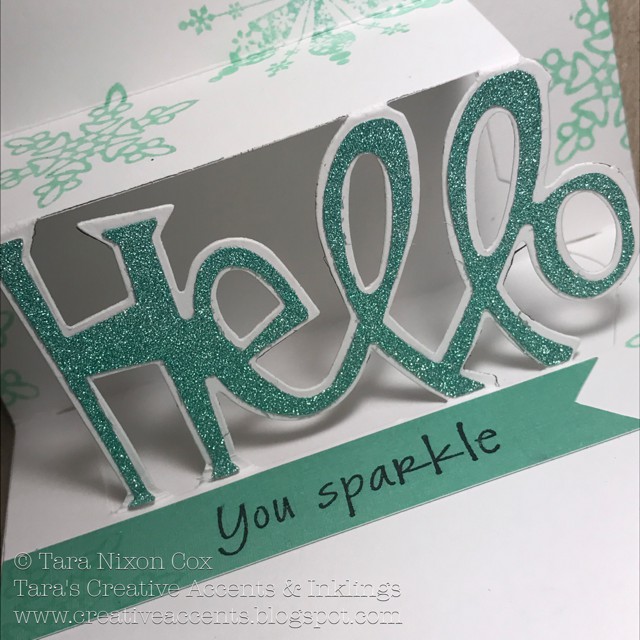
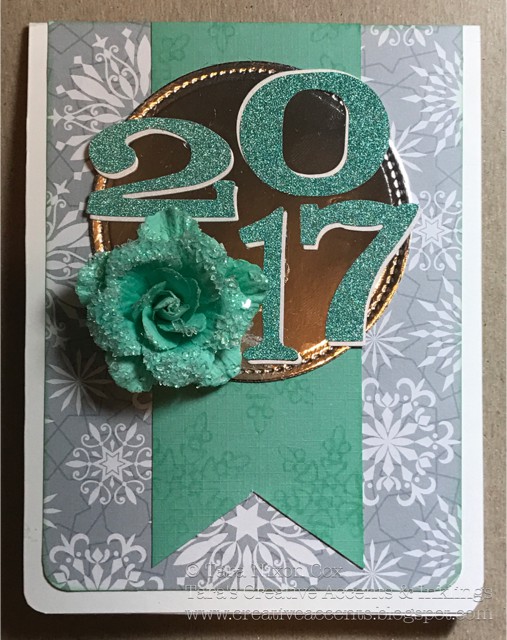 Hello 2017- You sparkle! I had fun with this card, pulling out a Sizzix pop-up card die I`d never used before (although I`ve had it for several years!) and paired it with my big Tim Holtz Word Play alpha & number die. I also found this gorgeous glitter paper in my stash and was delighted to find cardstock & ink (Distress Cracked Pistachio) that looked great along with it! I wanted to design a card that was crisp & fresh like the new year, I hope you like how it turned out!