Scratch-N-Stamp
Search

Checkout

Keep up with Sales, New Products and other events at Scrap `n Stamp. Sign up for our newsletter now!

What's New

Hot Deals


handmade card

Alcohol Inks Are ALWAYS Fun!


 Hi Everyone! I hope you are all having a great weekend.

This is Susan and I’ve got a fun technique to share with you today. I was playing with my alcohol inks and realized I need more colors. I only have 3 right now and I wasn’t getting the results I was looking for which is okay because it gives me an excuse to buy more 🙂 . So I grabbed my alcohol ink markers and played with those and had a ton of fun.

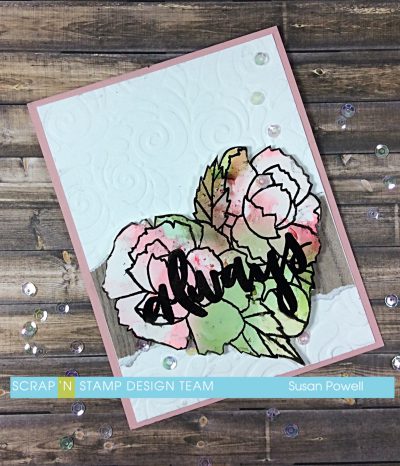
This is the result of my fun.

To do this technique you are going to need Yupo paper – it’s made for alcohol inks. You’ll need some alcohol ink, either in the bottle or if you’re like me and don’t have the colors you need in the liquid form then grab some alcohol markers. And you also need some Alcohol Blending Solution and a straw.

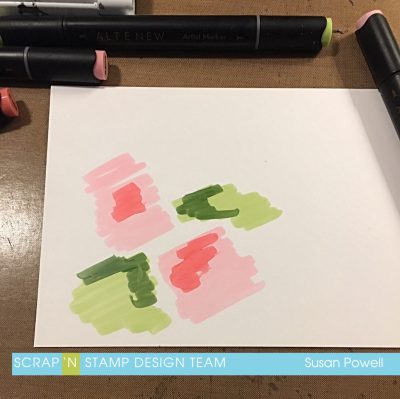
The first step is to lay down some ink. I knew I was using the You Are Here Stamp Set from Concord & 9th so I grabbed a couple shades of pink for the flowers and a couple shades of green for the leaves. I started by positioning the stamp on the paper and getting an idea of where I was going to need color. I lifted up the stamp and scribbled on the ink in the general areas of where I wanted them.

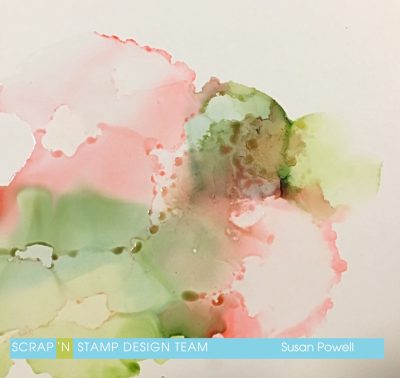
This next part is where all the fun happens. Take your bottle of Alcohol Blending Solution and squirt on a few drops. You’ll see the ink start to separate and move around. If you want it to move more you can use a straw. Just aim it at the ink and blow through it and you can move the color around. You can add more blending solution and continue moving the ink around until you are happy. The one negative thing about using markers is you can’t add more ink to the mix. If you are using liquid alcohol ink and you want more color just squeeze some on, add some more blending solution and move it around until you are happy with the results. I was going for a softer look so markers worked just fine in this situation.

Next is the hard part. At least I find it hard. It’s the waiting until it’s dry before you can turn it into something. It doesn’t actually take that long but I still found the waiting hard so I helped it along a bit with my heat tool. Not sure I would advise that too much as it did warp my paper a bit. To fix that I ran it through my big shot a couple of times and that seemed to help.

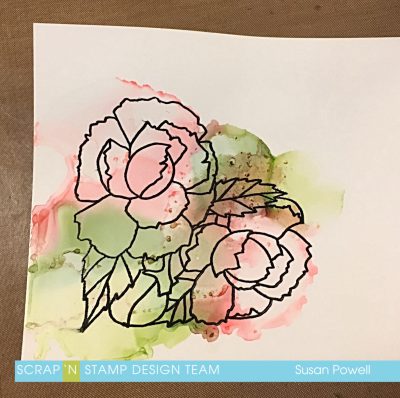
To stamp the image I used my MISTI. I wasn’t sure if I would get a crisp, clear image the first time because I don’t have a lot of experience with this technique and I’m glad I used it. I stamped it 3x using Versafine Onyx Black Ink before I was happy.


Now to turn it into a card. I used the stamp always from the same set as the flowers and stamped that using my MISTI tool. I stamped that 3x so as to get a deep black impression. I set that aside for a bit to be sure that the ink was dry before I fussy cut it out. Next I reached into my pile of designer paper that I need to use up and pulled out a strip of woodgrain pattern. I cut it to 4″ wide and tore the long edges. Next I cut a piece of white cardstock to 4×5 1/4″ and ran it through my big shot using an embossing folder with a swirly pattern on it and then layered that onto a soft pink card base. I added the strip of woodgrain paper and then added the cut out flower image with some craft foam for dimension. Finally to finish it off I added a few sequins with some liquid glue.


I hope you are inspired to give this technique a try.

Happy Stampin’

and thanks so much for visiting!

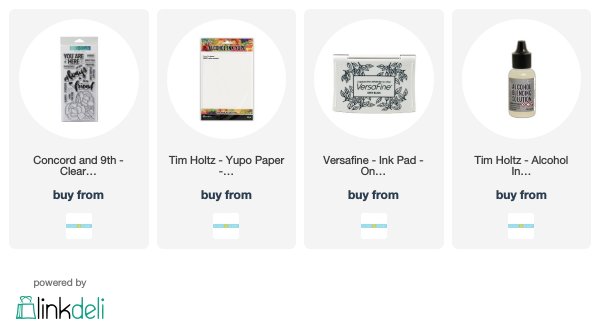
I’ve linked to a few of the items I used below. Scrap’n Stamp carries a wide variety of colors for alcohol inks – too many to list but if you’re looking for some I’m sure you’ll find it in the store.


Alcohol Inks Are ALWAYS Fun! Read More »

Orange You So Awesome Encouragement Card

Orange You So Awesome Encouragement Card

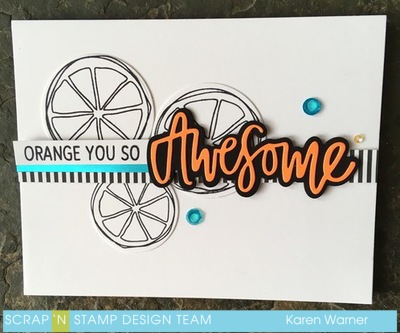
Hello Everyone. Thank you for stopping by. Todays  project is an encouragement card;  Orange You Awesome .

Concord & 9th’s stamps and die are unique. They steer away from cutesy , or  child like characters and  focus on different innovative designs.  They have won numerous  awards for their  designs.

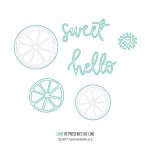
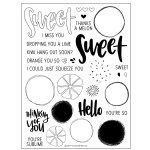
I used   Orange You Sweet Stamp Set and Orange You  Sweet Dies to construct this delightful card.

Ink to Paper:

Memories Black Dye Ink Pad was used to  stamp all of the images.  Orange rims first  and   then pulp section  stamps  inside  the rim. Both sizes were stamped  and  multiples of each  on  white card stock. Black and orange card stock sheets  from Bazzill Premium Paper  (100 sheet)  Pack  were trimmed  a smidgeon larger than the two piece  Awesome die ( from my stash).  A few oranges in both sizes were  cut with Orange You Sweet Dies. A press of the button and the images were cut  with  Crafters Companion Gemini Die Cutting Machine.

Sentiment Strip:

“Orange You So”  was stamped with Memories Black Dye Ink Pad on the edge of white card stock and trimmed to a .25 ” x 5.5 ” strip. MFT’s Black & White Stripes 6×6 Pad  and Silky Sky  Tonic Mirror Card were also cut into .25 x 5.5 ” strips. The white sentiment strip was shortened to 2.5 “.

 Be Creative 3mm tape  was applied to the reverse side of “Orange You So”  strip and then attached  on top of  Silky Sky Tonic Mirror Card ( this was trimmed to 3″).  The die cut word “Awesome” had  Nuvo Deluxe Adhesive applied sparingly to the back and placed precisely over the black  word shadow die cut. Once dry this was applied   between the layered sentiment and the edge of  last remaining full size strip. (MFT’s  Black & White Stripe strip).

Card Assembly:

Three orange die cuts were formed  into a triangle on the left hand side of a  landscape card front  panel . Once I was happy with the placement they were adhered directly to the panel. “Orange You So Awesome” sentiment strip was applied centre horizontally to the front panel with 3 D Foam Squares  ( low profile).

The front panel was secured to a side fold landscape card with Nuvo Deluxe Adhesive. An inside card panel was trimmed to 4.15 x 5.5″.   MFT’s Black & White Stripes 6×6 Pad    piece of  stripped paper  was trimmed to .25 x 5.5 ” and adhered to the bottom edge of the inside panel. ” I Could Just Squeeze You ” was inked with Memories Black Dye Ink Pad and stamped a tad higher than centre. The inside card panel was attached to the inside card base with liquid adhesive.

Sequins to match Silky Sky  Tonic Mirror  was attached above and below “Awesome” and a small sequin attached above the “e” to form a triangle.

Orange You So Awesome Encouragement card is now complete. Until next time. xo Karen

Orange You So Awesome Encouragement Card Read More »

Happy Birthday to You Stamp Set – Clean and Simple Card

Happy Birthday to You Stamp Set – Clean and Simple Card

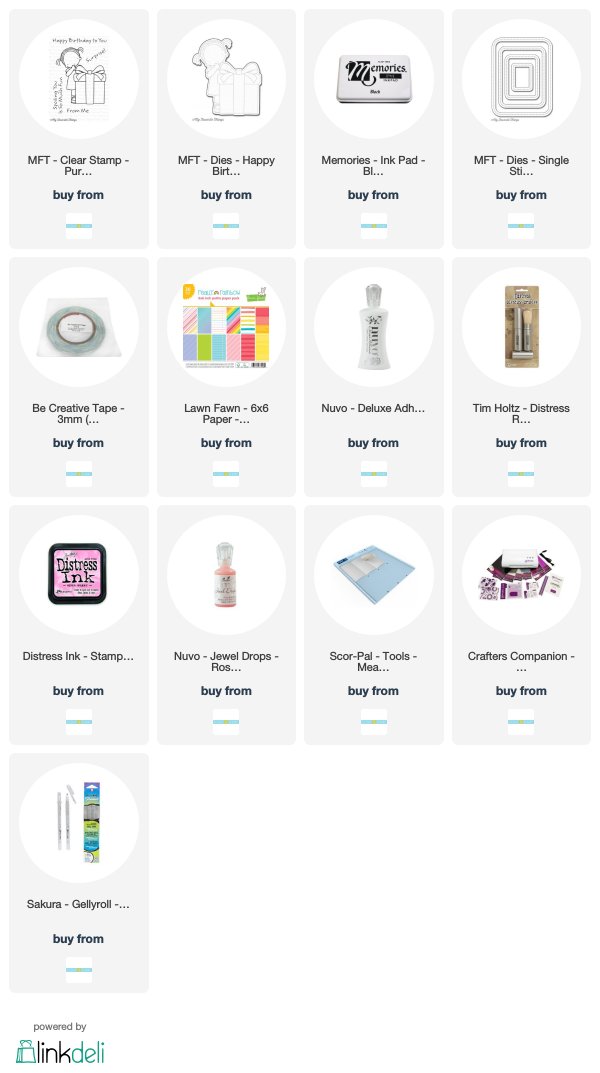
Hello everyone. Todays ScrapnStamp.ca   card is a clean and simple card featuring  MFT’s Happy Birthday to You Stamp Set. This stamp is part of the Pure Innocence line, (the matching die was not used ).

mft-pi-264_2333_thumbI started by selecting  a paper that would  work well with  oil based colour pencils. My main concern was that ideally,  the paper should  have a bit of tooth.  A panel was cut to 5-1/2 x 4-1/4 “. The largest stamp in the set was applied to a block and inked with Black , Memories Dye Ink Pad. The image was stamped onto the ready made  panel  and  a 3M All-Over Sticky Post-it-Note (to be used as a mask).
Adding Colour:

Starting with the face,  the darkest shade was applied  along the hair line, where cast shadows would be , the fold of the arm and fingers.  The mid tone was added next to  the darker shade and finally the lightest, preserving a section of white ( or where no pigment was added to the surface) .  The  pencils were  blended from dark to light  with a blending stump and Gamsol in a circular motion. Between value changes the tip of the stump was erased on sand paper.

The arm, dress, leg, shoes , package  and bow where coloured in the same fashion. Once the ribbon was complete,  yellow polka dots were added.  A Gelly Roll StarDust pen added over the top of the dots.

A blending brush and Spun Sugar Distress Ink were used to add colour around the top and sides of the image. A MFT  Single Stitched Line Rounded  Rectangle Frame Die was cut with  a Gemini machine from white card stock.

Card Assembly:

A sheet of Lawn Fawn’s 6 x 6 Really Rainbow Paper Pad was cut  into  two  strips (1/2 x 4-1/4″ and 3/8 x 4-1/8″) to fit along the bottom of the card both the card front and inside panel. The wider  of the two strips was used on the card front.

Happy Birthday to You was centred and stamped above  the strip with black Memories Dye Ink Pad.

Be Creative Tape 3mm was added to the back of MFT’s  Single Stitched Line Rounded Rectangle Frame. The release paper was removed all at once from the Be Creative Tape and adhered to the  front panel.  The excess panel  was trimmed around the frame with scissors. Dimensional foam tape was applied to the back and  it was  attached to the white top fold portrait card base, 1/2″ from the score line. This too was centred. Three sequins from my stash were added to the card front. Nuvo  Crystal Drops in Rosewater were layered in the sequin centres.

An inside panel was cut to 4 – 1/8 x 5- 3/8″.  A second stamp from MFT’s Happy Birthday to You Stamp Set, “Spoiling You is so Much Fun ” was centred and  stamped  onto the   inside card panel. This was adhered  to the inside card base with Nuvo Deluxe Adhesive.

The card is now complete.

Here is a video:

https://youtu.be/n-wr1slVgvc


Happy Birthday to You Stamp Set – Clean and Simple Card Read More »

Free Shipping Anywhere In Canada