Tim Holtz Christmas Greetings
Playing with new products is always a great way to start the week! Hi there,it’s Deb here for your Monday! I am lucky enough to live in the same city (Vancouver, BC) as Scrap ‘N Stamp, so of course I went to the Pop Up Shop 2 weekends ago. That’s where I picked up this Tim Holtz Christmas Greetings stamp set! It may be from last year’s release, but it’s brand new to me. This set has 4 images with sentiments; each perfect for cards or gift tags. I love the ‘old world’ charm of the images and font used for the sentiments. Today I’m sharing 2 versions of the same image stamp.
GREETINGS WITH BELLS ON!
This image actually looks like it is a tag, which makes it so versatile! You can change up the size of the image panel, or just the placement for a card. Or make an actual gift tag with it!
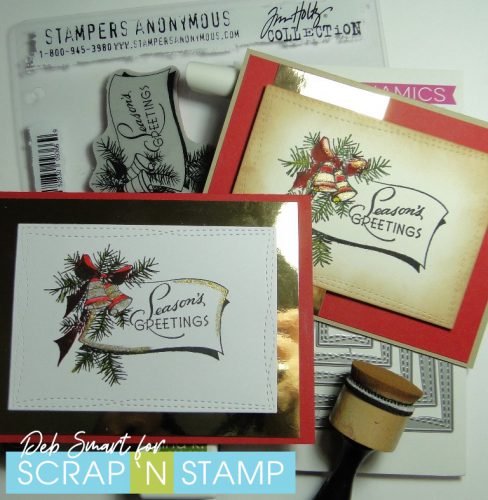
These are the two versions I’ve made. The one in back I think is my favourite; it really evokes that old world charm I mentioned earlier. With the bright white panel on the front card, it looks more modern.
WHITE AND GOLD
For this card, start with a smooth white piece of cardstock. Set it and the stamp up in your stamping platform. This is necessary in order to add different colours to the stamp. Ink up the entire image in Nocturne ink, then remove the ink from just the bow area (I used a q-tip for this) and stamp. Next, add red to the bow with either a marker or mini ink cube, and stamp again. To add more colour to the image after stamping, use a green marker for the pine sprigs, and a red marker for the bow and bells. Lastly, add gold edging to the to the tag and the bells with a Nuvo Aqua Shimmer Pen in Midas Touch gold.
Use the MFT Wonky Stitched Rectangle dies to die cut the panel, and layer it on top of a piece of Concord & 9th gold foil paper, with foam tape. Finish it off by attaching this to a bright red card base.
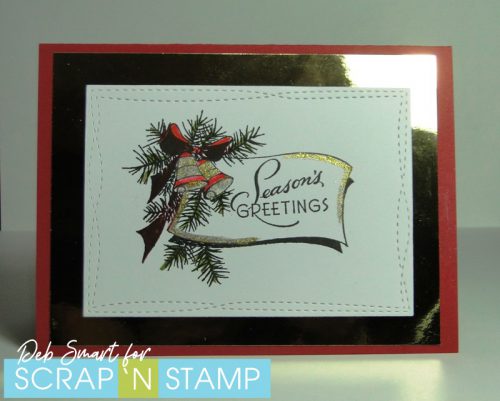
It’s difficult to get a good picture with the gold foil; it seems to want to either reflect all of the lights (and me taking the photo) or it looks more like black!
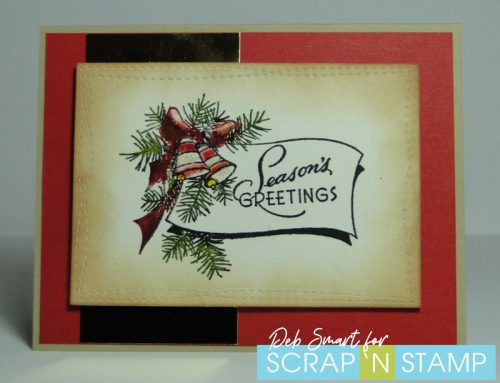
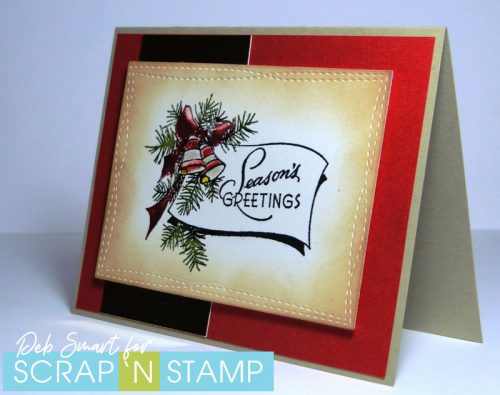
OLD WORLD GREETINGS
For this card, I used an off-white (vanilla or cream) coloured base for the stamping. Again, set it up in your stamp platform. This time, ink the outline of the sentiment tag and the bells in Nocturne ink, and stamp. Next, use the Gina K. Mini Ink Cube in Fresh Asparagus for the pine sprigs, and a red marker for the bow. Stamp these colours, repeating as necessary. I did find it easier for me to go back with the marker and fill in any areas of the bow that needed it. Use the red marker and the Nuvo Midas Touch pen to add the red and gold to the bells.
Die cut the panel again using the Wonky Rectangle die. Now, with a blending tool, add Vintage Photo Distress Oxide ink around the edges of the piece. Doesn’t this give it that old photo, sepia look?
On a kraft coloured card base, add a bright red piece of cardstock. Next, add a strip of the gold foil paper, and then the image panel. Pop up the image piece with foam tape, for dimension.
GET INSPIRED FOR THE HOLIDAYS!
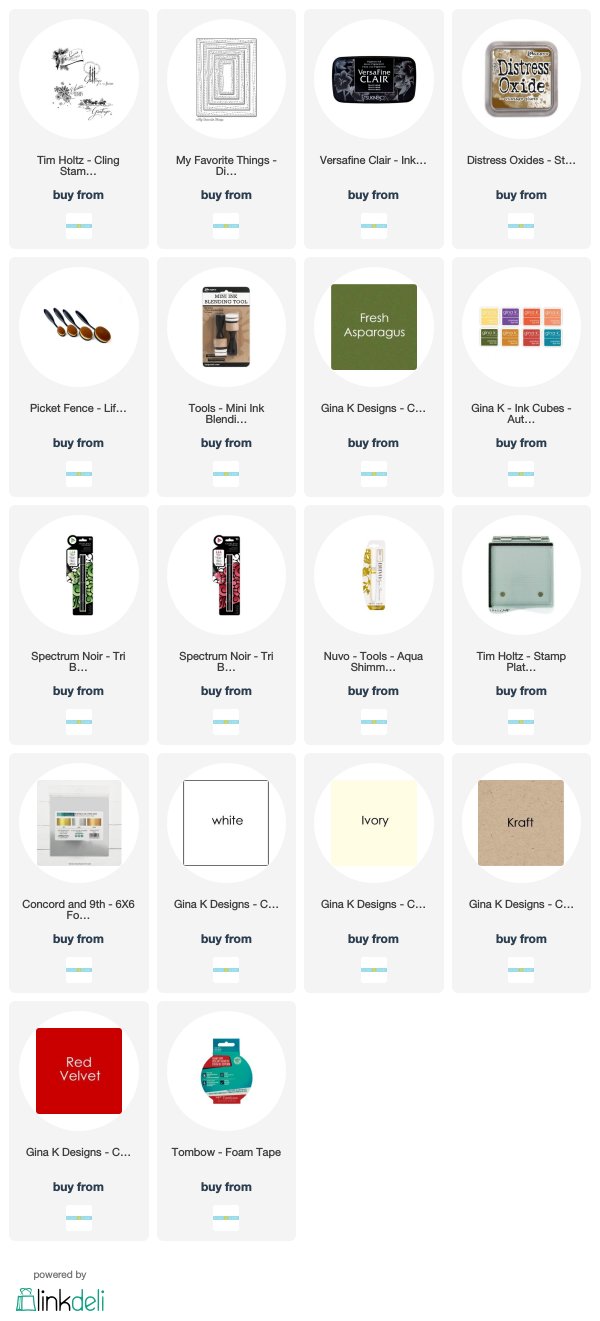
I hope that these 2 cards have given you some inspiration for your holiday cards! I’m looking forward to sharing more cards made with the other 3 images in this set, as well. To see & order the supplies I used for these cards, I’ve included online shopping links below, for your convenience. Thanks for spending some time with me today! Be sure to check out the past posts (and upcoming ones) from the rest of the Design Team! Tomorrow it’s Tuesday with Tara, and she always has fabulous projects to share.
Affiliate links provided, at no extra cost to you.
Tim Holtz Christmas Greetings Read More »