Scratch-N-Stamp
Search

Checkout

Keep up with Sales, New Products and other events at Scrap `n Stamp. Sign up for our newsletter now!

What's New

Hot Deals


impression obsession

The Mask

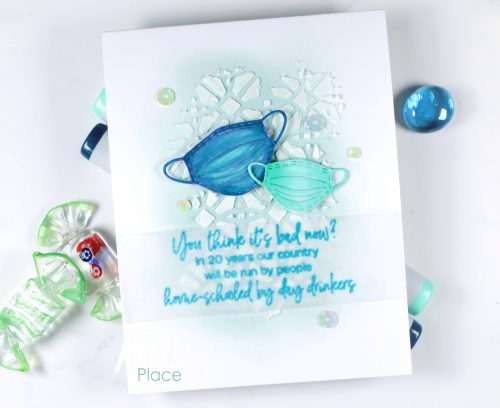
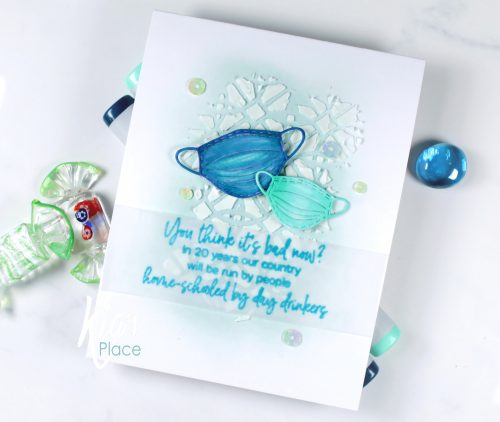
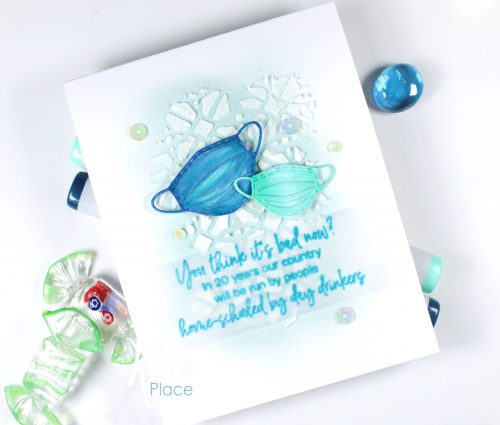
It is Day 10 for Random Act of Cardness Day and I (Kia) am here to talk backgrounds. On this card I decided to use a lighter background, where I would normally make it darker, especially given I am using texture paste. But not today.

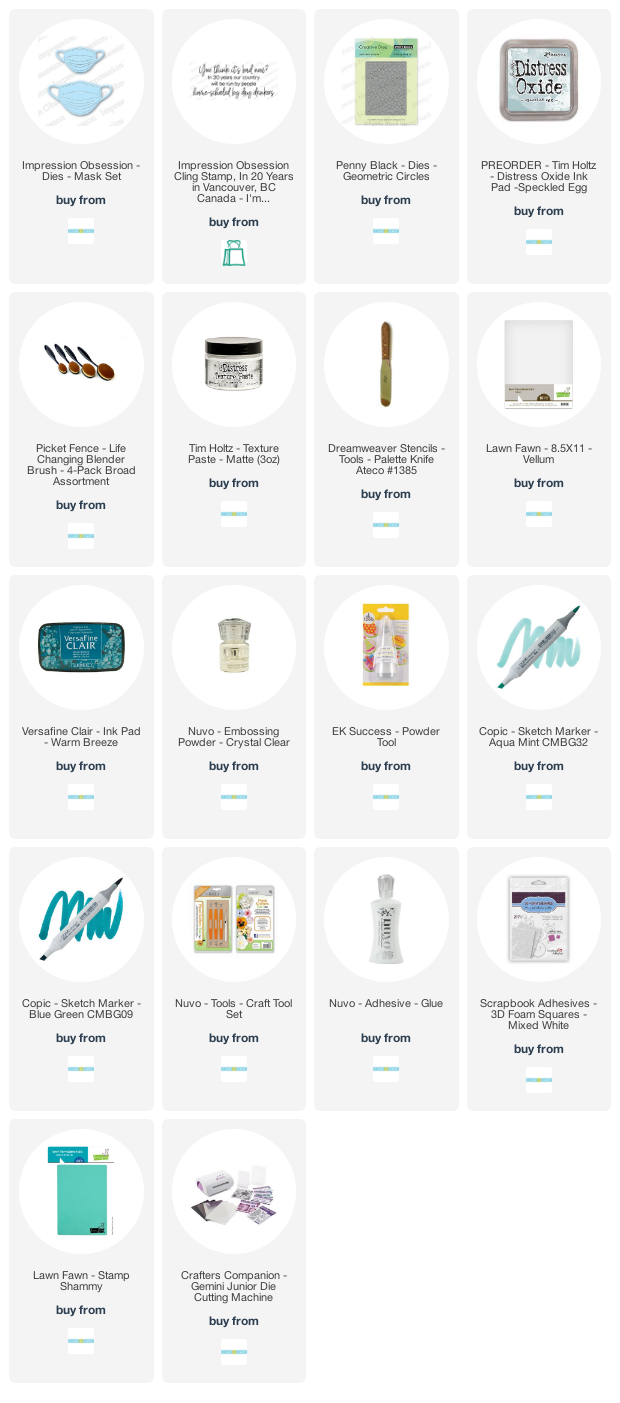
Today we have Speckled Egg Distress Oxide ink with Distress Texture paste in Matte put through a handmade stencil. You know those postcard size pieces of mail you will get from companies advertising which have a plastic like finish. That is what I used to cut my Penny Black Geometric die. The paste slides right off when you apply it, going where I want it to go.

Once finished with the paste I set the card aside to dry. I then stamped the sentiment using VersaFine Clair ink in Warm Breeze on Vellum paper and heat embossed using clear embossing powder.

Next up I die cut the masks using Neenah cardstock and coloured with Copic markers, using BG32 and BG09. On the larger mask I used both colours and on the small mask the BG32.

I then styled the masks and attached foam squares to the back of both.

To finish up I secured the vellum piece using vellum tape, which does not show through the vellum. I then attached the Masks and added a splattering of sequins.

A bit of a change for me, but I am pleased with the results. I hope you enjoy this card as well.

Following are Affiliate links to the store and the products that I used for this card, at no extra cost to you.

The Mask Read More »

Adding Texture Adds Interest

Happy Friday, my friend! It’s Deb here, from the Design Team. I hope that your week went well, and you’re looking forward to the weekend. Maybe you’ll have time for some creating? Today’s post might be of interest to you, if you will be crafting. Adding texture to your cards adds interest. And adding interest usually equals adding a “wow”! Let’s have a look, shall we?

RANGER TEXTURE PASTE

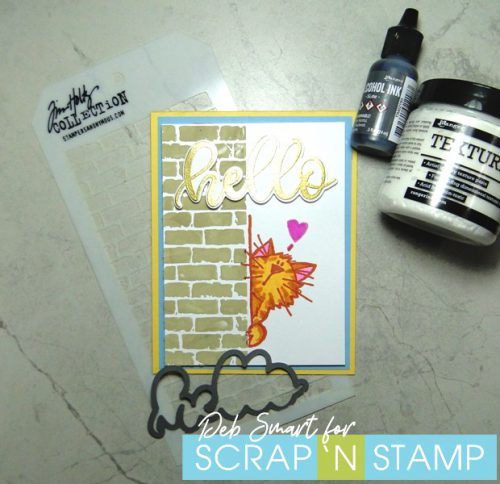
One way of adding texture is to add texture paste. You can either add it randomly, if you’re going for an unstructured look. Or, you can use it with a stencil, for a more defined shape. I chose to use the Ranger Texture Paste with the Tim Holtz Bricked stencil. Since the stencil is of bricks, I knew I wanted to colour the texture paste so it wasn’t the white it is in the tub. Did you know that you can use Ranger Alcohol Inks to colour your texture paste? Yes – you can!
Adding Texture Adds Interest

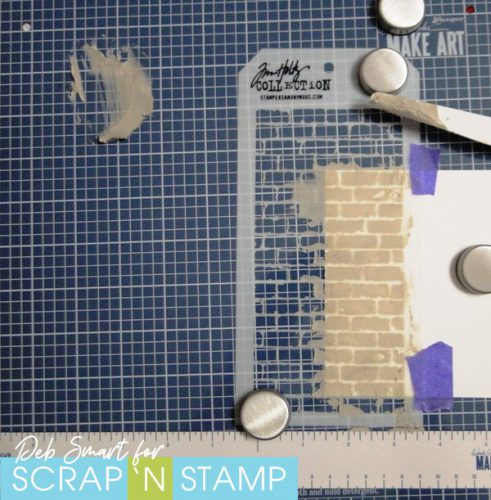
I love using my Wendy Vecchi Make Art Stay-tion for this technique! First, scoop out about a tablespoon of texture paste onto your mat. Next, add 2-3 drops of alcohol ink to the paste. Use your palette knife to mix the alcohol ink into the paste. If you want a darker colour, add more ink. (I used Ranger Pebble alcohol ink). When you’ve got the colour you want, apply the paste through the stencil, with your palette knife.  The Make Art Stay-tion comes with 4 magnets, so it’s easy to hold your cardstock and the stencil in place. (for backup, I used a couple of pieces of Purple Tape on the cardstock side).

When you’re finished applying the texture paste, lift off the stencil, and set aside the cardstock piece. Now, be sure to wipe off your Stay-tion and the stencil with a damp towel or paper towels, before the paste hardens.  As long as you clean it right away, it wipes off immediately!

CARD DETAILS

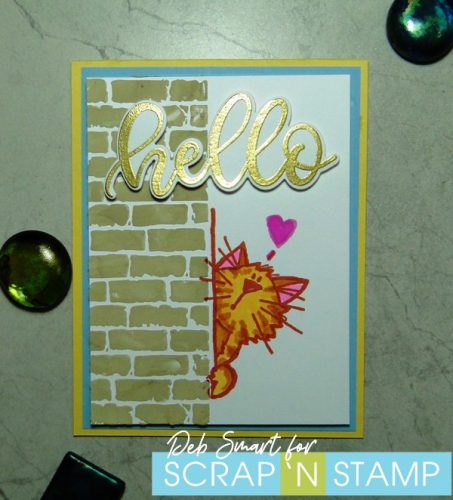
Another way to add texture is with embossing powder. First, stamp the ‘hello’ from the MFT Well, Hello stamp set in Versamark ink, onto white cardstock. Next, cover it with gold embossing powder, and then set with a heat tool. Now, use the coordinating Sweet Hello dies to die cut the sentiment.

The texture paste dries quite quickly, as long as you don’t apply it too thick. Set up this panel in your stamp platform, and line up the Impression Obsession Peek-aBoo Kitty with the side of the bricks.  Next, ink up the stamp, and then press firmly onto the panel.  I used the Gina K. Faded Brick ink for the kitty, and the Spectrum Noir Tri-Blend Bright Pink marker for the heart.
Adding Texture Adds Interest

Colour in the kitty with your choice of colours. Next, attach the die cut ‘hello’ with foam squares or tape. Add the card front to a panel of light blue cardstock with foam tape. Finally, add the card front to a light yellow card base.
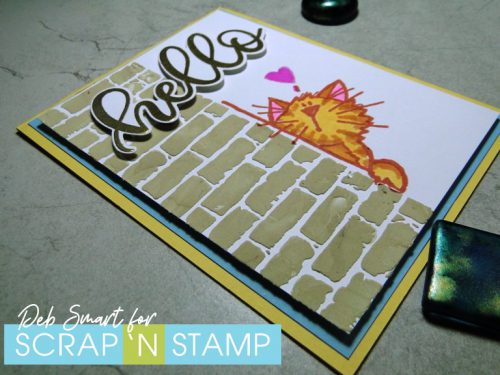
Adding Texture Adds Interest

We’ve actually added texture 3 different ways to this card. First, with the texture paste; second with the heat embossing, and 3rd with the die cutting. So by adding texture, we’ve added a lot of interest to this card. Otherwise, it could have easily been a simple, one layer card.

SUPPLIES

Did you notice that my card today works for the Scrap ‘N Stamp Random Acts of Cardness Daily Challenge?! Yes, I planned it that way! I hope I’ve given you some ideas on how to add texture, and interest, to your project! Be sure to add your ‘texture’ project to the Scrap ‘N Stamp Facebook challenge page HERE, and use the hashtag #SNSCHALLENGE when adding it there, and when sharing on your other social media platforms.
Adding Texture Adds Interest

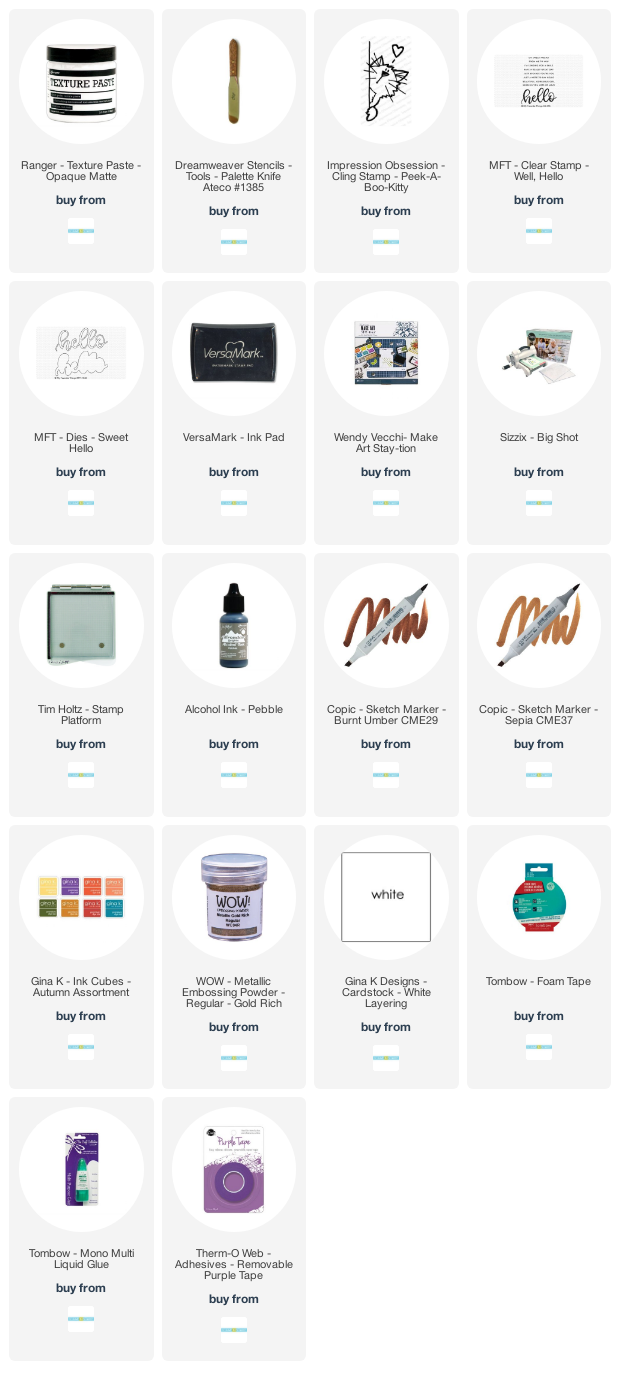
Affiliate links are used, at no cost to you. When you use my affiliate links, you help support me to purchase new products, & maintain my blog. Then I can continue sharing new projects with you!
Adding Texture Adds Interest Read More »

Day 15 – Random Acts of Cardness

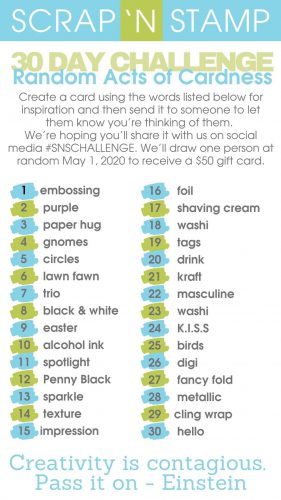
Hello my friend, it’s Deb here! Welcome to Day 15 of Random Acts of Cardness! Have you been playing along with Scrap ‘N Stamp’s month long challenge? If  you haven’t, here’s a recap. This challenge will last from April 1st to April 30th. There is a different prompt or theme for each day. You can play along with as many or as few days as  you like. Just create a one project per daily theme, and share it on the Scrap ‘N Stamp Facebook Challenge Page.  Be sure to use the hashtag #SNSchallenge. Below, I’ve shared the complete list of daily prompts/themes, so you can plan ahead.

Day 15- Random Acts of Cardness

Today is Day 15 – which kind of got cut off, on the list! It’s supposed to read ‘Impression Obsession’, which is the brand of stamps. I also went with the theme of Introverts, or Introverting, which is also the name of the stamp set I used. However, since it was cut off, however you choose to interpret ‘impression’ will be accepted for the challenge! 🙂

INTROVERTING WITH IMPRESSION OBSESSION

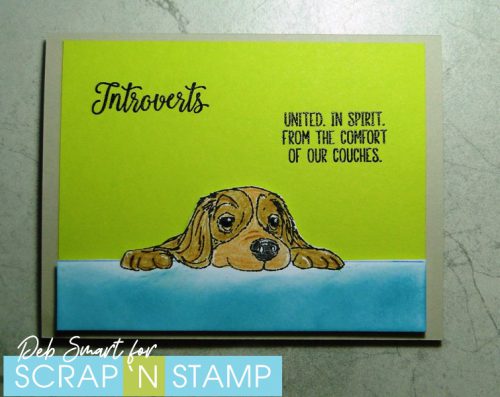
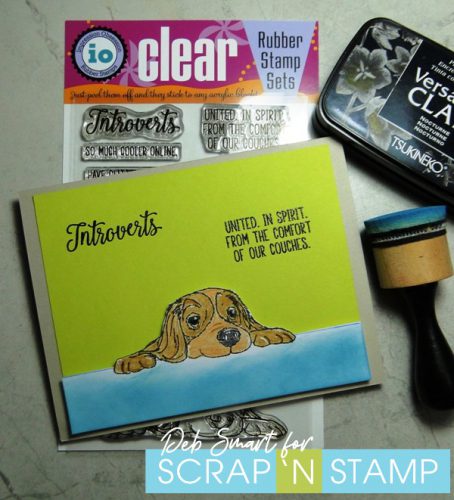
The sentiments in this set are pretty spot-on for our current ‘physical distancing’ situation during the Covid-19 pandemic. They’re also appropriate for anyone less ‘social’. Even though no one believes me, that does include me! It’s just that I can be very social, but then I need to recuperate from the exercise. Anyone else  here like that? It takes a lot out of me! So I kinda look like the puppy, also in this stamp set.

Day 15 - Random Acts of Cardness

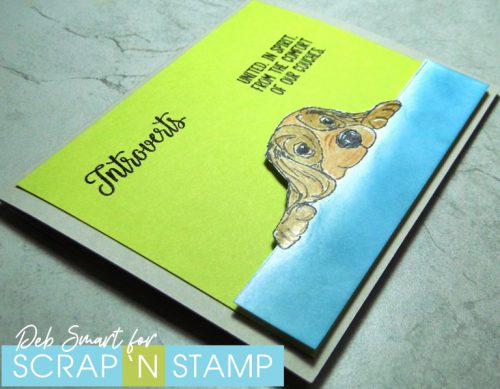
Maybe this little guy is just peeking over the back of the couch, looking out the window! That’s what I had in mind, when I created the card.

CARD DETAILS

Start with a 2 1/2″ x 5″ strip of white cardstock. Stamp the dog image from the Introverting stamp set near the top of the strip, in Tuxedo Black ink. Next, use your favourite pencils or markers, and colour in the dog. I used my pencils, and then added some highlights with a white gel pen. Now, draw a line under the dog, to mimic the top of the couch. Apply Broken China distress oxide ink with a blending tool, under the line.  Then, use scissors to hand cut the dog and ‘couch’ from the strip.

Set up a piece of bright green cardstock in your stamp platform. Place the dog image at the bottom, without attaching it yet. Now, place the sentiment stamps where you want them. Pick up the sentiments with the platform lid, and then remove the dog image piece. Cover the sentiments in Nocturne ink, ad stamp firmly. Repeat the inking & stamping if necessary for a crisp image.  Now, cover the sentiments with clear embossing powder, and heat set.

Use foam tape to attach the dog image strip across the bottom of the sentiment panel, and then attach it to a card base.  Quick, easy and fun! Not to mention cute, with those puppy eyes!

Day 15 - Random Acts of Cardness

I’m sure we all know someone who would enjoy a good laugh, receiving this card!

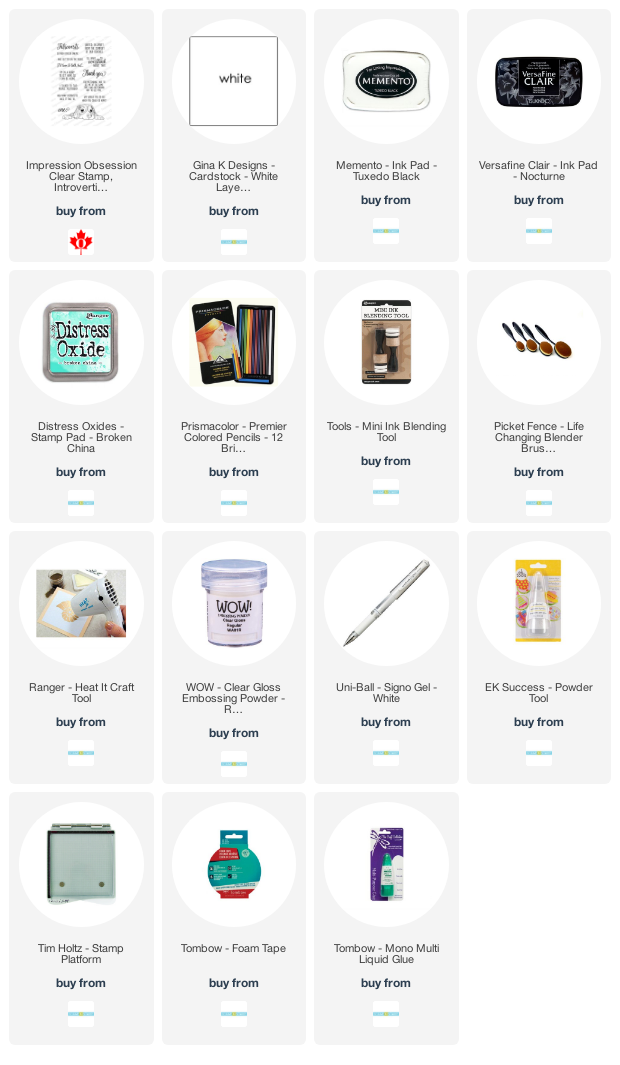
SUPPLIES

I hope that you got a chuckle out of my Day 15 Random Acts of Cardness project! And, I hope you’ll join along in the challenge, whichever day or days you choose to join. And don’t forget – mail those cards out!! Spread your special brand of cheer with your friends and family – or give them to those you see working in essential services, like at the grocery store or pharmacy.

Day 15 - Random Acts of Cardness

Affiliate links for products used are supplied below, at no cost to you. When you use my affiliate links, you help support me to purchase new products, & maintain my blog. Then I can continue sharing new projects with you!

Day 15 – Random Acts of Cardness Read More »

Free Shipping Anywhere In Canada