Scratch-N-Stamp
Search

Checkout

Keep up with Sales, New Products and other events at Scrap `n Stamp. Sign up for our newsletter now!

What's New

Hot Deals


paper crafts

Welcome to Autumn!

Today’s word prompt for the Scrap ‘N Stamp daily challenge is ‘trees’. It’s Deb here, from the Design Team! I chose that word, as I thought it would be the perfect way to say ‘welcome’ to autumn! As far as colours go, it has to be my favourite time of year. Plus, it’s a good excuse to cozy up with sweaters or blankets, especially with a good book.

COLOURS OF AUTUMN

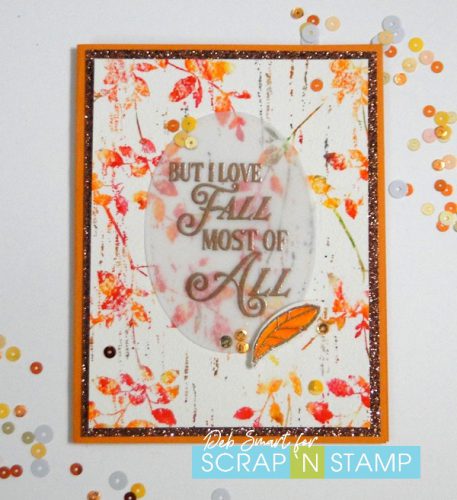
I’ve been waiting to use this new Penny Black stamp, called Enlightened. It’s more about the leaves that the actual tree, but I figured that was close enough! Plus, it gave me a chance to  pull out my Zig Clean Colour Real Brush Markers, for some watercolour.
Welcome to Autumn!

Don’t you just want to grab your favourite hot beverage, and snuggle on the couch? But wait – finish reading my post, first!

CARD DETAILS

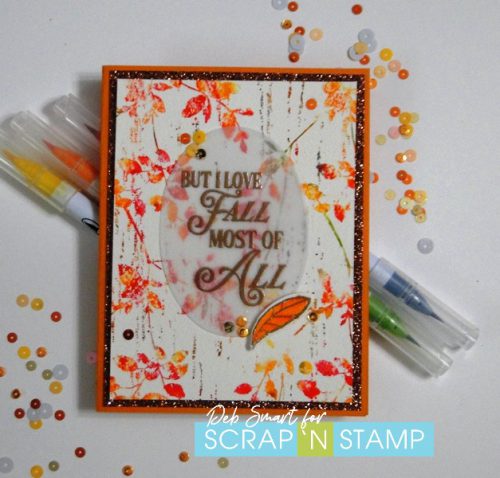
Start with a piece of watercolour paper, set up in your stamp platform. Next, randomly add ink from your Carmine Red, Yellow, and Orange Zig markers, onto the leaves. Lightly spritz with water, and then press firmly onto the paper. Repeat this as many times as you like, until you’re happy with the colours. Next, use the Blue Gray marker for the lines, and the Light Green marker for the stems, and repeat the process.  If you don’t have markers, you could do this process with your Distress Ink pads, as well.

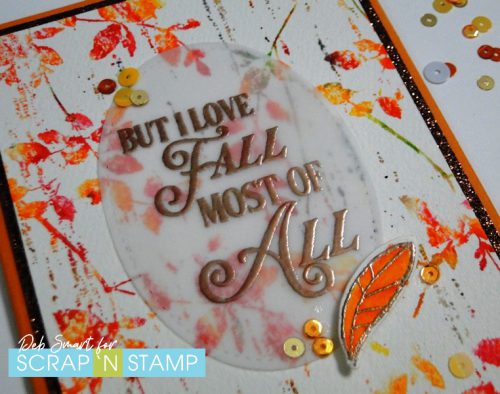
For the sentiment, I chose the Memory Box Harvest Love set. Stamp the sentiment onto vellum paper in Versamark ink. Next, cover the stamping with copper embossing powder, and heat set.  Repeat this with the smallest leaf stamp from this set. Colour the leaf using the same colours you used for the background.  This Harvest Love bundle comes with coordinating dies – use that with your Big Shot to die cut the leaf.  Die cut the sentiment with a stitched oval die, and then glue it onto the watercolour panel.

Layer the front panel onto a piece of copper glimmer paper using foam tape, and then attach these to an orange card base.  Attach the leaf using a foam square, and then glue on some sequins, to finish off your card.
Welcome to Autumn!

The copper embossing powder is so rich and warm!

COME JOIN US!

I hope that you’ll welcome fall too, and join in my word prompt challenge of trees! To play along is easy; join the Scrap ‘N Stamp Facebook group HERE. You’ll find a different word prompt  for each day of the month. Play along as many times as you want! Share a photo of your project in the group, with the hashtag #snschallenge.  At the end of the month, one participant’s name is randomly drawn, and awarded a $50 Gift Certificate to shop at Scrap ‘N Stamp! In the meantime, when you shop at Scrap ‘N Stamp be sure to use my Design Team code 10DEB to receive 10% OFF your total purchase! (regular priced items only).
Welcome to Autumn!

Affiliate links for supplies are provided. If you choose to use my links, you help support me in maintaining my blog, at no extra cost to you. Thanks in advance!


Welcome to Autumn! Read More »

Bird Bath

Today’s word prompt for the Scrap ‘N Stamp challenge is ‘wings’. This gave me the perfect opportunity to use some new goodies that I recently ordered! You may recall, our recent Blog Hop was called For the Birds (you can start at my post HERE, if you haven’t seen it yet), so I thought I’d carry on with the theme.

BIRD BATH

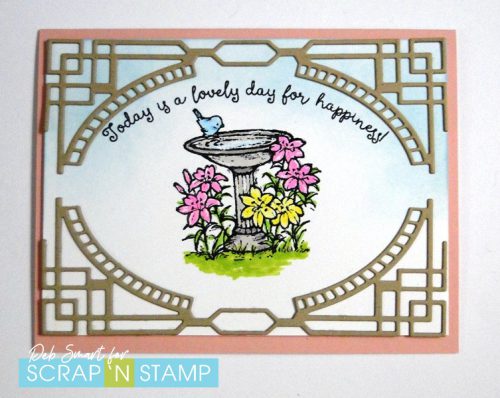
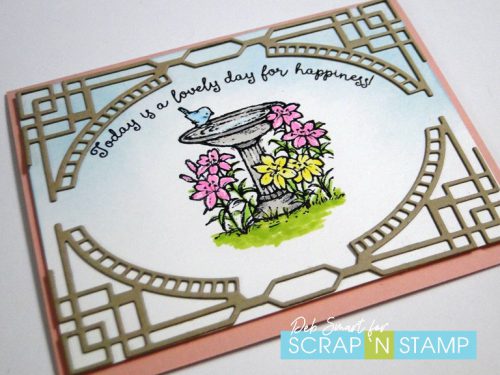
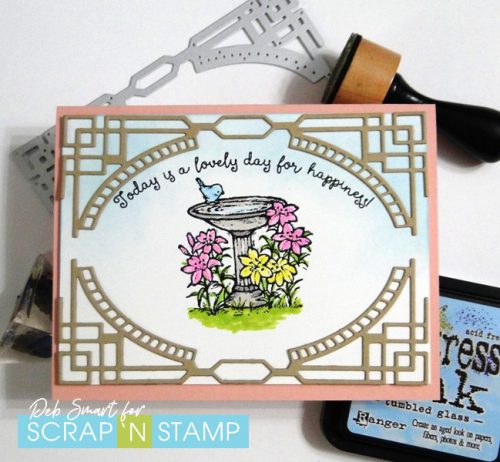
Bird Bath is the name of a new stamp from Impression Obsession. I think it’s adorable; I’m a big bird watching fan – usually just in my backyard! I also wanted to show off the new Poppystamps Art Deco Curve Border die, so I included it in my card.

Bird Bath

That little blue bird is so cute! And he’s got the bird bath all to himself!

CARD DETAILS

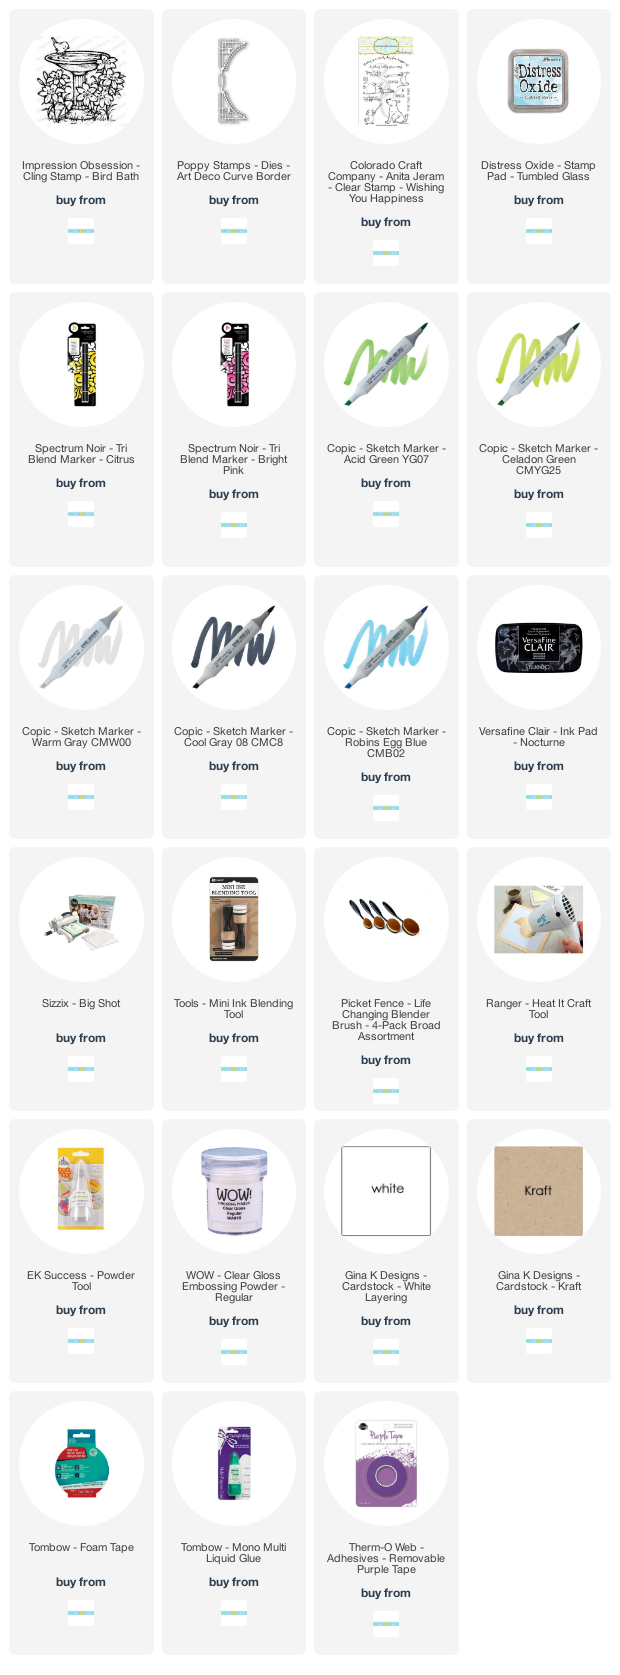
With the ornate Art Deco Curve Border, I wanted to keep the rest of the card quite simple.  Do do this, start with a piece of white cardstock. Blend some Tumbled Glass Distress Oxide ink around the top 2/3rds of the piece. Next, stamp the Bird Bath image in Nocturne ink, in the middle of the card. While the ink is still wet, cover it with clear embossing powder, and then heat set. Now you can choose your medium for colouring the image. I chose a few of my Copic and Spectrum Noir Tri-Blend Markers, and then added a few highlights with a white Gel Pen.

With a light brown cardstock, use your Big Shot with the border die, and die cut a total of 4 borders. Layer and glue 2 together for each of the top and bottom of the card front. Before attaching the die cuts, place the top one on the front panel, and line up the sentiment stamp, from the Colorado Craft Company Whishing Happiness stamp set. Once you’ve got the alignment, remove the die cut, and stamp the sentiment in Nocturne ink. Repeat the heat setting of clear embossing powder over the sentiment. Now, attach the borders to the card front, and then attach it to a light pink card base, using foam tape.

Bird Bath

Doesn’t that sentiment just perfectly suit this happy image? You can send this card for just about any occasion.

JOIN THE DAILY CHALLENGE

I hope that you’ll join our challenge, and today’s prompt of ‘wings’. Joining is easy – in the Facebook group HERE you’ll find a list of words, one for each day of the month. Play along with as many as you want! At the end of the month, one name is randomly drawn from all participants. That lucky person will WIN a $50 Gift Certificate to shop Scrap ‘N Stamp!

Bird Bath

If you’d like to recreate my Bird Bath card, I’ve provided shopping links to the products, below. When you shop Scrap ‘N Stamp, be sure to use my Discount Code 10DEB, for 10% OFF your purchase!


Bird Bath Read More »

Let’s Celebrate!

I don’t know about  you, but one of the things I most celebrated with vaccinations in place, and infections going down was giving and getting hugs!!  Gosh, it felt so great to have that personal connection again ♥  Fist bumps and elbow taps are fine, but nothing can beat a big ol’ hug from someone you love! Whatever the reason, let’s celebrate and enjoy our weekend.

LET’S CELEBRATE

Honestly, I thought that I had my busy week in hand, but alas – not quite! I was supposed to share this project with you on Thursday, for my Scrap ‘N Stamp word prompt of ‘celebrate’. Which would have been fitting, as my hubby’s birthday was the day before. But I got my dates mixed up, and so here I am today.

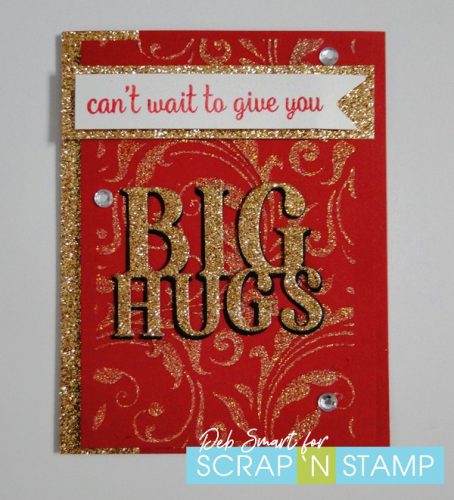
I decided that hugs are definitely worth celebrating, as I said earlier. So I pulled out my Hero Arts Big Hugs Stamp & Die Cut set and glitter!

Let's Celebrate!

The red and gold are so rich looking together, aren’t they?

CARD DETAILS

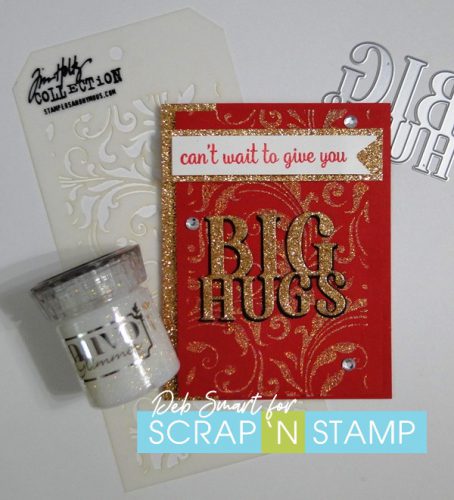
Start with a panel of red cardstock, and the Tim Holtz Flourish Stencil. Use Purple Tape to hold the stencil in place, and then apply Nuvo Glimmer Paste ‘Moonstone’ through the stencil, with a palette knife.  Be sure to immediately clean off your stencil & knife, for easiest clean up. Now, set this aside to dry while you work on the rest of the card.

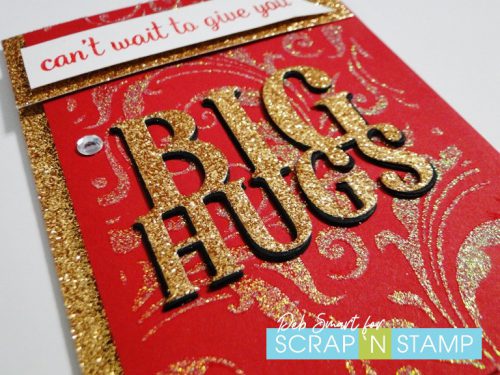
Stamp the sentiment from the Big Hugs set in Versamark ink, and cover with red embossing powder. Set with a heat tool, and then snip banner tails on the right end. Next, use the dies included with this set, and die cut the words once from gold glitter cardstock, and 3 more times in black cardstock.  Use liquid glue to stack the layers together, with the gold glitter on top. This layering really makes the letters stand out! I offset the black layers under the gold, for a drop shadow.

Create a red card base, and glue a strip of the gold glitter paper to the left hand side. Pop up your glitter embossed panel on top, using foam tape or squares.  Next, glue a strip of the gold glitter under the sentiment, then pop it up on top with more foam tape.  Glue the ‘Big Hug’s die cut directly to the card front.

Let's Celebrate

Isn’t this gorgeous?!  I added a few rhinestones from my stash for some extra shine.

PLAY ALONG WITH THE CHALLENGE!

Come play along with the challenge, and let’s celebrate!  You’ll find the Scrap ‘N Stamp Facebook challenge page HERE. Just create your project, and share a photo of it. Use the hashtag #snschallenge, so everyone sees it! At the end of the month, one participant is randomly chosen, and is the lucky winner of a $50 Gift Certificate to shop at Scrap ‘N Stamp!  Not bad, for doing something you’d already be doing anyway, right?

You can find the supplies to re-create my card, below. When you shop regular priced items at Scrap ‘N Stamp, be sure to use my Designer Code 10DEB, for 10% OFF your total order!

Let's Celebrate!

Affiliate links for supplies are provided. If you choose to use my links, you help support me in maintaining my blog, at no extra cost to you. Thanks in advance!


Let’s Celebrate! Read More »

Free Shipping Anywhere In Canada