Apple of my Iris
Happy Funday Sunday!
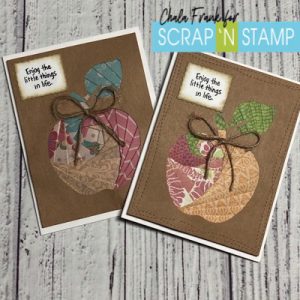
Crafting is the apple of my iris….and the theme for today’s Blog Post! I decided to combine the Facebook Challenge word of the day “apple” and the older technique of “iris paper folding” to tackle a common crafters problem…. what to do what all your patterned paper!
I have been doing some craft room cleaning and reorganizing and during this process I have come across a lot of patterned paper that I have purchased over the years with good intentions to use and…..well, I still have it! So, I decided I was going to finally use these papers and the iris paper folding technique is a fun and easy way to do this!
The first thing you want to do is to search on the good ‘ol inter web for an iris folding pattern that you like. You can choose from a square, triangle and there are even apple specific templates. I decided to use a square template as I like its versatility with different patterns and that I could use four different colours. I printed the template out and laminated it so that I could reuse it. This will be our guide on where and how to line up each strip of paper. The next thing to do is pick out a die cut pattern.
I was enamoured with the new Lawn Fawn Stitched Apple Frames and thought they would work so well with this technique to create a fun fall card. In fact, any shaped die would work well with this technique! Unfortunately, I wasn’t able to get this die in time for this post, so I pulled out my Silhouette machine and found a digital cut file that would work and cut the apple out from some kraft cardstock measuring 5 1/2 ” 4 1/4″ (standard A2 size panel). we will be using the negative cut out portion and I will save the die cut apple pieces to use on another project.
I then pulled together some of the patterned papers that I thought would work well with together and that would look good under the apple. I cut these papers into strips measuring 1″ wide. The length of the strips of paper depends on how large your image will be. I then score and fold each strip of paper in half at the 1/2″ mark.
Now the fun begins! You will want to turn your negative die cut panel piece so that the “good side” is face down on top of the template. If you are using the square template, you can move it around to get the best position for the iris. Once I found the position I liked, I taped the panel down onto the template with some Thermo -Web Purple Tape.
The template I am using already is numbered and colour coded. I will assign a colour to each patterned paper. Now I just start adhering the paper pieces following the number and colour order. For this particular die I won’t be started at the number 1, I will have to look for the lowest number and then follow numerical order from there. You will want to adhere the strips of paper so that the folded edge aligns with the template line (towards the iris). I trim the strips to the length needed and adhere them down to the edges of the panel. I am using a double sided adhesive tape runner to do this, however, you can use clear tape as well if you like.
Once you have worked your way around and have adhered all your strips you will be left with a square (or triangle if you are using that template). For this, you can leave it open or you can adhere any colour of paper to cover the opening. I chose to use one of the pattern pieces I have already used, but you could also use foil or glitter.
I then trimmed down any pieces that over hang the panel. There is a bit of bulk to this panel so I thought it was best to adhere the panel to the card base was with some double sided foam tape.
I die cut a scalloped rectangle and used a sentiment from Stampendous Life Words stamp set and VersaFine Clair Nocturne Ink. I also did a little inking on the edge in Frayed Burlap Distress Ink and a finger dauber. The last thing I added was a twine bow and I adhered that with some Glossy Accents.
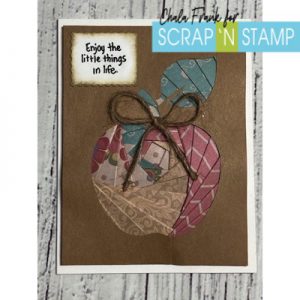
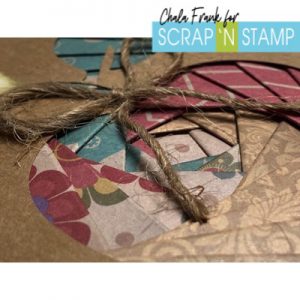
For my second card I just switched the pattern papers and die cut the panel with the My Favorite Things Wonky Stitched die.
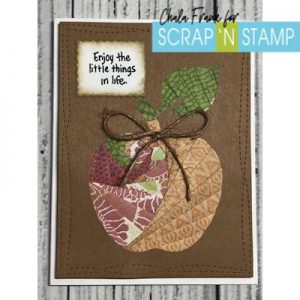
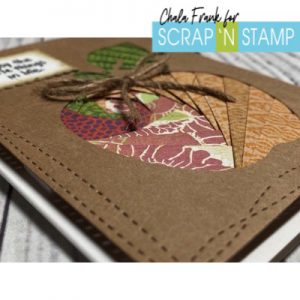
I really like how both cards turned out and I am looking forward to using up more of my papers on future card projects.
I hope you have an amazing week full of creative energy!
~Chala


