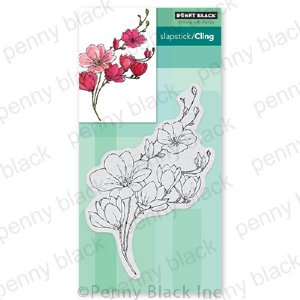
Scratch-N-Stamp
Search

Checkout

Keep up with Sales, New Products and other events at Scrap `n Stamp. Sign up for our newsletter now!

What's New

Hot Deals


Penny Black Stamps

Penny Black Harmony

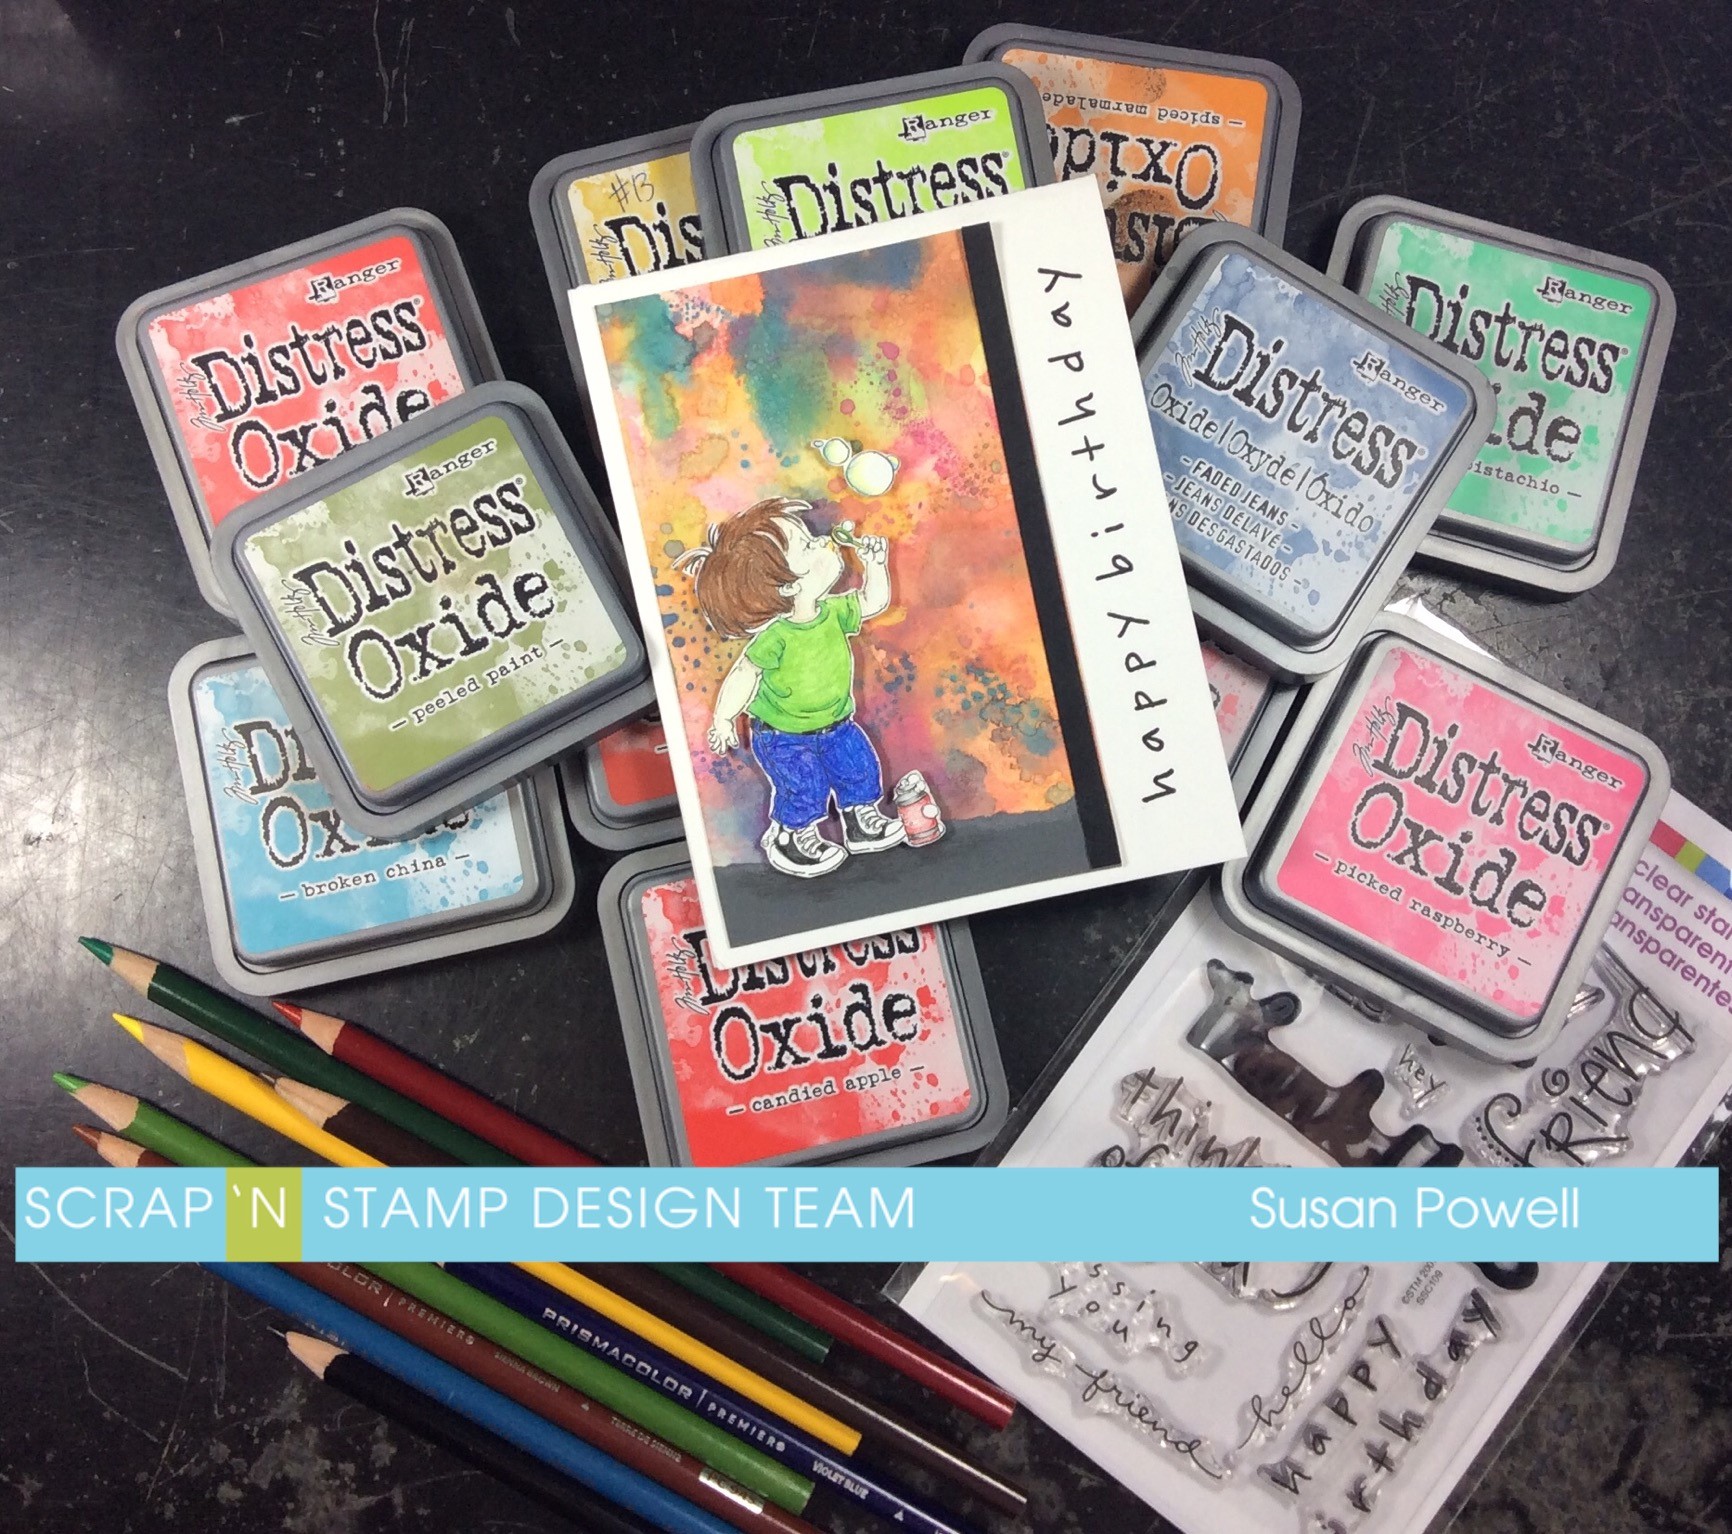
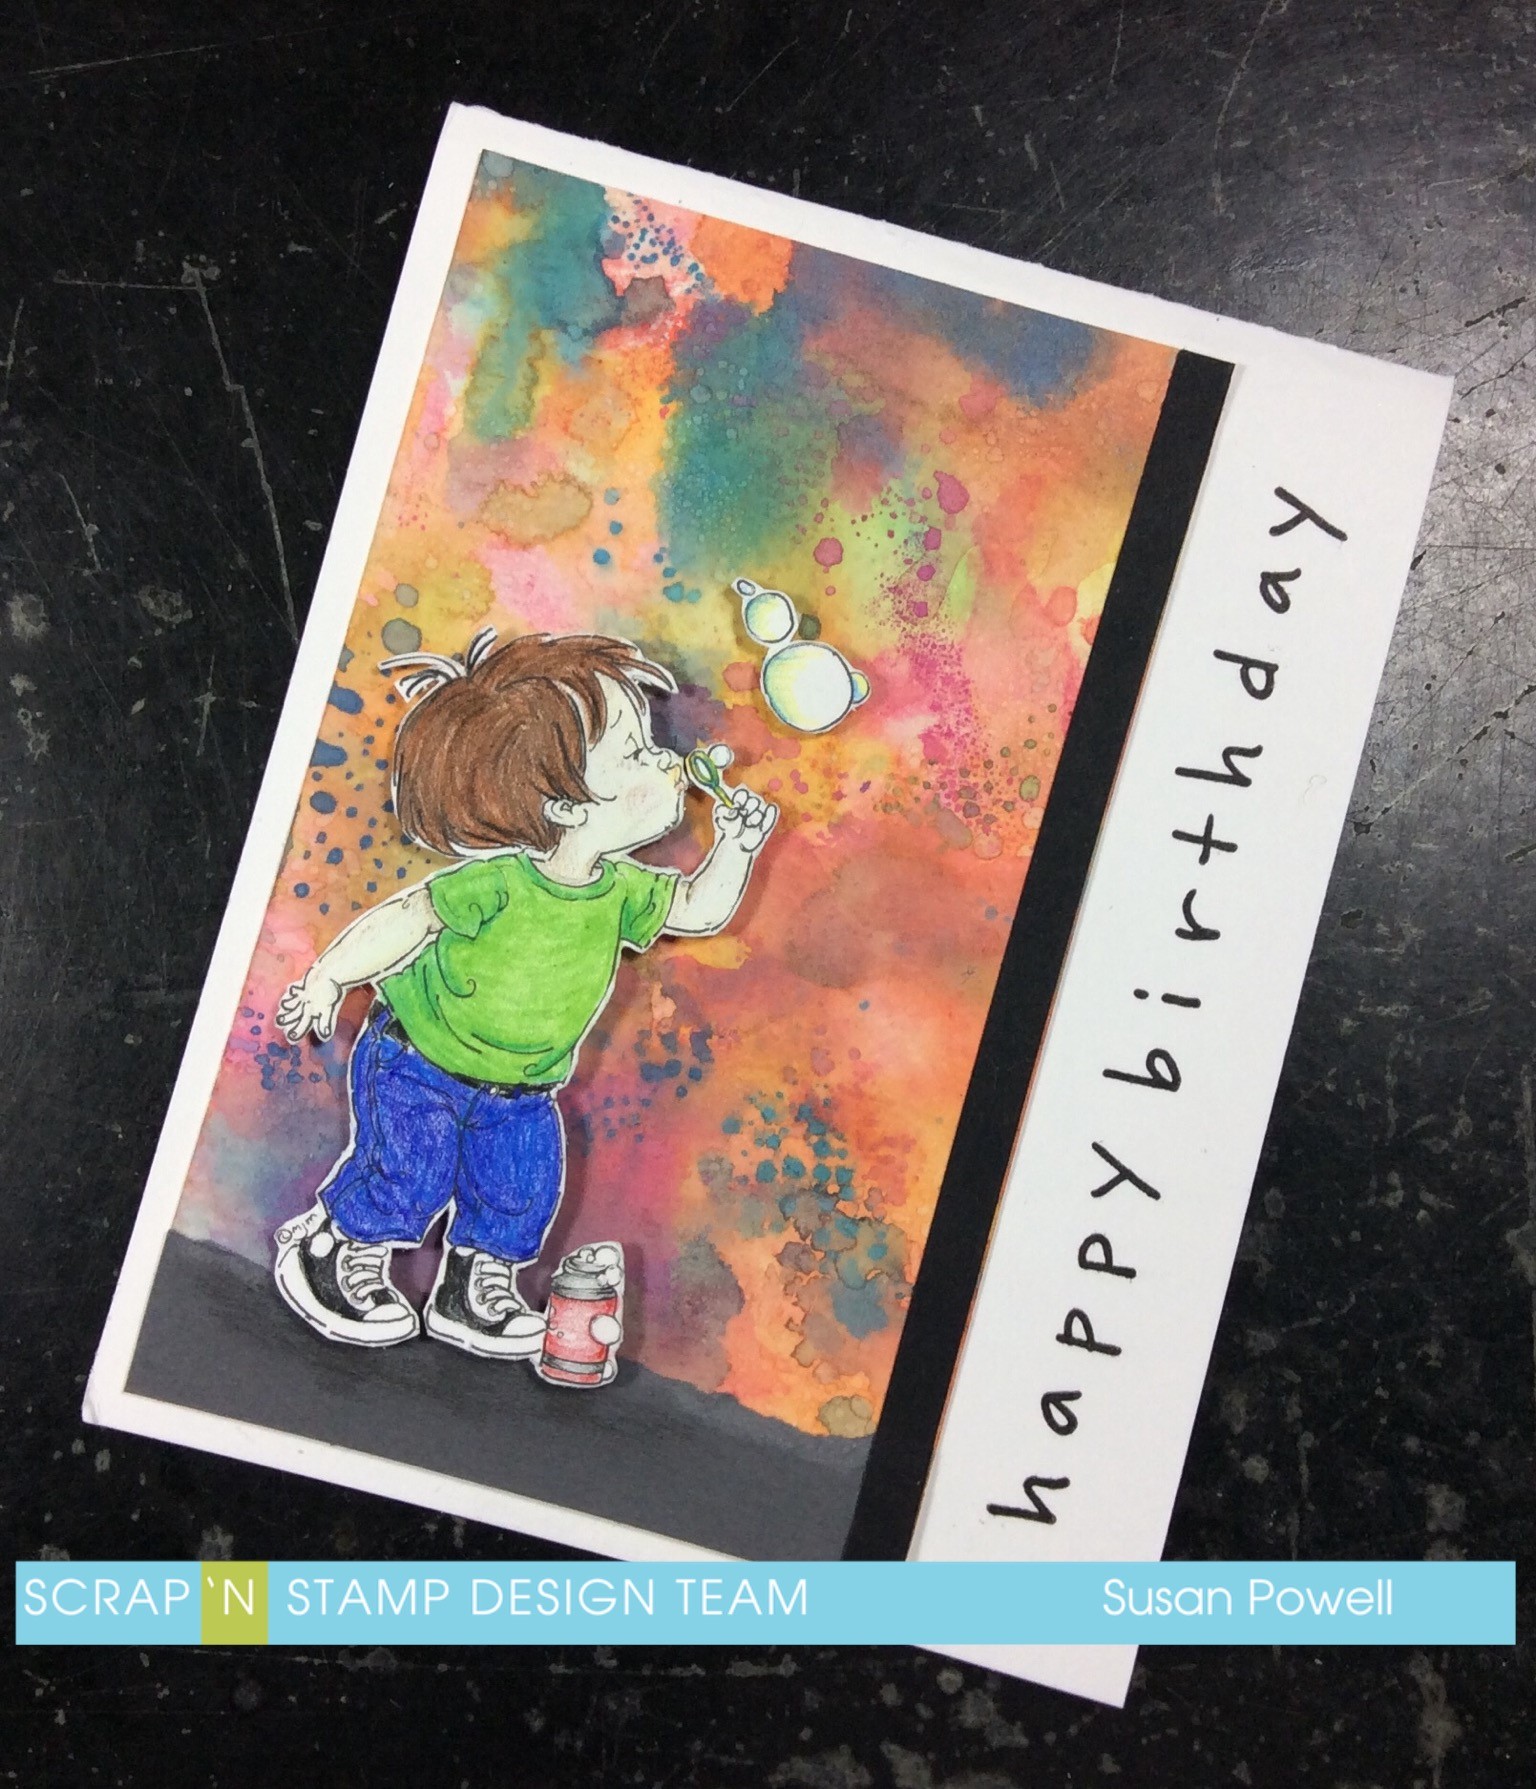
Hi crafting friends, Sandi MacIver here and I’m honored to share a new card idea with you today created with the New – Just arrived Penny Black Harmony stamp.

Scrap 'N Stamp Penny Black Harmony

It was LOVE at first sight with this stamp and I decided to watercolor it with my Tombow Markers.

I started by black heat embossing the image into a piece of watercolor paper.

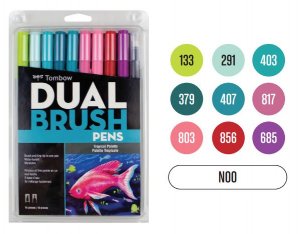
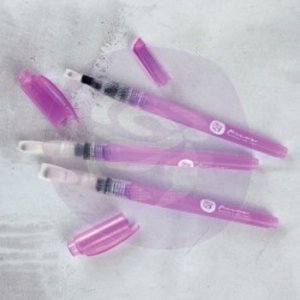
Then I colored the image with my Tombow Markers. The Tombow Marker Dual Tip Markers are water-based and create fabulous watercolor images combined with a water brush pen. Just add some color and blend with the water brush – Yep, it’s that easy!….
TIP – do a small section at a time though, so the ink doesn’t dry out, then it becomes hard to move.

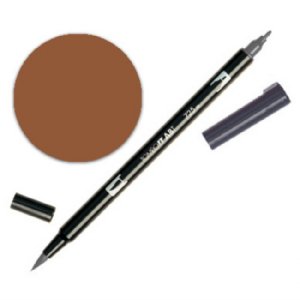
The colors I chose are #379, #403, #291 From THIS SET of 9, and Chocolate Brown #969 to do the shadows and leaves.

Scrap 'N Stamp Penny Black Harmony

Here’s a video showing how I like to watercolor with these fabulous markers….it’s super easy. You can view it here, or in HD over on my my YOUTUBE Channel .

https://youtu.be/XhxLyVla-kA

The video also walks you step by step through the creation of today’s card.

Scrap 'N Stamp Penny Black Harmony

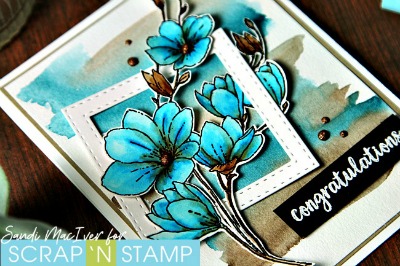
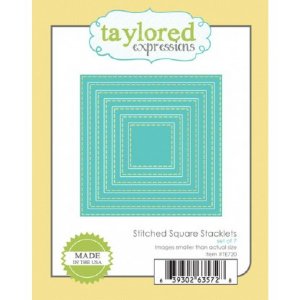
Next I used two dies from the Taylored Expressions Stitched Square Stacklets to create a frame for my pretty flowers.

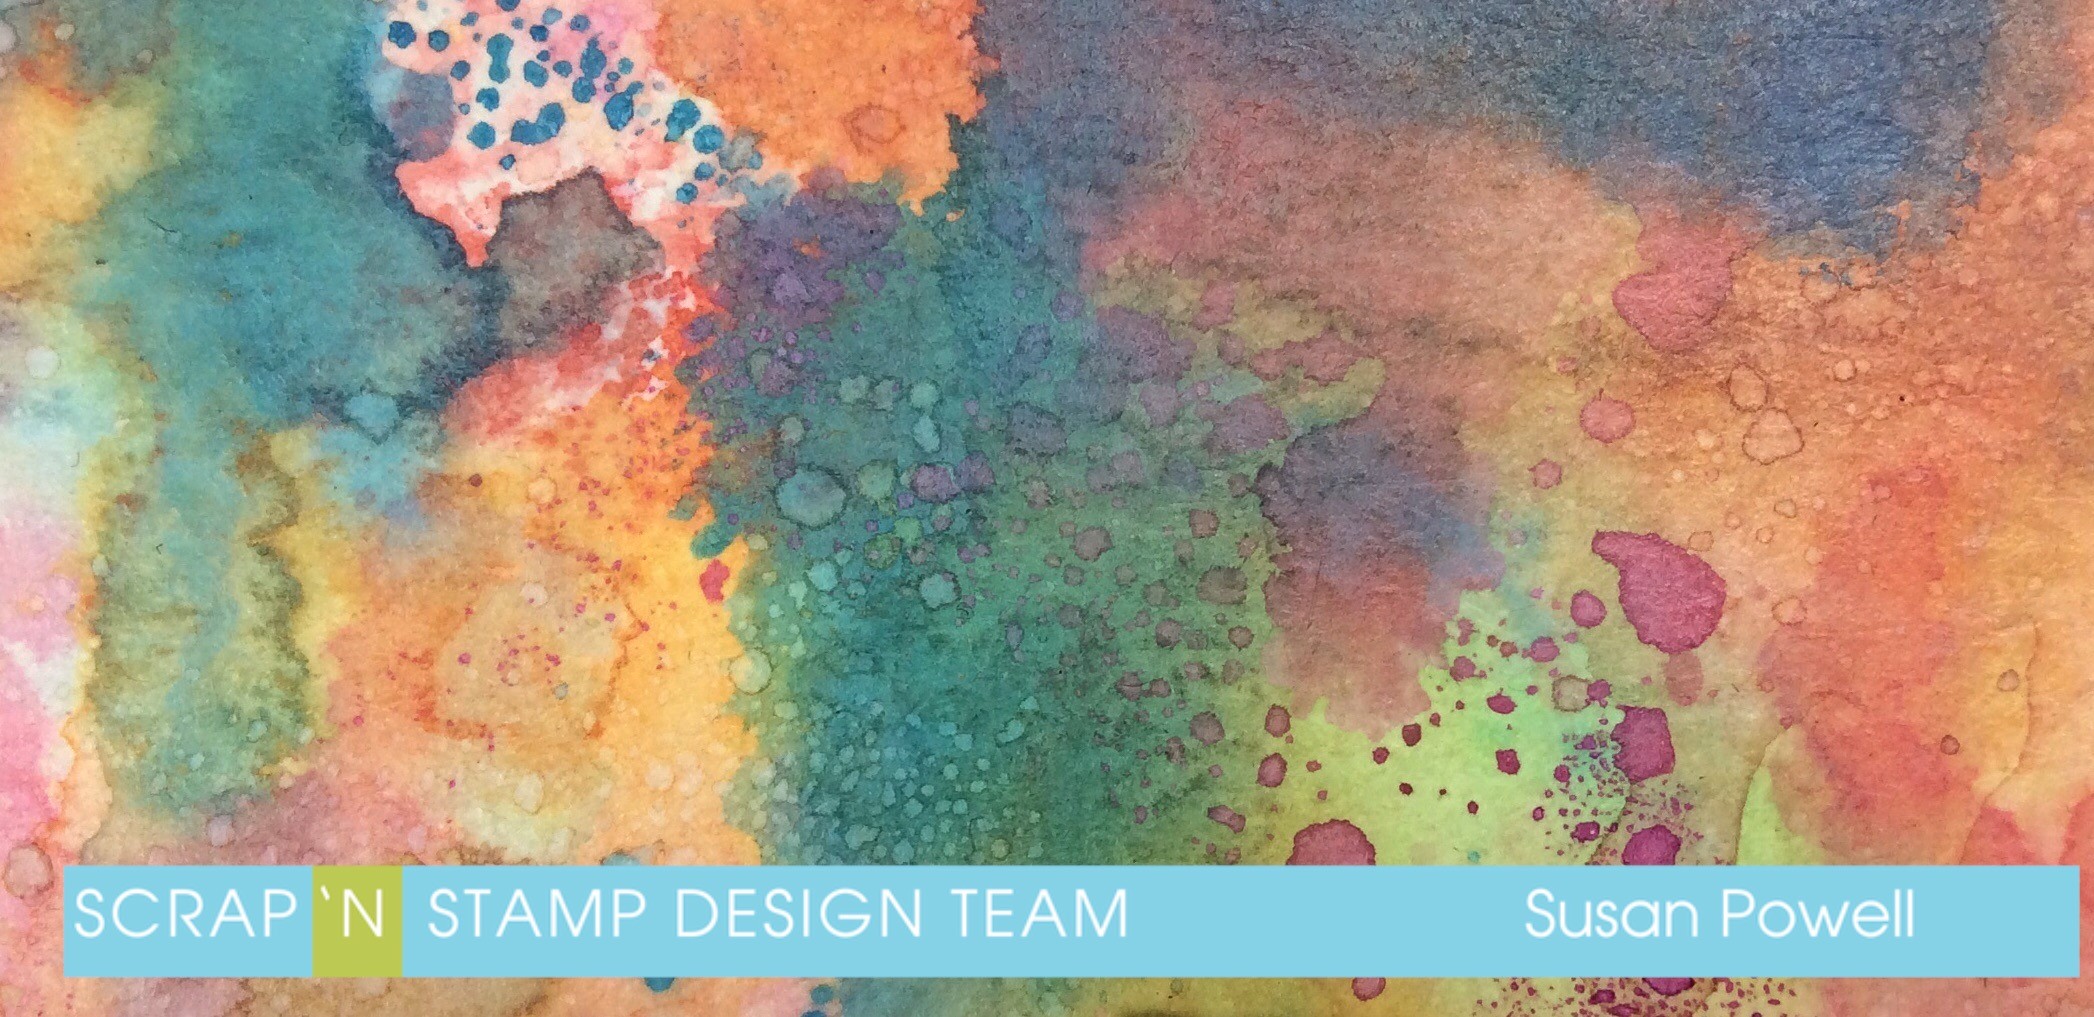
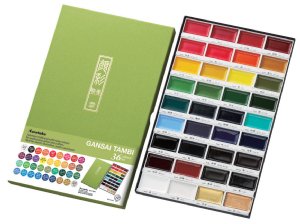
I white heat embossed a sentiment on a scrap of black card stock and then created a watercolor background with my Gansai Tambi watercolors #47 – brown and #57 Teal Blue.

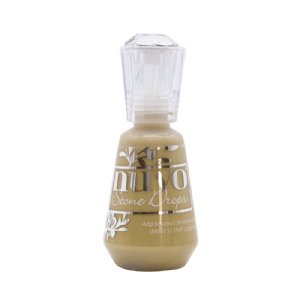
Finally, after putting the card together, I added a few drops the NEW Nuvo Stone Drops in Gold Rush – you are so going to love this color for your vintage cards….it Rocks!

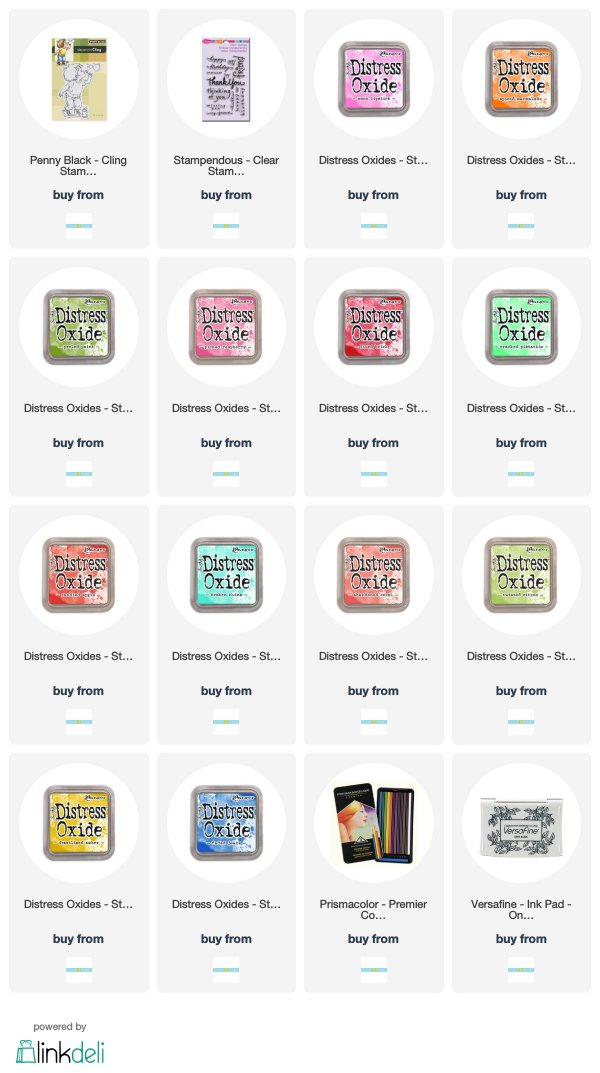
Ok, that’s it for me today. I hope you enjoyed my Penny Black Harmony Card and I have listed the products I used today below in affiliate links directly to the Scrap ‘N Stamp site.

Hope you have a marvelous rest of your day and thanks so much for stopping by:

Penny Black – Cling Stamp – Harmony
[ SCR ]
Tombow – 10 Colour Marker Set -…
[ SCR ]
Tombow – Dual Tip Marker – Chocolate 969
[ SCR ]
VersaMark – Ink Pad
[ SCR ]
VersaMark – Ink Refill
[ SCR ]
Nuvo – Embossing Powder – Jet Black
[ SCR ]
Nuvo – Embossing Powder – Glacier White
[ SCR ]
Crafters Companion – Gemini Die…
[ SCR ]
Taylored Expressions – Die – Stitched…
[ SCR ]
Tim Holtz – Water Brush – Broad
[ SCR ]
Prima – Water Brushes – 3Pk Pen Set
[ SCR ]
Nuvo – Stone Drops – Gold Rush
[ SCR ]
Gina K Designs – Cardstock – Kraft
[ SCR ]
Gina K Designs – Cardstock – White Heavy
[ SCR ]
Gina K Designs – Cardstock – Black Onyx
[ SCR ]
Zig – Gansai Tambi – 36 Colours Set
[ SCR ]
Nuvo – Adhesives – Maxi Tape Runner
[ SCR ]
Therm-O Web – Adhesives – Removable…
[ SCR ]
Scrapbook Adhesives – 3D Foam Squares…
[ SCR ]
Be Creative Tape – 7mm (0.28")
[ SCR ]
Tim Holtz – 12.25″ Maxi Guillotine
[ SCR ]

Penny Black Harmony Read More »

Fun With Distress Oxides

Hi Everyone. It’s March 1st and it’s still so cold out. I’m really

hoping it warms up soon. I spent last night in my craft room

where it’s warm playing with my distress oxide inks. I set the

camera up to record all the fun but apparently I forgot to hit

the record button – oops. But I do have lots of pics for you.


I pulled out my distress oxide inks and couldn’t decide which ones to

use, so… I used them all 🙂 I cut a piece of watercolor cardstock to

5 1/8 x 3 1/4″ and set about making the background. The amazing

thing about oxide inks is the colors layer on top of each other.

Normally when you layer as much ink as I did it would end up

looking like mud but with the chemical combination in oxide inks

makes it so they layer. It’s all very sciency and super cool!

To make the background, start by smooshing one color of ink onto a

craft mat. Give it a few spritz of water and start pouncing the water

color paper into the ink. Use a heat gun to dry the ink and then

repeat the steps with a new color of ink. Be sure to dry each color

before adding the next one – this is key to building the layers.

Here’s a close up – check out all those colors sitting on top of each

other – so cool!

I’m really sorry I didn’t get a video for you and hope that the

instructions make sense. If you have any questions, please leave them

for me below and I will do my best to help.

Now for the little guy blowing bubbles – isn’t he adorable. The

stamp set is called Bubble Boy from Penny Black and reminds me

of when my kids were little and spent hours blowing bubbles. I don’t

have the actual stamp but I do have the digital image so I printed

it off, colored him in with Prismacolor pencils and then fussy cut

him and the bubbles out. I added a strip of grey cardstock at the

bottom and then adhered bubble boy with some craft foam for

dimension. The sentiment is from Happy Messages by Stampendous.

I performed a little stamp surgery and cut the words apart so I

could easily stamp them in a straight line.  To finish it off I added

the thin strip of black cardstock.


I hope you enjoyed this card and are inspired to create. If you have

any questions, please don’t hesitate to ask.

Be sure to check out the Scrap’n Stamp Challenge Page.

Happy Stampin’

and thanks so much for visiting!

Susan


Shopping list:


Fun With Distress Oxides Read More »

A little note …

Hello crafters, Kia here with you today to share this card which is done using baby wipes. And it is a lot of fun. I did a card yesterday, called In my neighbourhood where I did this technique, however I used a paint brush and used Glossy card stock. Today I am using Photo paper and there is a difference between the two papers. The glossy is more muted than the Photo paper, but I still like both.

First, I die cut my panel using Penny Black’s Stitched Stackers die. I then did some smooshing, laying down a colour, spritzing with water and smooshing the paper into the puddle, then drying. It is important to dry between each layer of colour. I started with the lightest colours, being Wild Honey, Spiced Marmalade, Twisted Citron, Picked Raspberry and just a tad of Broken China.

Once the layers were dry, I then stamped my flower using Wilted Violet Distress Oxide. I first stamped dry, then the second stamp I spritzed with water before stamping. I added the sentiment using Memento Tuxedo Black ink. To finish I attached my panel to fun foam using Scor-pal (Be Creative) tape and attached it to a pink card base.

I have done a video on this card which you can find here

I also did my inside using the same technique, but stamping using the Wilted Violet to bring the purple inside the card.

I hope you have enjoyed this card and wish to thank you for visiting today.


A little note … Read More »

Free Shipping Anywhere In Canada