Gel Press Bliss
Hello and Happy Friday Crafty Friends,
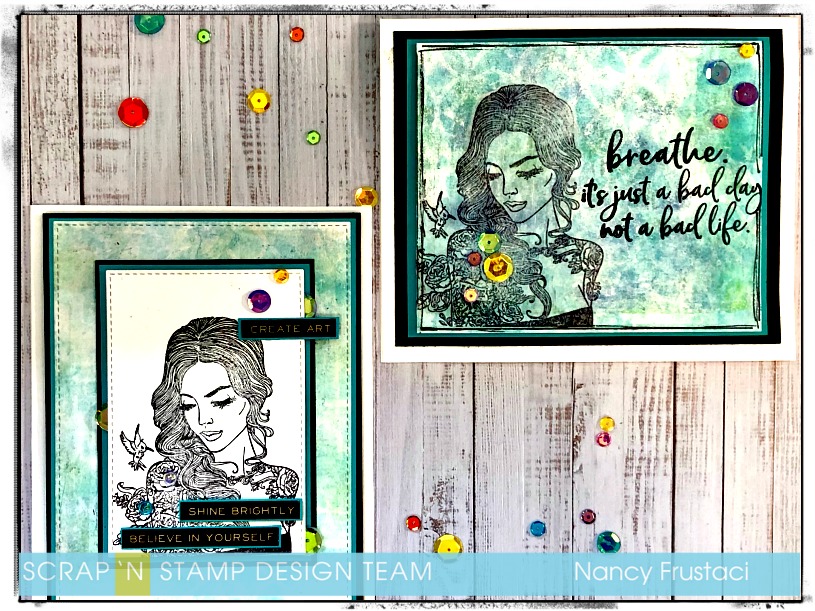
I am so happy to be on the blog today sharing a couple of cards I created using the Gel Press, some Dina Wakley media paints and a couple of beautiful stamps from Picket Fence Studio. I hope you enjoy and find some inspiration.
I love love love the gel press and all the wonderful things you can create with them. I will have a lot more projects using them in the future.
These cards came about as a happy accident, I literally was just playing around with the gell press, trying different colors and stencils, and man once you start on this journey, you really cannot stop doing the prints.
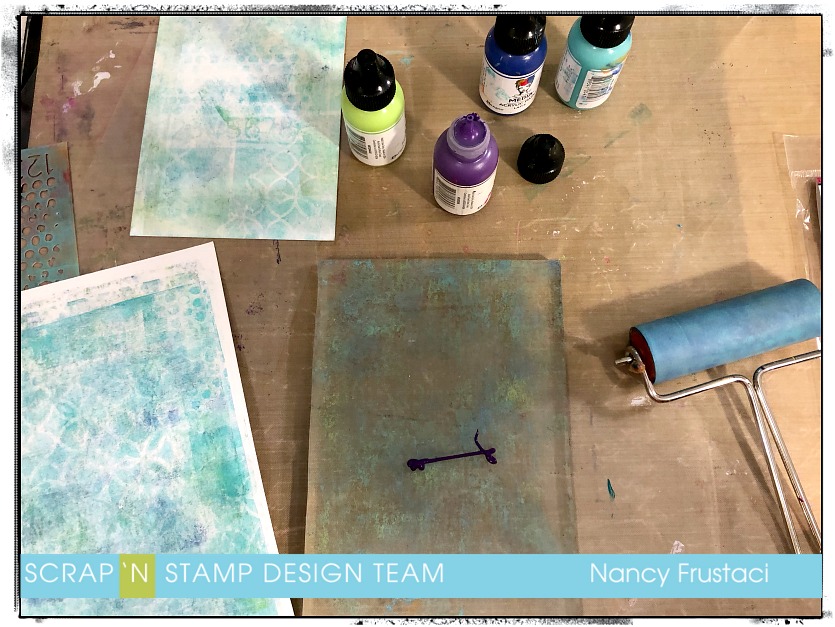
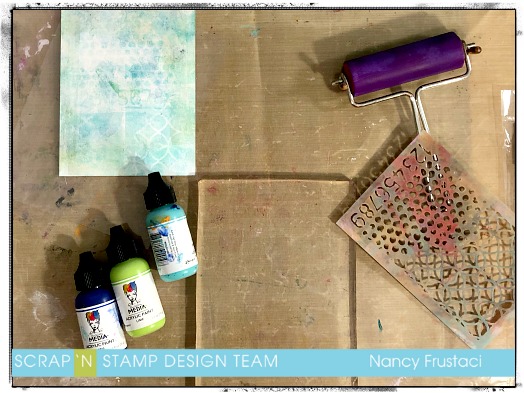
I pulled out all my products, my paints which are Dina Wakley Media, my gel press, of course, a stencil i had in my stash from a Tim Holtz tag kit and my ink roller. I cut down different sizes and types of paper I would need for pressing. By using different weights and types would give for more options in future projects etc. (The best tip I heard is to have all your paper precut and ready to go before you start, I have caught myself without and had to stop midway through creating. Not fun when you are on a roll and covered in paint.) Which has happened to me lol, I sometimes just go for it and forget to plan and end up just grabbing random scraps from around my messy craft room and desk.
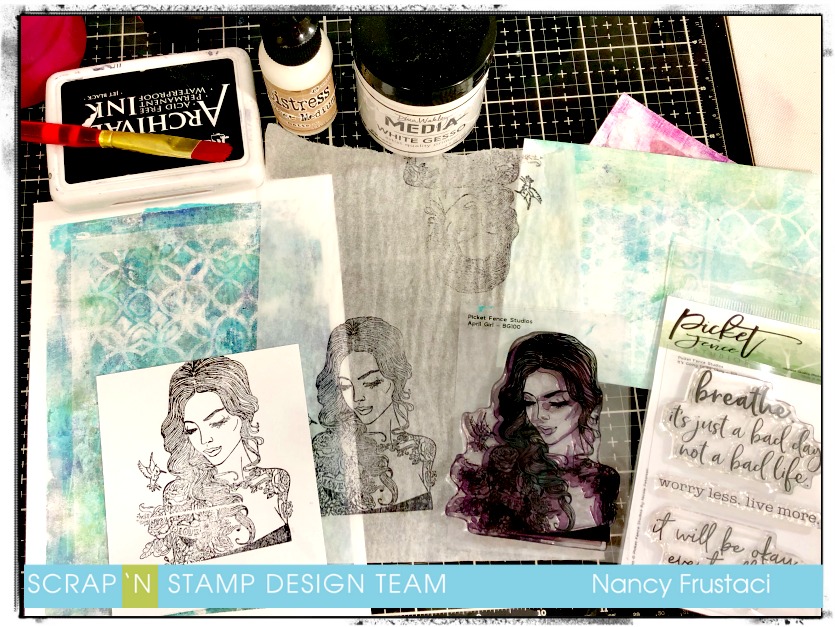
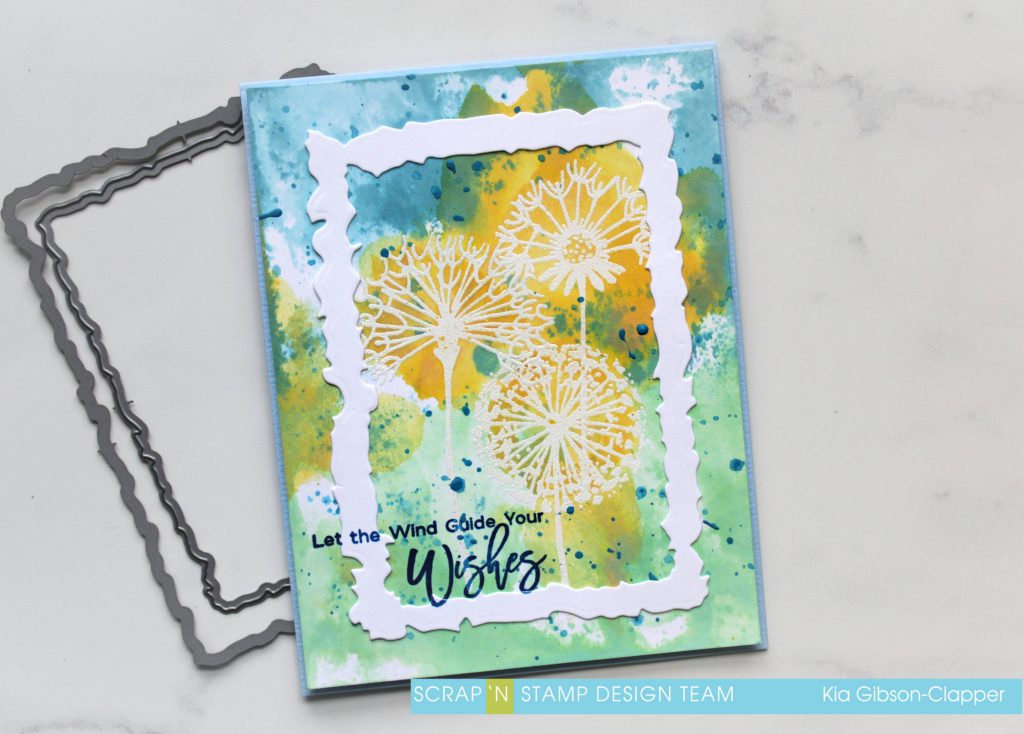
Once I had the backgrounds where I liked them, I set them aside too dry. I had recently purchased these two wonderful Picket Fence stamps from Scrap’n Stamp, which was just sitting on my desk waiting to be used. I felt the April girl would be the right fit for the look of the background. I decided to create two different versions of the card. For the first one, I stamped her on to a piece of collage paper that I had in my stash. I stamped her using Archival ink. The second image I stamped on to heavy weight white cardstock.
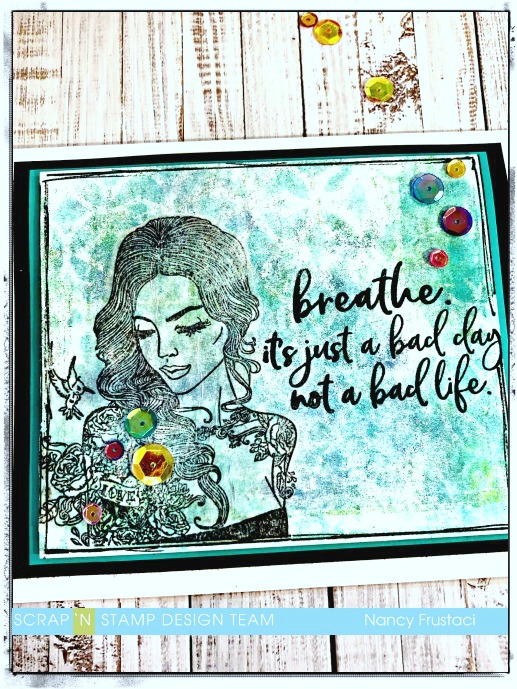
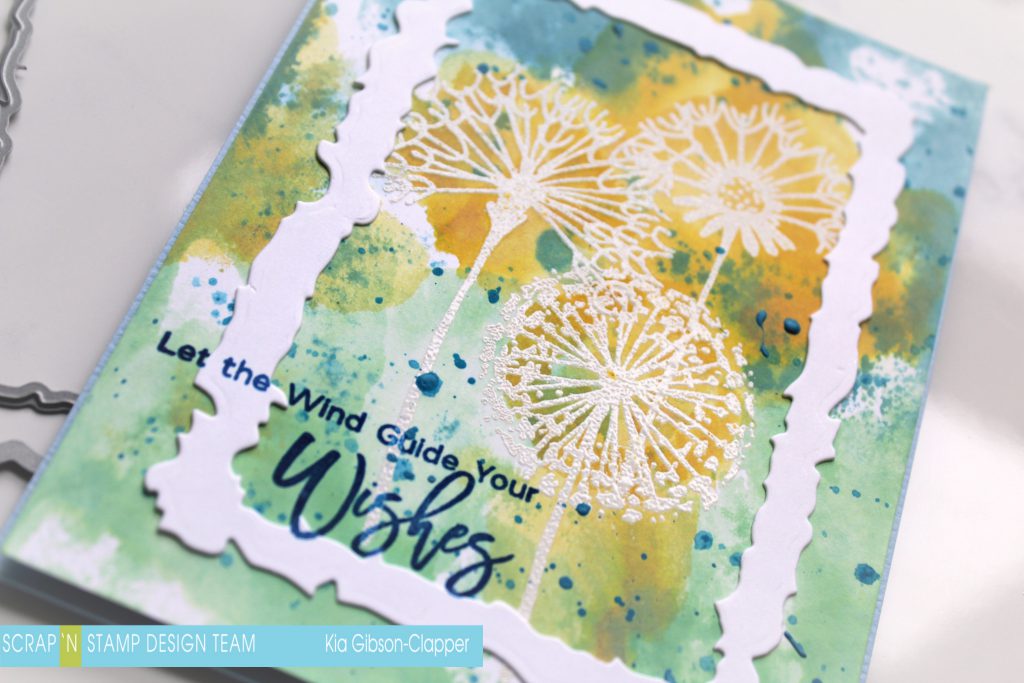
I cut out the image from the Collage paper and added her to the Gell press background paper I had previously created. I love how the paper just disappears and you are left with just the stunning image that popped and showcased all the stenciled texture. I pulled out my stamp press and added the sentiment using Versa Clair nocturn ink. I love how bold and crisp this ink is, I highly recommend it.
I popped up the inked panel, which measures 4 3/4 x 4, on to some teal card stock which I cut down to 5 x 4 1/8, using some foam tape and then adhered that on to a layer of black cardstock, just to make everything pop. To finish off the card and cover up some a little issues I added some really vibrant sequins from my stash and drew some sketchy lines with my black pen.
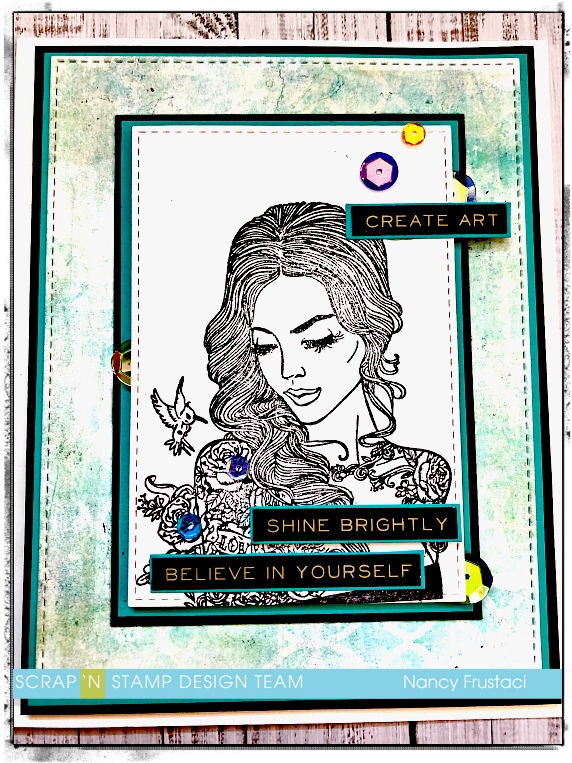
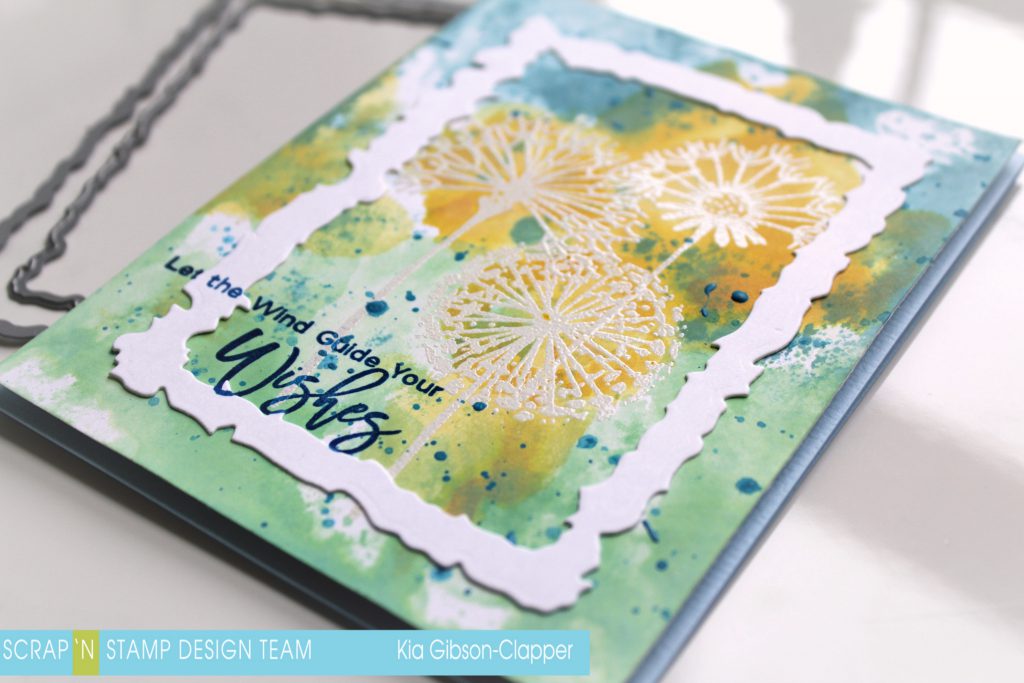
For the second card, I decided to change it up a bit and add some die cutting to the mix using the My Favorite Things stitched rectangle dies. I love the added texture and interest it adds. I cut down multiple layers of card stock, once again using the black and teal cardstock, to layer both the focal image and the gell pressed background. I die cut the stamped image and inked background as I thought this would make it all pop. I adhered the teal and gel pressed background flat down to the black cardstock, which in turn I popped up on to the white card base. For the focal image, I popped her up on to teal layer and flat to the black. Giving just enough dimension to the card.
To finish the card off I layered the Tim Holtz sentiment stickers on to that same teal cardstock and strategically placed them onto the card trying ton to cover the image up too much. Finally, to bring it all together I added the same pretty sequins to just the right areas of the card, it just added that little extra something that was missing.
If you have not had the chance to play with a gel press I highly recommend that you do, you can even start off small as Scrap’n Stamp carries various sizes, one as small as 3x 5 and all the paint and supplies you need to get started. I do warn you though it is highly addictive.
I hope you have a wonderful long weekend with a lot of time to have fun and create.
~Nancy