Scratch-N-Stamp
Search

Checkout

Keep up with Sales, New Products and other events at Scrap `n Stamp. Sign up for our newsletter now!

What's New

Hot Deals


Snarky Cats

Tuesday with Tara {take 305} Big Hugs

Happy Tuesday!  Today I’ve got a card inspired by my sister, Joy.  She is a giver of AMAZING hugs and she recently welcomed a snuggly tabby cat into the family… so I decided to pair a snarky cat stamp with the Twiggy Hugs die by Memory Box!

I did some simple, scribbly watercolor on the cat and cut him out of white card stock.  I cut the ‘hugs’ from a variety of papers, but decided on simple Kraft on an inked background (which I did during the same crafty session as the one in my first- and only so far, ha!- video).

The rest of the card is pretty simple assembly- a scrap of book print, some sequins, bling, twine & a sticker.   I did make sure to wrap his little tail around the letters like a bit of kitty cat affection.  I love how the height of the cat is so similar to the height of these letters!  They will be fun to work with and I’ve got a few ideas brewing for things I can pair with them…

I’m sure looking forward to the day when I can get big hugs from friends & family that are so far away… but for now, paper hugs like this will have to do!

Inky hugs,

Tara

Tuesday with Tara {take 305} Big Hugs Read More »

Tuesday with Tara {take 290} Inky Snarky Cats

Happy Tuesday!  Today’s word for our Random Acts of Cardness Challenge is ‘Snarky’ and of course I had to pull out the instant classic stamp set, Tim Holtz’s Snarky Cats!  Life has had a lot of distractions lately, so I’ve been struggling with inspiration and went looking for a sketch to inspire my card layout.  For this card, I found an older one I had saved by Freshly Made Sketches. I was looking for one that featured a large circle, since I knew the cats would fit nicely on a stitched circle die cut.

Initially, I had planned on simple black & white (or vanilla) for my focal point and a colorful background.  As you can see I strayed from that a tiny bit… inky fun will get me every time 😉

I love working with rainbows this time of year, and chose to create mine with Distress Spray Stain for these backgrounds.  I chose watercolor cardstock  for this because I knew it would be messy & wet!  I have limited colors of spray stains, so my simple rainbow included Peacock Feathers, Cracked Pistachio, Abandoned Coral & Wild Honey. (Side note- I have a wider variety of colors of the original Distress Stain Dabbers, some of which are still available in the SNS online store.  These are the same product in different bottles, one with a dabber top and the other in a spray bottle.  Both work great for this technique and I used a mix of both since that is what I had!)

For my first card, I sprayed/dabbed the ink directly onto my card stock and misted it with water to encourage blending, then lifted the paper to move the ink around a bit before drying it with a heat tool.  I’m impatient… you could totally let yours air dry if you aren’t in a hurry!

For my second card, I dipped my card stock in the puddles of ink that were left on my craft sheet.  Again, I added water to encourage blending.  I dried with the heat tool, then dipped it again (even added a bit more of some of the colors where there wasn’t much to pick up on my surface).  As you can see, this gives a lot more texture to the background and can give a more splotchy/messy effect.

Both card were finished the same way- with a sentiment that was stamped & embossed on black Cardstock with Wow’s Vanilla White Embossing Powder (my fave with an off-white card stock).  I finished up with a few dots of White Nuvo Crystal Drops.  Since Distress products are water based, products like crystal drops often pick up some color from the medium they are applied over.

Funny story…  as I was assembling the ‘slightly distracted friend’ sentiment, I got distracted.  Like right after I removed the foam backing from the sentiment I noticed I still had some ink puddles on my craft sheet and decided to add a bit of color to my cats.  So I inked up the simple black cats a bit (I had added a bit of ink around the edges of the circles earlier) and went to assemble my cards and I could not find my sentiment anywhere.  If you’ve crafted with me, you know I’m not exactly known for a tidy work space (ha!) but seriously, I JUST had it in my hand a few minutes earlier. After a bit of hunting and grumbling at myself I finally found it… stuck to the back of my card. LOL.  Some days it’s a miracle I get anything done!

Hope you have a creative day!

Inky hugs,

Tara

Tuesday with Tara {take 290} Inky Snarky Cats Read More »

I Know Right From Wrong!

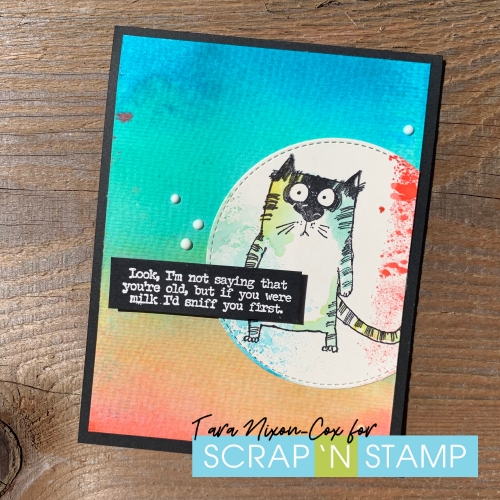
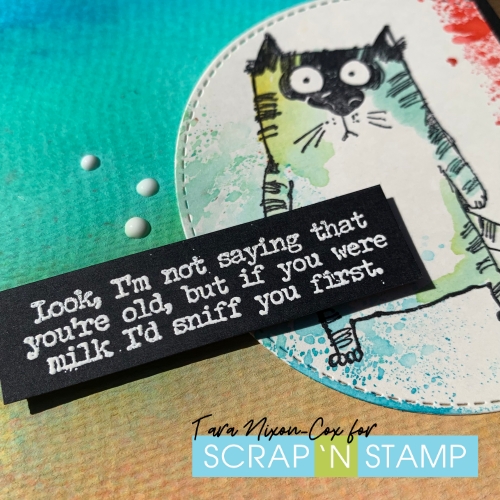
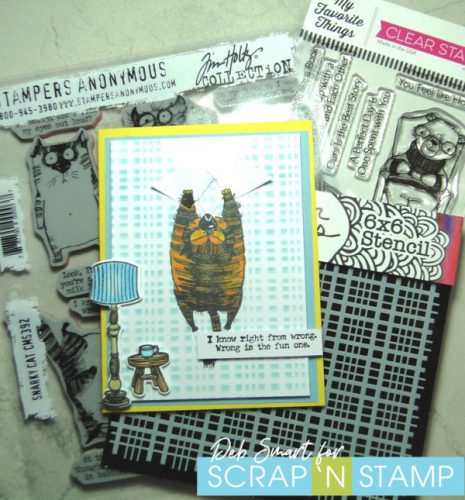
Happy Friday, my friend! It’s Deb here today, from the Design Team. I have a fun card to share with you today. It’s from the new Tim Holtz release from Creativation, called Snarky Cats. As you know, I love a good snark! The images are so fun, and the sentiments crack me up! This one in particular ‘I know right from wrong – and wrong is the fun one!’

SNARKY CATS

Although this cat image could be of the cat lying down…I just had to get him into some mischief!

I Know Right From Wrong!

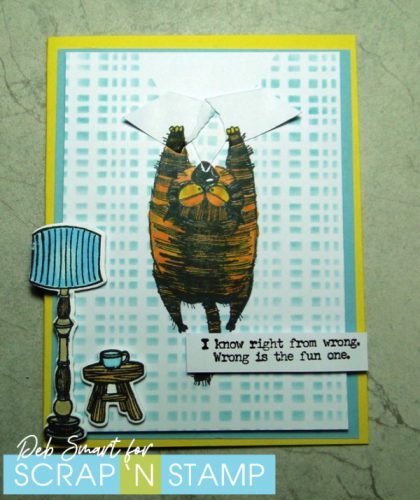
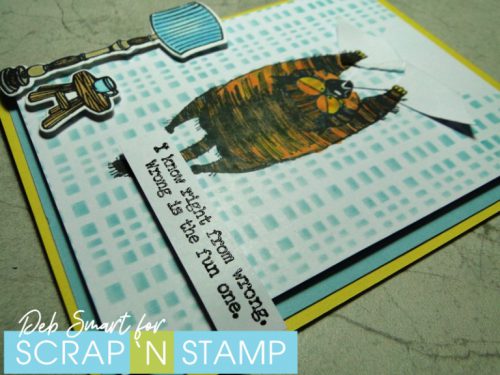
As  you can see, this sassy tabby has decided that he doesn’t care for this wallpaper!

CREATE THE TORN WALLPAPER

Start with a panel of white cardstock. Mask off a triangle at the top – this will be wear the ‘wallpaper’ is being torn. Next, place the TCW Plaid Fringe stencil over the panel; hold it in place with some Purple Tape. Now, use a blending tool to apply Broken China Distress Oxide ink through the stencil.

Next, cut a triangle of white cardstock the same size as the mask you created. Stencil the front of this piece, and then tear it part way down the middle. Once finished, remove & wipe down the stencil with your Lawn Fawn shammy. Now use double sided tape to attach the ‘torn’ wallpaper  to the front.

CREATE THE IMAGES

Now, stamp the cat image from the Snarky Cats stamp set onto the front, in Tuxedo Black ink. Colour in the cat with your favourite medium – I used alcohol markers for good coverage. On a separate piece of white cardstock, stamp the table and lamp images from the MFT Cozy Companions stamp set. Colour them, and then use the coordinating dies to die cut them.  Stamp the sentiment from the Snarky Cats set onto a strip of white paper.

Now you’re ready to put it all together! Create a bright yellow card base, and then attach a light blue cardstock panel to the front. Now, pop up the front panel using foam tape. Add the lamp, table and sentiment using foam tape or squares.

I Know Right From Wrong!

To emphasize the torn paper, I curled up the corners a bit more. Silly cat!

I hope that today’s card gave you a laugh – unless maybe you’re a cat owner, and your cat has done something similar! (mine always attacked & shredded the corners of my couch). A lot of the new Tim Holtz, and other brands are now in stock, in the store, so be sure to check them out! And speaking of cats….

Today being Friday the 13th, Scrap ‘N Stamp is also offering a SPECIAL! Get $13 OFF SELECTED ITEMS!  

Shop Friday 13th Sale

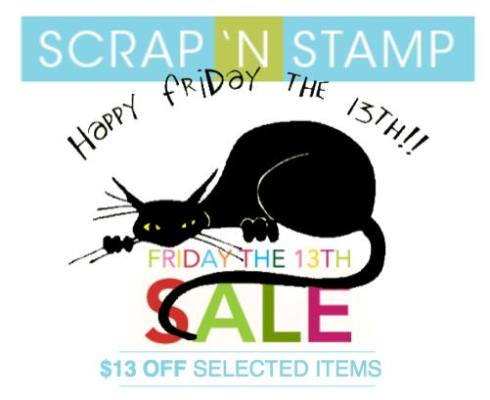
Just click the Black Cat image above, to go directly to the Specials Page!

I Know Right From Wrong!

Thanks for hanging out with me today – now go check out all of the great deals, and then get crafty!

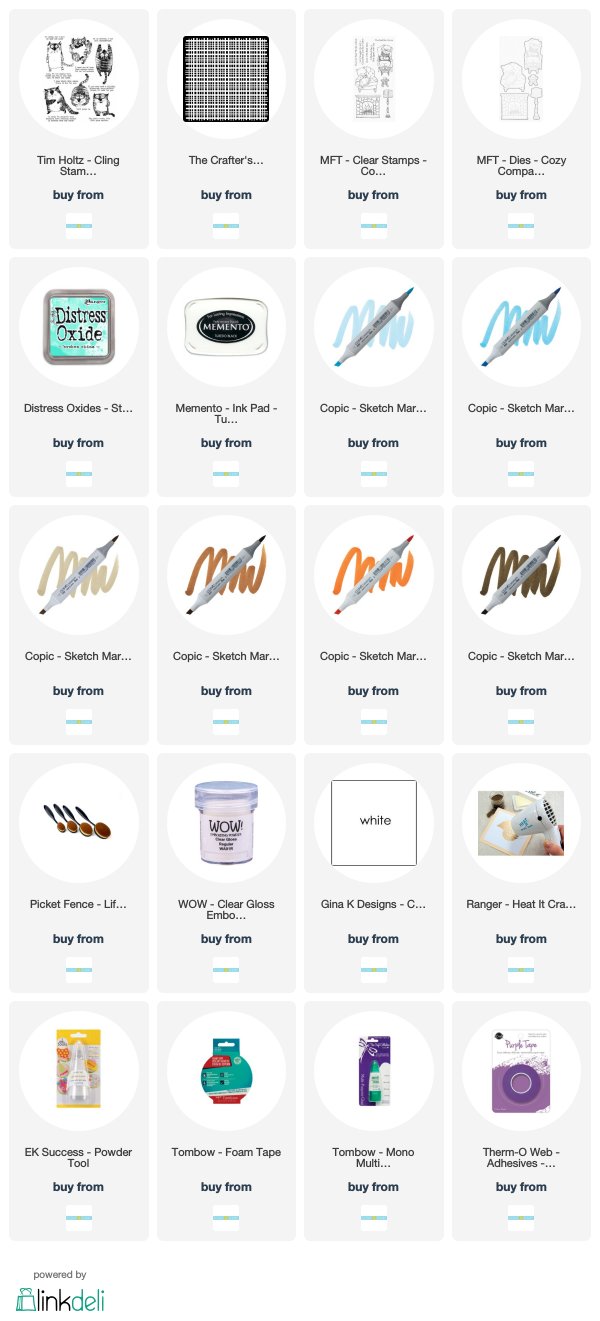
Affiliate links for products used are supplied below, at no cost to you.


I Know Right From Wrong! Read More »

Free Shipping Anywhere In Canada