Take 2 Precious Peony
Hello crafters. Kia here with a follow up of my card from last week using the Altenew Precious Peony Stamp set, which I cannot say enough, I just love, love, love!
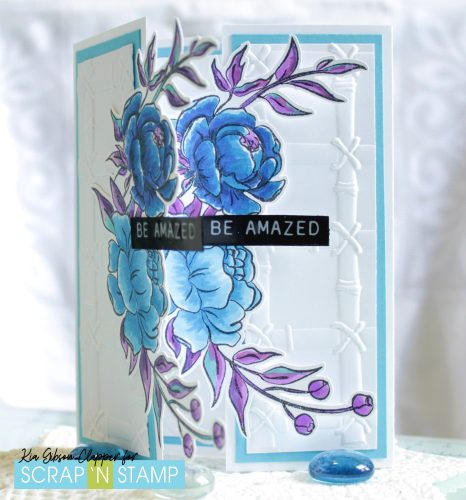
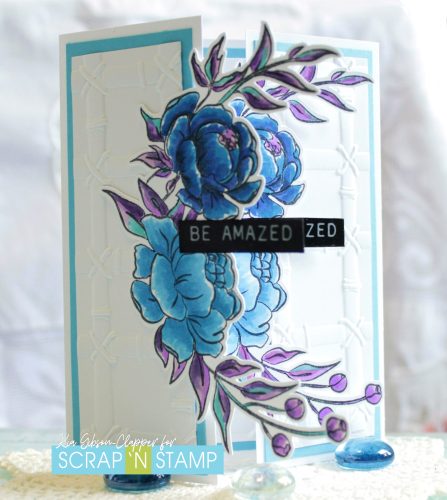
Earlier this week I watched a video by Gina K Designs where she made a Double Gatefold card, and I wanted to use the design for this card today. I do love the look of the sweeping flowers which I coloured using Copic markers. When closed the layers match up, so one might think there is only one image, when there is acutally two! How fun!
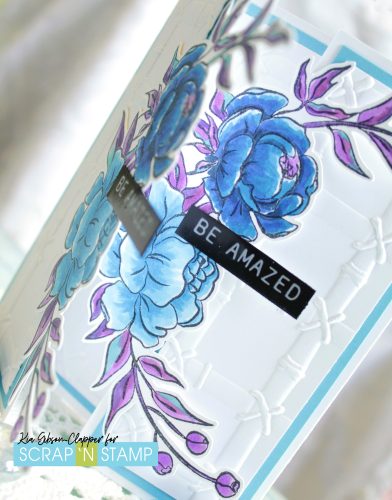
The flowers are B02, B04, B06 and B06, B18, B99. For the leaves I used V01, V04, V06, V17 and BG15. The matting is done using Spellbinders Island View cardstock. My base is Neenah 110lb and the embossed layers are Hammermill 100lb. The lattice embossing is done using Spellbinders Bamboo Trellis embossing folder.
I used Tim Holtz sentiments for the Gatefold part of the card, and the inside sentiment says “Have a Beautiful Day”.
I hope you have enjoyed Take 2, and that you will give this fold card a try. If you do, remember to share it with us in the Facebook Scrap’n Stamp Challenge page. It is certainly fun to do. Thank you for visiting with Scrap’n Stamp today.
Have a Beautiful Day!
Take 2 Precious Peony Read More »