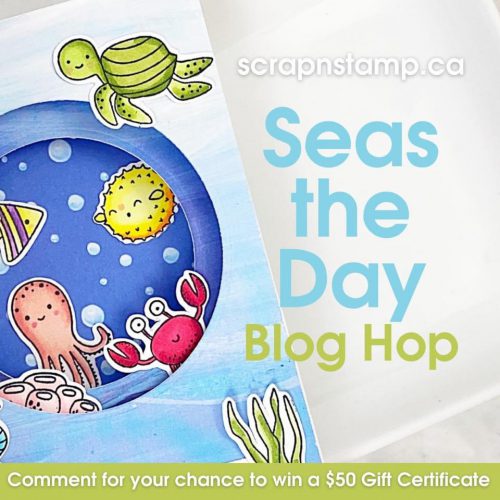
Seas the Day August Blog Hop
Woo! It’s a new month and a new opportunity to Seas the Day and check out our Scrap ‘N Stamp Blog Hop!
We are featuring some fun engineered cards this month, and hopefully our card themes will have you dreaming of time on the beach or the water, or whatever grants your soul some rest… ahhh…
I’m not gonna lie, my cards have definitely been more CAS lately (or at least simple, perhaps not so clean. ha!) and the thought of making an engineered card intimidated me! Thankfully this fab tunnel card kit by Photoplay made the assembly part easy! I already have a variety of nesting dies at home, so I chose to work with the value pack that doesn’t have dies included. (If you don’t have them already, it also comes with circle or rectangle dies.)
Since I was already going rogue, I went with an old nesting die set by Spellbinders to make things interesting. I knew I was going to be using seashells on my card and I like the curves of these. I also gathered some patterned paper and Cardstock I thought would work well together and using the tutorial on YouTube, I built my card base!
I used the largest cutout from the inside tunnel as well as a larger die cut piece on the front of my card. I stamped several shells from this Jane Davenport set in shades of Distress Ink, layered with some mixed media stamps. I also cut and embossed seashells by Tim Holtz, and almost didn’t use this one because it was slightly off… once I grunged it up a bit more with excess ink and layered the sentiment over it (also by Tim Holtz) I really like it!
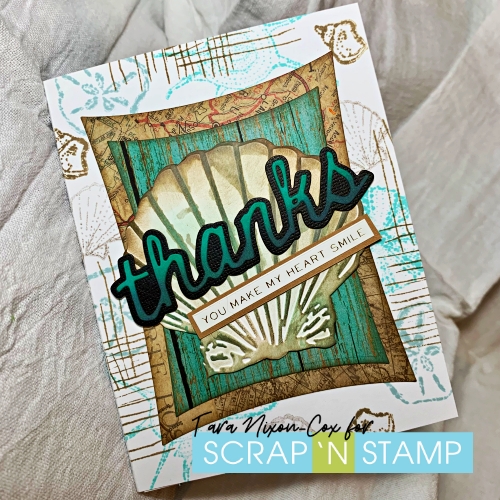
Inside, I used the same elements you see on the front, framed around a sentiment by Taylored Expressions.
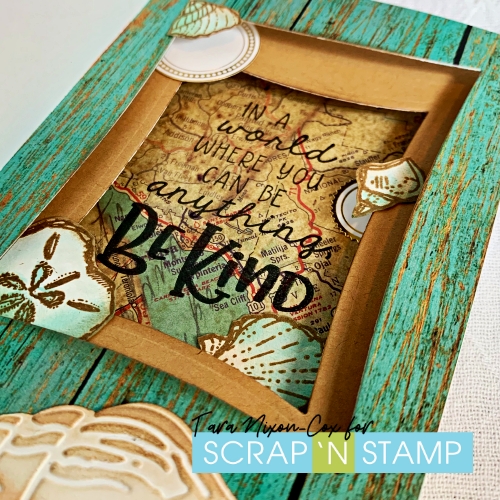
The shells were stamped in Vintage Photo Distress Archival Ink (I’ve got the original jumbo quad pad they were released in, this new set is on my wish list!) and watercolored with some of the Distress Inks I used on the front of the card, mostly Salvaged Patina. The addition of round metallic stickers adds a bit of shine and helps tie it together with the card front.
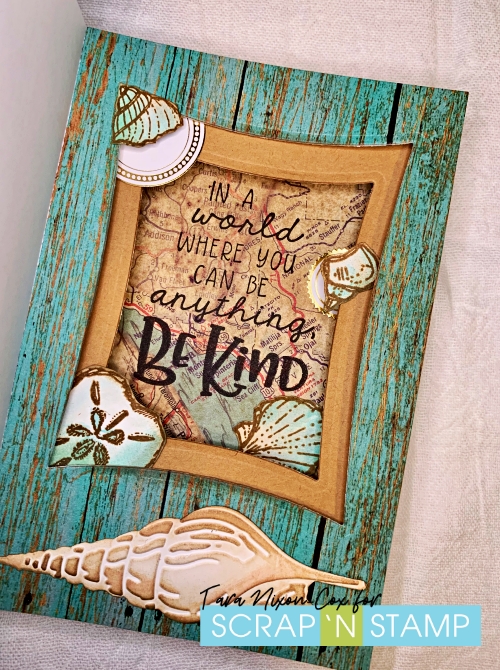
As you can see, I added the smaller embossed shell inside the card as well. I’m so glad I had this piece of wood grain patterned paper! I really wanted to use an embossing folder and make one, but felt that another textured layer might be too much for this style of card. I stayed up way past my bedtime working on this card, so it’s great when all the pieces come together 🙂
The rest of the team has been working on wowing you as well, so please HOP ON and enjoy the rest of their projects!
Please be sure to leave comments along the way for your chance to win a $50 gc for the online store! There’s also an INTERACTIVE SALE happening right now too, and you can save on a variety of products to assist you making fun interactive projects like this one!
Happy hopping & Inky hugs,
Tara
Seas the Day August Blog Hop Read More »