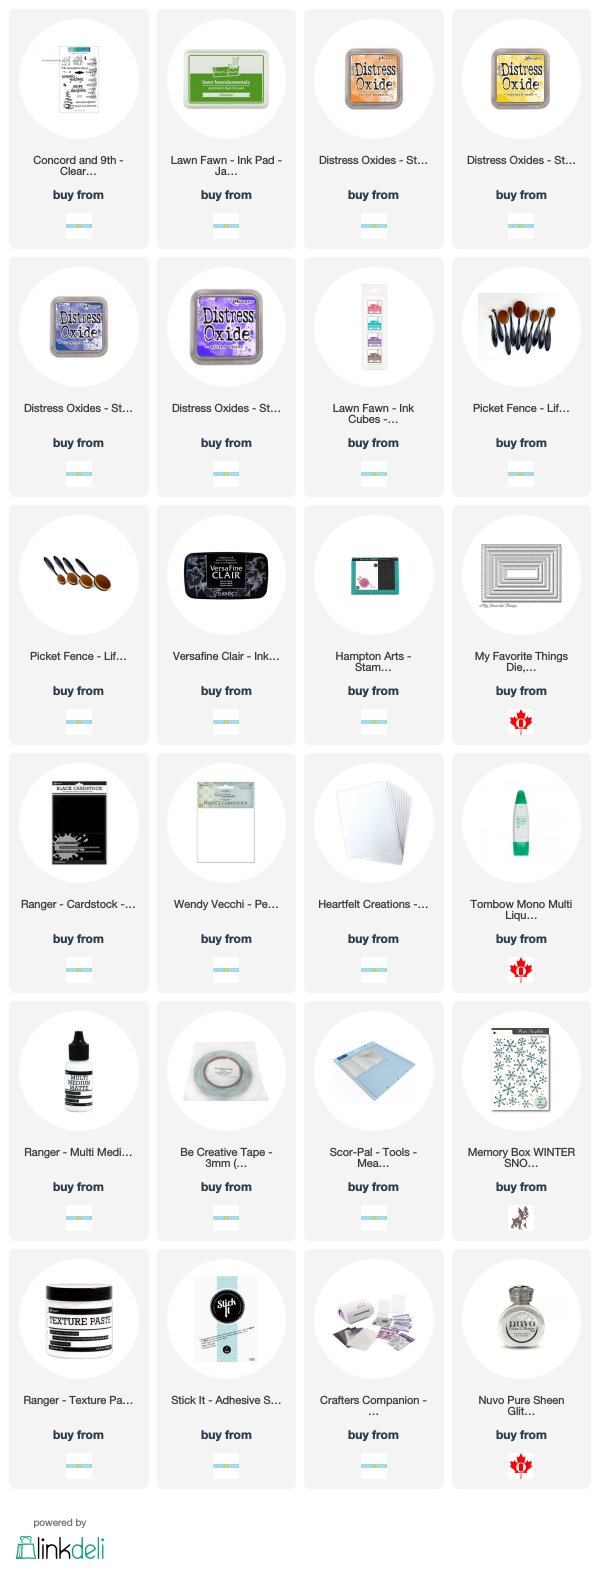
Hello and Happy Sunday, I hope you all have had a wonderful weekend. It feels like forever since I have posted. Life sure gets in the way of crafty fun doesn’t it, lol.
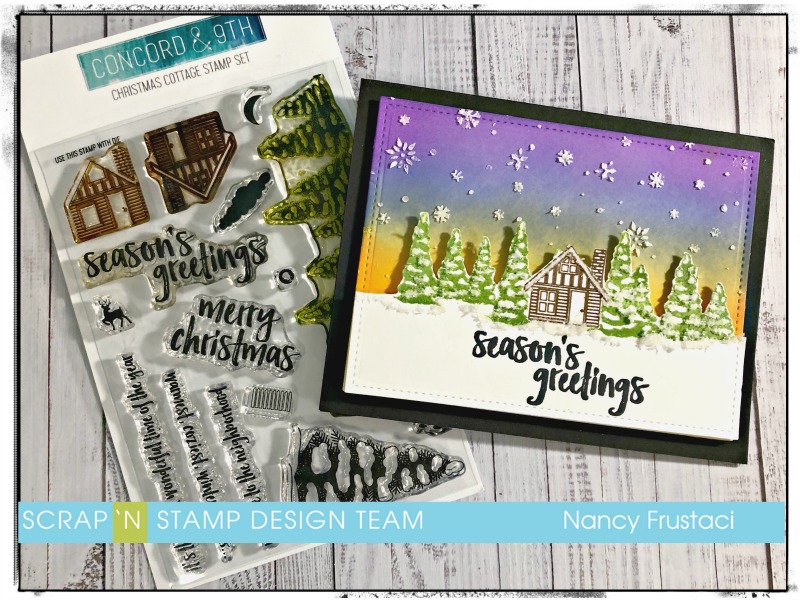
I decided to play along with the monthly challenge that we featured over at the Scrap’n Stamp Challenge page on Facebook. This month’s challenge was Christmas in July. I also used our featured product of the month which is Concord and 9th.
I pulled out The Christmas Cottage stamp set from Concord and 9th that I had purchased last year thinking I would create Christmas cards with it. Sadly I never touched it until this point, so yay for the challenge and product spotlight.
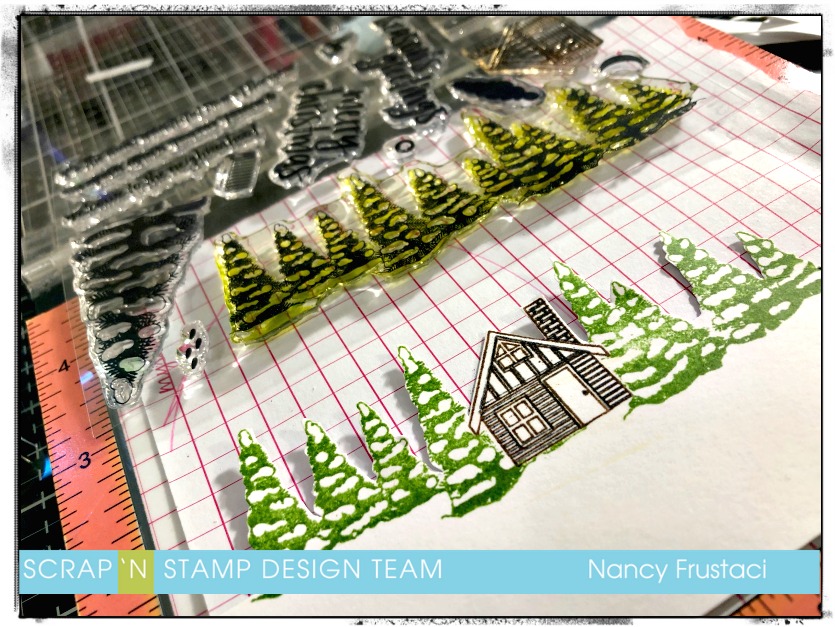
I began by die cutting some white card stock down to 5 1/4 x 4 using my Lawn Fawn stitched rectangle. From there, I pulled out my Misti, some inks and some masking paper to create the focal image for the card. I stamped the little cottage onto both the masking paper and the white diecut panels, using chocolate brown and black ink for the multiple layers. Once I had that done I fussy cut the little cottage mask and applied it to the stamped image, and went on to stamp the beautiful trees.
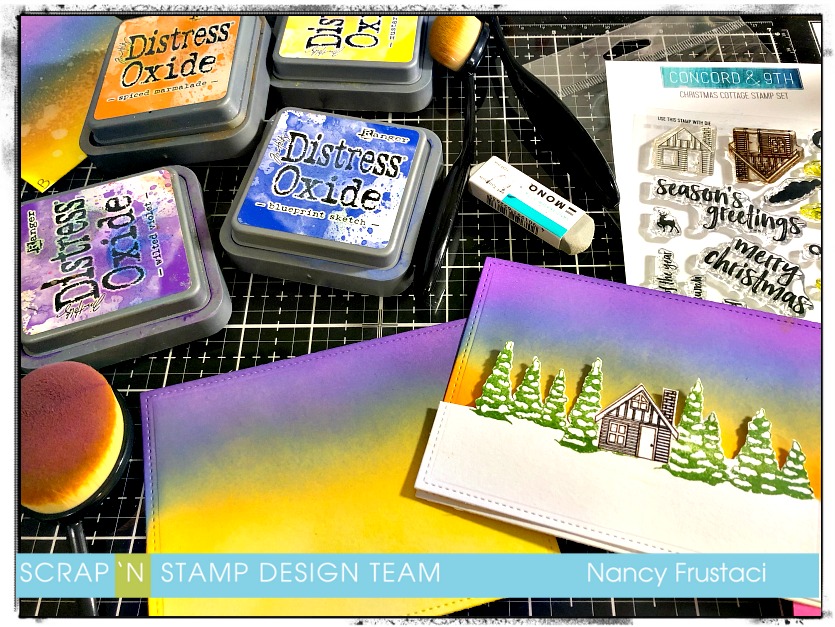
Once I was done with the stamping I actually fussy cut around the images, as I did not have the coordinating dies. At first I thought maybe I would do a shaker card but changed my mind. Instead, I decided to keep it clean and simple. I die cut a couple more panels using Bristol cardstock and the same stitched dies. I wanted everything to blend together once it was assembled. I decided to pull out my distress oxides and play around with a winter sunset, which actually turned out more like Northern lights so that’s what they are haha. Love “happy accidents” as Bob Ross would say. To create the background I did use my life-changing blending brushes from Picket Fences. I have to say I really love them, the blend is just so smooth.
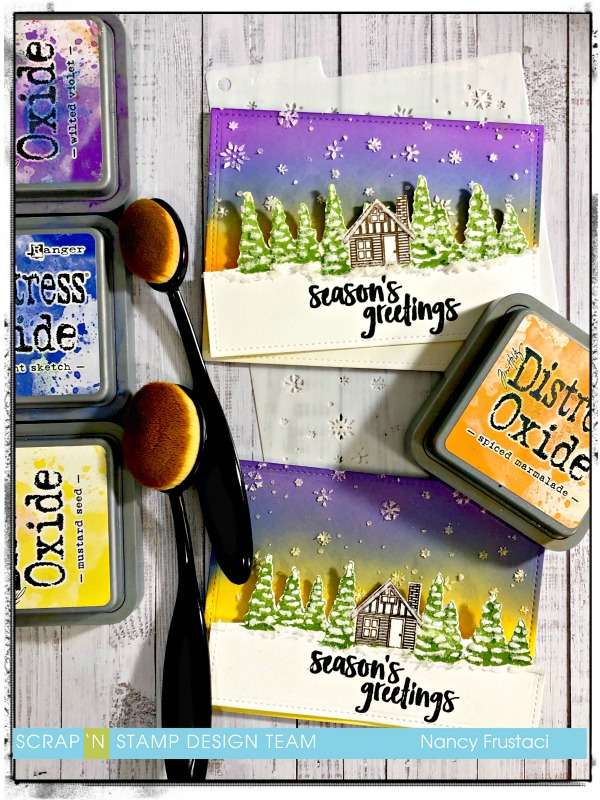
I allowed the distress oxide to settle and dry a little bit before moving on to adding the snowflake to the background. I used texture paste, some glitter and some of this Floral soft (fluffy-stuff) I had in my stash to add an extra dimension, sparkle, and interest to the scene. While I was waiting for the background to dry, I pulled out the Christmas cottage stamp set once more along with my Misti and Versa Clair nocturn ink to add the sentiment right onto the panel. Word of caution, heat set it as it takes a bit longer to dry and will smudge very easily. For one of the cards I had to cut down another panel and add a hill because I smudged the sentiment very badly.
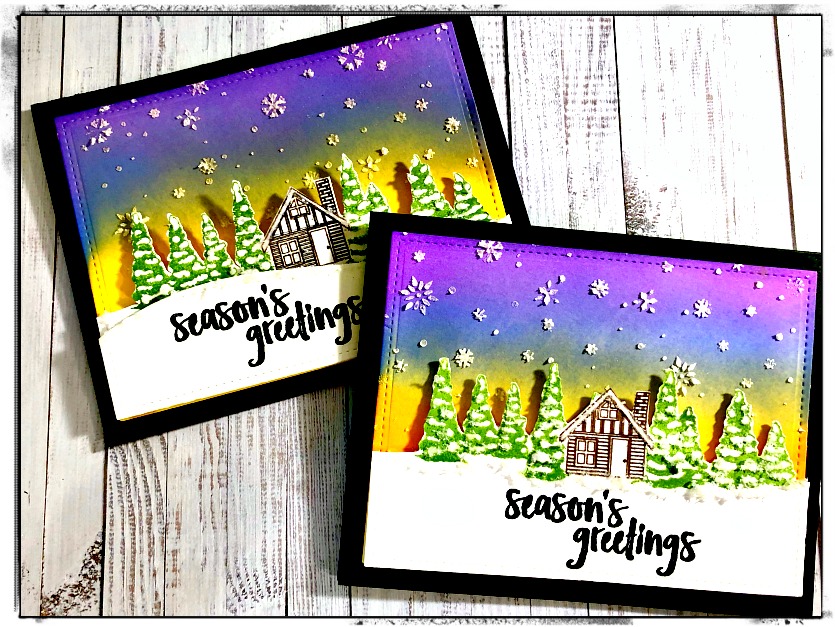
After I made sure everything was completely dry, I popped up the stamped image onto the background panel and used fun foam to adhere all of that to the black card base which measured 5 1/2 x 4 1/4 which is my typical go-to for cards. I hope you enjoyed this and found some inspiration, please come over and join the Christmas fun on our Scrap’n Stamp Challenge page, we love seeing what you create and there is a chance to win a prize as well. Share a photo of your card on our wall and get your name entered to win a $50 gift certificate to Scrap’n Stamp! You’ve got until July 31st to post. Make sure to hashtag it for another chance to win #SNSChristmasinJuly
Have a wonderful week a head
~Nancy F


