Hi Everyone. It’s March 1st and it’s still so cold out. I’m really
hoping it warms up soon. I spent last night in my craft room
where it’s warm playing with my distress oxide inks. I set the
camera up to record all the fun but apparently I forgot to hit
the record button – oops. But I do have lots of pics for you.
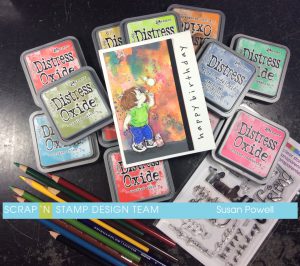
I pulled out my distress oxide inks and couldn’t decide which ones to
use, so… I used them all 🙂 I cut a piece of watercolor cardstock to
5 1/8 x 3 1/4″ and set about making the background. The amazing
thing about oxide inks is the colors layer on top of each other.
Normally when you layer as much ink as I did it would end up
looking like mud but with the chemical combination in oxide inks
makes it so they layer. It’s all very sciency and super cool!
To make the background, start by smooshing one color of ink onto a
craft mat. Give it a few spritz of water and start pouncing the water
color paper into the ink. Use a heat gun to dry the ink and then
repeat the steps with a new color of ink. Be sure to dry each color
before adding the next one – this is key to building the layers.
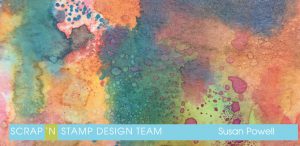
Here’s a close up – check out all those colors sitting on top of each
other – so cool!
I’m really sorry I didn’t get a video for you and hope that the
instructions make sense. If you have any questions, please leave them
for me below and I will do my best to help.
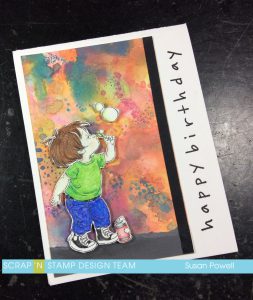
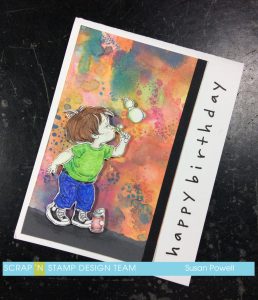
Now for the little guy blowing bubbles – isn’t he adorable. The
stamp set is called Bubble Boy from Penny Black and reminds me
of when my kids were little and spent hours blowing bubbles. I don’t
have the actual stamp but I do have the digital image so I printed
it off, colored him in with Prismacolor pencils and then fussy cut
him and the bubbles out. I added a strip of grey cardstock at the
bottom and then adhered bubble boy with some craft foam for
dimension. The sentiment is from Happy Messages by Stampendous.
I performed a little stamp surgery and cut the words apart so I
could easily stamp them in a straight line. To finish it off I added
the thin strip of black cardstock.
I hope you enjoyed this card and are inspired to create. If you have
any questions, please don’t hesitate to ask.
Be sure to check out the Scrap’n Stamp Challenge Page.
Happy Stampin’
and thanks so much for visiting!
Susan
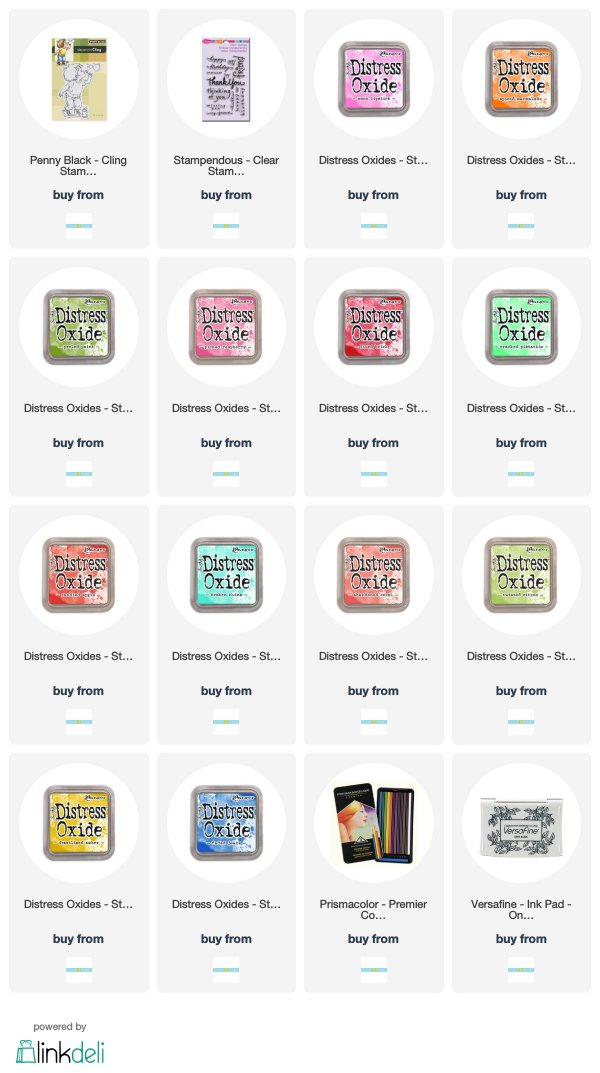
Shopping list:


