Hello Crafty friends, I am happy to be on the blog today for Scrap’n Stamp Canada. I have a very summer card to share with you that’s going to make you wish you were on a tropical beach somewhere, I know I felt like that as I was making these cards.
I was commissioned by a dear friend to make a couple of unique cards for some special people in her life so I went searching out different designs. I went to my go-to place of inspiration, Mrs. Jennifer McGuires youtube channel creating an inside shadow box. I have linked to her video in the blue.
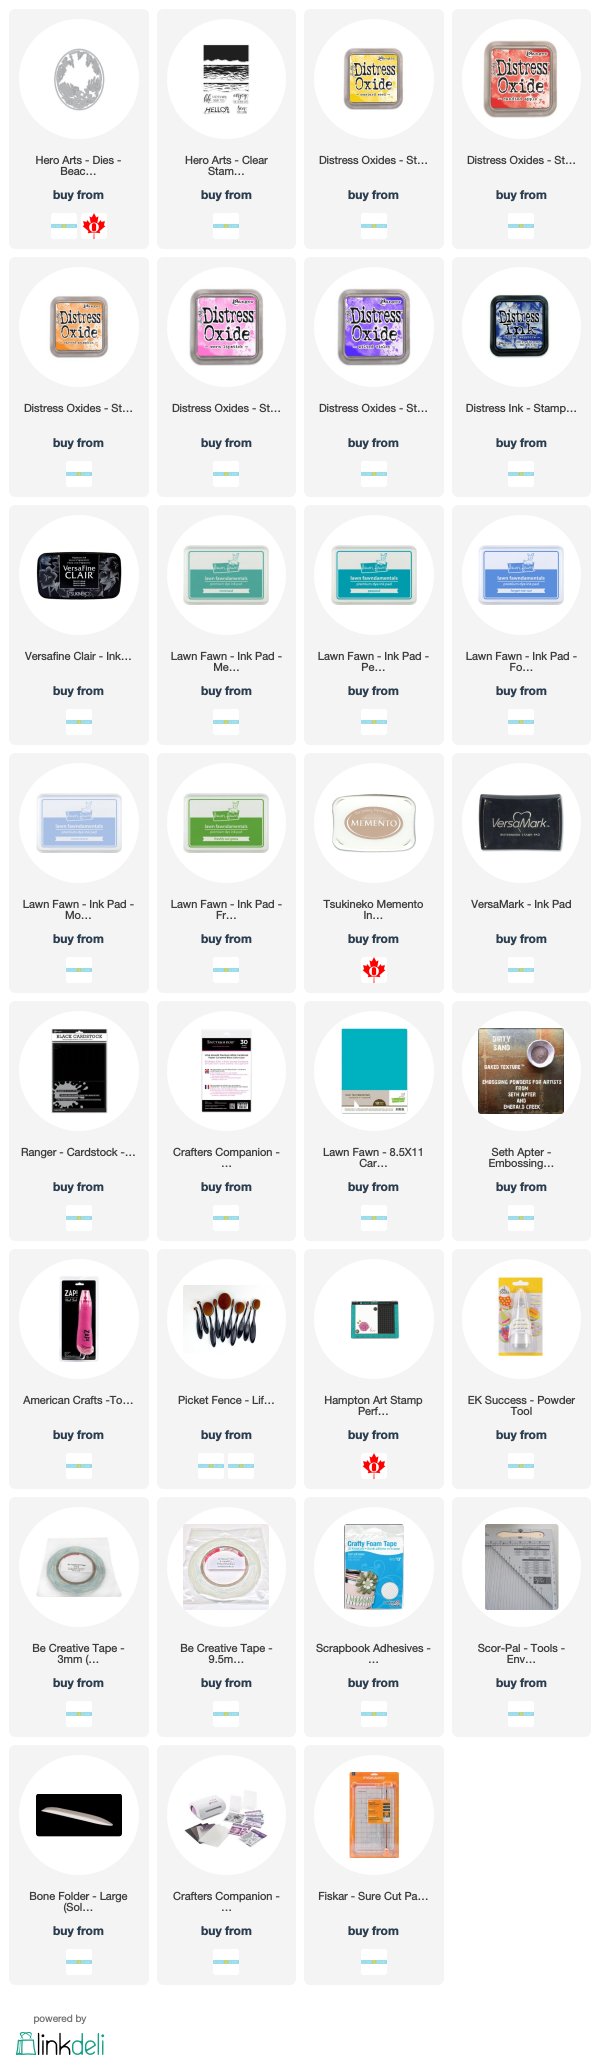
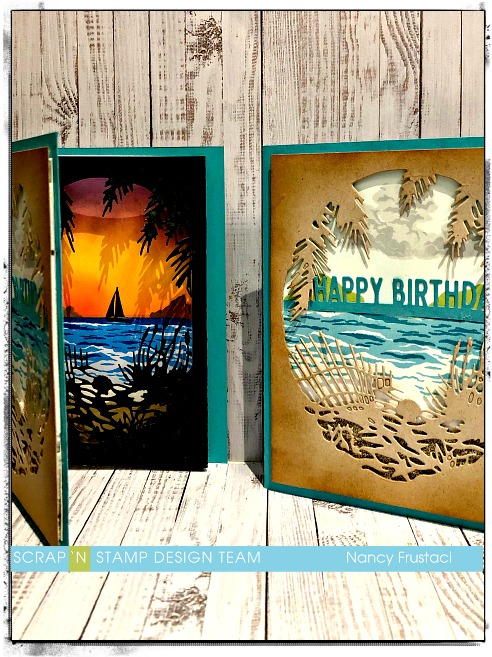
I started off by cards cutting some Bristol cardstock down to 4 1/4x 5 1/2 and then pulled out my distress oxides and picket fence life-changing brushes to create the sunset look. I googled Carribian sunset to get the right look for these cards as I wanted to make things perfect for my friend.
I stamped out the images from the Hero Arts waves layering set, which also has a coordinating die set. I used that to create the mask s for the clouds. I created several panels of the ocean scene changing things ever so slightly to work for day time scene and nighttime scene.
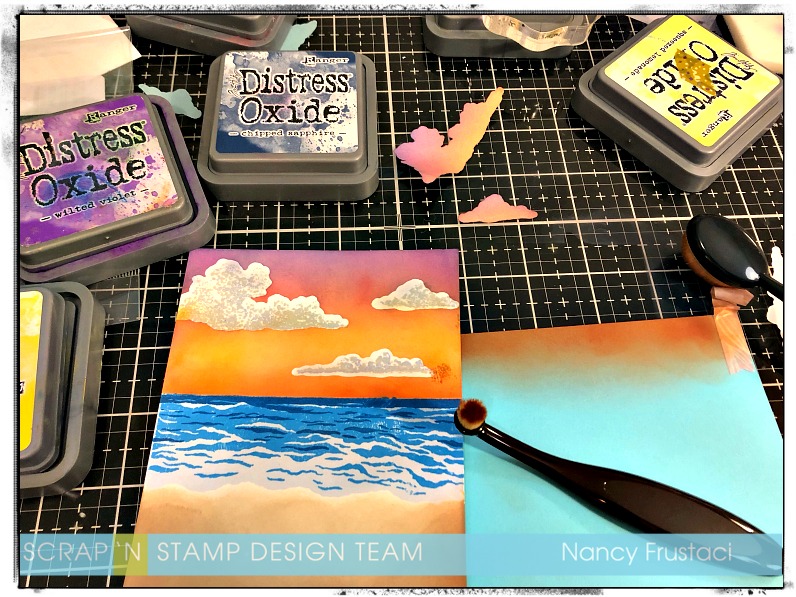
To create the sunset look I used candied apple, carved pumpkin, mustard seed, worn lipstick, wilted violet and chipped sapphire distress oxide inks. To create the horizon i used some scratch cardstock to mask off the rest of the base so I would not get figure prints and ink as well as get the straight line I needed.
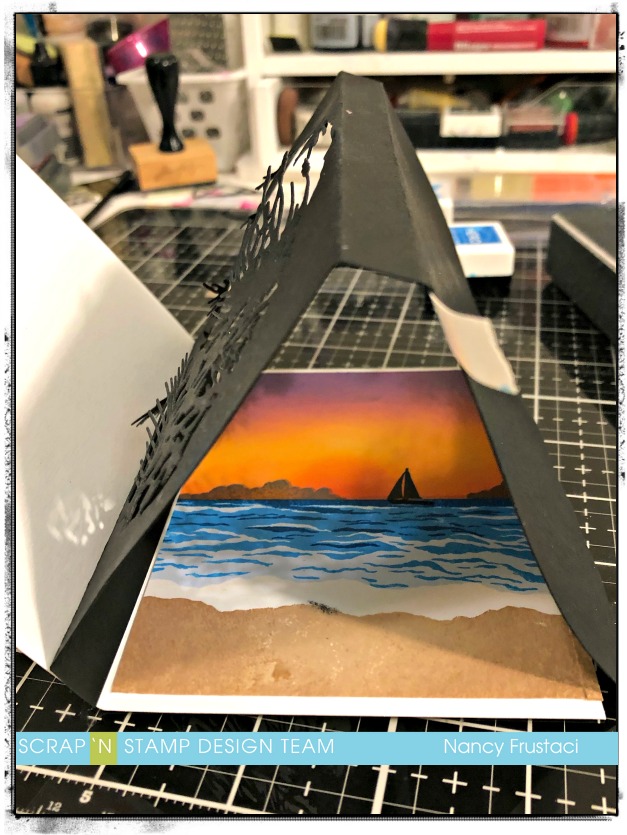
To create the base and shadow box of the card I followed Jennifer McGuire instructions and cut down 8 x 11 1/2 cardstock to 51/2 I would need both halves of this but instead of using the same half i decided to use black as well as the white cardstock, So I ended up repeating the process a couple of times. I took the first piece and scored it @41/4 and then cut off a 1/2 inch from one side ( the back side). I then took the second piece which in my case was the black and scored it three times, once at 1/2 inch from the inside of the card, the second score was at 4 1/4 and the third was at 4 3/4, then I reinforced the score lines with a bone folder. Lastly, i cut 1/2 inch off the flap so it would sit flush with the inside of the other card.
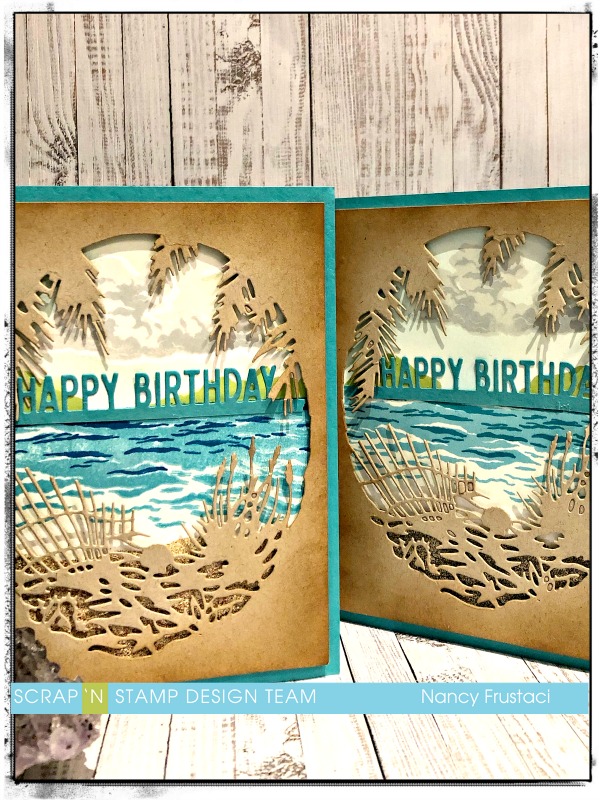
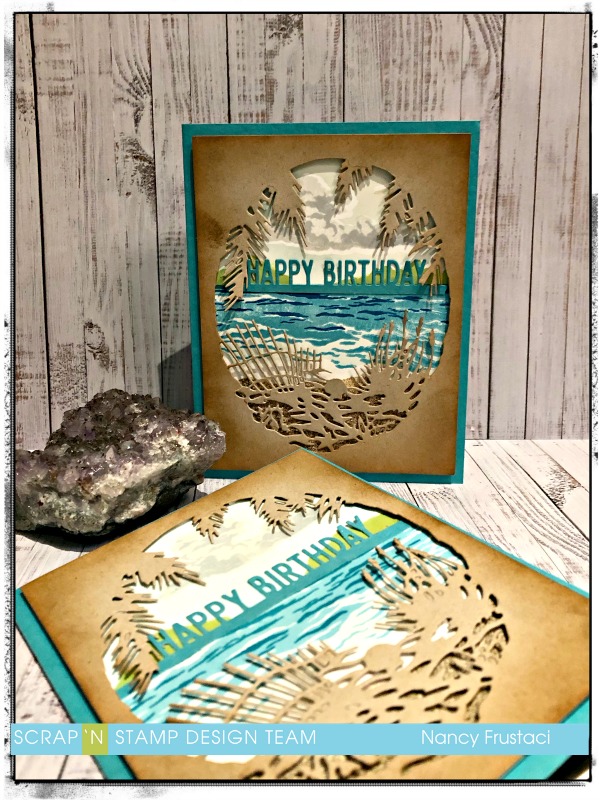
It was time to create the window of this shadowbox, so I took the hero arts beach frame die and die cut it from the black panels I had just scored, as well as from some desert storm Neenah cardstock. While I was already at my die cutting machine I decided to die cut out a sentiment, I wasnt sure at the time if i would use it or not. But clearly I did. Lol
Now that I had all the elements of the card done it was a time for me to assemble it. I would try and explain how I adhered it all together but i feel seeing is key here, to get the best explanation, check out Jennifer’s video
I decided I wanted to make the card a tad bigger so I ended up creating another outer layer that would help pop the dessert store die cut frame and scene. I creaated thi with some teal paper from my stash. I edged the front panel with some ground espresso. It just added a little extra something.
I really really loved how these turned out especially the inside with the sunset. My favorite part. I hope you enjoyed these CASE cards.
Have a wonderful week a head.
Nancy