Scratch-N-Stamp
Search

Checkout

Keep up with Sales, New Products and other events at Scrap `n Stamp. Sign up for our newsletter now!

What's New

Hot Deals


christmas

Tuesday with Tara {take 72}

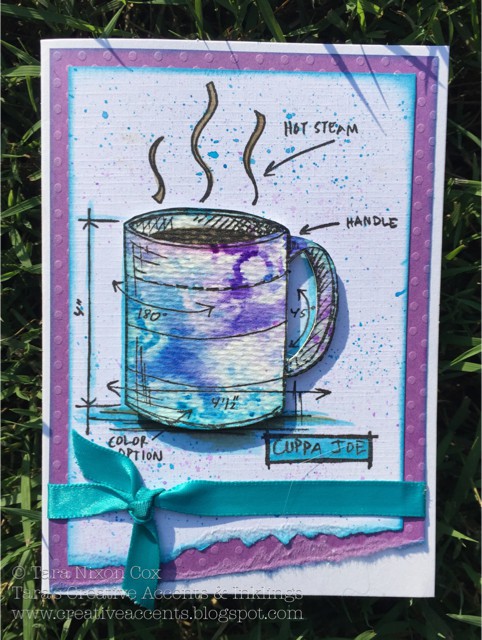
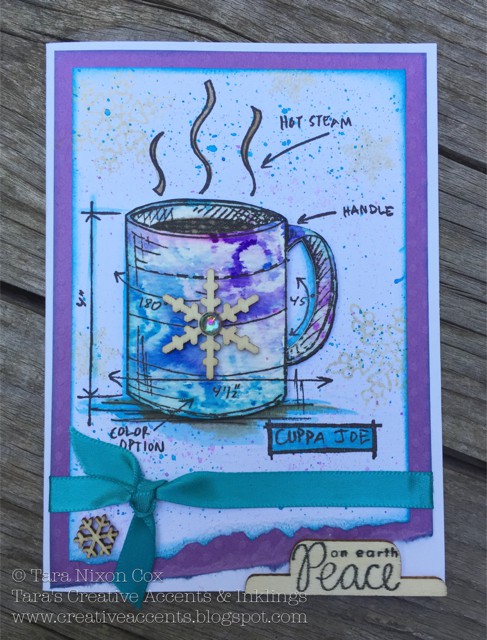
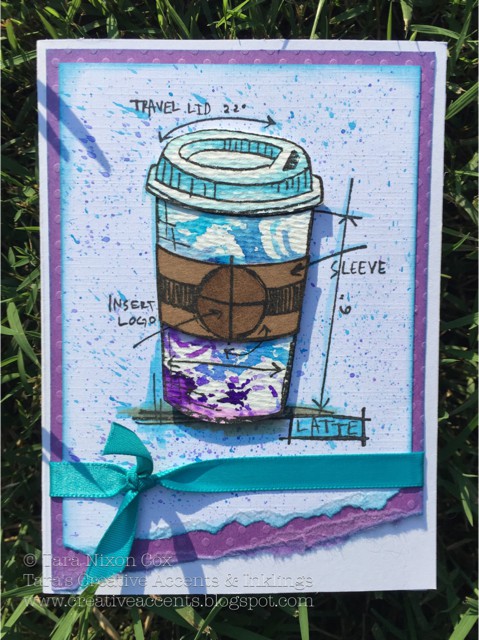
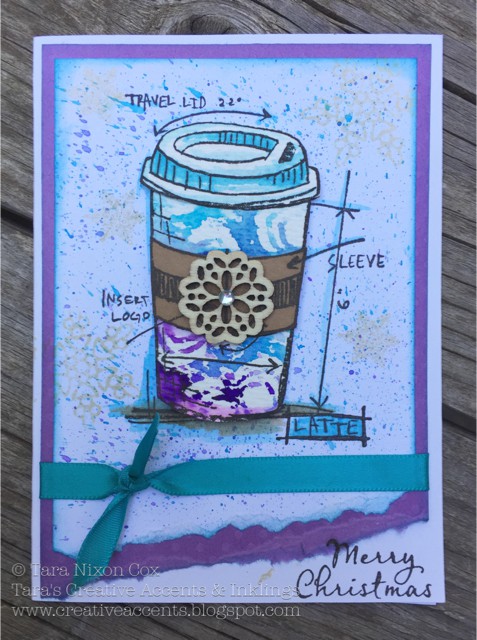
Happy Tuesday!  I’m not sure when they decided it was officially “time” but I heard Christmas music on one of our local radio stations this past week, and store shelves are currently overflowing with Christmas decorations.  It’s far from wintery outside here, but it’s a wonderful time of year to be creating Christmas cards 🙂  Today I have one that is great for using up smaller die cuts and embellishments you have, or for doing a bit of prep work and taking time (maybe while you watch a Christmas movie!) to create a bunch of little paper blocks that can be assembled onto cards later.  My blocks are 1.75″ square, but you could save yourself some time if you have a square punch in a size close to that.

christmas-blocks-2

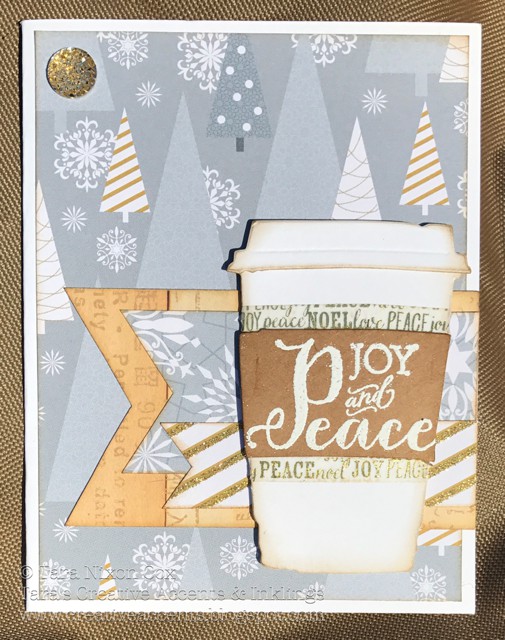
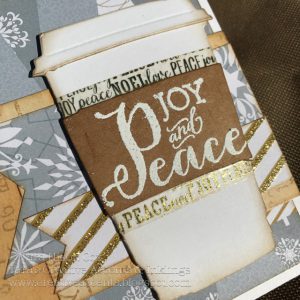
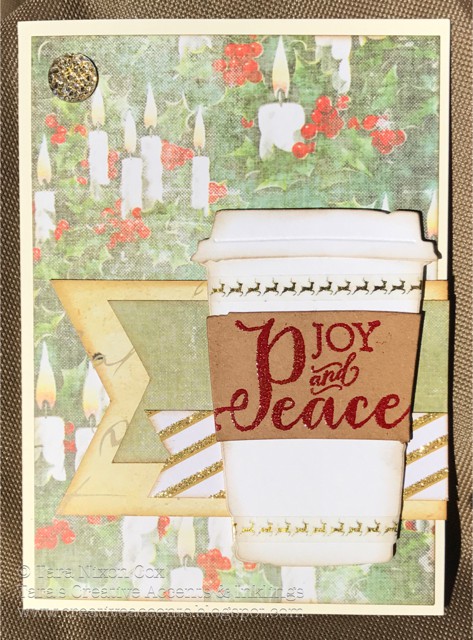
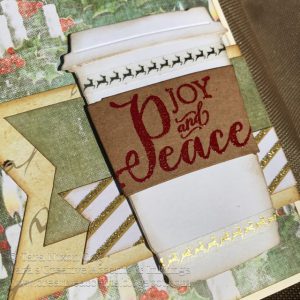
I’ve used die cuts by Sizzix/Tim Holtz- these minis are probably some of my most used dies this time of year!  I love the steel dies for cutting heavier & textured materials, like chipboard and burlap covered cardstock.  Perhaps you’ve noticed that kraft is my favourite neutral to work with, and this card I pulled it out for every block on my card, keeping things pretty neutral overall but with little bits of red & some sparkle to brighten it up.

christmas-blocks-1

A ticket embellishment by Tim Holtz, some red bakers twine and some red bling, along with red embossing powder for my sentiment, bring the color to this card.  The olive green squares also add color, but are a step away from traditional red & green.

christmas-blocks-3

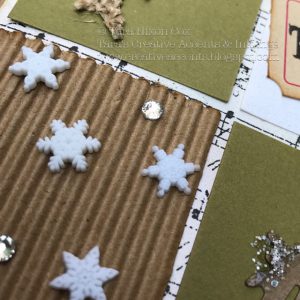
Corrugated cardboard is always a fun way to add texture, and these tiny snowflake buttons add some elegance.  I can’t decide which block is my fave… but I’m looking forward to creating some more and seeing where they end up!

Have you started your Christmas cards yet?  Dig into your supplies and see what you can create on tiny blocks to turn into fun patchwork cards.  I’d love to see a link to your creation in the comments!

Inky hugs,

Tara


Tuesday with Tara {take 72} Read More »

Tuesday with Tara {take 71}

Happy Tuesday!  As promised, I’m starting to share some Christmas cards with you this week!  If you haven’t already started creating your holiday cards it’s not too late… today’s is a pretty quick one to put together once you gather the pieces- and I made it in two different palettes to prove it 🙂  I started with Tim’s Fresh Brewed coffee die and looked for a Christmas sentiment to fit the sleeve portion of the die.  I heat embossed a sentiment by Hero Arts that fit nicely and edged all the pieces with Distress Ink.

I decided to find a sketch for my card design, and selected one on Pinterest that I liked.  From there I chose patterned papers and put it all together:

joypeace-coffee-3

I really like the simple design and the bits of gold add a touch of bling 🙂

joypeace-coffee-1

Here’s my second card with the same design:

joypeace-coffee-2

joypeace-coffee-4

Thanks for checking out my simple cards!  Hopefully you are inspired to start on your Christmas cards if you haven’t already- they don’t have to be complicated to be beautiful and appreciated 🙂

Inky hugs,

Tara

Tuesday with Tara {take 71} Read More »

Tuesday with Tara {take 62}

Happy Tuesday!  Hope you enjoyed your long weekend, especially if you got the time off work 🙂  Or maybe more so if you didn’t, like me… ha.  Anyways, we are officially transitioning from summer into autumn and I know that I am enjoying the cooler mornings and evenings!  I was thinking about cooler temps when I made these cards with my Colorburst backgrounds, but once the cards were “done” I felt they had more of a winter feel to them than autumn, so I changed them into Christmas cards!  So today I am sharing with you 2 card designs- before & after their Christmas transformation.

Christmas Coffee (4)

The mug portion of the stamp was paper pieced from my watercolor background paper and the rest is very simply layered. I added some wooden embellishments to my card and a touch of bling, as well as a sentiment and some very subtle snowflakes stamped in the background. You’ll notice a difference in color in the two photos as well, simply because my first one was taken in direct sunlight.  Just a few simple changes turned this card into a Christmas card!

Christmas Coffee (1)

Here’s my next ‘before’ photo:

Christmas Coffee (2)

The color palette just didn’t scream ‘pumpkin spice latte’ at me 🙂  Here’s the wintery after image:

Christmas Coffee (3)

I kept this one simpler, with just one wooden snowflake added, but I think it works!  Hopefully this gives some ideas for stamps in your stash and how you can use everyday stuff to make Christmas cards!  I am actually someone who struggles with making Christmas cards early/on time, but sometimes they just fall into place.

Have a creative week!

Inky hugs,

Tara

Tuesday with Tara {take 62} Read More »

Free Shipping Anywhere In Canada