Scratch-N-Stamp
Search

Checkout

Keep up with Sales, New Products and other events at Scrap `n Stamp. Sign up for our newsletter now!

What's New

Hot Deals


christmas

Tuesday with Tara {take 23}

Happy Tuesday!  Are you starting to feel the Christmas spirit all around you?  I’ve been listening to holiday tunes, seeing people wearing (ugly?) Christmas sweaters and am starting my Christmas decorating and baking…

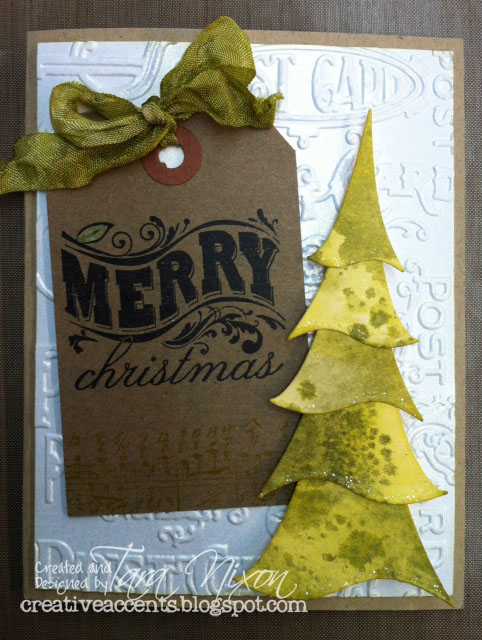
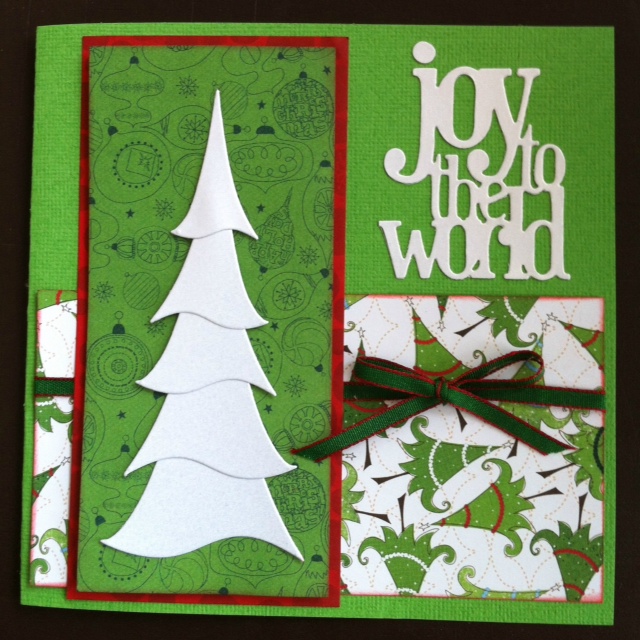
Today I’ve got two cards for you once again, this time they both feature the same die by Dee’s Distinctively, the Christmas Stacker Tree!  I fell in love with this die when I first saw it, it’s a lot of fun to play with and makes for easy, whimsical cards!

First up is a card featuring the die cut from paper inked up with Distress Ink over an embossed pearl background.  A kraft tag with a lovely sentiment (by Memory Box) stamped in black finish it off.  This card was very simple, but I really love it… it’s fun to play around with different combination of green inks (oooh… imagine adding the new Lucky Clover ink into the mix!)

Alright, next is a more ‘traditional’ colored card, which took much of it’s inspiration from patterned paper:

Pretty sure these were papers by BoBunny from several years ago… love those whimsical trees!  The sentiment from this card is from on of Tim Holtz’s Sizzix striplets dies.  Lots of good stuff on those!

Anywho, there you have two very different cards with the same fabulous die!  I hope it inspires you to create something similar yourself!

Have a very creative Tuesday!

Inky hugs,

Tara

Tuesday with Tara {take 23} Read More »

Tuesday with Tara {take 22}

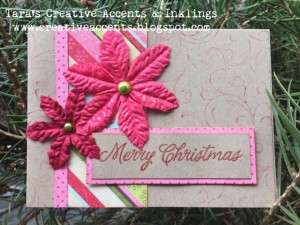
Happy Tuesday!  Today I want to share two simple cards based on the same “recipe” that are fun to make and easy to reproduce!  I have always loved kraft cardstock (reminds me of brown paper packages…) and it makes a great base for these cards!  Both include a kraft base (or layer on a colored base) with a background stamp on it, a strip of some patterned paper, a stamped sentiment and some paper flowers/leaves and bling!  I used Distress Inks blended on a background stamp then misted with water to create a soft background.  You can use a Christmas stamp or just a simple swirl depending on what you have in your stash!  The flowers (by Prima) were also in my stash… every year there is a different assortment available, and I think these were found in some of their random assortment tubs!

a touch of stickles is always a nice way to finish off a project 🙂

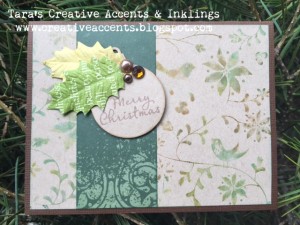
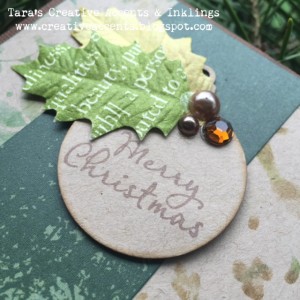
My second card has more of a masculine feel to it, in shades of green & brown:

a die cut ornament is a great spot for a small Christmas sentiment, and helps increase the festive feel on this very neutral toned card!

I hope December is off to a beautiful start for you… have a creative Tuesday!

Inky hugs,

Tara

Tuesday with Tara {take 22} Read More »

Categories: Cards, Distress Inks, Stamps
Tags:

Christmas Tuesday Tutorial – Dreamweaver Stencils and Glitter

Click here to view an updated version of this Tuesday Tutorial >>>

Hi All, it’s Shellie here with this weeks Christmas Tuesday Tutorial!  I LOVE GLITTER, especially on Christmas cards, so today I am going to show you how to used your Dreamweavers Stencils to create fun glittery images!

g1

Products You Will Need: Spellbinders Nestabilities Dies, Dreamweavers Stencils, Scor-Tape Adhesive Sheets, Glitter, A bar of soap, Scotch Removable Tape

g2

Using a piece of Scotch Removable Tape attach your Deckled Rectangle die to your Scor-Tape Adhesive sheet, make sure you place he die in the corner so you don’t waste any of your adhesive.  Cut out using your Big Shot machine.

g3

Rub your bar of soap all over one side of your Dreamweaver Stencil.  This will act as a release agent so your stencil does not stick to your tape.

Peel off the backing of your Scor-Tape Adhesive Sheet and stick down your Dreamweaver stencil.

g4

Mask off any part of your stencil that you do not want to get covered in Mahogany Glitter (I only wanted the base of the tree glittered with Mahogany)  I used a piece of scrap cardstock and some Scotch Removable Tape to cover up my stencil.

g5

Dump on Mahogany Glitter and rub onto tape with your finger

g6

Your glittered stencil will look like this.

g7

Remove your mask and move it to the top of the tree covering up all but the top circle.

g8

Dump on Gold glitter and rub in with your finger

g10

Remove your mask to expose the remaining adhesive and dump on Green Glitter, don’t forget to rub it in with your finger

g11

Peel off  the backing of your Scor-Tape Adhesive Sheet and stick your project onto a piece of patterned paper.

g12

Remove the Dreamweavers stencil to expose the rest of the adhesive sheet

g13

Dump on Transparent glitter and rub in with your finger

g14

Your art work should now look like this.

g17

To finish my card I layered Basic Grey Wassail papers onto Core’Dinations cardstock and attached my art work using 3D Dots, I cut out a few presents from another piece of Basic Grey Wassail paper and attached them in from of my art work using 3D dots.

I would LOVE to see what you come up with using this technique, upload your projects to our Members Christmas Gallery and be entered in our Draw for this weeks Blog Candy!!

BLOG CANDY

This is just one of the fantastic items we will be giving away this week as Blog Candy. Check back everyday and we’ll show you another great item that you could win.


Dreamweaver Stencil - Ornament Tree - Retail Value $8.49
Dreamweaver Stencil – Ornament Tree – Retail Value $8.49

Getting your name entered into the draw is really simple!

A Look Ahead

Come back every day this week for more exciting projects to get you thinking about Christmas.

Here is a quick look at what else we have in store for you this week:

Wednesday – Gifts from the Kitchen

Thursday -Gift Calendar

Friday – Christmas Sketch

Saturday – Christmas Showcase, Our Fave Projects!


Until Next Time, Happy Crafting!

Shellie

Christmas Tuesday Tutorial – Dreamweaver Stencils and Glitter Read More »

Free Shipping Anywhere In Canada