Tuesday with Tara {take 414} Sketchy Leaves
I absolutely love autumn! One of my favorite things about moving south to North Carolina is that I can enjoy, decorate & make cards for autumn all the way through November. It’s especially nice because I love buying new autumn stamps… like these Sketchy Leaves by Tim Holtz! I almost resisted them, but the big maple leaf caught my eye as I don’t think I’ve got one in all my other sets and it’ll come in handy for Canada Day, too 😉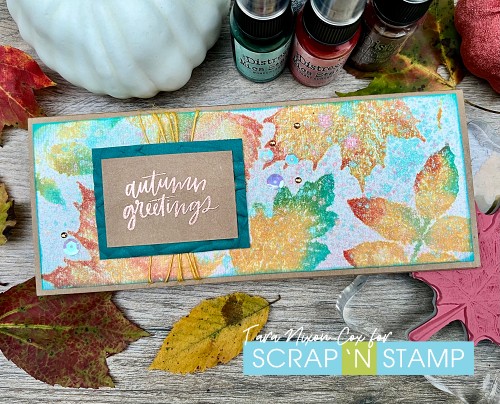
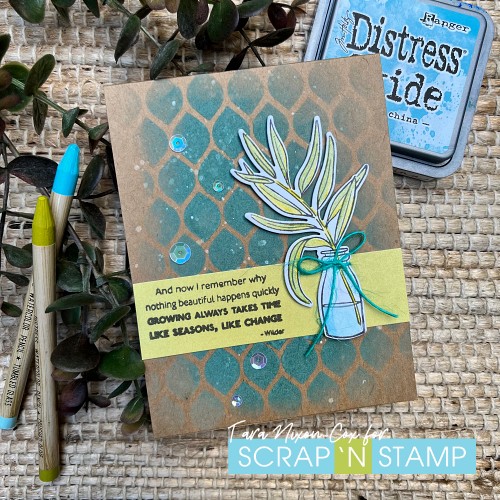
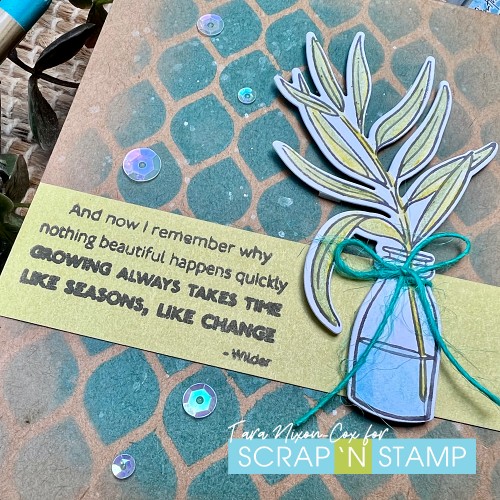
I decided to start with some simple Distress Ink watercolor- blending a couple colors on the stamp and misting it with water before stamping on watercolor card stock. I trimmed my card stock to size for a slimline card so I could fit more leaves on it, then had some fun with Mica Sprays over my colorful leaves! I’ve used a trio of Distress Inks, Wild Honey, Crackling Campfire & Peacock Feathers. I misted over them with two of the new seasonal Mica Sprays, Sugary Gumdrop & Wonderland, then added a some Antiqued Bronze to tie it all together with the copper embossed sentiment (by MFT).
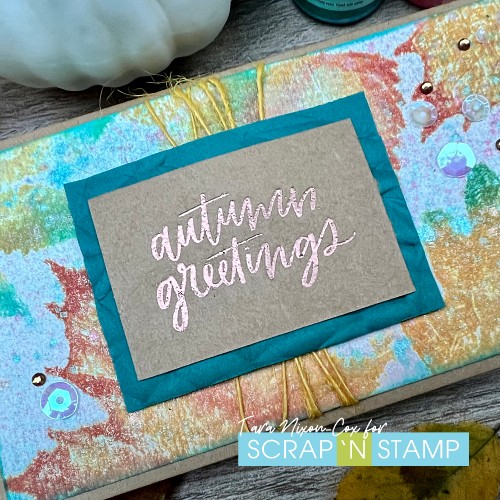
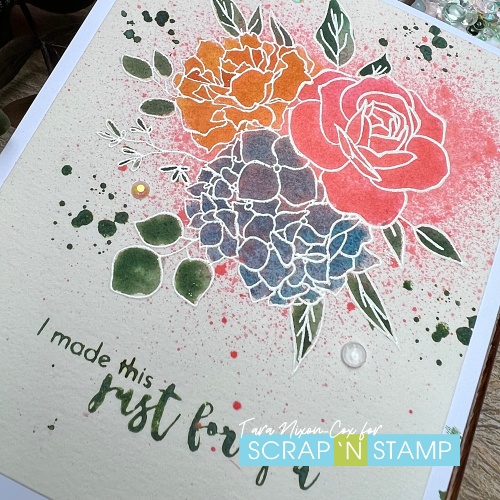
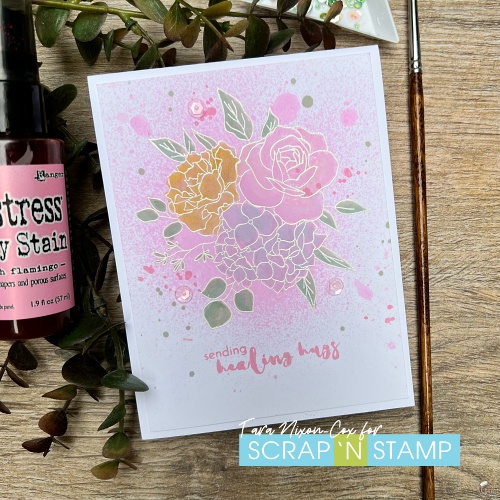
The mix of the mica sprays is so pretty & shimmery, it was hard to capture in a photo! It’s one of those combos I decided to try on a whim for this card, and I’m so glad I did! I’ll be playing with these stamps some more over the next bit… keep an eye on my blog or instagram account for a peek!
Inky hugs,
Tara
Tuesday with Tara {take 414} Sketchy Leaves Read More »