Scratch-N-Stamp
Search

Checkout

Keep up with Sales, New Products and other events at Scrap `n Stamp. Sign up for our newsletter now!

What's New

Hot Deals


Kraft

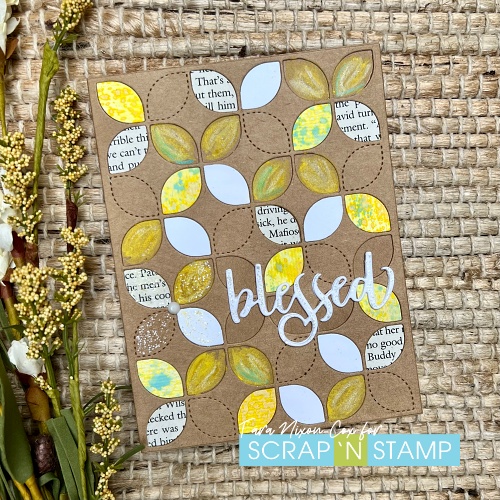
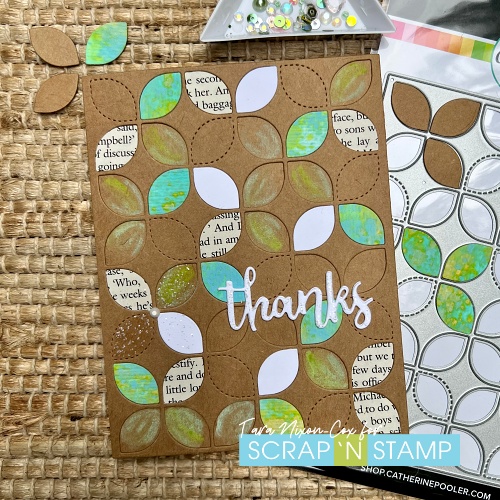
Tuesday with Tara {take 406} Kraft Pinwheels

Happy Tuesday!

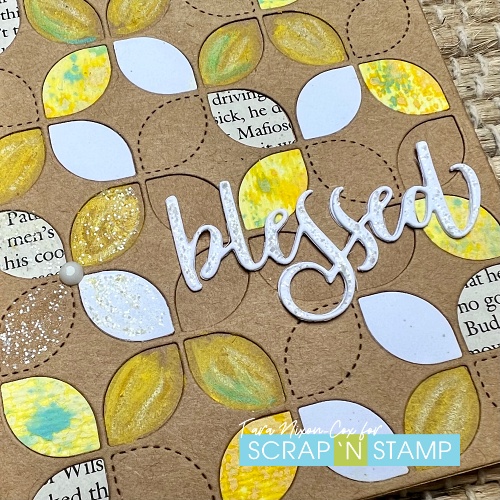
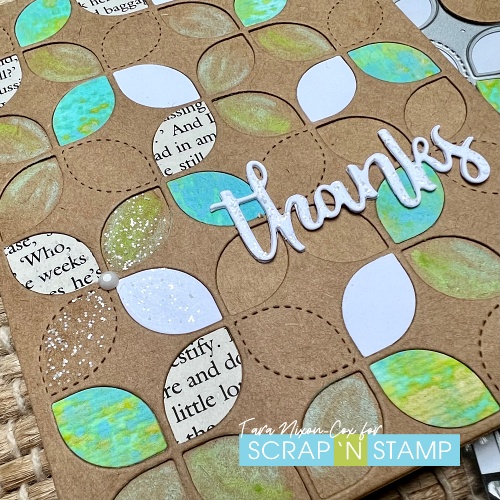
I’m back sharing another Playful Pinwheels card (actually 2, since I did it in two color palettes) this time the focus is on Kraft.  I made the yellow version during my most recent Crafty Live on the fb page.  I used a variety of cut outs to piece this card together- focused on yellow blended backgrounds, book print & plain white card.   Once I had a random layout I like, I glued all the pieces in with Nuvo Deluxe Adhesive.  I then grabbed some Distress Watercolor Pencil Crayons in 2 shades of yellow and added some scribbles in some of the empty spaces.   Once I brushed water over them I decided they needed a bit more dimension, so I added a bit of white & aqua to some of the colored petals.

I finished the card off with some subtle touches of glitter.  I’ve used (discontinued) Distress Stickles in clear Rock Candy.  You can purchase the loose glitter still here.  I added some of this to one pinwheel and to my die cut word, which I positioned next to it.  I’ve cut a Honey Bee Bitty Buzzword die twice for a it of dimension.

My second card was done exactly the same, just with a different portion of the inky blended background paper.  I’ve used the blue/green parts and colored with the same tones for a totally different feel to the card.

I love how they both came together, and the dimension you can see by layering the Kraft cut outs over a Kraft background.

These cards were a bit fussy, but not difficult to do.  I also got some great ideas from the ladies who tuned in LIVE with me, and I look forward to giving this card some more seasonal twists!

Inky hugs,

Tara

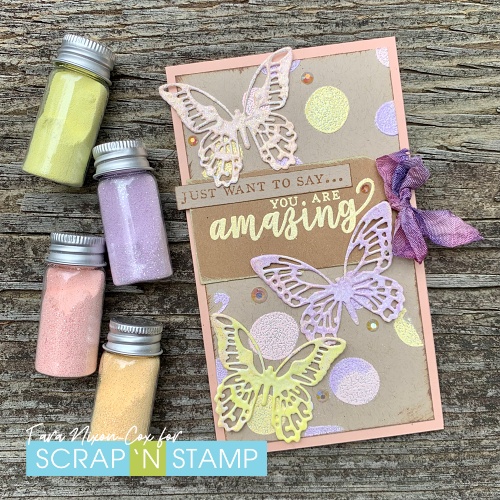
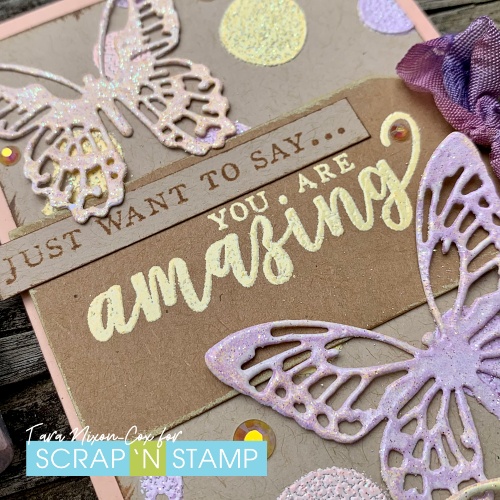
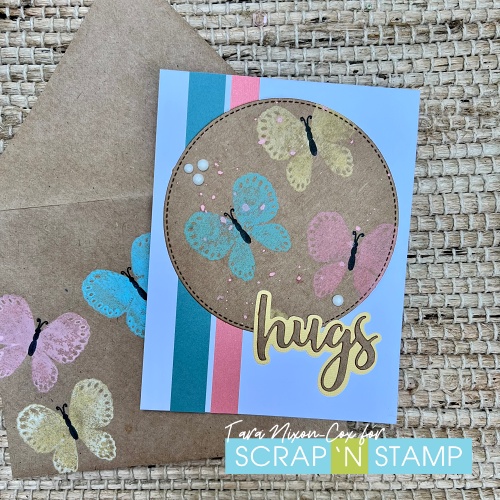
Tuesday with Tara {take 405} Hugs & Butterfly Kisses

Happy Tuesday!

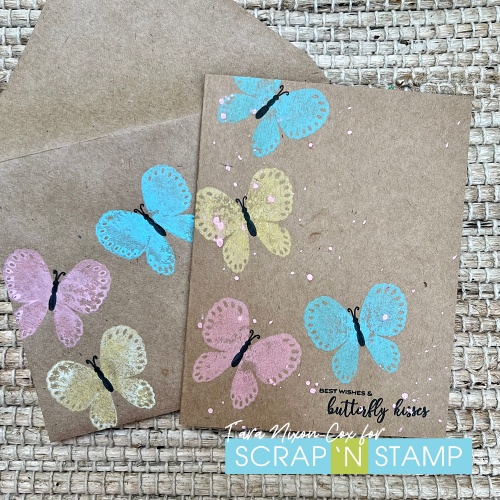
Today I’m sharing cards featuring an Altenew stamp “Butterfly Kisses” and cards I made during my Crafty Live on Facebook last Thursday!  It’s a sweet little stamp set and for these cards I chose to keep it simple with one of my favorite things… Distress Oxide on Kraft paper!  The inks I’ve used are Squeezed Lemonade, Saltwater Taffy & Salvaged Patina and they are such a happy, summery trio of color!

I simply stamped the wings then set them aside to dry before using Versafine Clair in Nocturne to stamp the bodies.  I added some splatters with Distress Oxide Spray in Saltwater Taffy and for the first card I skipped the stamp sentiment and added a die cut ‘hugs’ in Kraft, backed with yellow. Strips of paper bring all three colors onto the white card base.

The second card is super simple- stamped directly on a card base with the addition of the stamp sentiment from the set in black as well.  I also added the butterflies to a matching envelope for a fun pop of color!

These are simple, but cheerful cards!  I hope you like them!  I’ve got one more I’m finishing up still… please watch my instagram page for a look at the third card!  If you haven’t yet checked out our Altenew Blog Hop, there’s still time to be entered to win a prize!  Plus there’s tons of beautiful inspiration there!

Inky hugs,

Tara

Tuesday with Tara {take 396} Nailed It!

Happy Tuesday!   Today’s card is some simple krafty fun I shared with viewers of my Crafty Facebook Live on Saturday!  I showed the card I made for our Tongue-in-cheek blog hop and then made this similar card with the same stamp set by Sunny Studio, called Tool Time.

This little stamp set is perfect for guy cards with some clever puns, and the simple designs are fabulous for creating an easy background with repeat stamping.  For this card, I stamped on a Kraft card base in Ground Espresso Distress Ink.  I started with the largest image- the hammer, then filled in the empty spaces with “congrats” and the nail image.  The trick to these backgrounds is to rotate your designs so they fill in the space.  If you know a large part of the background will be covered up, as with the tag on this card, you can leave that part empty and focus on what the edges of your space will look like.

I used a pre-printed tag for this, to keep things simple and add some subtle texture.  You could absolutely create a subtle background yourself- and this might actually be a fun project to do just to have some on hand!  I played around with the layout of the text for my tag and added some die cut numbers I had from last week’s project, which worked out perfect since I used this as a graduation card as well!  I added some quick color with Distress Watercolor Pencils & finished off the tag with a bit of Glossy Accents on the hammer and some Rock Candy stickles (the stickles are discontinued, but you can still buy the mica glitter) on the numbers!

It’s simple fun, perfect for any guy who needs congratulating!  I hope you like it and I hope you enjoyed the live as well!  If you haven’t already, please check out our current HOP and drop us some comments to let us know you did (and have a chance to win a prize)!

Inky hugs,

Tara

Free Shipping Anywhere In Canada