Tuesday with Tara {take 441} Amazing Embossing
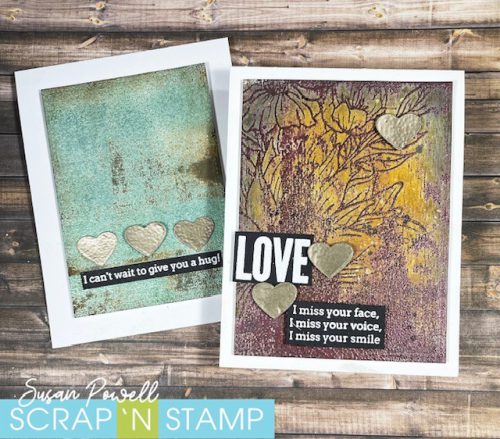
Happy Tuesday! My card today is a throwback to a project inspired by a colorful set of embossing powder, which I booke into two different color palettes and made two backgrounds. The first card is the one I shared during an inspiration hop and you can see the details on my personal blog as well! Today I’m sharing the card I made with the second background!
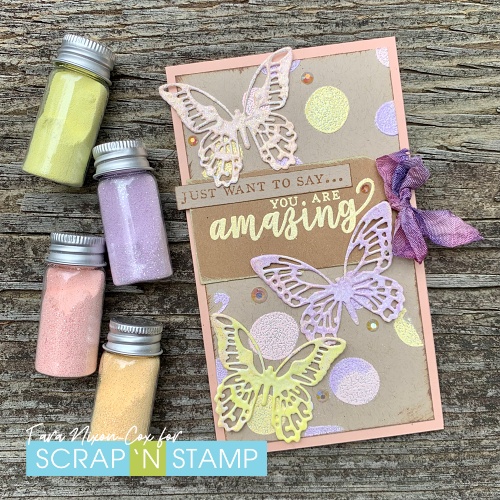
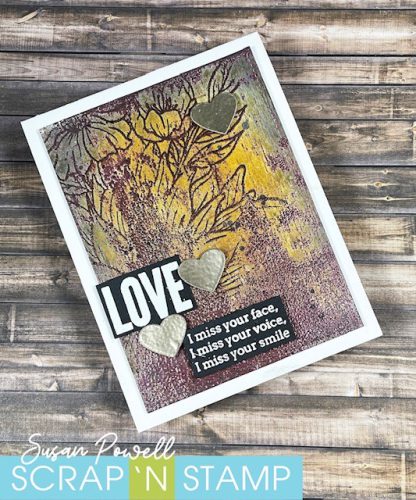
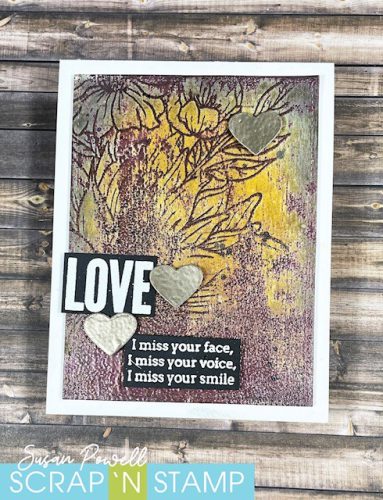
For this card, the spotlight is on some die cut cut butterflies which were cut from heavy card stock then inked and heat embossed three times to give a substantial enamel texture. I began by using the excess powder from creating my background- the top butterfly is a mixture of the three powder colors together. The bottom butterflies started the same then I added a solid color in the final layer to make them each unique. Because of the way I did this, you’ll see blends of colors across the wings, but plenty of sparkle and shine!
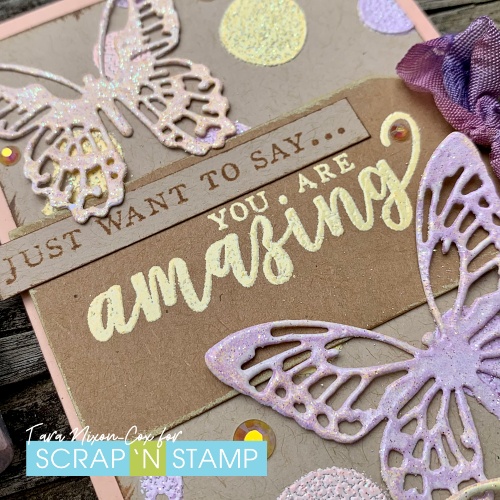
I finished off the card with an embossed sentiment on a small Kraft tag (actually- I combined two sentiments from the same set that I thought went really well together, one stamped and layered as a strip and the other embossed in yellow).
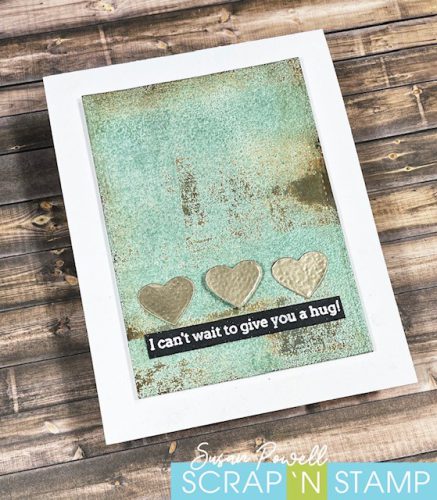
Working with pastels is a challenge for me, but pairing them with Kraft really works and makes the colors pop! This is also the first time I’ve used two shades of Kraft together like this and I dunno… it’s kinda fun. What do you think?
Inky hugs,
Tara
Tuesday with Tara {take 441} Amazing Embossing Read More »