Scratch-N-Stamp
Search

Checkout

Keep up with Sales, New Products and other events at Scrap `n Stamp. Sign up for our newsletter now!

What's New

Hot Deals


Author name: Kia Gibson-Clapper

Oh Canada


Happy Canada Day!

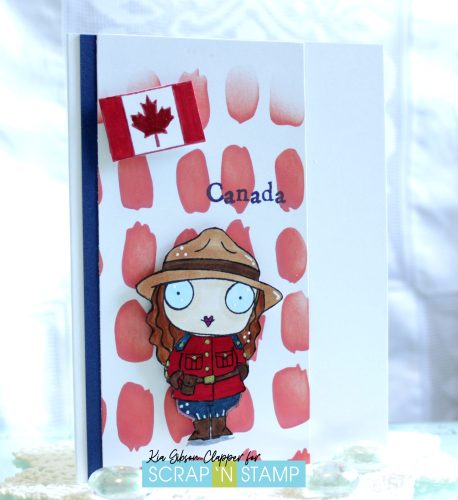
Today is Canada’s 156th birthday, and I wanted to celebrate. What better way than to colour up this fabulous stamp by AALL and Create. But first, let me start with my background.

For the background I am using Stampers Anonymous stencil Brush Mark. I cut a piece of cardstock to fit the left side of my card and stenciled using the stencil along with Distress Oxide ink in Barn Door. I then attached it to a piece of navy cardstock with the mat showing on the left side.
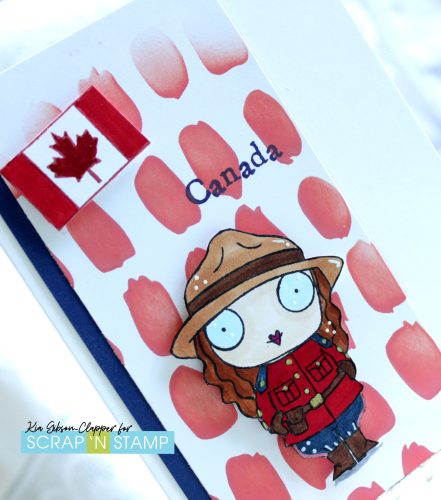
In my mini Misti I stamped the Mountie, being AALL and Create stamp #871, using Memento Ink in Tuxedo Black. I then stamped the flag using Memento Ink in Rhubarb Stalk, and fussy cut both of the pieces out.

I attached the Mountie and the Flag to the card front using foam squares and finished off with embellishments to the Mountie using red gel pen down the outers sides of his pants, adding gold to the buttons and belt buckle, and adding white gel pen to several areas.
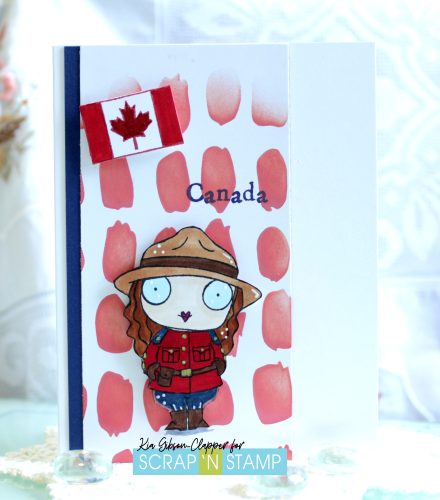
I then put my card back in my Misti and Stamped the sentiment using VersaFine Clair ink in Medieval Blue to finish.

Another fun card to make and to celebrate Canada Day. I hope you have enjoyed this card, and I also hope you all have a fabulous Canada Day!

Copic markers used: E40, E41 face; E59 Belt, Stetson trim, Pouch, Congress boots; R27 Red Serge, E39 Hair and E34 Stetson Hat; B00 on Eyes, and B99 for the Banana Pants.


Oh Canada Read More »

Honey Bee Happy Birthday Card

Honey Bee Happy Birthday Card Using Ballon Arch

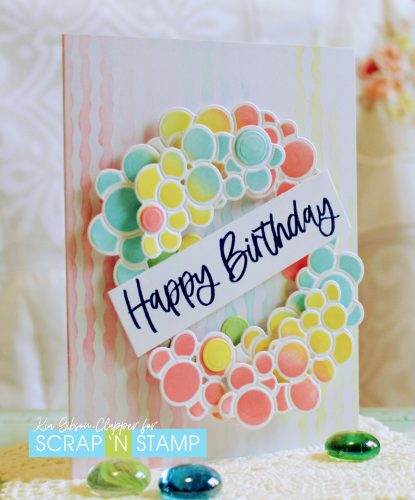
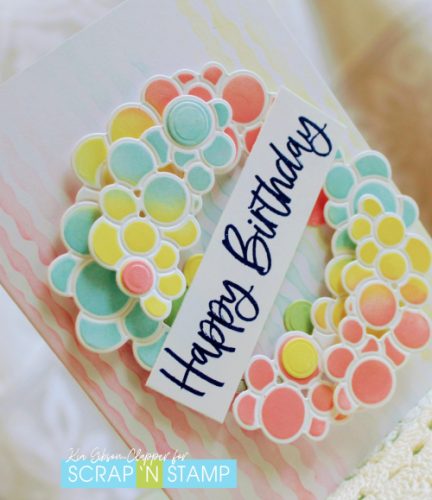
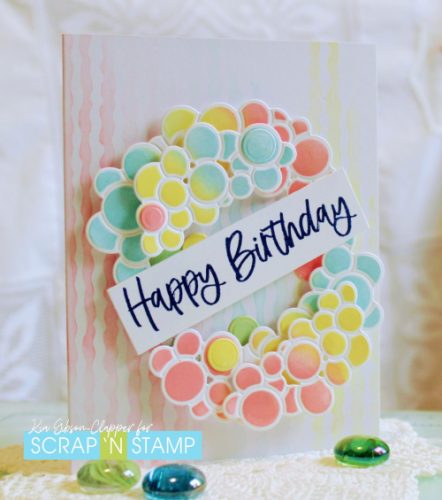
I am back today to share this birthday card that I made using a Honey Bee Stamps die “Balloon Arch” and stencils and a Avery Elle stamp sentiment. I die cut the balloons and brushed on distress inks in Squeezed Lemonade, Worn Lipstick and Tumbled Glass, making several layers.

Next, I stenciled the front of my Neenah card base using a Honey Bee Stamps  stencil called Good Vibes and the same colours I used for the balloons.

Honey Bee Happy Birthday Card using Ballon Arch

Once the stenciling was complete I attached the circle part of the die to my card front using foam squares and Art Glitter glue. I then layered the balloons, using the foam squares between the layers.

To finish with the layers I attached a few loose balloons, with a couple being coloured in green, for a happy surprise.

Honey Bee Happy Birthday Card using Ballon Arch

To finish up I stamped the birthday sentiment using VersaFine Clair Ink in Paradise. I thought I was going to use a die, but found I did not have a birthday die – imagine that? I will have to correct that soon.

Thanks so much for joining us today.

See you next time.

Honey Bee Happy Birthday Card Read More »

Altenew Daisies Card using Copics

Card using Altenew 3D embossing folder called Daisies

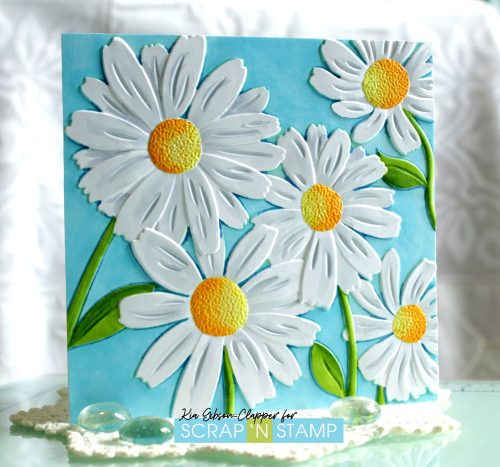
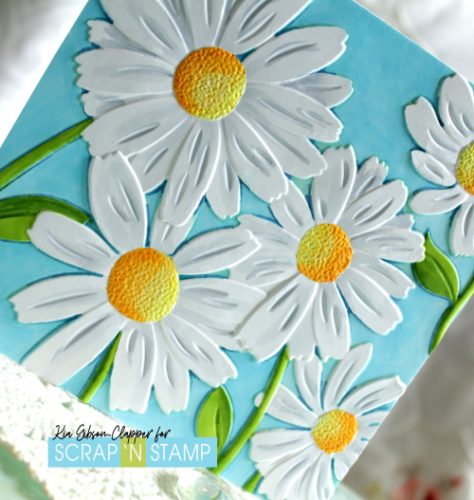
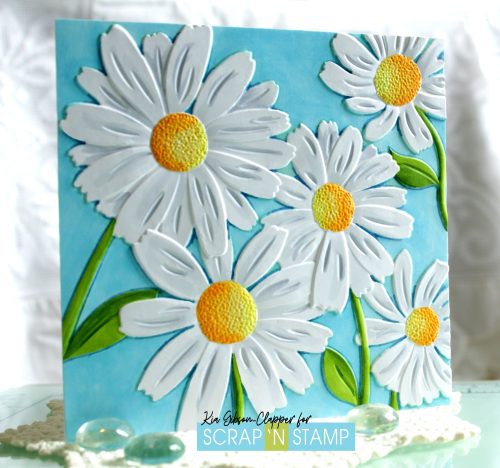
Hello to you! I am back today with a card I made using Altenew’s 3D embossing folder called “Daisies”, which I coloured using Copic markers. Yes, it is a little more time consuming, but I always love the results, and I hope you do as well.

First was to prepare my piece of cardstock. I spritzed both sides of my Hammermill card with water before inserting in the embossing folder, which relaxes the paper. I then ran the piece through my Gemini Jr.

Card using Altenew 3D embossing folder called Daisies

For this card I used 2 layers of B01 to colour the background. As there were some very tiny areas where my Copic tip would not fit I added Sharpie thin markers and went around the flowers and stems with green and blue markers.

I coloured the flower centres using T02, Y15,  Y17 and Y38; for the flowers I used C1 and C3; and the leaves are YG15, YG17 and YG25.

Card using Altenew 3D embossing folder called Daisies

When all the colouring was complete I attached the panel to my Neenah cardbase using Art Glitter glue, which allowed me a bit of wiggle room.

After all my colouring I did not want to cover up anything on the front of the card so I did not add a sentiment. As I always finish the inside of my cards I will put the sentiment inside the card, once I determine who I will be sending it to.

I hope you have enjoyed this card today, and wish to thank you for your visit.

See you next time.

Altenew Daisies Card using Copics Read More »

Free Shipping Anywhere In Canada