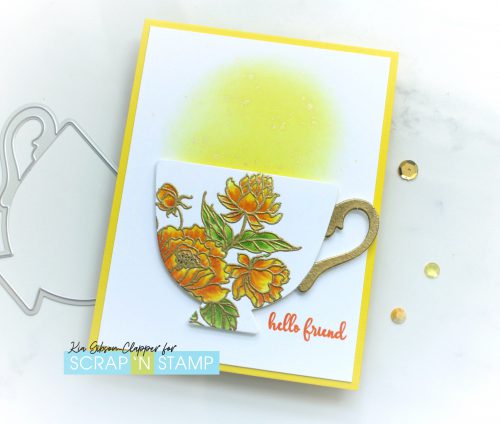
Scratch-N-Stamp
Search

Checkout

Keep up with Sales, New Products and other events at Scrap `n Stamp. Sign up for our newsletter now!

What's New

Hot Deals


DT Kia

Floral Cup

Hello all, Kia here with you today to share this card.

I am giving away my age here, but when I was 16 it was time to pick out my China Pattern that would become my birthday and Christmas gifts for years to come. Then it was the Crystal and then the Sterling Silver. Yes, I still use it all!

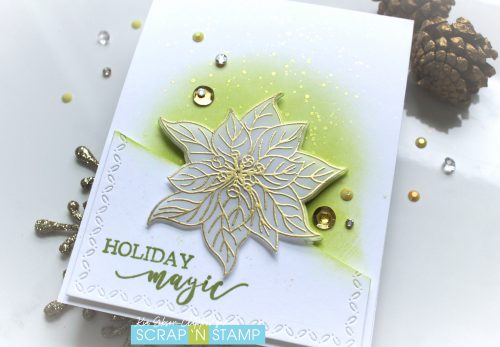
That is what I thought about when I saw this die by Picket Fence Studios, so that is where I went.

Using Gina K. Designs white card stock I prepped the card with my Perfect Crafting Pouch as I would be using both distress inks and embossing powders.

I then inked my stamp with Distress Ink in Antique Linen, and proceeded to colour using Copic Markers, which I did while leaving my stamp in my stamping tool.

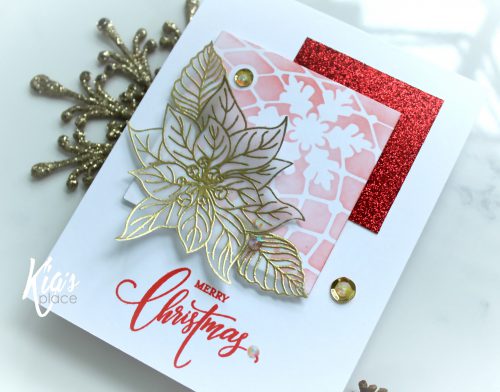
Once my colouring was done I stamped the image using embossing ink and heat embossed using Gilded Gold fine embossing powder. I then masked off the cup area leaving the handle exposed and applied embossing ink along with the gold embossing powder and heat embossed.

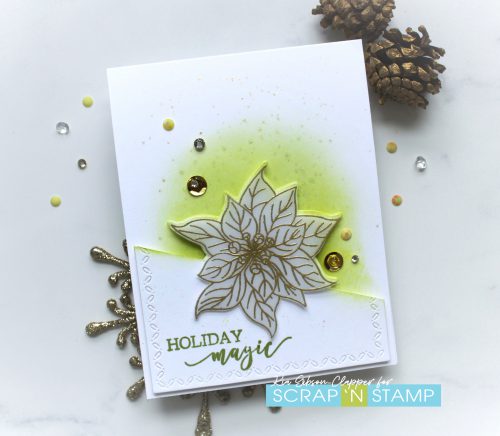
On a separate piece of white cardstock I again prepped the piece with my Perfect Crafting Pouch. I then brushed on and blended Distress Oxide ink in Squeezed Lemonade, then splattered the area with Midas Touch Shimmering Pen.

I attached the piece to my yellow card base.

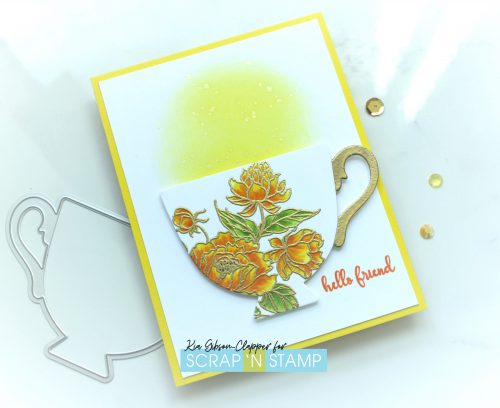
To complete my card I applied foam squares to the back of the coffee cup and attached it to the my card. I then stamped the sentiment using Distress Ink in Spiced Marmalade several times to darken the colour.

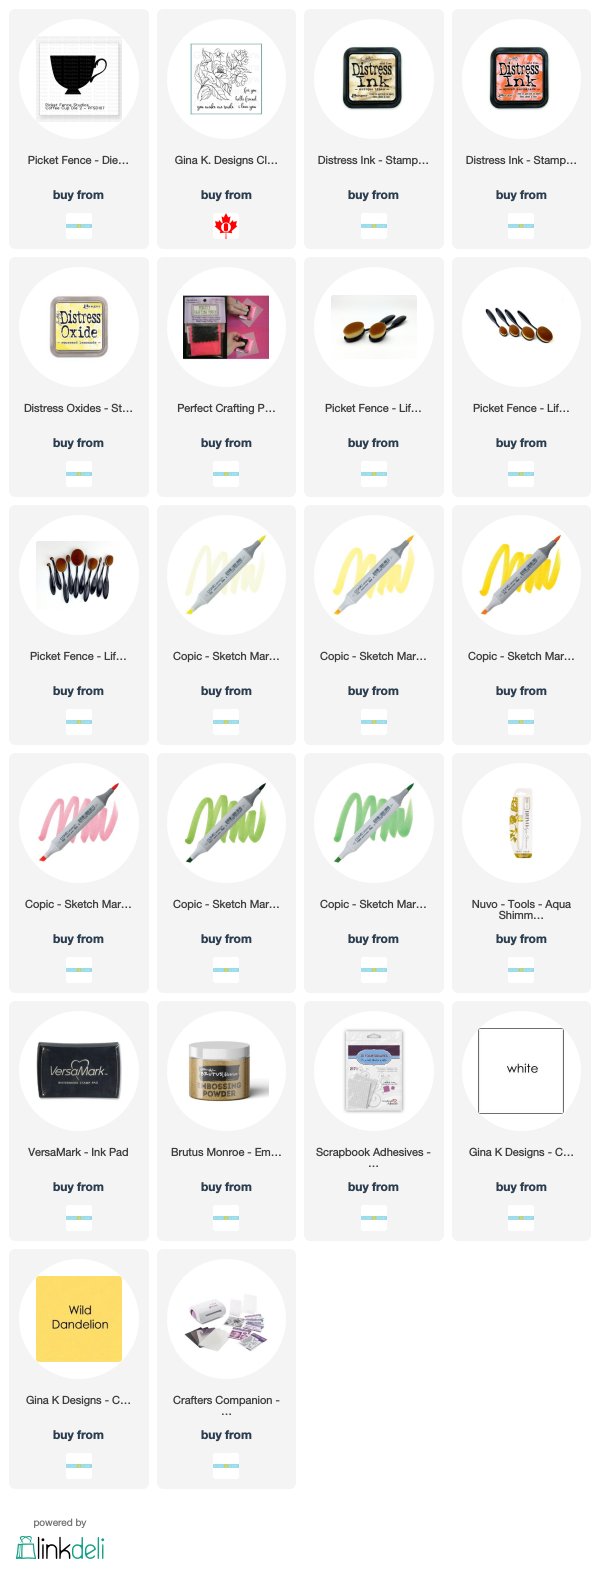
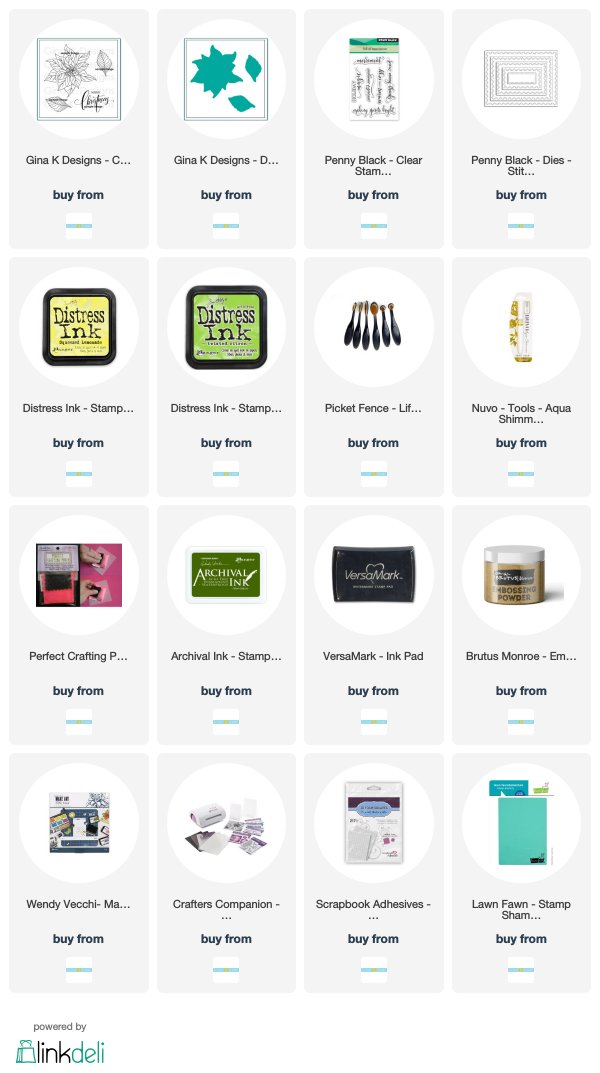
I hope you have enjoyed today’s card. Following I have provided Affiliate Links to the Store for the products that I have used for this card.

Floral Cup Read More »

Magic of the Holidays

Hello all, Kia here with you today.

I am doing double duty today by hosting a challenge which is to use vellum in your design. I thought it would be nice to use vellum on the cards I was designing during this time.

In each of my designs I have used Gina K. Designs Winter Flower stamp and die sets.

For this card, on my card base I brushed on colour, first the Squeezed Lemonade, then the Twisted Citron, blending as I went along, keeping in mind where my flower would be on the card.

Using my Stitched Stackers die I die cut a panel piece, then taped on the Winter Flower die where I would like it. Using my manual Spellbinders die cutting machine I lined the flower die up to the edge of the machine platform where I wanted it cut, with the flower towards the machine, and ran the piece through. I then trimmed from the edges toward the flower on a diagonal with my scissors.

Putting the pieces side by side I splattered with Midas Touch Aqua Shimmering pens. I love the sparkle it adds along with the faint gold colour. I then stamped the sentiment using Fern Green ink.

To put it all together I brushed on the same colours to the edges of the flower piece and cut lines, then added foam squares to the panel, and attached it to the card base.

I added the vellum flower, which had been stamped and heat embossed with gold embossing powder, to the flower area. The cardstock underlay acts like another flower layer to the vellum flower.

And, for a bit more sparkle I added sequins and gems.

Here is a picture of the card I did for my other project in case you are interested.

And, for a totally different look I did this card.

Thank you for joining me today. Following are Affiliate Links to the products I used on the first card, which are almost the same for all the cards.

Magic of the Holidays Read More »

My Neighbourhood

Hello. Kia here with you today to share this card I made using stamps and dies from Concord & 9th called City Stacks.

My inspiration for my card comes from my neighbourhood.  I am an apartment dweller, who fortunately overlooks a beautiful old street that has homes which were built in the 20’s and 30’s. They are huge homes with beautiful old trees and wonderful landscaping. And, fortunately, we do not have any other apartment buildings that block the views. And, as you can imagine, autumn is stunning in my neck of the woods.

I am using Arches cold press watercolour paper for my card today, but any watercolour paper can be used. I am also using distress inks for this card. I have both the markers and mini cubes, and if I am missing a colour in one, I will have it in the other.

I started by stamping the building using jet black ink, then painted the sky using tumbled glass and blueprint sketch. I then did the building using wilted violet. The green is the background that will show when I attach the tree stack, so I have painted it using mowed lawn.

I then stamped and die cut the tree line stack, keeping in mind that this stack will be behind the row of house, so I cut my paper accordingly. As I do not want a lot of bulk here, I go along the bottom of my cut piece with my bone folder, which flattens it somewhat, therefore not adding extra bulk. I then watercoloured the grass with the mowed lawn, and the trees I did using dried marigold, fozzilized amber, spiced marmalade and a bit of candied apple.  I also went around the trees with the mowed lawn as I did not want any of the white showing.

I then moved on to the house, stamping and die cutting the piece to allow for my sentiment. I painted the houses in worn lipstick, tumbled glass, dried marigold and used fired brick for the doors and roofs. I added squeezed lemonade in the windows for light. I have some hickory smoke on the window ledges and steps. And, it is while I am typing this and looking at the card below that I realize I did not paint the flowers in the window boxes. Well, the flowers were pulled to make way for the coming autumn. 🙂

I finished my card by stamping one of the sentiments from the set in jet black ink. So, in the end this is a three layer card, yet it does not feel like it has that many layers.

I hope you have enjoyed this card today and thank you for visiting. The products used today can be found in the store, I have also listed them for you below.


My Neighbourhood Read More »

Free Shipping Anywhere In Canada